

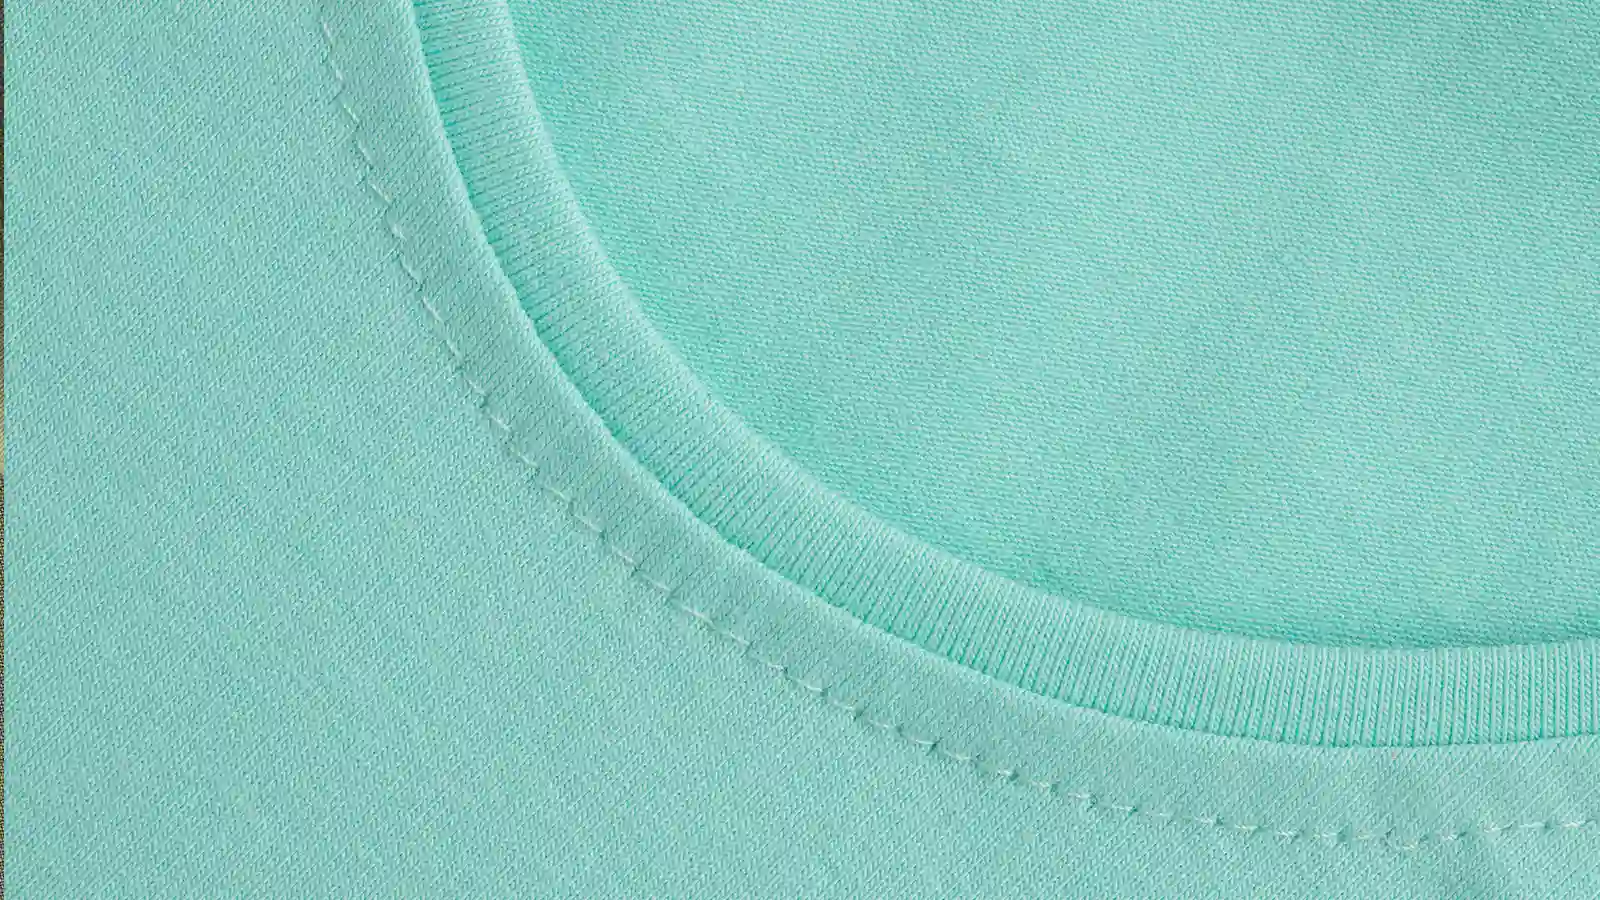
When sewing with knit fabric, it can be hard to tell which side is the right side at first. The right side is the smoother, polished surface that often displays the fabric's decorative pattern or vibrant color. Compared to the wrong side, it feels sleeker and looks more refined.
Learning how to tell the right side of knit fabric helps you avoid mistakes and ensures your projects look professional. With a little practice, spotting the right side becomes second nature.
Key Takeaways
- Look for the smooth, V-shaped knit pattern, which indicates a polished surface, to determine the right side of the knit fabric.
- Use the position of the cast-on yarn tail as a clue. If it's facing you, you're likely looking at the wrong side.
- Observe how the fabric curls. Edges curling towards you indicate the right side is facing up.
- Mark the right side with a stitch marker, safety pin, or clip to avoid confusion during your project.
Importance of Knowing the Right Side of Knit Fabrics
Achieve a Professional Finish
Understanding how to identify the right side of knit fabric ensures your projects look polished and well-crafted. The right side often showcases the fabric's best features, like its smooth texture or vibrant design. When you use the correct side, your finished piece appears more refined and intentional.
Whether you're sewing a garment or knitting a scarf, the right side creates a clean and professional appearance.
Ensure Accuracy When Following Patterns
Patterns often rely on the distinction between the right and wrong sides to guide you through each step. Knowing the right side helps you follow instructions accurately and avoid mistakes.
For example, many patterns specify actions like "knit on the right side" or "purl on the wrong side." If you confuse the sides, your project may not turn out as intended.
By staying consistent, you maintain the integrity of the design and achieve the desired results.
How to Tell the Right Side of Knit Fabric Using Visual Cues
Look for the Smooth, "V"-Shaped Knit Pattern
The easiest way to identify the right side of knit fabric is to examine its texture. Look closely at the surface of the fabric. The right side will display a smooth pattern of tiny "V" shapes formed by the knit stitches. These "V" stitches create a polished and uniform appearance.
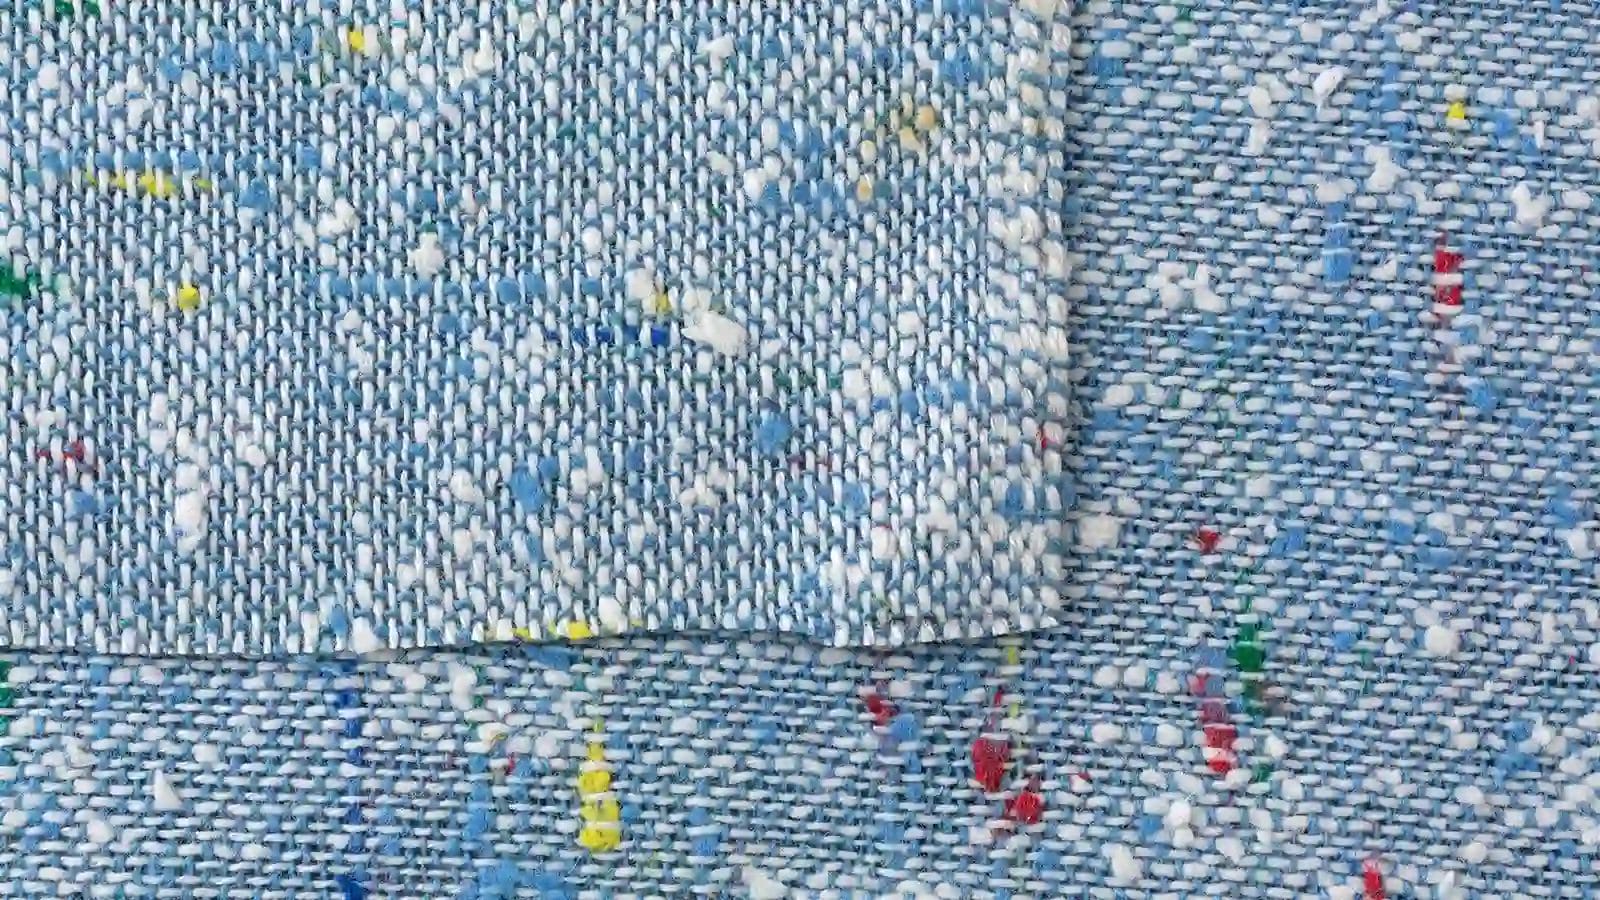
Run your fingers over the fabric to feel the difference. The wrong side, in contrast, often has a bumpy texture with horizontal lines or loops. If you're unsure, stretch the fabric slightly. The "V" shapes become more visible when the fabric is gently pulled.
Check the Tail Position of Your Cast-On Yarn
If you're working with a piece of fabric you've knitted yourself, the cast-on tail can be a helpful clue. When you cast on stitches, the tail of the yarn typically hangs on the wrong side of the fabric.
Lay your fabric flat and locate the tail. If it's on the side facing you, you're likely looking at the wrong side. Flip the fabric over to reveal the right side. This method works well for projects where you've kept track of your starting point.
Observe the Fabric's Curling Edges
Knit fabric has a natural tendency to curl, and this behavior can help you figure out how to identify the right side of fabrics.
The selvage edges of the fabric usually tend to roll or curl towards the wrong side. Place the fabric on a flat surface and watch how the edges behave. If they curl away from you, then the side is the right side.
Additionally, pay attention to the overall look of the fabric. The right side often appears brighter or more vibrant, especially with a printed or decorative design.
Common Techniques to Identify the Right Side of Knit Fabric
Use a Stitch Marker to Mark the Right Side
A stitch marker can save you from second-guessing yourself. Once you identify the right side of your knit fabric, attach a stitch marker to it. This small tool acts as a visual reminder, helping you keep track of the correct side throughout your project.
You can place the marker near the edge of the fabric or on a specific stitch. If you're working on a large piece, consider using multiple markers to keep track.
Follow Pattern Instructions for Guidance
Knitting patterns often include helpful details about identifying the right side of knit fabric. Many patterns specify which rows correspond to the right side and which to the wrong side.
For example, the instructions might state, "Row 1 (Right Side): Knit all stitches." Pay close attention to these notes as you work. If you're unsure, reread the pattern to confirm.
Mark the Right Side with a Safety Pin or Clip
If you don't have a stitch marker, a safety pin or clip works just as well. After identifying the right side, attach the pin or clip to the fabric. Place it near the edge to avoid interfering with your stitches. This method is especially useful for beginners or when working with fabrics that look similar on both sides.
Practical Tips for Beginners to Recognize the Right Side
Practice with Swatches
Start by practicing on small swatches of knit fabric. These manageable pieces let you focus on identifying the right side without feeling overwhelmed.
Examine the texture, look for the "V"-shaped knit pattern, and observe how the edges curl. Then, flip the swatch back and forth to determine the right vs wrong sides.
This hands-on approach helps you build confidence and sharpens your ability to spot differences. The more you practice, the easier it becomes to recognize the right side on larger projects.
Use Good Lighting
Good lighting makes a big difference when examining knit fabric. Place your fabric under bright, natural light or use a well-lit workspace. Shadows and dim lighting can make it harder to see the subtle details that distinguish the right side.
Look closely at the surface to spot the smooth "V" stitches or any decorative patterns. If you're working with a solid color fabric, lighting helps you notice slight differences in texture or sheen.
Do a Double-Check
Before diving into your project, take a moment to double-check the fabric's orientation. Lay it flat and review your learned visual cues, like the knit pattern and edge curling. If you've marked the right side with a stitch marker or safety pin, confirm that it's still in place.
This quick step prevents mistakes and ensures your work aligns with the intended design.
Conclusion
With practice and the right approach, identifying the right side of knit fabric becomes easy. You can confidently determine the correct side by using visual cues like the "V" pattern, tools such as stitch markers, and practical tips. These techniques help you avoid mistakes and create polished, professional-looking projects.
Over time, recognizing the right side will feel natural, making your crafting process smoother and more enjoyable. Keep practicing, and you'll master this essential skill in no time.
Learn more fabric knowledge on the Longan Craft Blog, and dive into the fabric world with Longan Craft!
FAQs
Q: What if I can't identify the right side from the wrong side?
A: Look for subtle differences like the "V" knit pattern or smoother texture. If both sides look identical, pick a side to act as the right side and mark it.
Q: Can I use either side as the right side?
A: Yes, some fabrics are reversible. You can pick the side you prefer, but stay consistent throughout your project.
Q: How do I avoid losing track of the right side?
A: Mark the right side with a stitch marker, safety pin, or clip as soon as you identify it. This will prevent confusion later.
0 comments