Have you ever considered turning that old denim skirt into something fresh and functional? Crafting a DIY backpack from a skirt not only gives your wardrobe a sustainable twist but also lets you express your creativity in a practical way.
Imagine carrying a bag that reflects your personal style and helps the environment at the same time. Are you curious about how to transform fabric into function? The details might surprise you and inspire your next crafting endeavor.
Key Takeaways
- Use a seam ripper to carefully detach pockets from the jean skirt, trimming loose threads afterward.
- Unfold the skirt by cutting along the side seam and cut a rectangular piece for the backpack.
- Fold the rectangle in half, cut squares at the bottom corners, and sew the sides and corners to form the base.
- Attach straps and the bag cover by folding the top edge inward and sewing securely.
- Mark and sew snaps onto the bag cover for closure, ensuring they align properly for functionality.
Gather Materials and Tools
To begin your bag making project, gather all the materials you'll need to transform that old jean skirt into a trendy accessory.
- Old Jean Skirt: Main fabric for the bag.
- Lining Fabric: Optional, for the interior (cotton or canvas recommended).
- Sewing Machine
- Needle and Thread
- Sharp Scissors
- Seam Ripper: To remove existing seams.
- Measuring Tape
- Pins or Clips
- Straps: Use old jeans or other sturdy fabric.
- Metal Snaps: For closure.
- Decorative Elements: Patches, studs, or paint for customization (optional).
With these tools, you're ready to upcycle your way to a stylish denim backpack.
How to Craft a DIY Backpack From a Denim Skirt
Now that your materials are ready, you can turn an old jean skirt into a fashionable denim bag. Follow this step-by-step sewing tutorial to make a fashionable upcycled denim backpack!
Step 1: Remove the Pockets
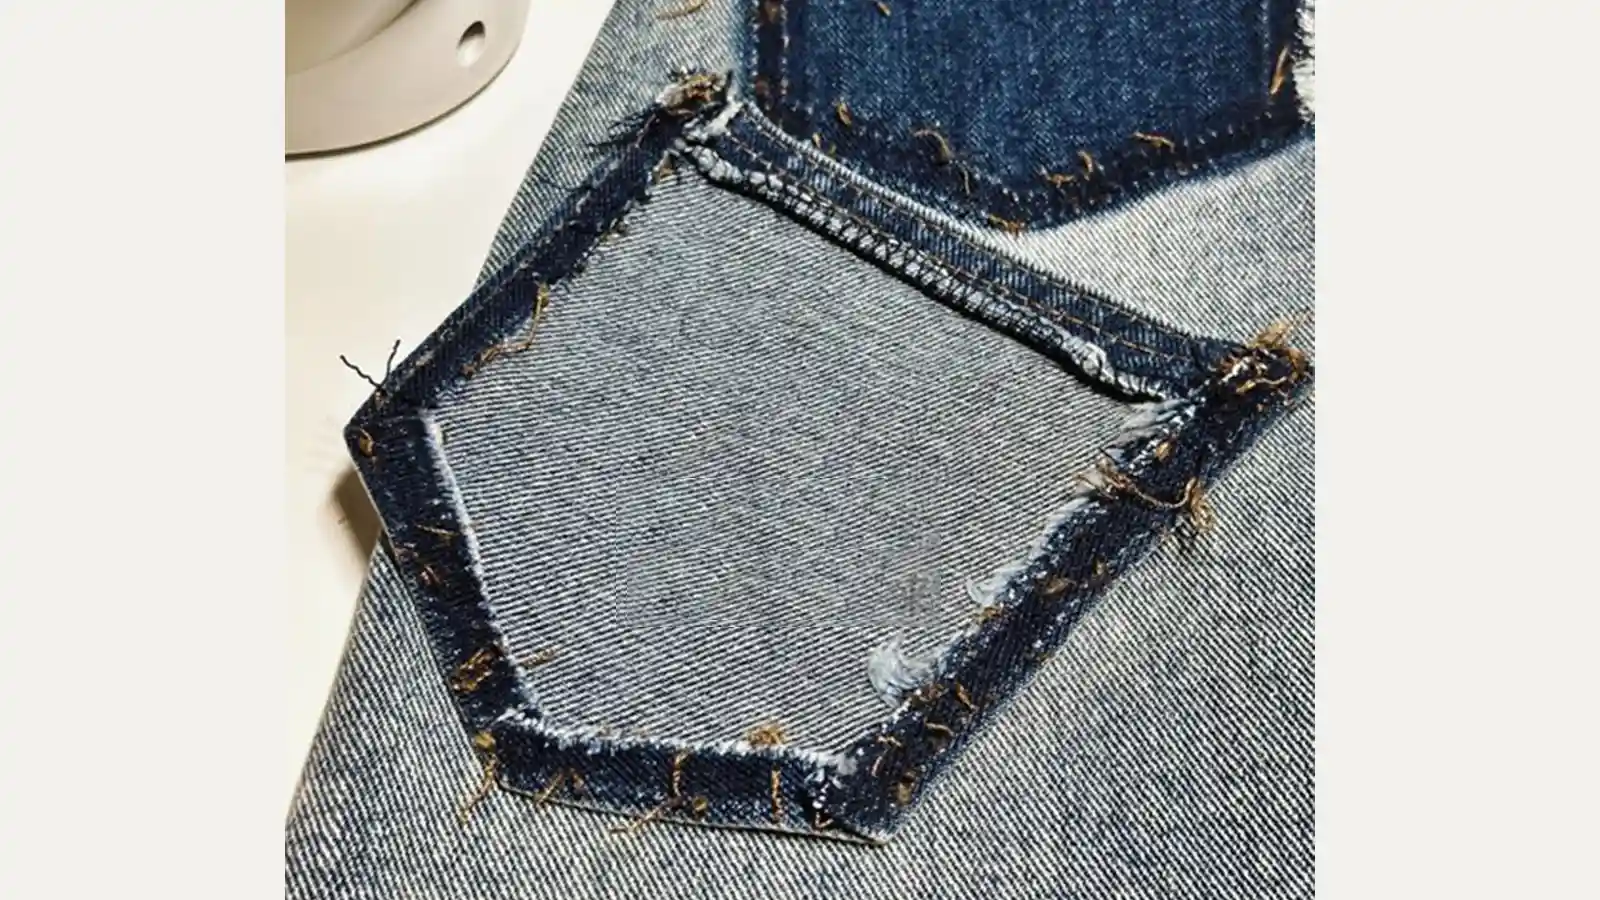
Start by removing the pockets to prepare the fabric. Later, you can use one of them as the bag cover. Grab a seam ripper and carefully detach the pockets from the denim skirt.
Be cautious to cut only the threads holding the pockets, ensuring you don't damage the surroundings.
After successfully removing the pockets, inspect for any loose threads and trim them neatly.
Step 2: Unfold the Skirt and Cut a Rectangle
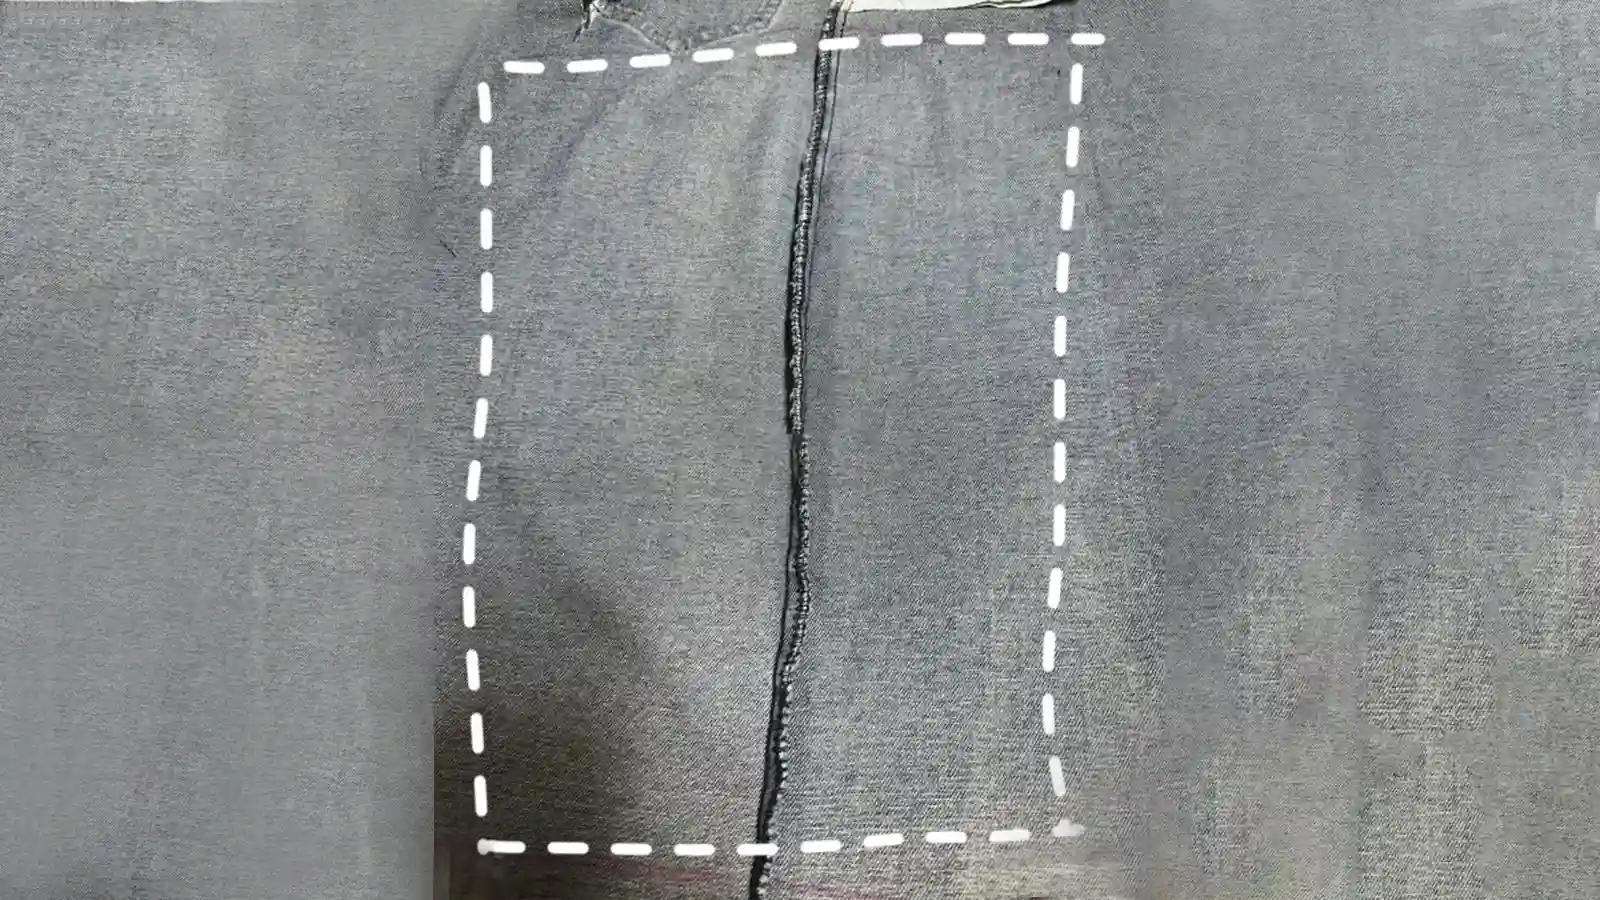
Lay the denim skirt flat on a clean surface. Identify the side seam you'll cut to unfold the skirt. Use a seam ripper to carefully cut along this seam, starting at the waistband and going all the way down to the hem.
Once the side is cut, open up the skirt fully. Now, you can cut a rectangular piece of fabric as the main body of your bag. Measure and adjust this rectangle to your desired dimensions.
Before moving forward, trim any excess threads or frayed edges for a neat finish.
Step 3: Create the Bag Base
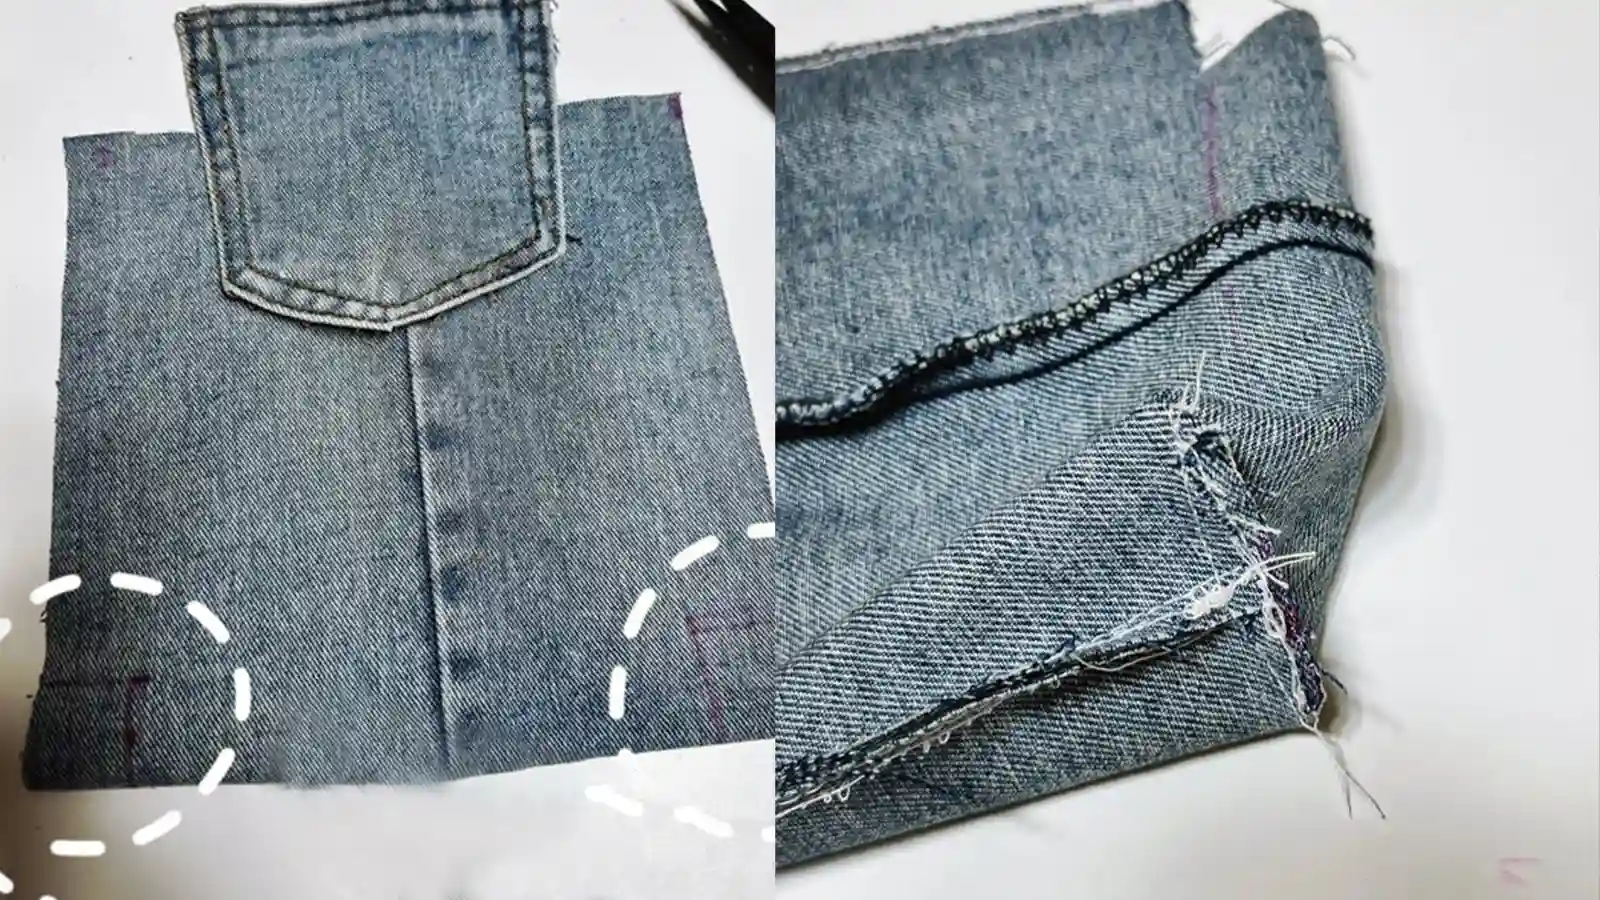
Folding the rectangle in half, ensure the right sides face each other for proper alignment.
With the denim neatly folded, measure and mark two squares, each 3 or 5cm, at the bottom corners. Carefully cut along your marks with sharp scissors to ensure clean edges.
Once the squares are cut, stitch along the left and right sides. Then, align the square edges accurately and sew them together. Repeat the process for the other corner.
Step 4: Turn Right Side Out
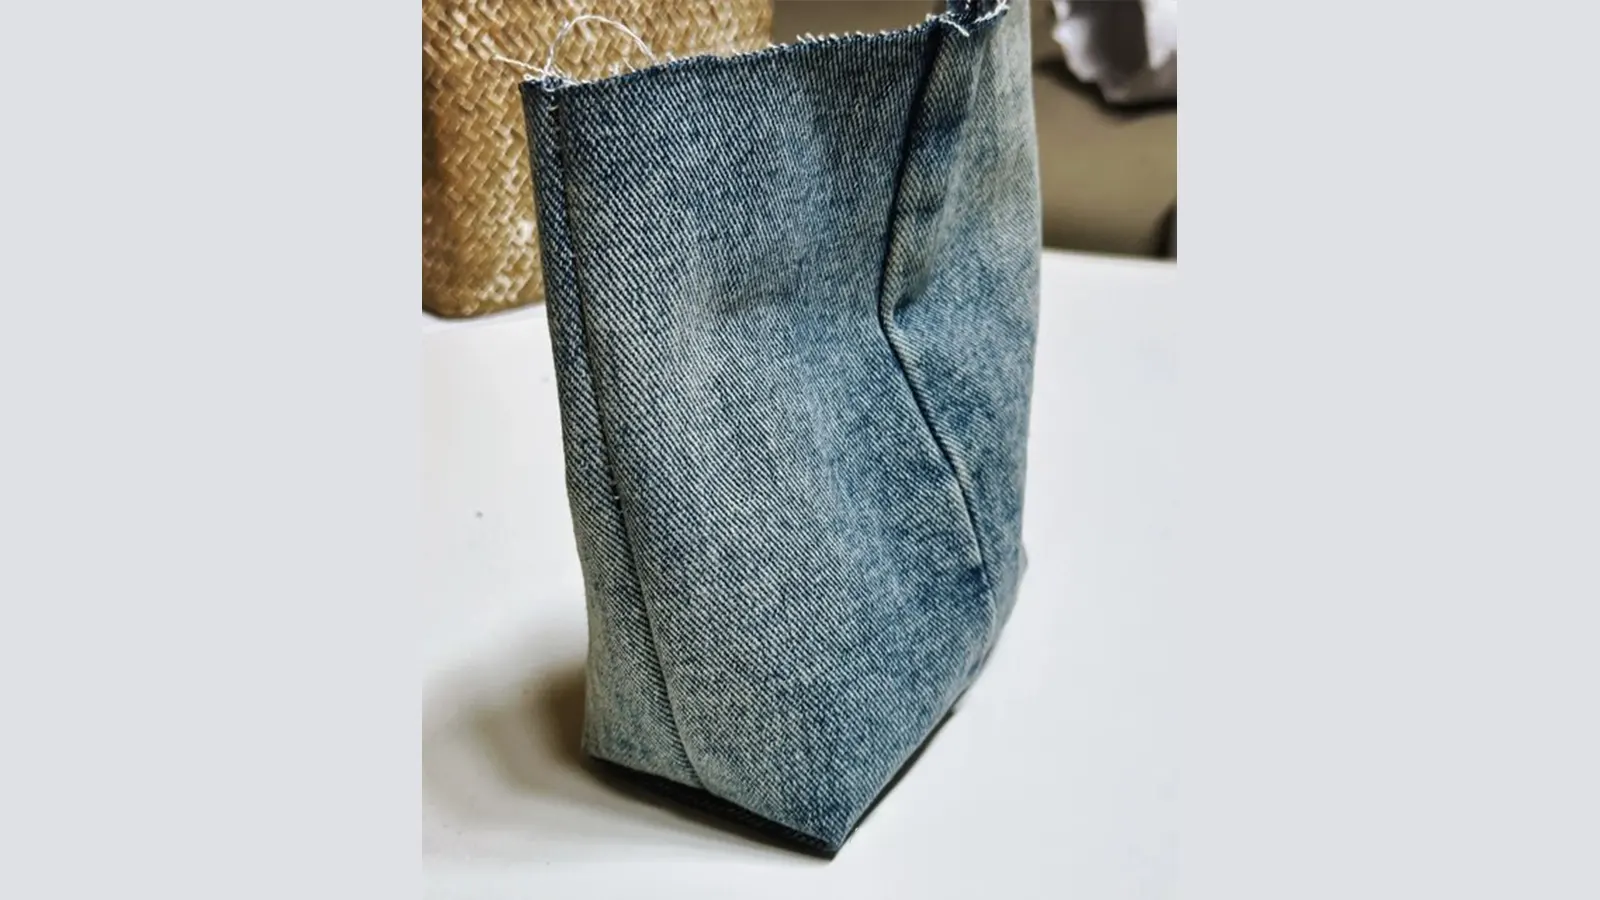
Turning your bag right side out is one of the most satisfying steps in the process. Carefully pull the fabric through the opening at the top, ensuring all corners are fully pushed out.
Next, adjust the bag shape by gently manipulating the fabric to create defined corners and give it a structured appearance. As you do this, check all seams to ensure they're intact and that no raw edges are visible.
Step 5: Attach Straps and the Bag Cover
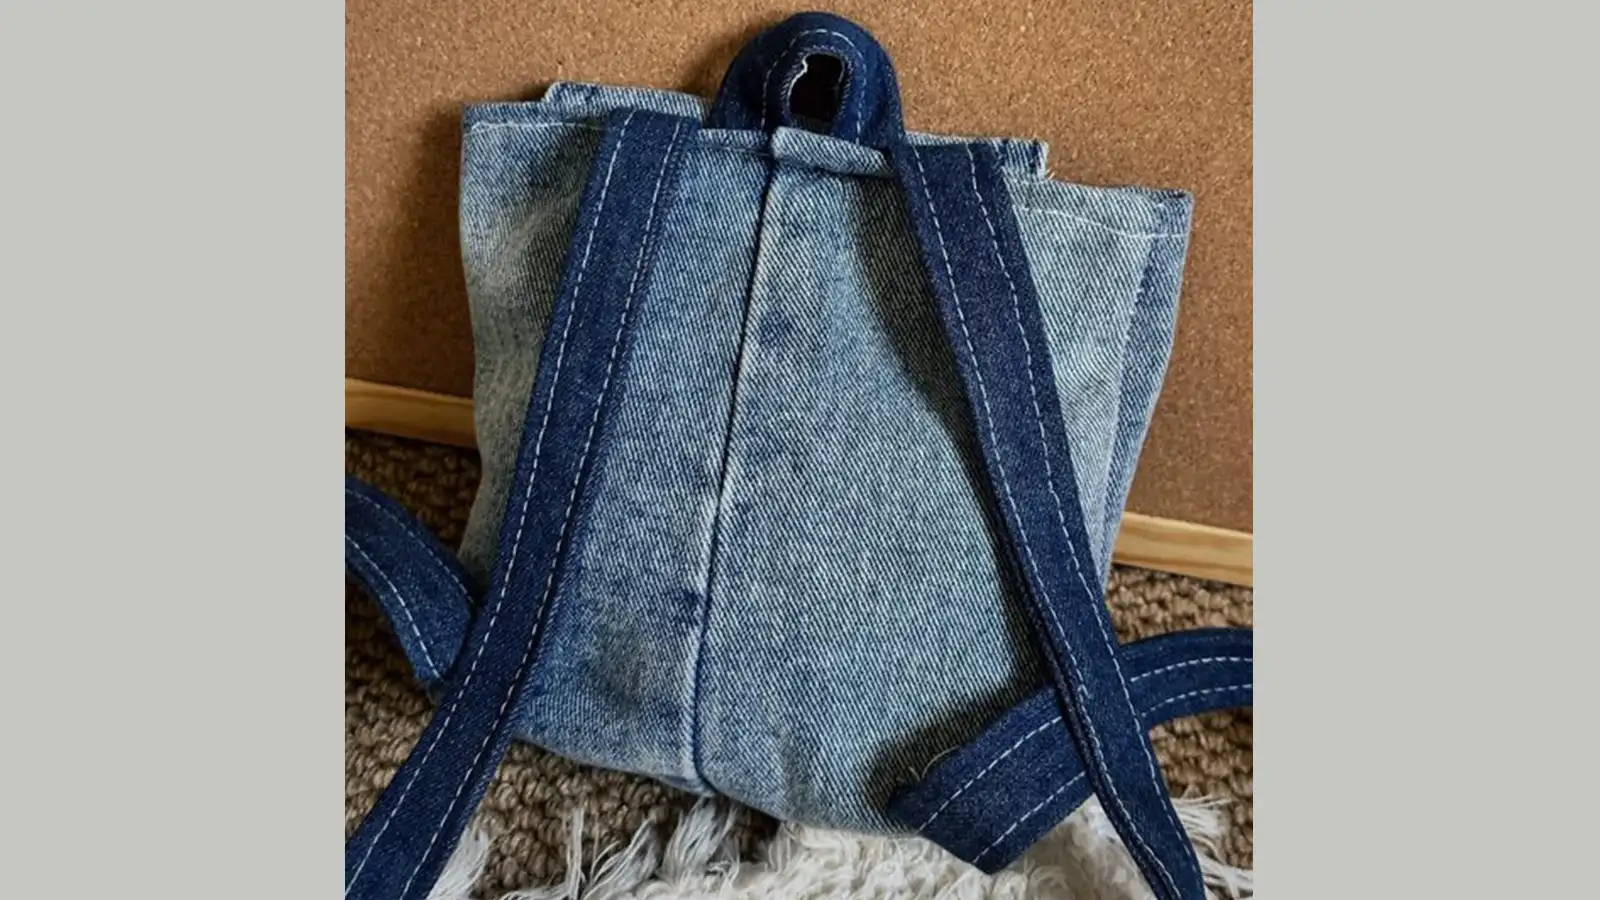
To make the straps, cut two equal lengths of fabric from the remaining denim skirt; ensure they're long enough for comfortable wear. Alternatively, you can use other fabrics for a contrasting look.
While sewing the top seam allowance, attach the bag cover and straps. Fold the top edge inward, pin the straps and bag cover in place, and then securely sew along the edge.
Next, focus on the straps' bottoms. Mark and pin them in place, then stitch them to the bag. Remember to reinforce each attachment point for added durability.
Step 6: Add Snaps to the Bag Cover
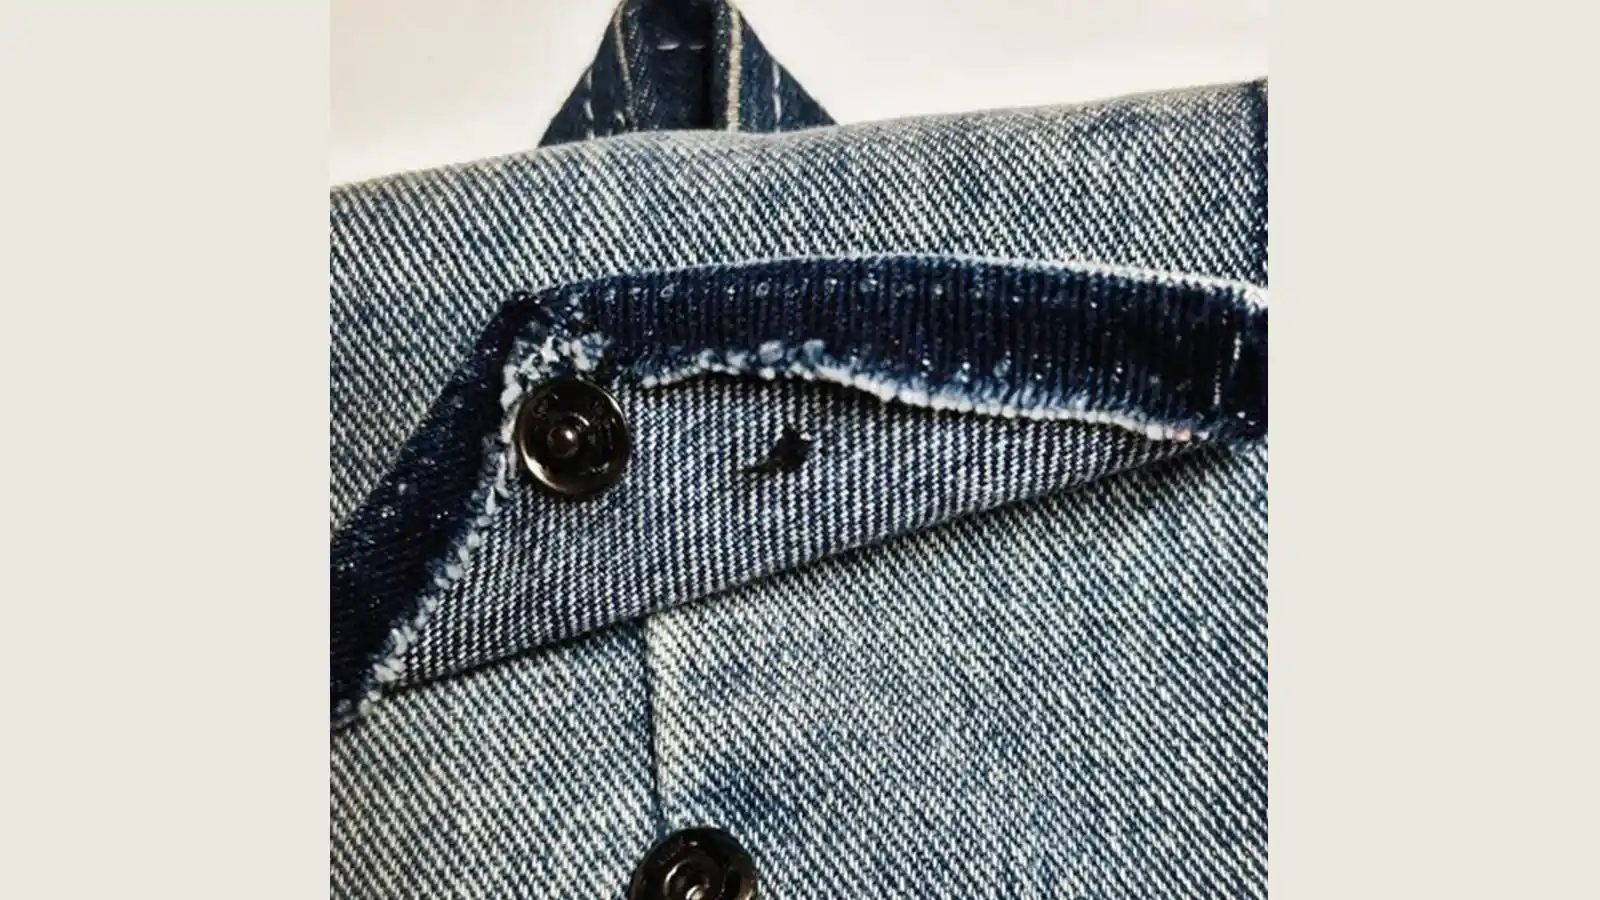
First, determine the snaps' placement, ensuring they align properly for secure closure. Mark the spots with a fabric marker.
Next, position the snaps and sew around their base to secure them, ensuring they're firmly attached and functional.
In addition to snaps, you can use buttons or zippers.
Step 7: Finish Up
Now that your DIY backpack is taking shape, it's time to finish your creation.
- Start by securing any loose threads and inspecting all seams to ensure durability.
- Check the snaps to ensure they operate smoothly and are firmly stitched, preventing future issues.
- Next, focus on the straps—adjust their placement for comfort and proper weight distribution, ensuring they're secure.
- Finally, thoroughly wipe down your bag to remove any thread or dirt.
With these final steps, your denim skirt backpack is ready to be shown off and used proudly!
Ideas for Decorating the Backpack
Unleash your creativity by decorating your DIY denim backpack with various embellishments that reflect your style.
- Start by using fabric paint or markers to decorate the denim bag with custom designs or patterns.
- Add patches that showcase your interests or favorite themes to give your bag a unique flair.
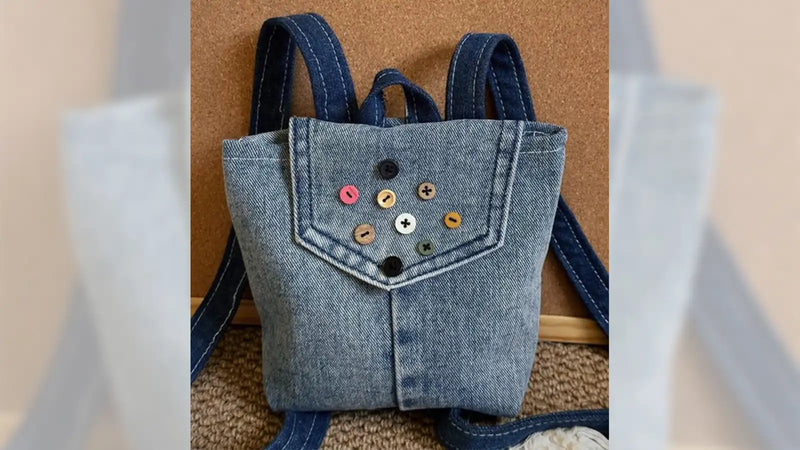
- For an eclectic look, sew on decorative pins or buttons.
- If you want a touch of femininity, consider lace or ribbon accents along the edges.
- To make a bold statement, use iron-on transfers or decals with vibrant images or slogans.
These ideas will help you infuse your personality into your backpack.
Conclusion
You've now transformed an old denim skirt into a chic DIY backpack, showcasing both your creativity and commitment to sustainable fashion.
Following these simple steps, you've repurposed something into an everyday accessory that reflects your unique style. Remember, the final touches, like fabric paint, patches, and buttons, give your bag a personalized flair.
Enjoy carrying a piece that not only stands out but also supports eco-friendly practices. Your stylish, handmade backpack is ready for any adventure! Take photos or videos to share your proud work on Instagram, Facebook, Pinterest, or YouTube!
Learn more sewing projects on the Longan Craft Blog, and dive into the fabric world with Longancraft!

0 comments