

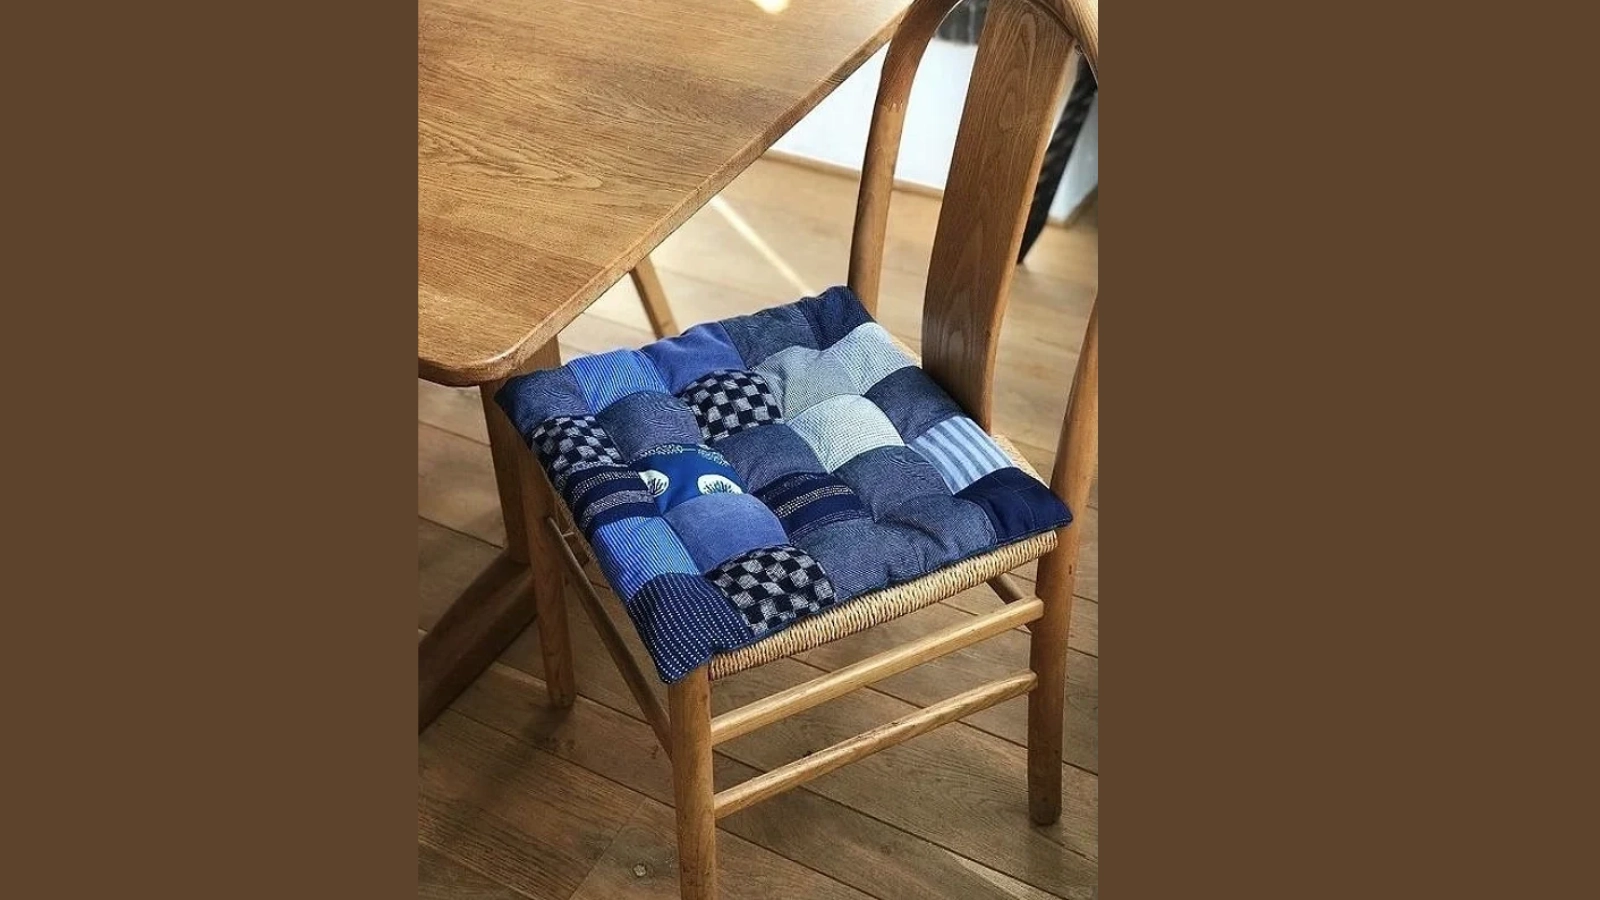
Hello friends! If you've got a stack of old jeans and chairs that need rejuvenating, you'll find these DIY denim chair pads both practical and satisfying. Don't let those worn-out jeans end up in a landfill when you can transform them into comfortable, durable chair cushions.
The varying shades and textures of denim create an appealing patchwork effect. Meanwhile, the sturdy nature of the material means it can stand up to daily use. Let's explore how to tackle this sustainable upgrade for your dining room seating.
Key Takeaways
- Cut old jeans into square patches. Add a 1cm seam allowance for a patchwork design that fits your chair's dimensions.
- Sew denim patches together in an appealing pattern. Mix different shades and textures for visual interest.
- Insert padding evenly and close the opening with secure stitches, ensuring a neat, durable finish.
Prepare the Necessary Materials
A successful denim chair pad project starts with gathering the right supplies.
You'll need at least five pairs of old jeans to incorporate a variety of textures and colors into your design. If you don’t have enough jeans, you can personalize each denim piece to achieve a similar unique effect. Try using fabric paint, embroidery, or iron-on patches to add creative details.
Collect enough batting materials for maximum comfort and support.
Other essential tools include sharp scissors, measuring tape for precise dimensions, and sturdy needle and thread.
DIY Denim Chair Pads: Step-by-Step Tutorial
Let’s get creative with repurposed material and make custom denim chair pads together with this tutorial.
Step 1: Prepare a Denim Backing
Before cutting, wash your denim thoroughly to remove any stains or odors. Select sections from the legs and back panels of your jeans.
Cut a rectangular denim piece in 37*37 cm based on the dimensions of your seat. This denim includes 2 cm for seam allowances on each side.
Step 2: Cut Small Square Denim Pieces
Lay your old jeans flat and carefully cut along the seams to maximize usable fabric. Measure 8*8 cm squares to cut 25 identical denim patches, including 1 cm for seam allowances on each side.
Cut squares from old jeans in various shades and textures to create unique chair pads. If you don’t have enough old jeans, decorate the squares using paint, embroidery, or iron-on patches. These additions will add personality and style to your chair pads.
Arrange your patches by color or shade to create an appealing patchwork effect. This organization will help you visualize the final design before sewing begins.
Step 3: Sew the Squares Together
Iron each square flat, folding the seam allowances neatly along the edges. Arrange your squares in a random pattern, mixing different shades and textures for visual interest.
As you sew them together, maintain consistent tension to guarantee your upcycle project stays sturdy.
Check your work frequently to maintain even spacing and alignment.
Step 4: Attach Backing Fabric
Next, you'll need to prepare and attach the backing fabric carefully. Place your completed denim patchwork flat with the right side facing up. Position the backing fabric on top with its right side down, making sure all edges align perfectly.
Pin the layers together, leaving a 5-7 cm gap on one side for turning. Sew around the edges using a straight stitch, paying special attention to the corner reinforcement.
Turn the cushion right side out and hand stitch the opening closed.
Step 5: Insert Padding
The successful completion of your chair pad hinges on properly inserting the padding material.
Carefully insert the padding through the gap, working from the corner outward. Make sure it's evenly distributed and fills all corners completely.
Before finalizing, check for any excess fabric and trim accordingly for a professional finish.
Step 6: Close the Opening
Using a needle and thread, create small, tight stitches to close the gap. Or opt for a nearly invisible slip stitch for a more refined look.
Add a decorative button at the center of the closed opening to enhance your design while helping gather the pad.
Double-check all stitching to guarantee it's durable and will withstand regular use. Trim any excess thread for a clean, professional finish.
How to Handle Thick Denim Layers While Sewing
Successfully working with multiple layers of denim requires proper tools and techniques to guarantee professional-looking results.
- Start by installing a walking foot on your sewing machine. It helps feed thick denim evenly through the machine.
- You'll need to increase your stitch length to prevent needle breakage and make certain secure seams.
- Switch to a heavy-duty denim needle that's specifically designed for multiple fabric layers.
- Before sewing, secure your layers with fabric adhesive or double-sided tape to prevent shifting.
- Don't skip pressing your seams open after sewing. This essential step reduces bulk and creates a polished finish on your chair pads.
Conclusion
Sewing a denim patchwork chair pad won't just enhance your seating comfort. It'll give your old jeans a new purpose. Working with multiple denim layers requires a heavy-duty needle and careful attention to seam allowances.
Don't forget to reinforce stress points where the fabric meets corners. When you finish, you'll have durable, custom chair pads that showcase your crafting skills and environmental consciousness.
Learn more sewing projects on the Longan Craft Blog, and dive into the fabric world with Longan Craft!
FAQs
How to Make Chair Pads Non-Slip?
To stop chair pads from slipping, add non-slip rubber matting underneath, use Velcro strips with fabric adhesive, sew rubberized strips along the edges, or apply double-sided tape between the pad and chair.
How to Tie Chair Cushions for Dining Chairs?
You need two 36-inch fabric strips for each cushion. Place them under the seat, bring the ends up around the chair sides, cross them over the cushion top, and tie securely. Add ties at the front and back for extra stability.
0 comments