Creating a unique and eye-catching chandelier doesn't have to involve expensive materials or professional skills. With just a rigid PVC sheet and fabric pieces, you can craft a cute DIY chandelier that adds elegance to any room.
This simple project combines practicality with creativity, transforming ordinary household items into a beautiful piece of home decor. Whether you want to brighten up your living space or add a personalized touch to your interior design, this guide will walk you through the steps to create your fabric chandelier. Let's get started!
Key Takeaways
- Cut a semicircle on a PVC sheet as the base for the chandelier, ensuring smooth edges for support.
- Measure and cut fabric to cover the PVC sheet, choosing a design that complements your decor.
- Securely glue the fabric onto the PVC sheet, smoothing out wrinkles for a seamless finish.
- Form a cone shape by overlapping and gluing the PVC sheet edges.
- Apply bias tape along the edges of the fabric chandelier for a polished look and to prevent fraying.
- Thread the pull string light through the top of the chandelier for hanging.
- Hang the chandelier, test the pull string light, and adjust as needed for both functionality and style.
Gather the Materials Needed
To create your DIY fabric chandelier, you'll need a few essential materials to get started.
- A rigid PVC sheet for the structure of the fabric chandelier
- A piece of fabric you like to cover the PVC sheet
- Bias tape for binding the edges
- A pull-string light
- Hot glue gun
- Embellishments (optional) like buttons, beads, patches, and so on
Make sure everything is within reach before diving into the assembly.
How to Make a Cute DIY Fabric Chandelier
To start making your cute DIY fabric lamp shade, follow these simple steps carefully for a successful result.
Step 1: Cut a semicircle on the PVC sheet
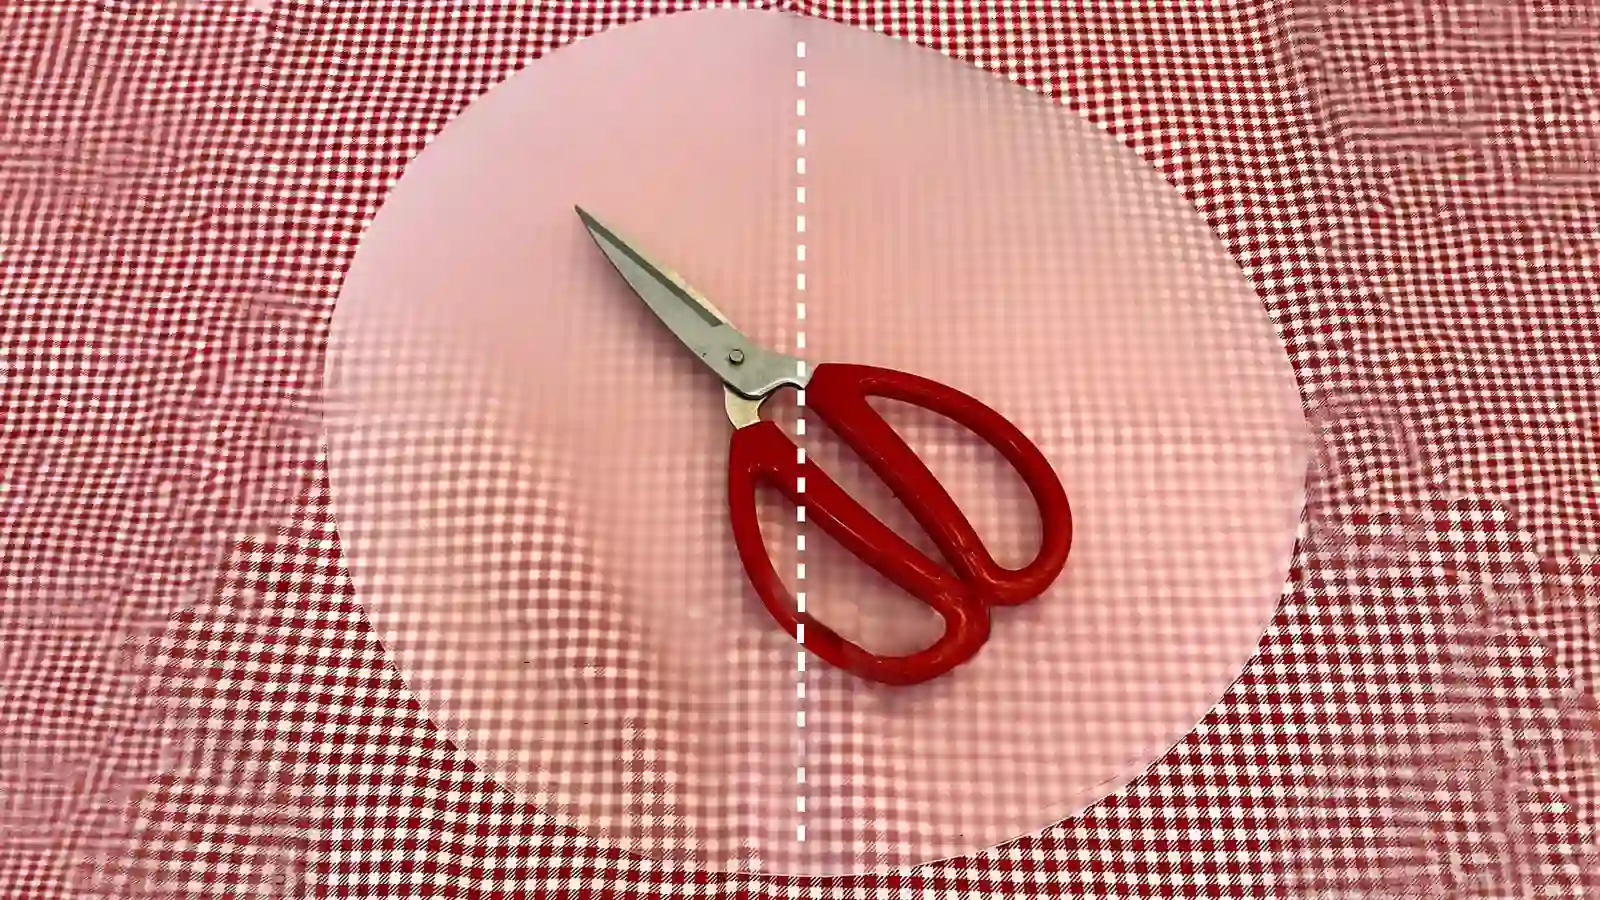
Use a compass or string tied to a pencil to draw a perfect circle on the PVC sheet with a diameter of about 30cm.
Then, locate the center of the circle and then cut it in half. We only need a semicircle.
Once you've cut the semicircle, lightly sand the edges to smooth any rough spots. This semicircle will serve as the base for your chandelier, providing essential support for the fabric layers you'll add later.
Step 2: Cut out another small semicircle
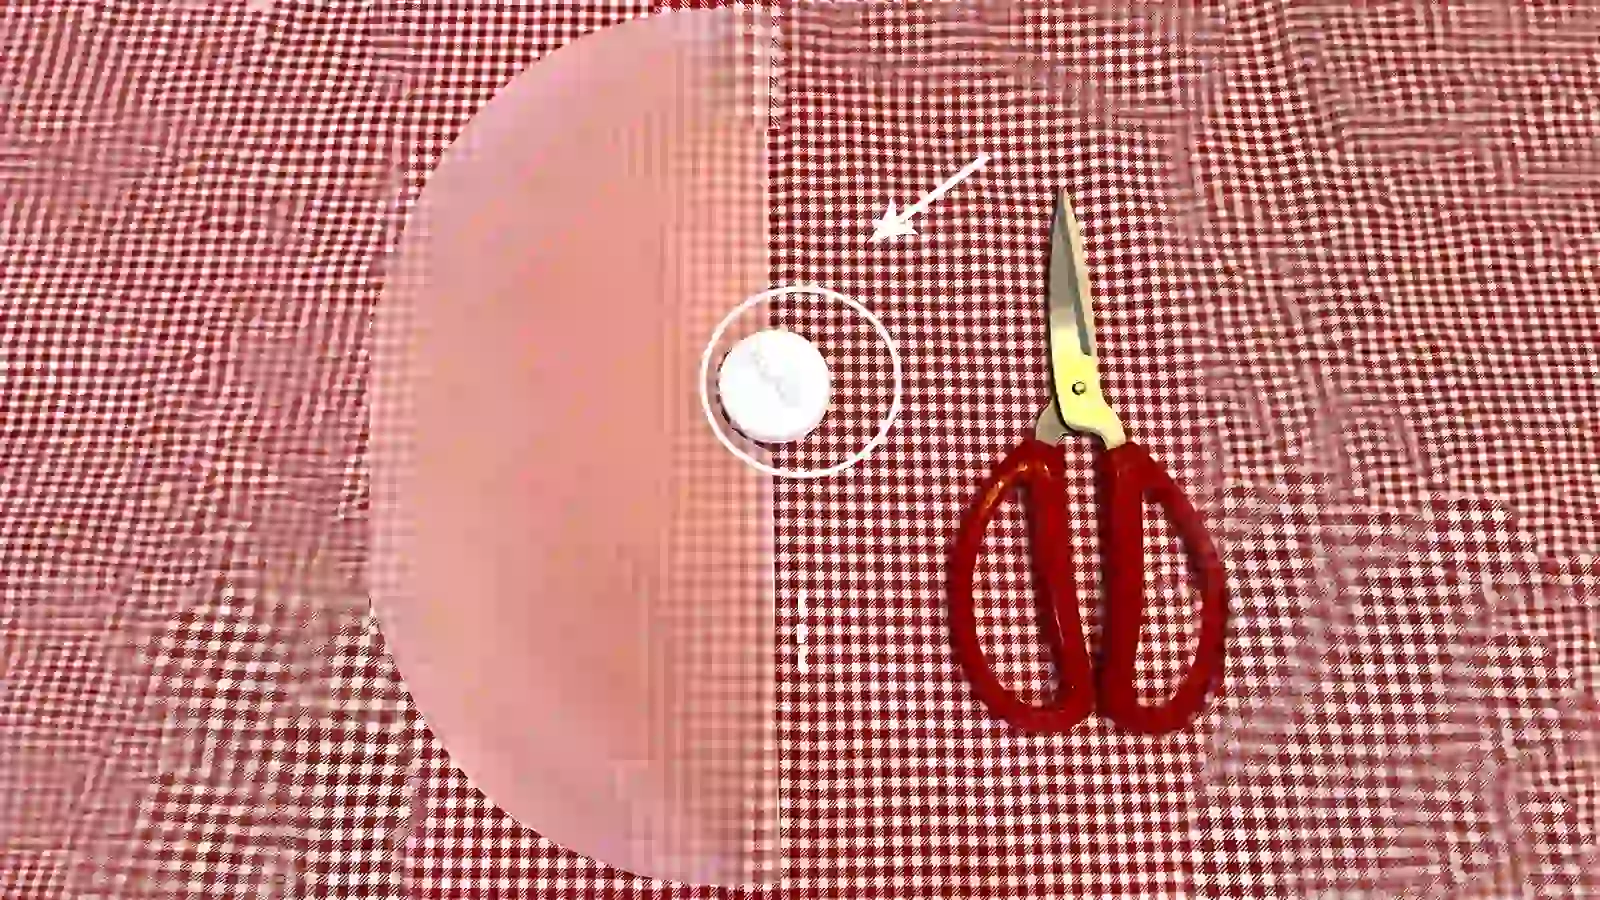
Draw another 2 cm-radius semicircle in the middle of the previously cut semicircle. You can use a bottle cap to draw the small semicircle. Once marked, cut it out.
Step 3: Cut the fabric piece for the PVC sheet
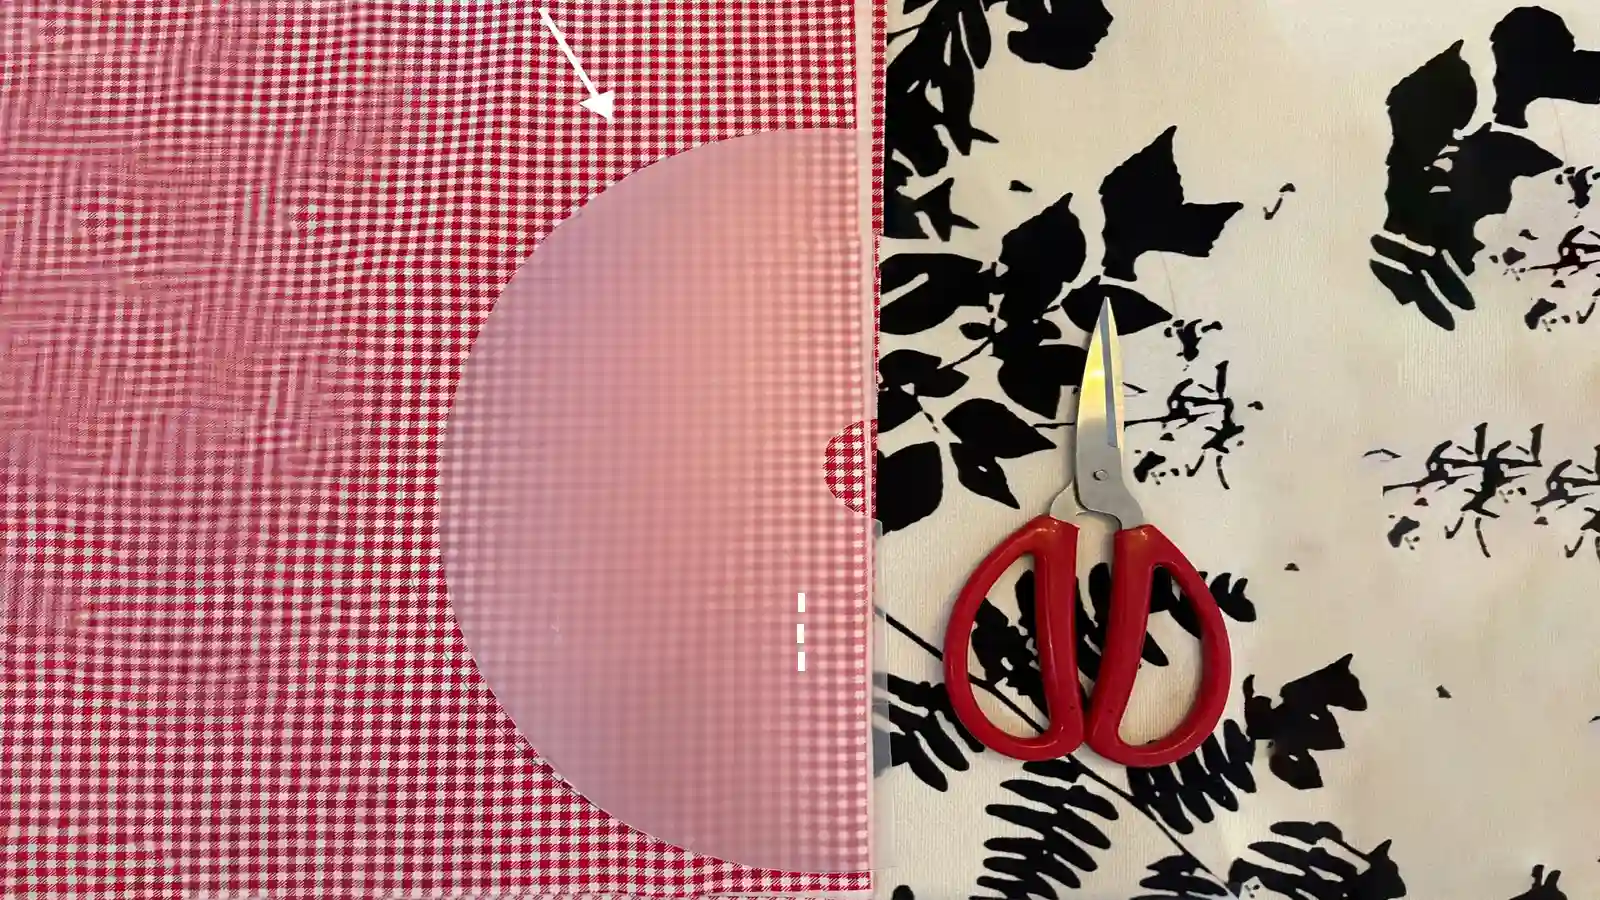
Measure and cut the fabric to match the dimensions of the PVC sheet, ensuring it will cover the entire surface seamlessly.
Choose a fabric with a pattern or color that complements your decor to enhance the chandelier's aesthetic appeal.
Step 4: Attach the fabric
Apply a generous layer of hot glue to the PVC sheet, ensuring full coverage for a secure bond.
Next, take your pre-cut fabric and carefully lay it onto the adhesive-coated PVC sheet. Press the fabric firmly against the sheet, smoothing out any wrinkles as you go to create an even and visually appealing surface.
Allow the adhesive to dry completely before moving on.
Step 5: Combine the PVC sheet into a cone shape
To create a cone shape for your chandelier, overlap the PVC sheet at its edges, aligning them to form a pointed top.
Secure these edges with hot glue to ensure a sturdy structure. Hold the pieces in place until the glue sets for maximum stability.
Step 6: Use bias tape for the edges
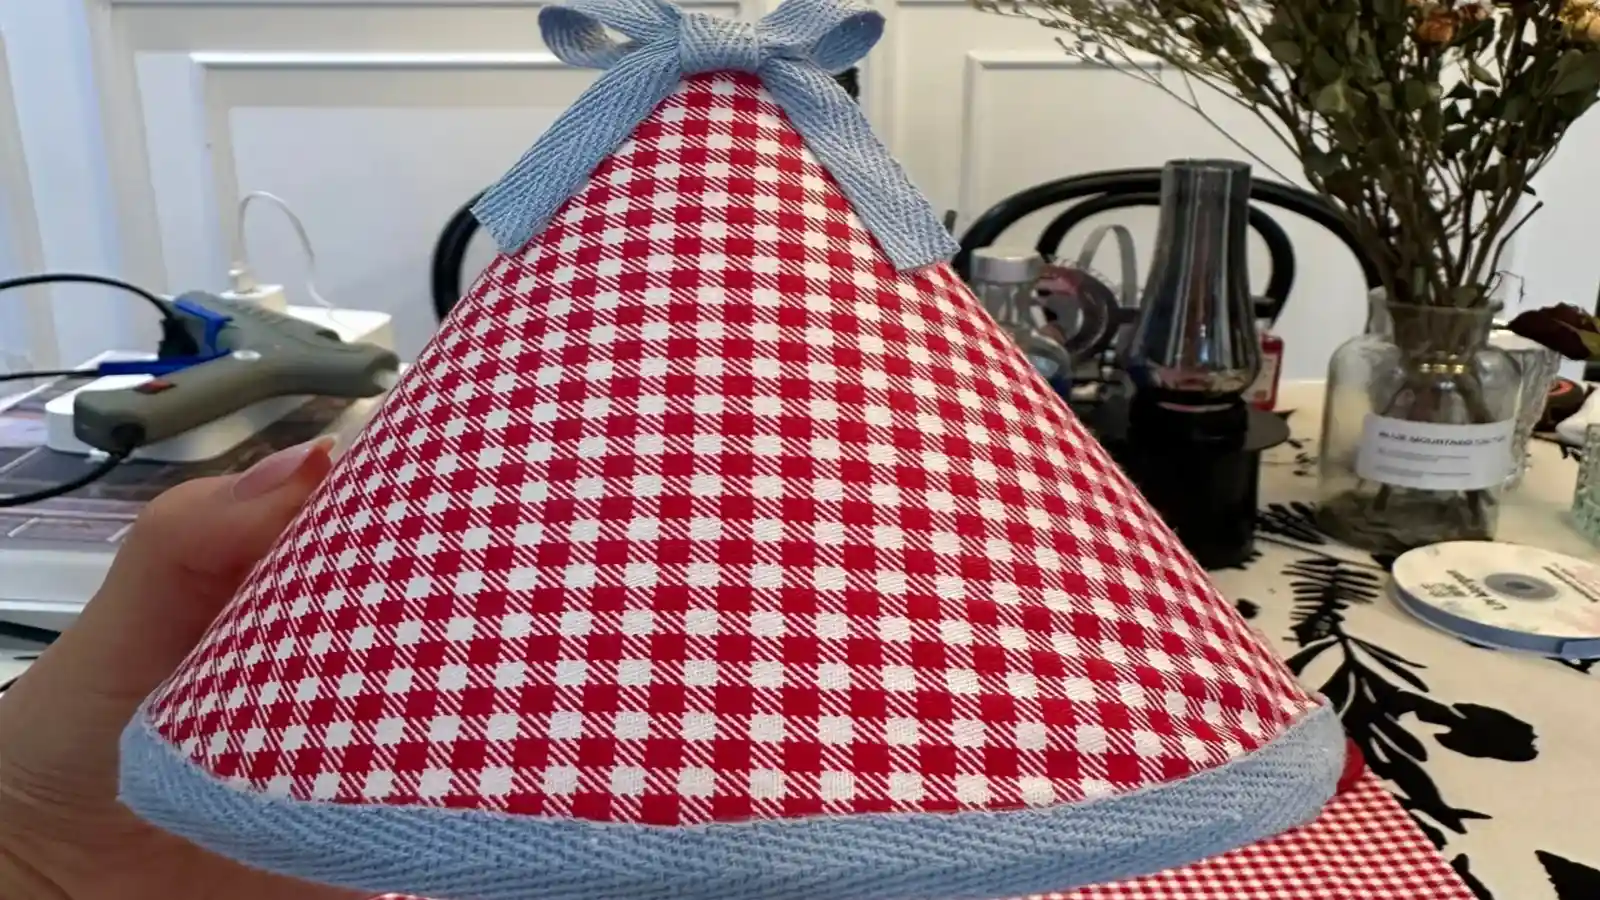
For a polished finish, start by aligning the bias tape along the raw edges of your fabric chandelier.
Fold the bias tape over the edge, ensuring it covers the raw fabric completely to prevent fraying.
Use hot glue to secure the bias tape, working in small sections for better control.
Choose a bias tape in a complementary color to enhance your chandelier's design.
This step not only provides a professional appearance but also reinforces the edges, extending the chandelier's lifespan.
Step 7: Thread the pull string light and hang it
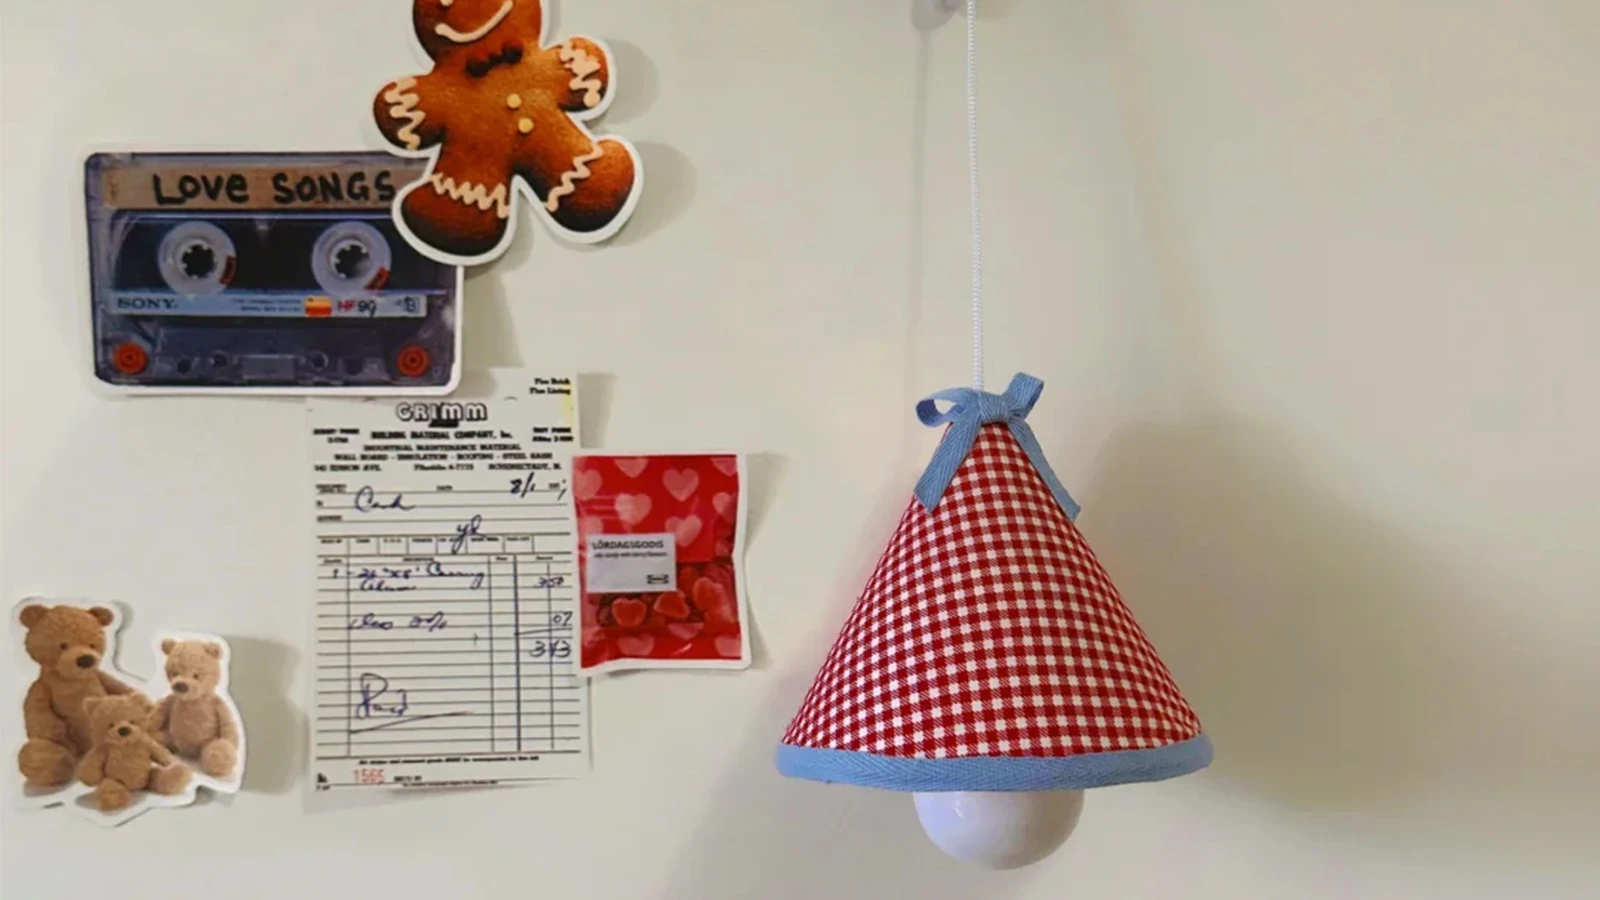
Carefully thread the pull string through the top of the chandelier, ensuring it hangs freely for easy access.
Once the pull string light is in place, hang the chandelier using screw-in hooks that can support its weight.
Make sure the hooks are positioned strategically to distribute the weight evenly.
Finally, plug in the light and test the pull string to ensure it works properly.
Adjust as needed for optimal placement, ensuring your chandelier is both functional and stylish.
Ideas for Additional Decorations
For a playful vibe, hang colorful tassels or pom-poms made from fabric scraps at the bottom. Layering different fabric textures, such as lace or burlap, adds depth and visual interest.
To keep things fresh, integrate seasonal decorations like small ornaments or artificial flowers that you can easily swap out throughout the year.
Finally, attach cascading ribbons in coordinating colors to the chandelier's structure for an added touch of elegance.
These enhancements will elevate your chandelier and make it a standout feature in your home.
Safety Tips for Making a DIY Fabric Chandelier
To keep your DIY chandelier safe, choose fabrics labeled as fire-resistant. Using fire-resistant materials reduces the risk of accidents.
Pair these fabrics with LED light bulbs, emitting less heat than traditional bulbs. This choice minimizes the chance of fabric ignition.
Ensure any adhesives you use, like hot glue or spray adhesive, are also fire-resistant. To further safeguard your project, consider adding a heat shield or barrier between the light source and the fabric.
Finally, make it a habit to inspect your chandelier for signs of wear or damage regularly. If you notice any degradation, replace the materials to maintain safety standards.
Taking these steps will help you create a stunning and safe chandelier.
Conclusion
You have everything you need to create a stunning DIY fabric chandelier to illuminate and beautify any room.
Using simple materials and following these steps, you can craft a unique piece that reflects your style.
Don't forget to add your own decorative touches, and always prioritize safety, especially when working with lights.
Enjoy the process and the beautiful result of your handmade chandelier!
Learn more sewing projects on the Longan Craft Blog, and dive into the fabric world with Longancraft!
FAQs
How Do I Dress up a Boring Chandelier?
To dress up a boring chandelier, wrap the frame with colorful fabric strips or lace. Add beads, crystals, or tassels for luxury. Refresh the hardware with spray paint and incorporate twinkle lights for a whimsical touch.
How Do I Make a Garland Chandelier?
Gather a wire frame, fabric strips, and twinkle lights to make a garland chandelier. Tie or stitch the fabric to the frame, add decorative elements, secure the lights, and hang it using sturdy hooks or twine.
How Do I Modernize an Old Chandelier?
To update an old chandelier, you can paint it in a metallic or bold color, switch to LED bulbs, update the shades with modern fabrics, add decorative elements like crystals, and adjust the height to fit your room's scale.
How Do I Make a Homemade Yarn Chandelier?
To make a homemade yarn chandelier, start with a wire frame or embroidery hoop. Wrap uniform yarn strands around the frame, securing them with hot glue. Add a pendant light kit and hang it securely from the ceiling.


0 comments