Are you ready to add a personal touch to your home while embracing your creativity? A DIY tissue holder is the perfect project to get you started! Not only will this charming accessory help keep your tissues handy, but it also allows you to showcase your unique style and flair.
With just a few materials and a bit of imagination, you can transform ordinary fabric scraps into a functional piece of art. Let's dive into this fun and fulfilling crafting adventure together!
Key Takeaways
- Measure and cut a 35 x 26 cm rectangle of fabric accurately using scissors or a rotary cutter for a proper fit.
- Fold short edges inward and sew, using backstitching to reinforce ends.
- Fold the edges to meet in the center, pin securely, and stitch along the folds for reinforcement.
- Turn the fabric right side out through an open end, ensuring corners are crisp for a finished look.
- Ensure all seams are secure and the holder has a neat appearance for durability and regular use.
Materials and Tools Required
It's essential to get all the sewing supplies before getting started on your DIY tissue holder:
- Fabric: Cotton or cotton blend (for softness and durability)
- Thread: Matching thread for sewing
- Scissors: Fabric scissors for cutting materials
- Sewing machine (or needle and thread if hand sewing)
- Ruler or measuring tape: For accurate measurements
- Pins or clips: To hold fabric pieces together while sewing
- Iron: To press fabric and seams for a neat finish
- Tissue pack: To fit into the holder (check dimensions for fit)
- Optional embellishments: Buttons, appliqués, or embroidery for decoration
With these materials and tools, your tissue holder project will be both functional and uniquely yours.
DIY Fabric Tissue Holder: A Detailed Sewing Tutorial
Follow this quick and easy sewing tutorial to learn how to sew a tissue holder. This step-by-step sewing project is especially easy for beginners.
Step 1: Measure and Cut Fabric
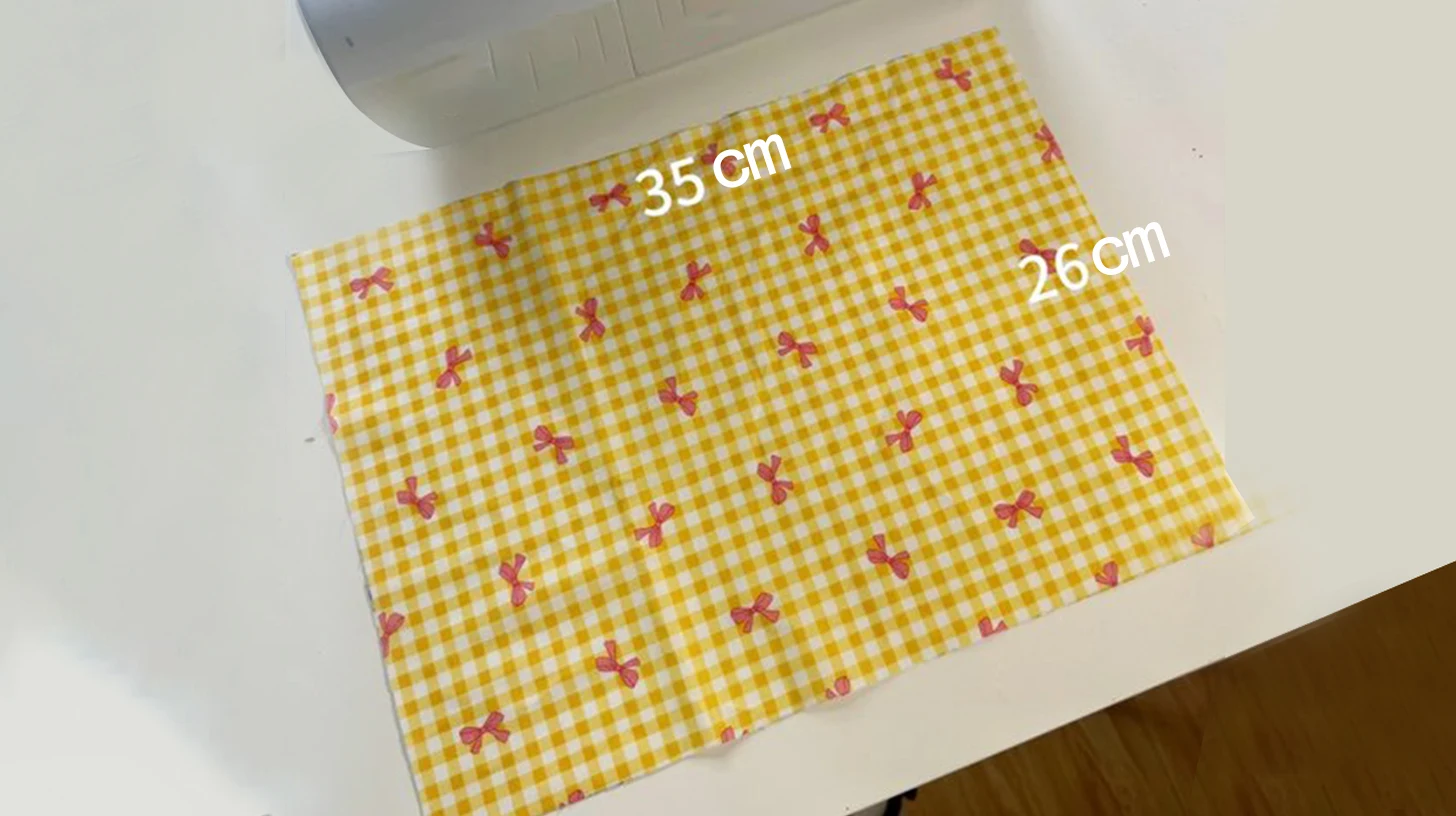
Making a fabric pocket tissue holder begins with accurately measuring and cutting your fabric.
Measure a 35 x 26cm rectangle from your chosen fabric. This size ensures your tissue holder has a neat, baggy effect. Use a rotary cutter or fabric scissors for clean, professional edges.
Always measure twice before cutting fabric, especially when working with limited fabric scraps, to avoid mistakes that could delay your project.
Step 2: Sew the Short Edges
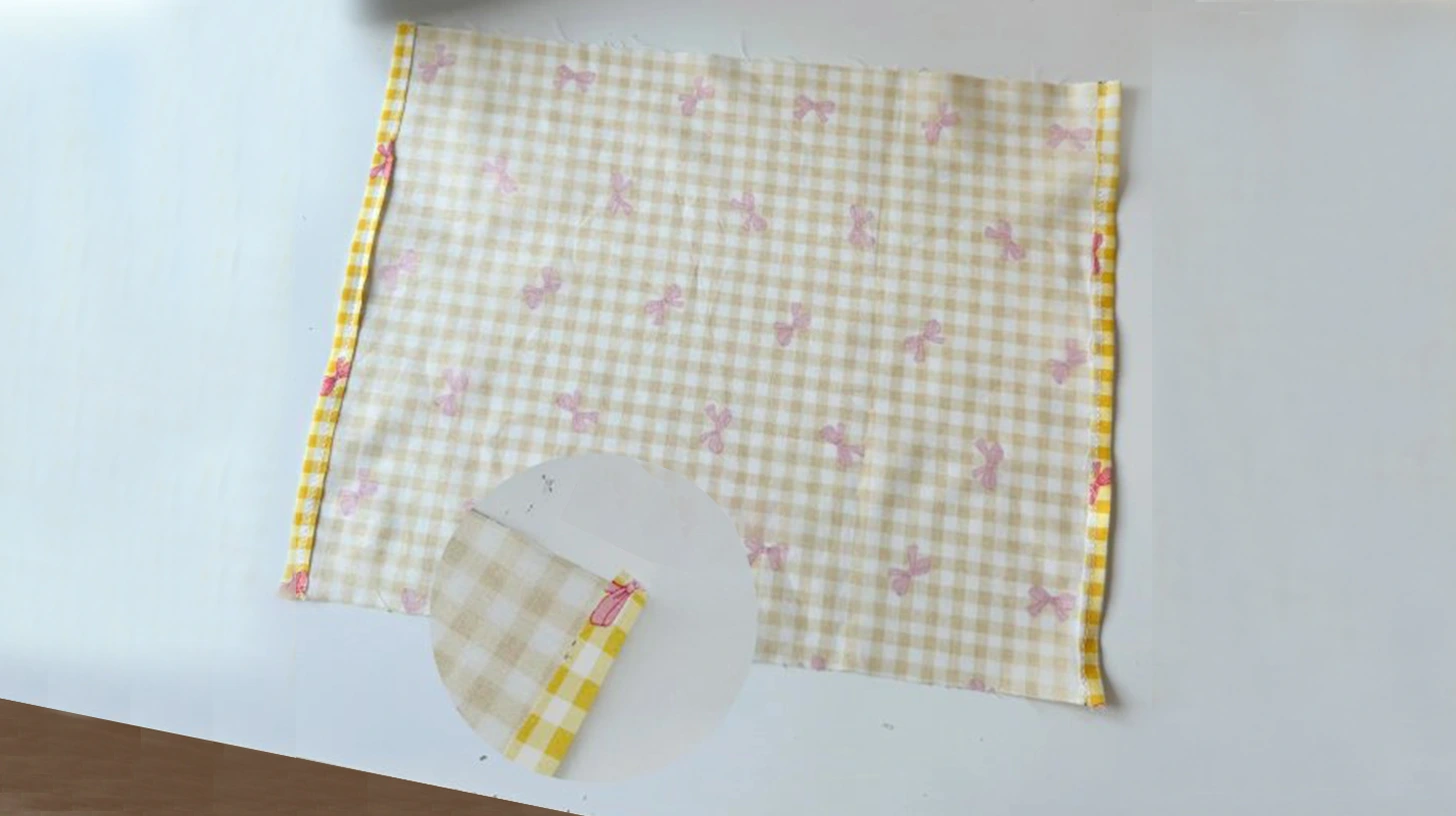
With the wrong side upward, it's time to sew the seam allowances and bring your tissue holder to life.
Fold the short edges inward, about 0.7cm or 1cm, depending on your preference. Then, sew along the two edges. Remember to backstitch at the beginning and end of each edge to reinforce the edges and prevent unraveling.
Step 3: Fold the Short Edges to Meet in the Center
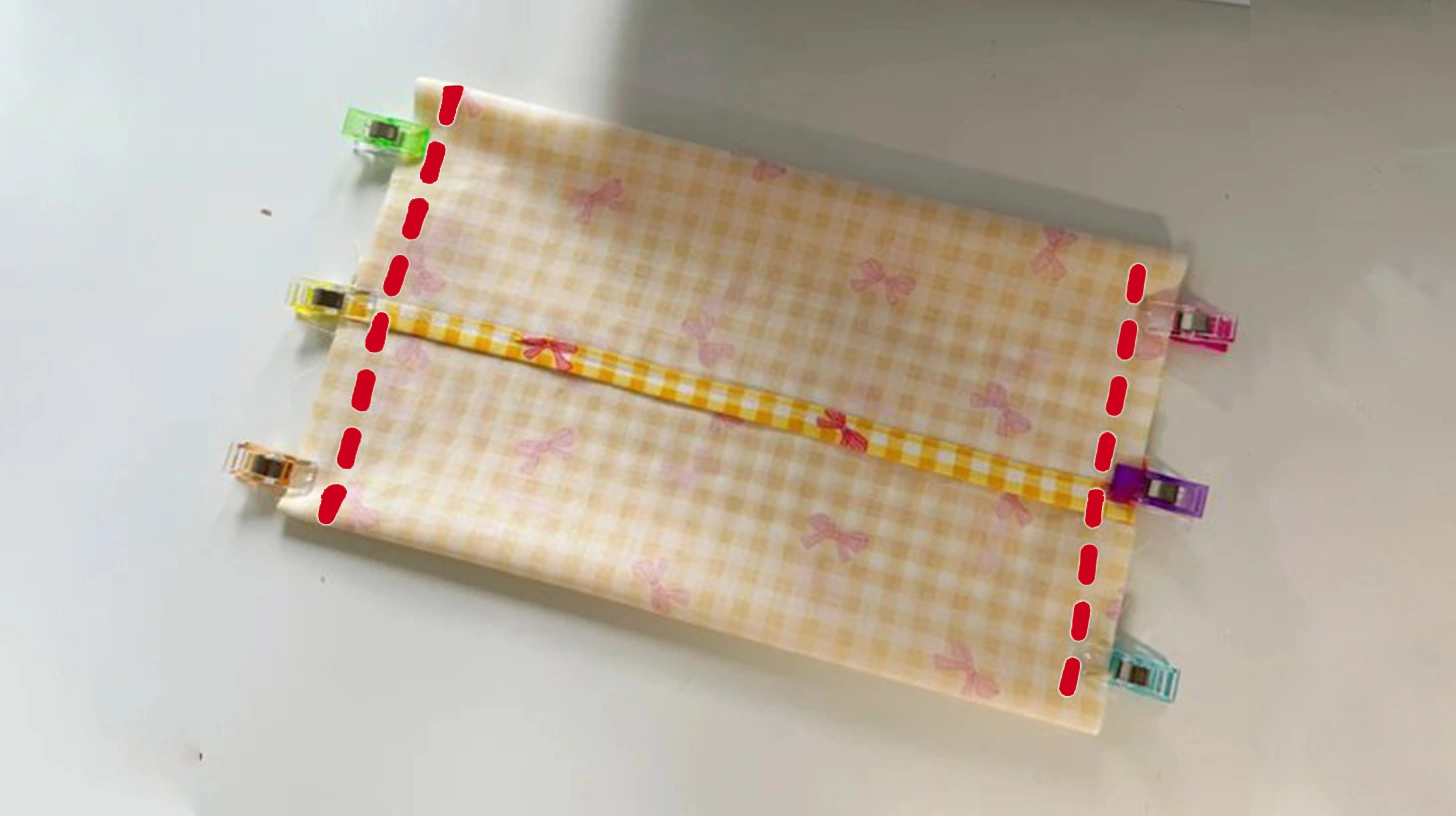
To simplify the process, you can first fold the rectangle half lengthwise to mark the center line.
With the right side upward, fold the short edges of the fabric inward toward this center line. Ensure they meet perfectly to give your tissue holder a polished appearance. Secure the right and left sides with clips or pins to help maintain the fabric's position as you sew.
Step 4: Stitch Along the Pinned Edges
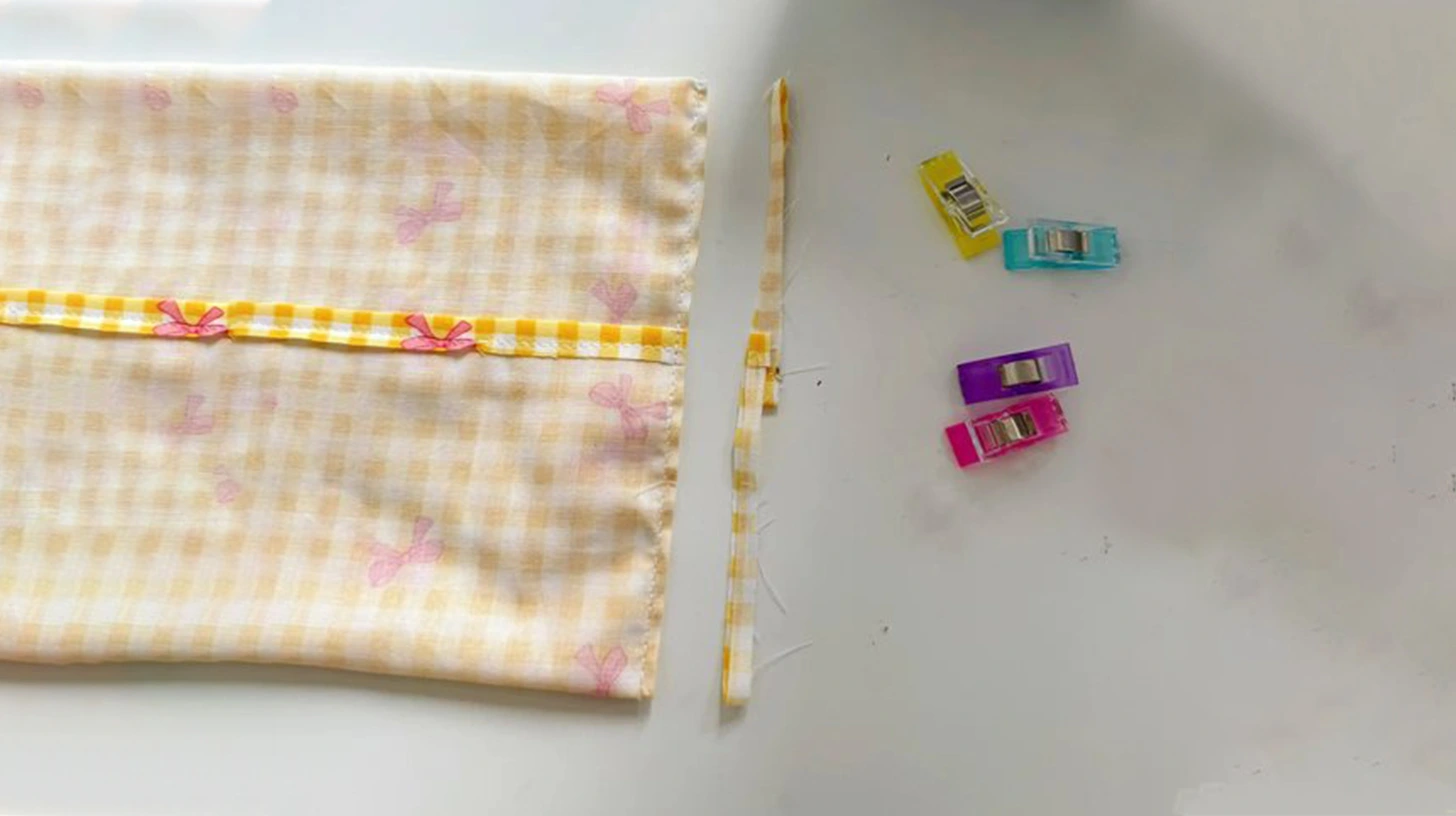
Now, you can stitch along the pinned edges to secure the holder. This ensures a neat and tidy finish.
Once stitched, trim any excess fabric from the corners to reduce bulk. Now, gently turn the fabric out through the opening. Ensure you push out the corners fully to achieve a crisp appearance.
Step 5: Finishing Touches
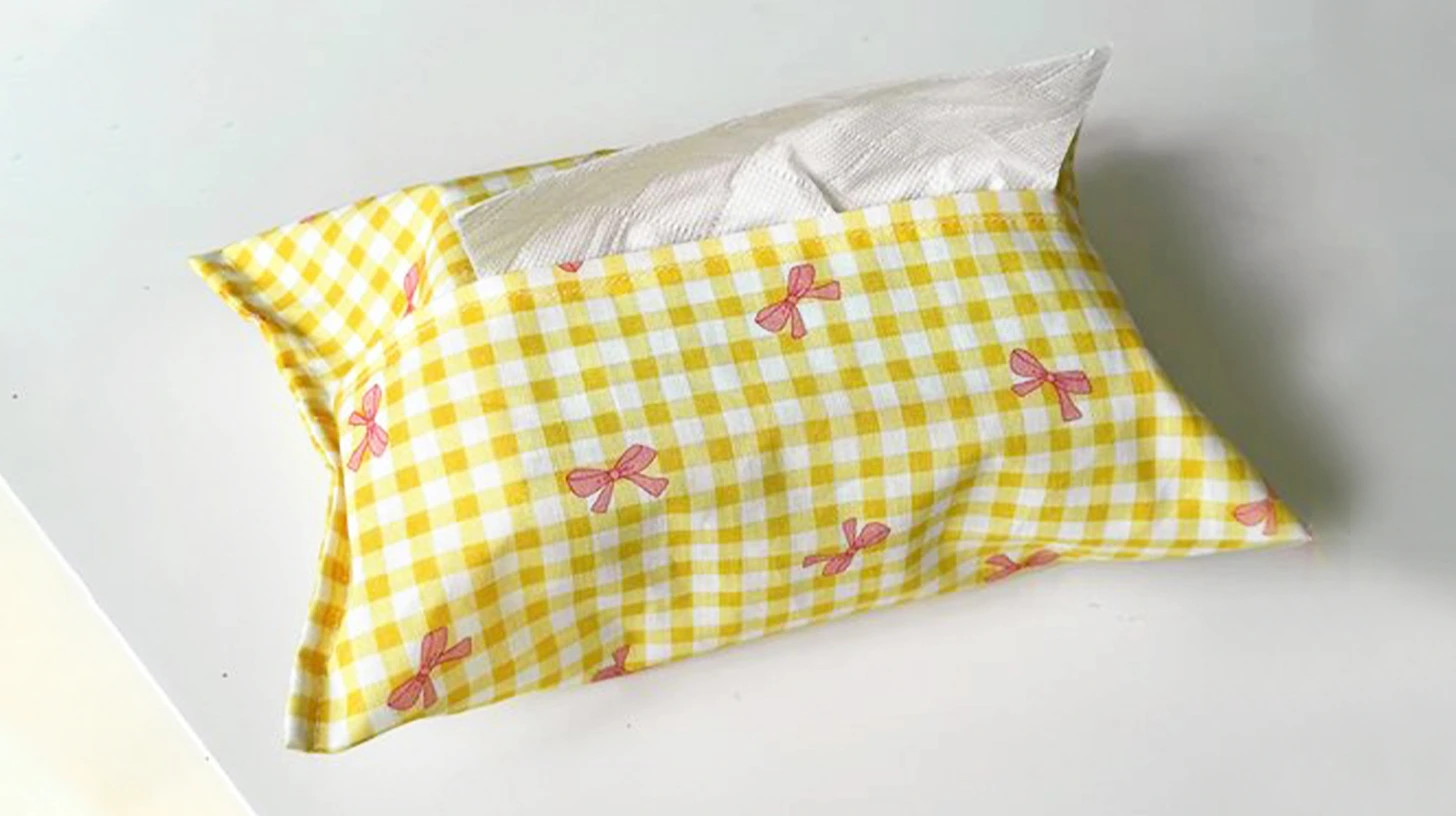
Now that you've turned the fabric right side out, it's time for those all-important finishing touches.
Begin by gently shaping the corners to give your tissue holder a polished, professional look. To prevent any fraying, trim the raw edge with pinking shears. This extra step ensures durability and a neat finish.
Next, reinforce seams by sewing over them again using straight or zigzag stitches. Focus on backstitching at fold junctions to add strength where needed most. This will secure the holder and withstand regular use.
Customization Options for Your DIY Tissue Holder
While crafting your DIY tissue holder, consider adding customization options to make it unique and personal.
- Embroidery: Add initials, names, or small quotes using embroidery techniques.
- Appliqué Designs: Sew on shapes or designs like flowers, animals, or geometric patterns for a unique touch.
- Pockets: Include additional pockets for storing small items like lip balm or hand sanitizer.
- Closure Type: Opt for different closures such as buttons, snaps, or Velcro for easy access.
- Decorative Elements: Add embellishments like lace, ribbons, or fabric flowers for extra flair.
- Personalized Tags: Create small tags with a personal message or theme to attach to the holder.
With these options, your tissue holder will stand out with personality and style.
Conclusion
You've now made a pocket tissue holder that perfectly blends style with practicality. With just a bit of fabric and some creativity, you've transformed simple materials into a personalized accessory.
Don't forget to add your own flair with embroidery or decorative touches. Enjoy the satisfaction of having a handmade item that's both functional and stylish. Keep experimenting with different fabrics and designs to create even more unique holders for yourself or as thoughtful gifts!
Learn more sewing projects on the Longan Craft Blog, and dive into the fabric world with Longancraft!
FAQs
How to Make a Tissue Holder Easy?
Start by cutting two fabric pieces, one slightly larger for the lining. Sew them together, right sides facing. Press, fold edges inward, and stitch to reinforce. Turn the right side out, shape corners, and insert tissues.
What Is the Use of Tissue Holder?
A tissue holder keeps tissues organized and easily accessible, preventing them from getting crumpled or dirty. It fits perfectly in small spaces like purses or desks and adds a stylish touch to your surroundings.


0 comments