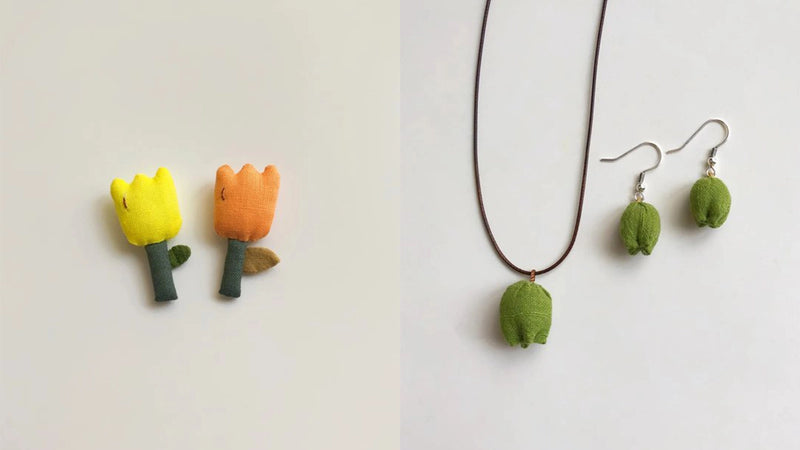
Unleash your creativity and embrace the art of crafting with our delightful DIY fabric tulip jewelry project! These vibrant and charming accessories not only add a touch of whimsy to your wardrobe but also serve as a heartfelt expression of your unique style.
With just a few simple materials and a sprinkle of imagination, you can transform ordinary fabric into stunning jewelry that blooms with personality.
Dive into this fun and rewarding DIY adventure, and let your inner artist flourish as you create beautiful fabric tulip treasures!
Key Takeaways
- Sketch and cut out tulip petals, leaves, and a stem from fabric.
- Sew petals and leaves with right sides together, leaving openings.
- Fill petals and leaves with crafting fiber, then sew openings closed.
- Sew together the flower bud, leaf, and stem; add decorative elements if desired.
- Attach stuffed tulips to brooch pins, necklace chains, or earring hooks, using jump rings as needed.
Prepare Materials and Tools
When creating tulip jewelry, you'll need to gather some essential materials:
- Fabric (cotton, satin, felt, or just fabric scraps)
- Fabric scissors
- Needle and thread
- Filling materials (to stuff the tulips)
- Fabric glue
- Jewelry findings (brooch pins, earring hooks, necklace chains)
- Optional decorations (beads, pearls, glitter, etc.)
DIY Fabric Tulip Jewelry: Making Tulip Brooches
Now that you have your materials ready, start by making a DIY tulip brooch.
Step 1: Draw the Tulip and Cut the Fabric
To start your fabric tulip brooch project, sketch a tulip shape on your chosen fabric. For accuracy, include details of the two petals and two leaf pieces.
Cut out the fabric pieces. Don't forget to prepare another small rectangular piece as the flower stem.
Step 2: Sew the Petals, Leaf, and Stem
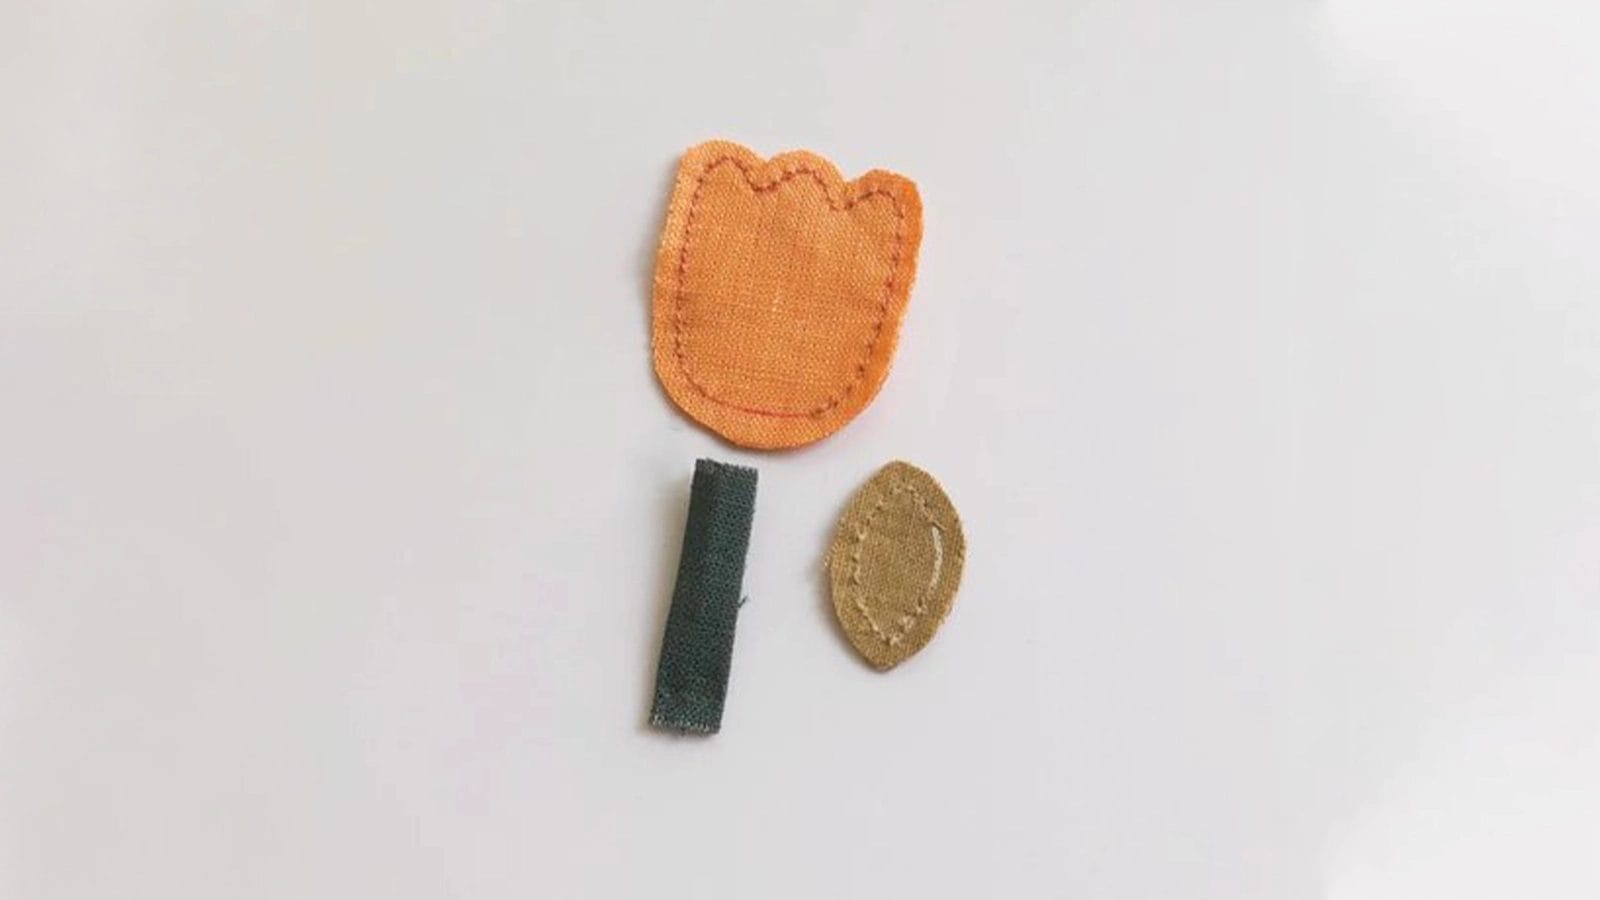
Sew the petal pieces with the right sides together, leaving the base open.
Similarly, sew the leaf with the right sides together, leaving a small opening.
You can roll the green rectangle fabric for the stem by sewing or gluing.
Step 3: Stuff the Petals and Leaf
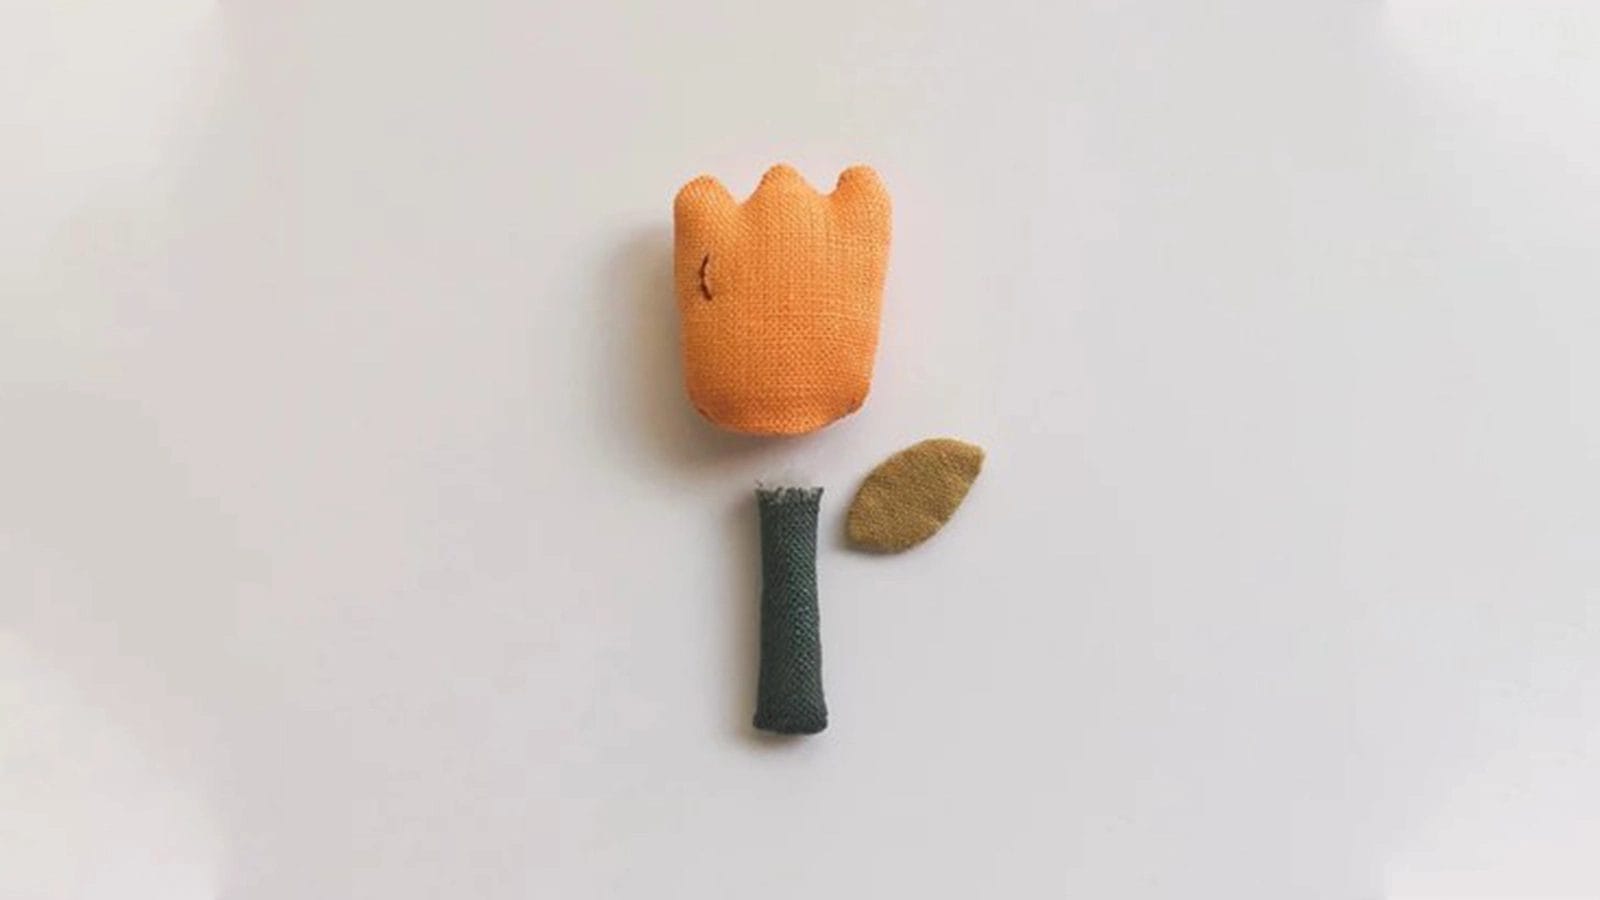
With the petals and leaf securely sewn and turned inside out, the next step is bringing them to life with some stuffing.
Lightly fill the flower bud and leaf with crafting fiber or cotton to achieve a three-dimensional effect.
After filling them, don't forget to sew the openings closed.
Step 4: Assemble the Tulip
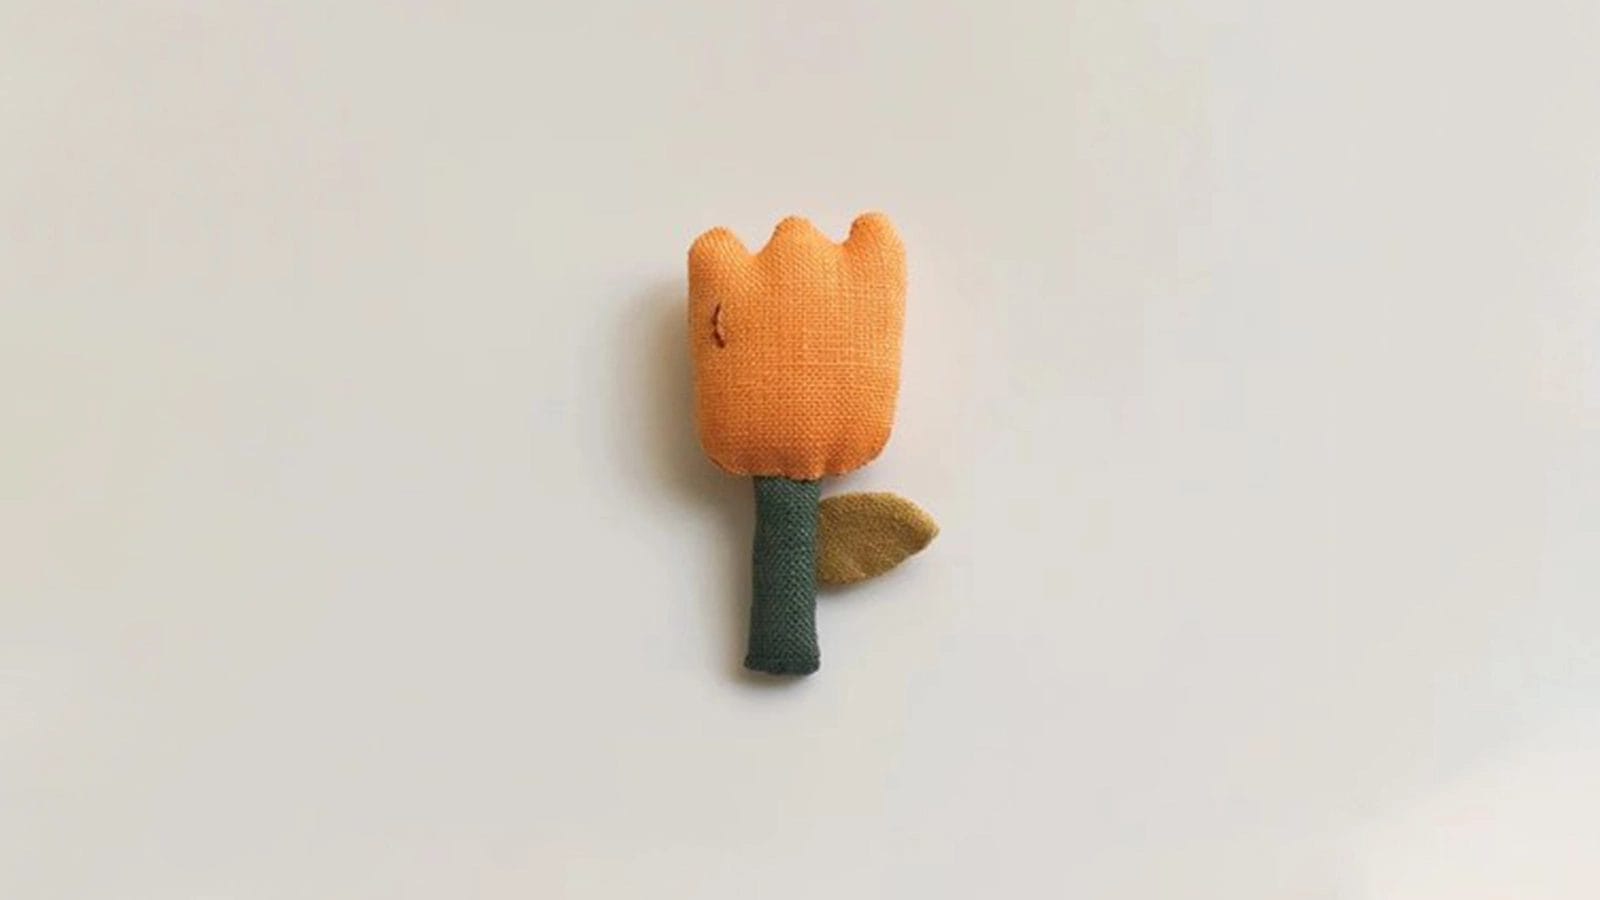
Now, you can assemble the flower bud, leaf, and stem to create a gorgeous tulip.
Sew the three parts together. During the assembly, you can also enhance your tulip flower jewelry by adding decorative elements like beads or buttons.
Step 5: Add the Brooch Pin
Adding the brooch pin is the final step that transforms your fabric tulip into a wearable piece of art.
Secure the brooch pin to the back of the tulip petals using strong fabric glue or by sewing it in place.
DIY Fabric Tulip Jewelry: Making Tulip Necklaces and Earrings
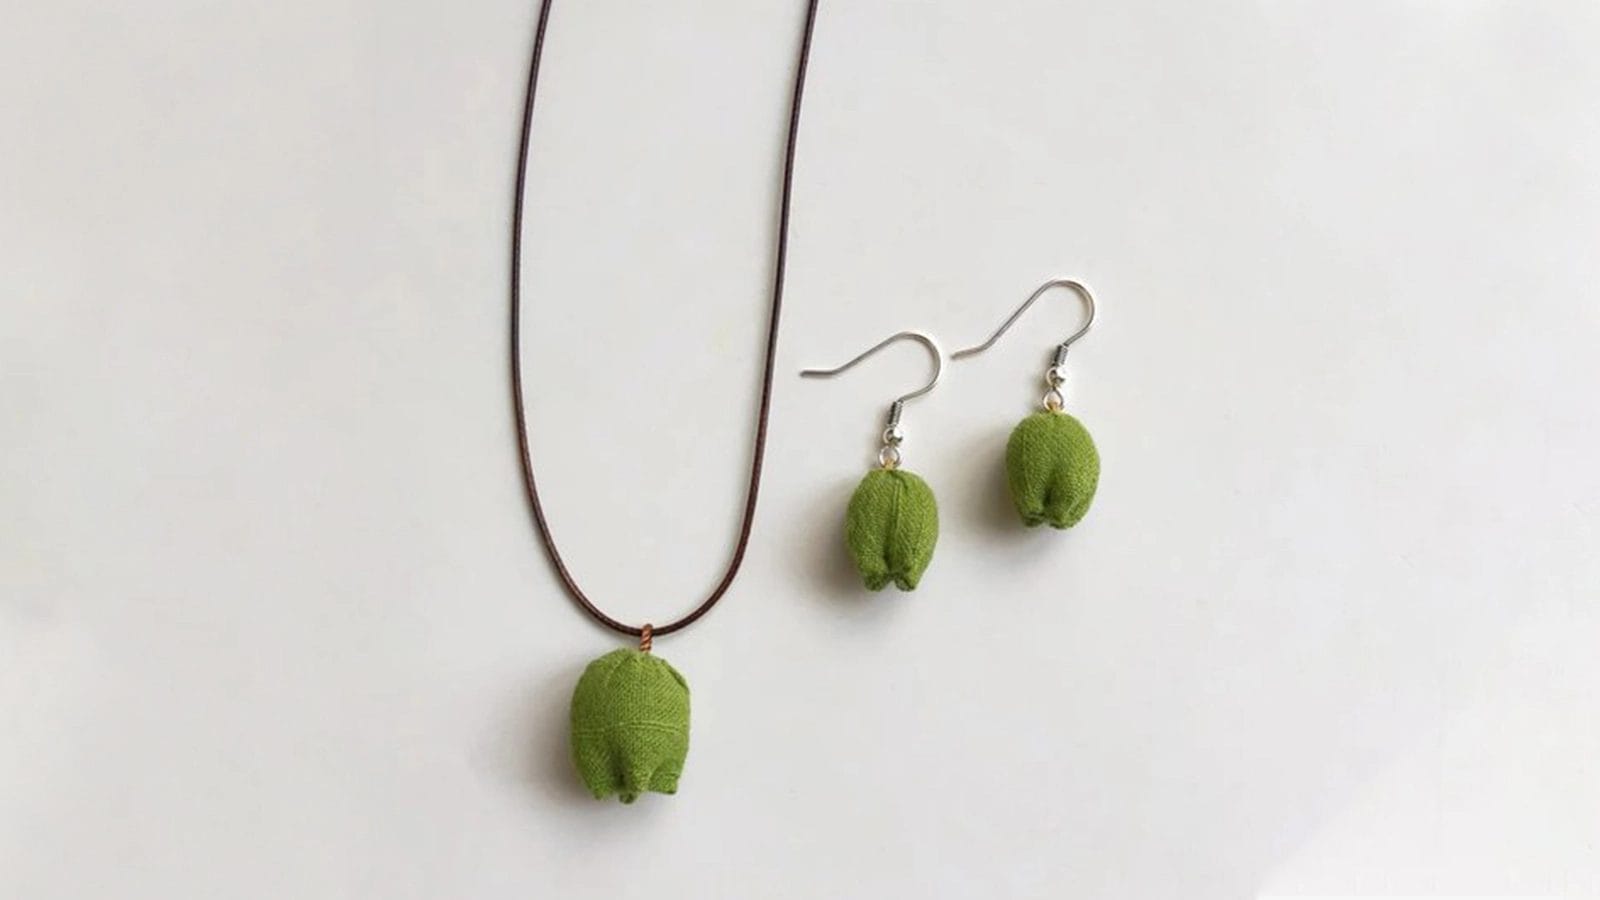
To create your own fabric tulip pendant necklaces and earrings, follow this step-by-step tutorial carefully.
Step 1: Cut and Sew Tulip Buds
Creating fabric tulip necklaces and earrings begins with cutting tulip-shaped patterns from vibrant fabrics.
With the right sides together, sew the edges, leaving a gap to turn the fabric inside out.
This step is crucial for creating the flower charm in your tulip jewelry collection. It's perfect for pairing with a sterling silver necklace or as standalone earrings.
Step 2: Stuff the Tulips
Once you've cut and sewn the tulip shapes, it's time to bring them to life by stuffing them.
Use cotton or polyester filling to create plump, three-dimensional fabric tulips. After stuffing, stitch the openings closed, ensuring a rounded look.
These stuffed tulips will form the core of your tulip jewelry. Add embellishments for extra flair before attaching them to earring hooks or necklace chains.
Step 3: Add Jewelry Findings
With your stuffed tulips ready, it's time to incorporate them into stunning jewelry pieces.
Attach the tulip to a sterling silver necklace chain, creating a beautiful silver tulip necklace. For a rustic look, use wax rope. Add a jump ring to the tulip and thread the chain or rope. You can even cut shorter wax rope to make a tulip bracelet.
For earrings, affix the tulips to hooks, perfecting the jewelry for women. Experiment with chain lengths to craft versatile, elegant pieces.
Step 4: Final Touches
Adding the final touches to your fabric tulip jewelry elevates its charm and durability.
Start by spraying a light coat of fabric stiffener to maintain the petal shapes.
Add embellishments like beads or sequins for extra sparkle.
Secure the tulip fabric piece to a necklace chain or an earring hook, ensuring everything is fastened well.
These steps ensure your jewelry stands out and lasts.
Tips for Keeping Fabric Jewelry in Good Condition
To keep your fabric jewelry in good condition, it's essential to store it in a cool, dry place to prevent moisture buildup, which can lead to mold and deterioration.
Store your tulip flower earrings and other pieces separately from sterling silver to avoid snagging.
Clean gently with a soft cloth, and regularly inspect for wear.
Avoid exposure to perfumes, lotions, and direct sunlight to maintain their beauty.
Conclusion
By following these steps, you'll create stunning fabric tulip jewelry that beautifully captures the essence of spring. With proper care, your handmade brooches, necklaces, and earrings will remain vibrant and durable.
Embrace your creativity and have fun crafting pieces that not only showcase your talent but also reflect your commitment to sustainability and modern values. Happy creating!
Learn more sewing projects on the Longan Craft Blog, and dive into the fabric world with Longancraft!

0 comments