Unleash your creativity and elevate your style with a DIY flower pouch bag! This charming sewing project combines the joy of crafting with the beauty of floral designs. It allows you to create a unique accessory that showcases your personality.
Whether you're a seasoned DIY enthusiast or a curious beginner, this bag is the perfect way to express your artistic flair while adding a touch of nature to your wardrobe. Get ready to dive into a world of color and creativity—your perfect pouch awaits!
Key Takeaways
- Cut two equal squares of fabric (31x31cm).
- Sew three sides together, leaving an opening on the fourth.
- Turn the bag right-side out and close the opening.
- Fold corners outward to create flaps and stitch them.
- Thread an elastic band through the flaps to create a flower shape.
- Add a drawstring for functionality and style.
Materials Needed
Gather all the materials before you start making your DIY flower pouch bag. Here's what you'll need:
- Fabric: Choose lightweight fabric like cotton, muslin, or linen.
- Needle and Thread or Sewing Machine: Either works for stitching the fabric together. A sewing machine makes it quicker, but hand-stitching adds a personal touch.
- Scissors: Use sharp scissors to cut the fabric neatly.
- Elastic Band and Drawstring: These help secure the bag and give it a finished look.
- Measuring Tape or Ruler: Ensure your fabric pieces are the same size.
- Pins or Clips: These hold the fabric in place while you sew.
An Easy Tutorial for Making an Easy DIY Flower Pouch Bag
Once you have all the materials and tools, you're ready to make a DIY drawstring pouch bag. Follow this step-by-step drawstring bag tutorial, which is friendly for beginners. Let's get started!
Step 1: Select and Cut Two Square Fabrics
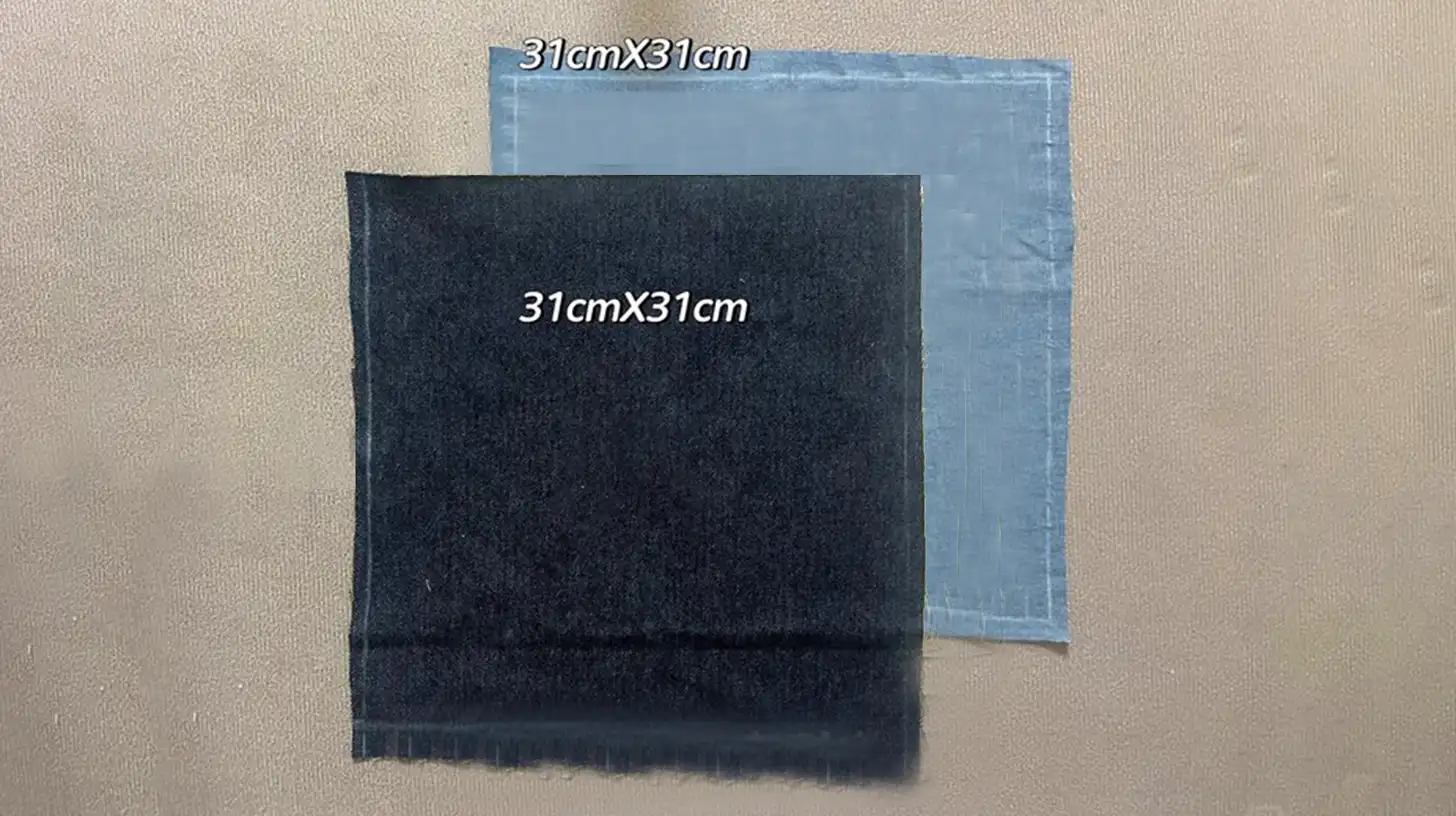
Start by picking two pieces of fabric. Lightweight options like cotton or linen work best. Choose two different patterns or colors that you love. Measure and cut two squares, each about 31x31cm. Use a ruler or measuring tape to ensure the squares are the same size.
Step 2: Sew the Fabric Pieces and Leave an Opening
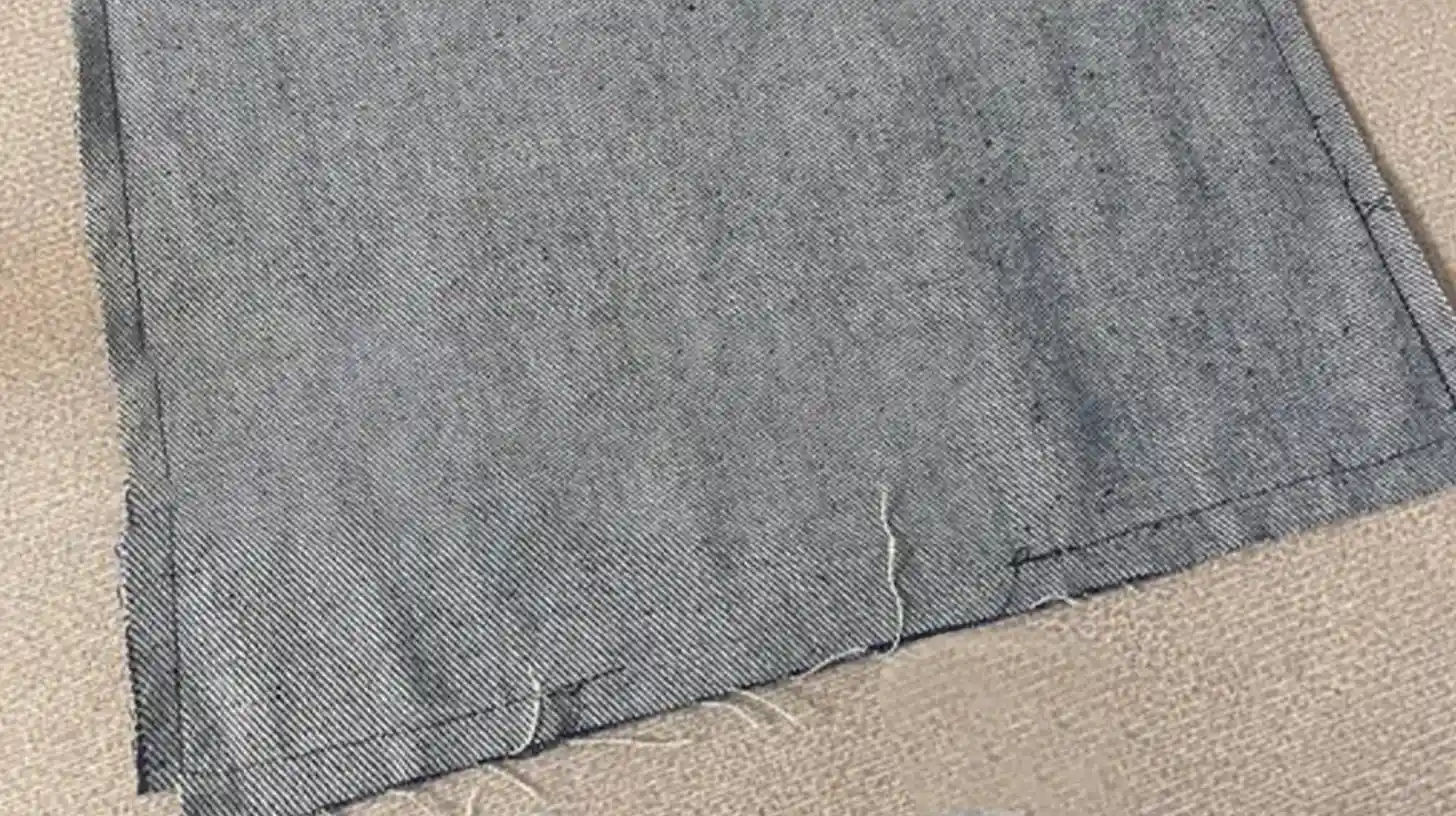
Place the two fabric squares together, with the right sides facing inward. Pin or clip the edges to keep them aligned. Using a sewing machine or needle and thread, sew along three sides of the square.
On the fourth side, leave a small opening. Keep your stitches close to the edge for a polished look.
Step 3: Turn the Right Sides Out and Close the Opening
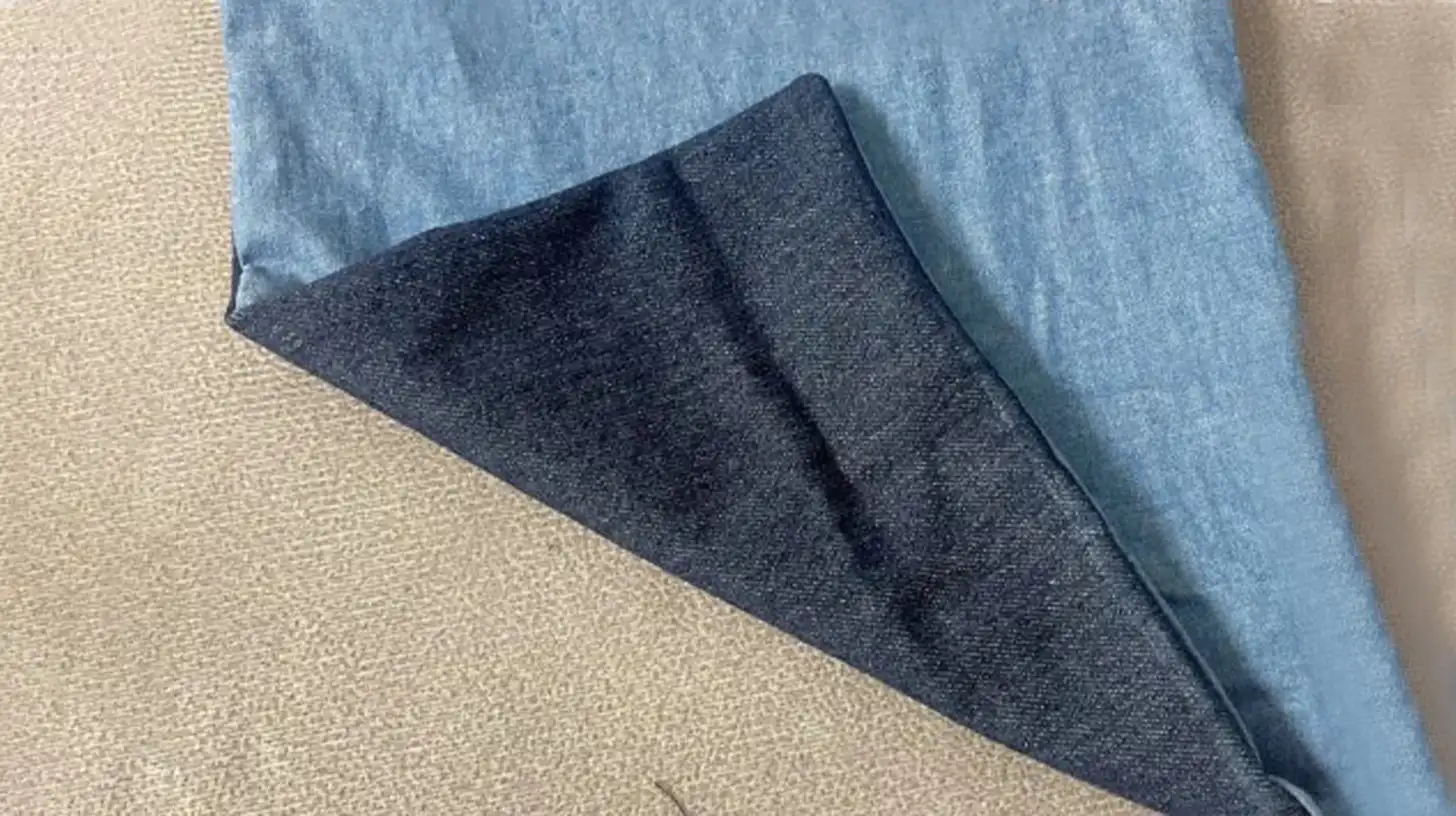
Carefully turn the sewn fabric inside out through the opening. Use your fingers or a pencil to push out the corners, making them sharp and square.
Once the fabric is right-side out, close the opening by sewing.
Step 4: Fold the Four Corners Outward and Stitch
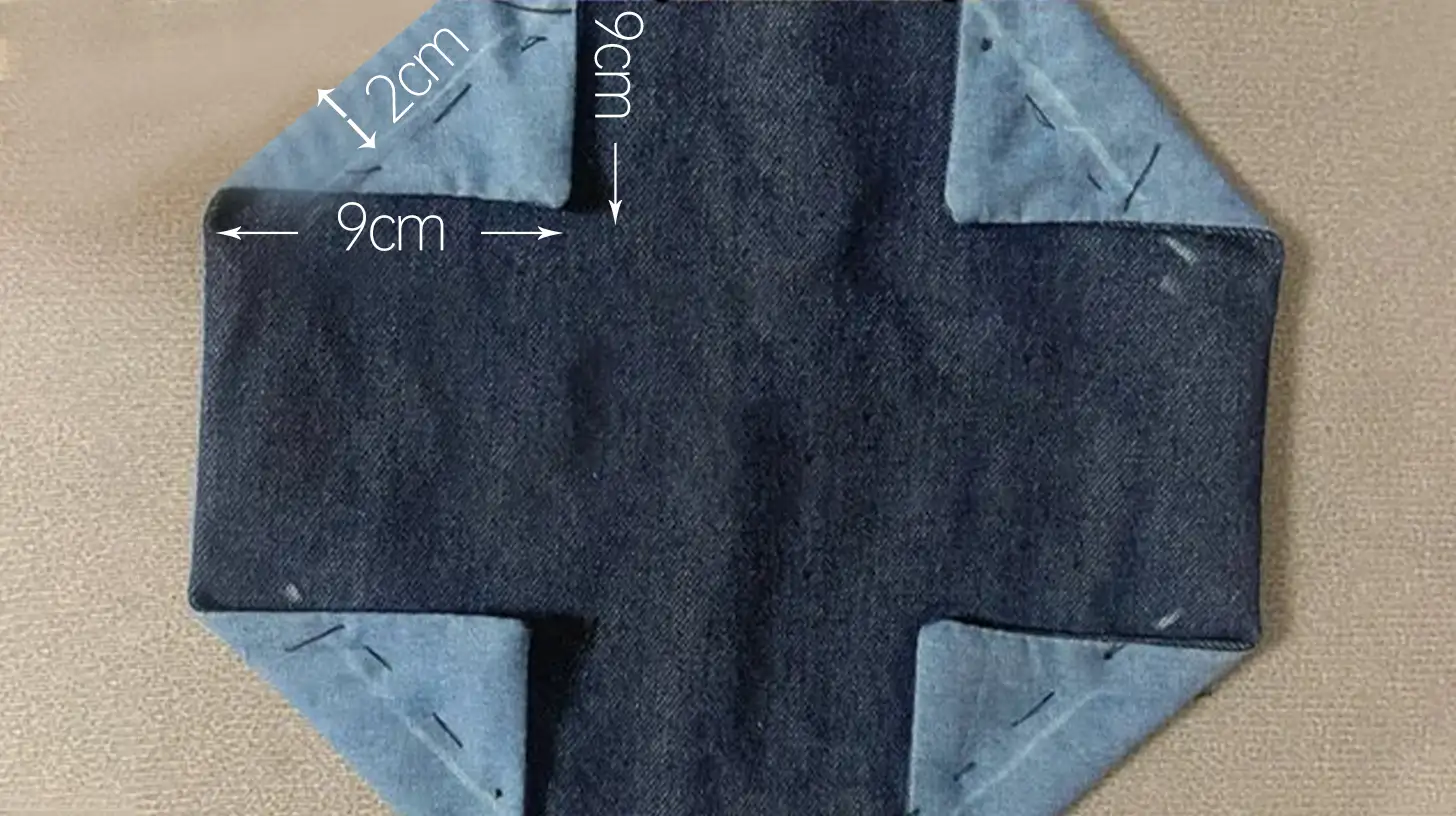
Take your bag and lay it flat on a clean surface. Gently fold each of the four corners outward 9cm, creating small triangular flaps. Press the folds firmly so they stay in place.
Once the corners are folded, stitch along 2 cm from the folded edge. Repeat the same step for all the four corners. This will create a tunnel for threading the drawstring later.
Step 5: Thread an Elastic Band to Shape the Flower
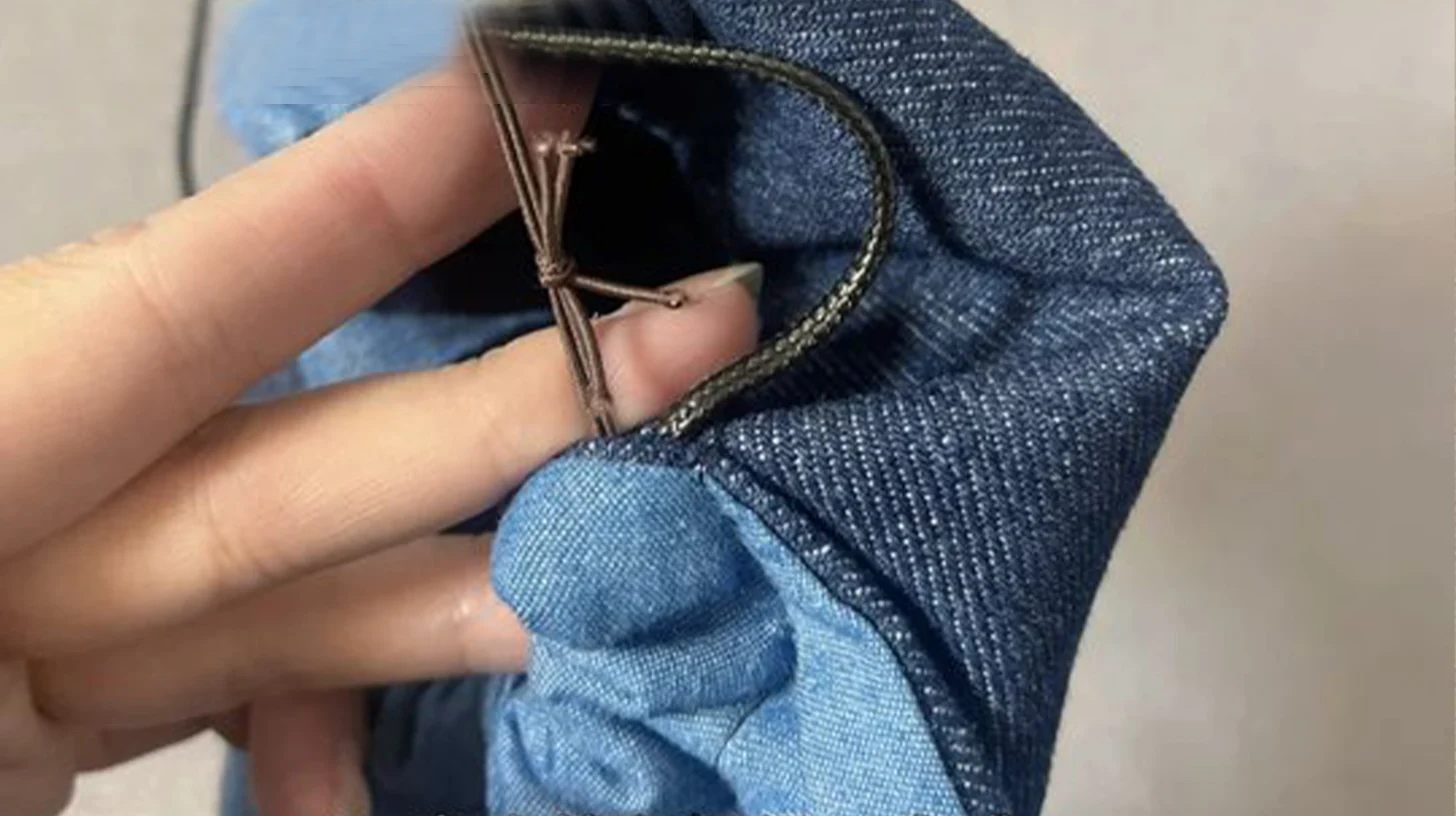
Take an elastic band and thread it through the tunnel you made just now. Pull the elastic band to gather the fabric corners, creating a petal appearance. You can tie a knot to secure the elastic with the appropriate tightness.
Step 6: Add a Drawstring
To complete your cute flower bag, add a drawstring to create a handle or decorative tie. Cut a length of drawstring that's long enough as the bag handle. Thread the drawstring through the gathered fabric just above the elastic band. Finally, tie the drawstring securely with knots.
Step 7: Finish Touches
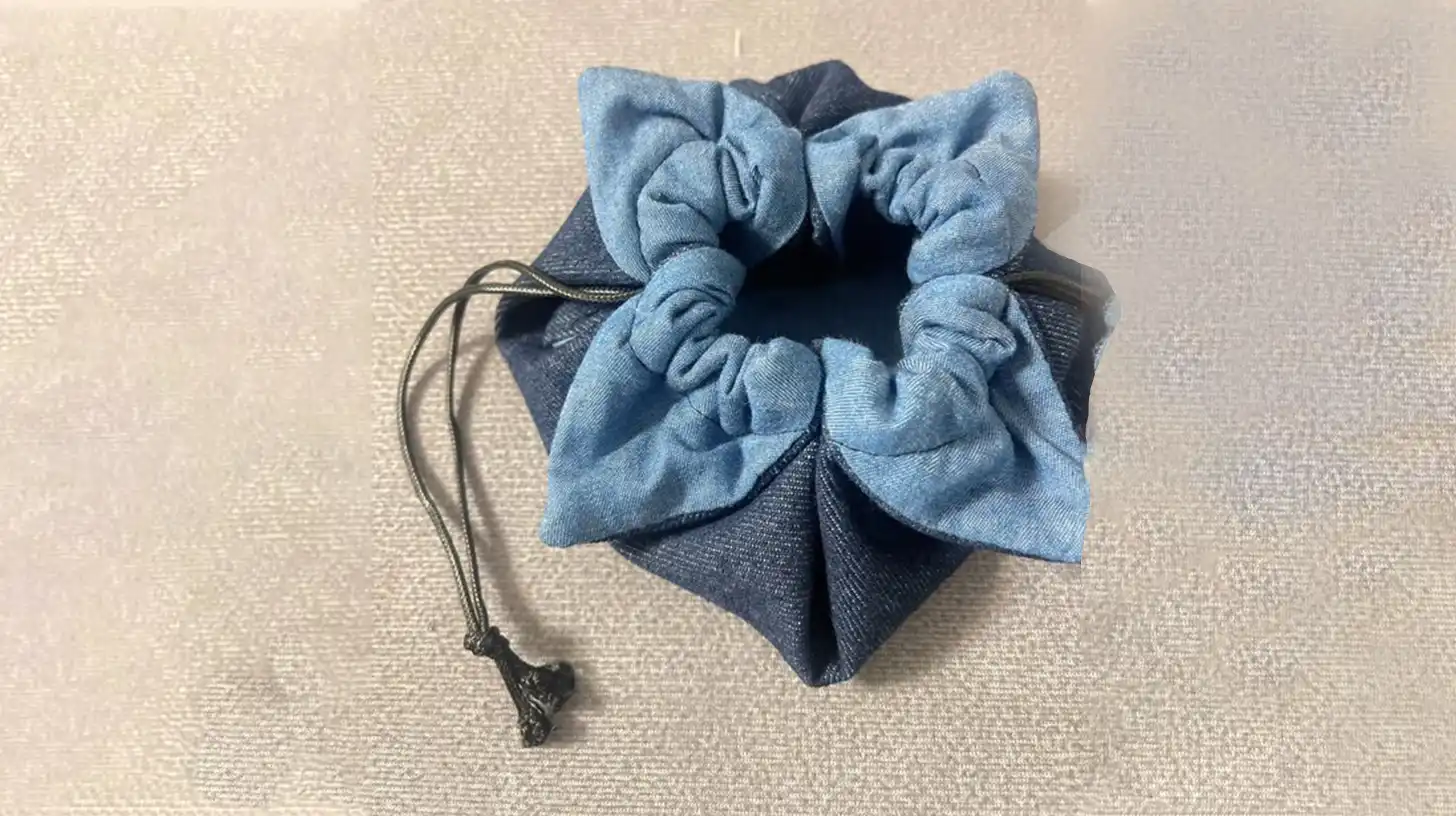
Now, it's time to add the final touches to your drawstring bag. This step ensures your creation looks polished and feels complete.
To enhance the appearance, consider adding a decorative element. You could tie a small bow with ribbon around the top of the bag. Choose a ribbon color that complements the fabric or matches the theme of your sachet.
If you want to personalize it further, attach a small charm, tag, or even a handwritten note. These little details make your bag unique and special.
Congratulations! You've completed your flower pouch bag. Whether you use it to carry small items or give it as a thoughtful gift, this handmade creation is sure to bring joy and relaxation.
Conclusion
Crafting a DIY flower pouch bag is a delightful and rewarding project combining creativity and functionality. Following this simple tutorial, you can create a personalized and stylish accessory that reflects your unique taste.
It's a great way to give your finished work a show-off in pictures and videos all over the world on YouTube, Instagram, or Pinterest. Enjoy the satisfaction of making something beautiful with your own hands!
Learn more sewing projects on the Longan Craft Blog, and dive into the fabric world with Longan Craft!


0 comments