Have you ever considered making your own infinity scarf? It's a straightforward project that lets you showcase your creativity. By choosing lightweight cotton or soft organic fabric, you can craft a versatile, stylish, and functional accessory.
Imagine the satisfaction of wearing something you made yourself, perfectly tailored to your tastes. Wondering how to sew an infinity scarf? Stay tuned!
Key Takeaways
- Choose 1 yard of lightweight cotton or organic cotton voile for comfort and style.
- Pre-wash, dry, and iron fabric to prevent shrinkage before cutting.
- Pin and stitch the pieces together with the wrong sides facing. Then, sew the long edge with a 1/2-inch seam allowance.
- Join the ends by pulling one end through the tube and stitching securely, then turn the scarf right side out.
- Finish by folding one end inside, tucking the other end, and sewing along the folded edge for a seamless look.
Gather the Materials Needed
To get started on your DIY infinity scarf, you'll need a few essential materials.
First, grab 1 yard of lightweight cotton or a drapable fabric like soft organic cotton voile. This choice ensures comfort and style.
Coordination thread is crucial for sewing, as it gives your scarf a polished finish. A rotary cutter and cutting mat will help you achieve precise cuts.
If you're planning on making more than one scarf or prefer a longer infinity scarf, consider using 1 3/4 to 2 yards of fabric.
Now you're ready to dive into the tutorial!
DIY Infinity Scarf: A Step-by-Step Easy Tutorial
Now that you've gathered your materials, let's get started on making your infinity scarf.
Step 1: Choose and Prepare Your Fabric
Selecting the right fabric is crucial for your DIY infinity scarf. Opt for 1 yard of lightweight cotton or soft organic cotton voile for a comfortable feel.
Before you start, pre-wash, dry, and iron the fabric to prevent shrinkage and ensure a clean finish.
Step 2: Measure and Cut the Fabric

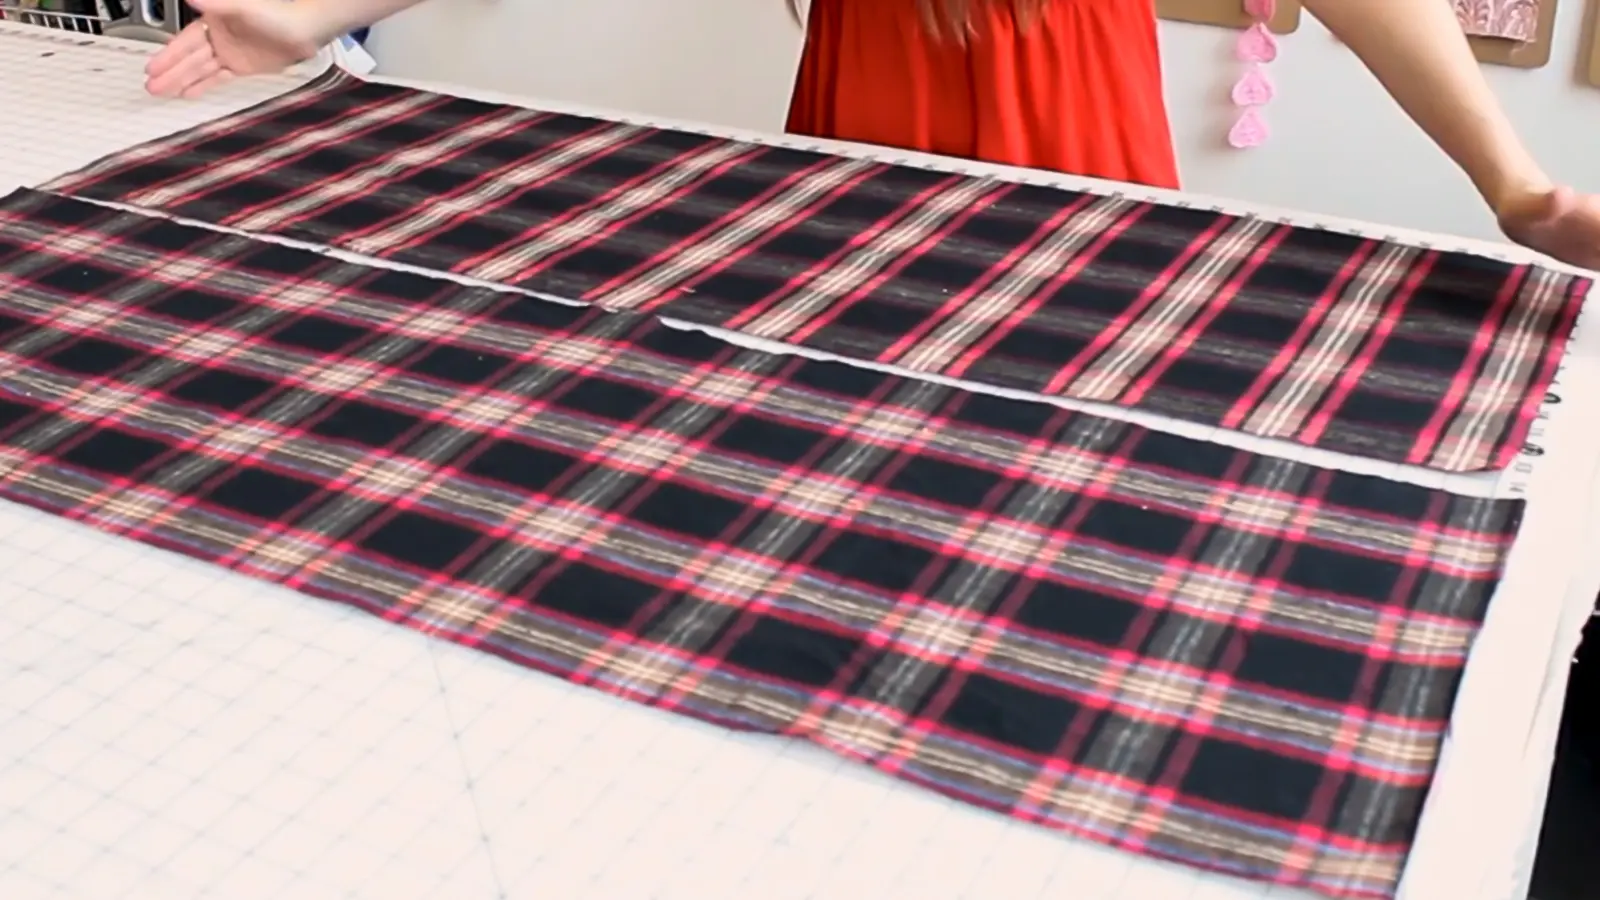
To make the infinity scarf, fold the fabric in half lengthwise and cut along the fold. This will give you 2 fabric strips.
To find the right length, wrap the fabric around your neck to see how loose you want it. Then, trim off any extra fabric.
Step 3: Sew the Long Edges

To start stitching the long edges, align the fabric strips with the right sides together, making sure the raw edges are even.
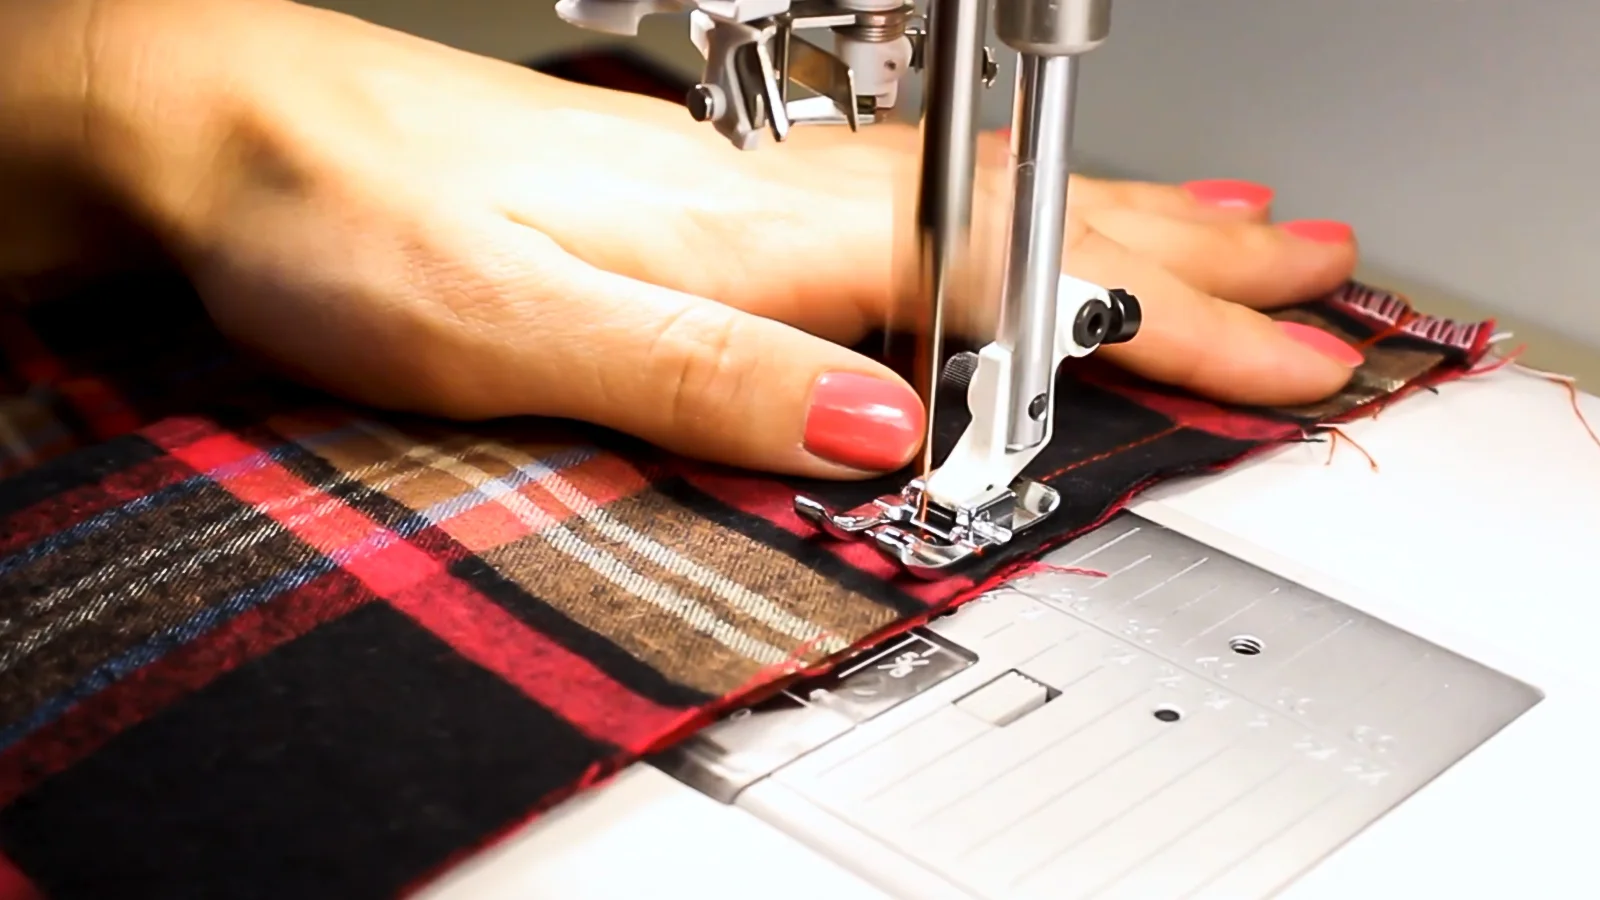
Pin the fabric along the long edges to secure it in place. Then, stitch along the pinned long edges with a seam allowance of ½ inch. Be sure to backstitch at the beginning and end to ensure durability.
Once sewn, press the seam open to reduce bulk.
Step 4: Turn Right Side Out and Join the Ends
Once you've sewn the long edges of your fabric tube, turn it right side out. Carefully pull one end of the tube through the opening, aligning it with the other end.
Now, it's time to join the ends. Pin the ends together securely to keep them aligned.
Step 5: Sew the Ends Together

Using your sewing machine, stitch around the pinned edges with a seam allowance of 1/4 to 1/2 inch. This ensures a strong connection between the ends.
After sewing, carefully trim any excess fabric from the seam allowance to reduce bulk.
Finishing Touches for a DIY Infinity Scarf
Now that your infinity scarf is almost complete, it's time to tidy up any loose threads for a polished look.
Consider adding decorative elements like fabric labels or embroidery to make your scarf truly unique.
How to Tidy Up Loose Threads
After you've finished sewing your DIY infinity scarf, a few simple steps will ensure a polished look by tidying up loose threads.
Start by using sharp scissors to trim threads close to the fabric. For added neatness, run a lint roller over the fabric to pick up any stray threads.
To secure thread ends, dab a bit of seam sealant or fabric glue at the ends of seams to prevent fraying. For a professional touch, knot and trim threads on the inside of the scarf, making sure they're not visible from the outside.
These steps will give your scarf a neat, finished appearance that's sure to impress.
Add Decorative Elements
To elevate your DIY infinity scarf, consider adding some decorative elements. Embellishments like fabric flowers or pom-poms can be sewn on or attached with fabric glue for a playful touch.
Use decorative stitching techniques, such as zigzag or scallop stitches, along the edges to enhance visual appeal and secure raw edges. Experiment with contrasting colors for the scarf's lining to create a striking effect when twisted or draped.
Adding fringe or tassels to the ends will give your scarf a trendy finish. For a unique accessory, try attaching a brooch or pin.
These additions make your scarf truly one-of-a-kind.
Styling Tips for DIY Infinity Scarves

Now that you've made your DIY infinity scarf, let's talk about how to style it.
Different Ways to Wear an Infinity Scarf
Embracing the versatility of an infinity scarf can elevate your style effortlessly.
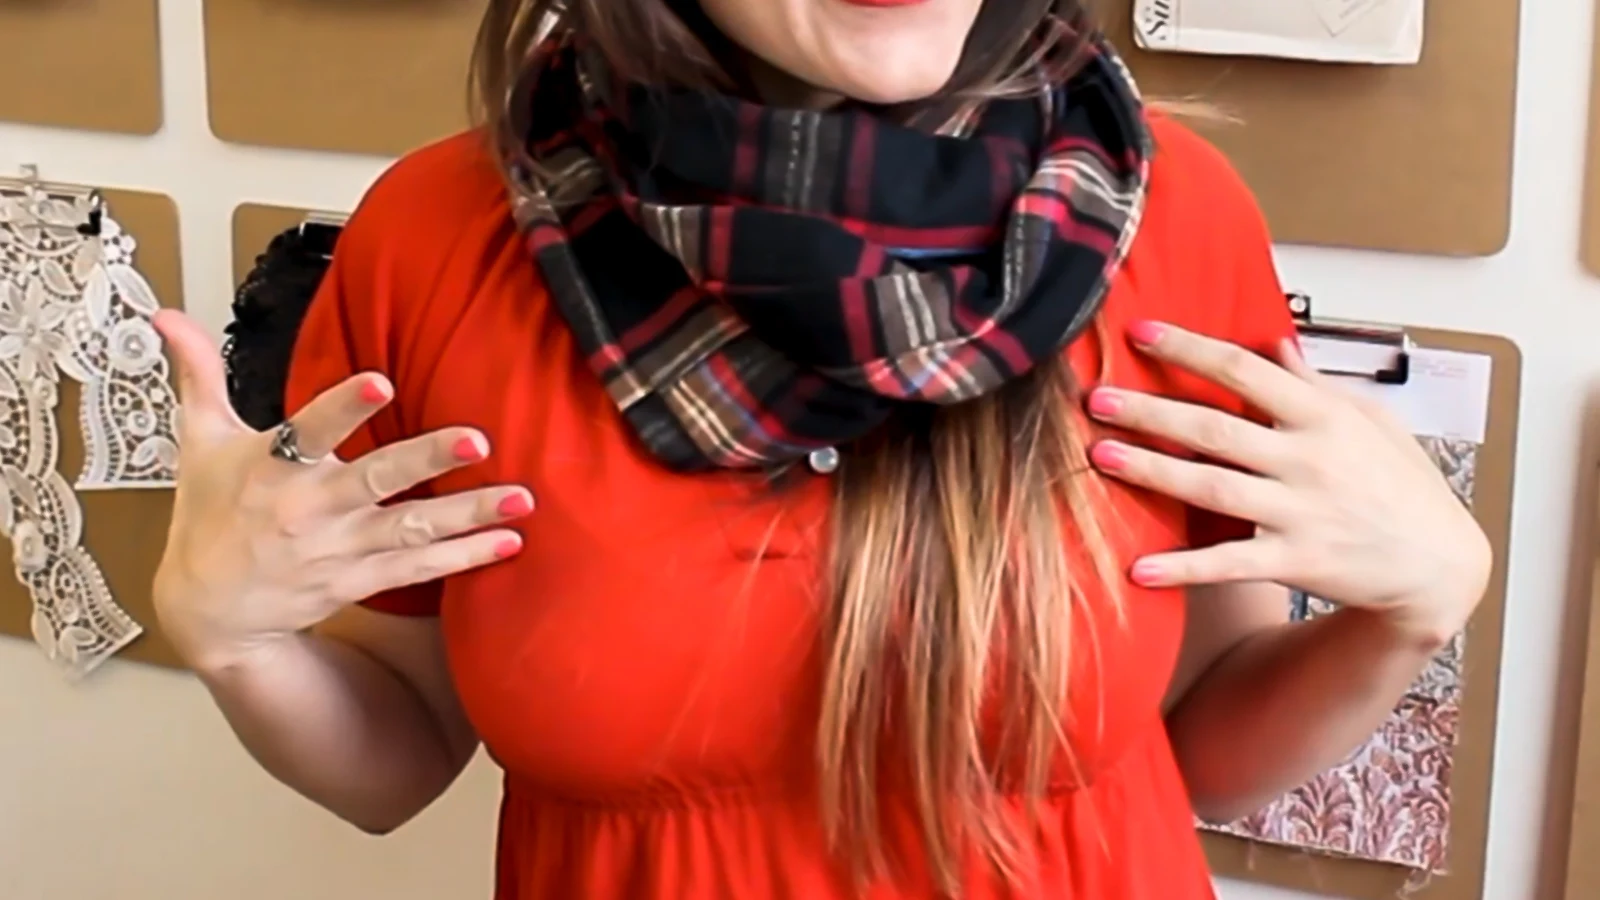
- For a casual look, you can simply loop it around your neck once.
- For added warmth and a chic appearance, cross the loops in front to create an X shape, then bring the bottom loop up for a layered effect.
- If you prefer a relaxed shawl look, drape it over your shoulders.
- To achieve a more structured style, twist the scarf multiple times before wrapping it around your neck, creating a voluminous and textured effect.
Experiment with different fabric types and patterns to match your outfit.
Seasonal Styling Suggestions
Styling your infinity scarf for different seasons can effortlessly enhance your wardrobe.
- In the fall, layer your infinity scarf over a lightweight sweater paired with a long-sleeve shirt for added warmth and style.
- Winter calls for thicker fabrics like fleece or flannel. Wrap it multiple times around your neck for extra insulation.
- Come spring, choose light materials like cotton or jersey knit. For a casual look, wear your scarf loosely draped over a denim jacket.
- For summer evenings, opt for a lightweight breathable fabric and use your infinity scarf as a stylistic accessory over a simple tank top or dress.
Experiment with different tying methods from any infinity scarf tutorial to keep your style fresh throughout the year.
Conclusion
You've now created a beautiful DIY infinity scarf that showcases your unique style. With this simple sewing tutorial, you've added a versatile piece to your wardrobe.
Remember to experiment with different fabrics and patterns to match the seasons. Enjoy wearing your new scarf in various ways and feel proud knowing it's handcrafted by you.
Keep creating and let your personal style shine through every piece you make!
Learn more sewing projects on the Longan Craft Blog, and dive into the fabric world with Longancraft!
FAQs
How Much Fabric Do I Need to Make an Infinity Scarf?
You need 1 to 2 yards of fabric to make an infinity scarf, depending on your desired length and fullness. For a standard scarf, use at least 44 inches wide fabric to ensure good coverage and style options.
How to Turn a Regular Scarf Into an Infinity Scarf?
Fold your scarf in half lengthwise, align the edges, and sew the short ends together with a 1/4-inch seam allowance. Turn it right side out. For a polished look, add a decorative stitch or use a serger.
What Is a Good Length for an Infinity Scarf?
A good length for an infinity scarf is around 60 inches. This length allows for versatile styling and comfortable wear. If you prefer a looser fit, aim for 70-72 inches, especially with stretchy fabrics.
How Many Balls of Yarn Do I Need for an Infinity Scarf?
You'll typically need about 1 to 3 balls of yarn for an infinity scarf, depending on the yarn weight. Bulkier yarns require fewer balls, while lighter yarns might need more. Always check your pattern for specific yardage requirements.


0 comments