

Transform your reading experience and unleash creativity with a delightful DIY linen book cover project! Crafting your own book cover not only protects your cherished pages but also allows you to express your unique style and personality.
Imagine wrapping your beloved novels in luxurious, soft linen that showcases your love for literature. This DIY project allows you to delve into the art of crafting, where each stitch and fold brings you nearer to a custom creation. Join us on this exciting journey to enhance your reading experiences with a hint of handmade allure!
Key Takeaways
- Measure and cut medium-weight linen fabric, adding 1.5 inches to the height and 8 inches to the width.
- Hem edges by folding, pressing, and sewing to prevent fraying.
- Create pockets by folding fabric ends over 4 inches and bonding with Stitch Witchery.
- Add optional customizations like fabric paint designs, buttons, or patches.
- Linen covers provide durable, reusable, and eco-friendly protection for books.
Gather the Necessary Materials
You'll need a few essential materials to create your DIY linen book cover.
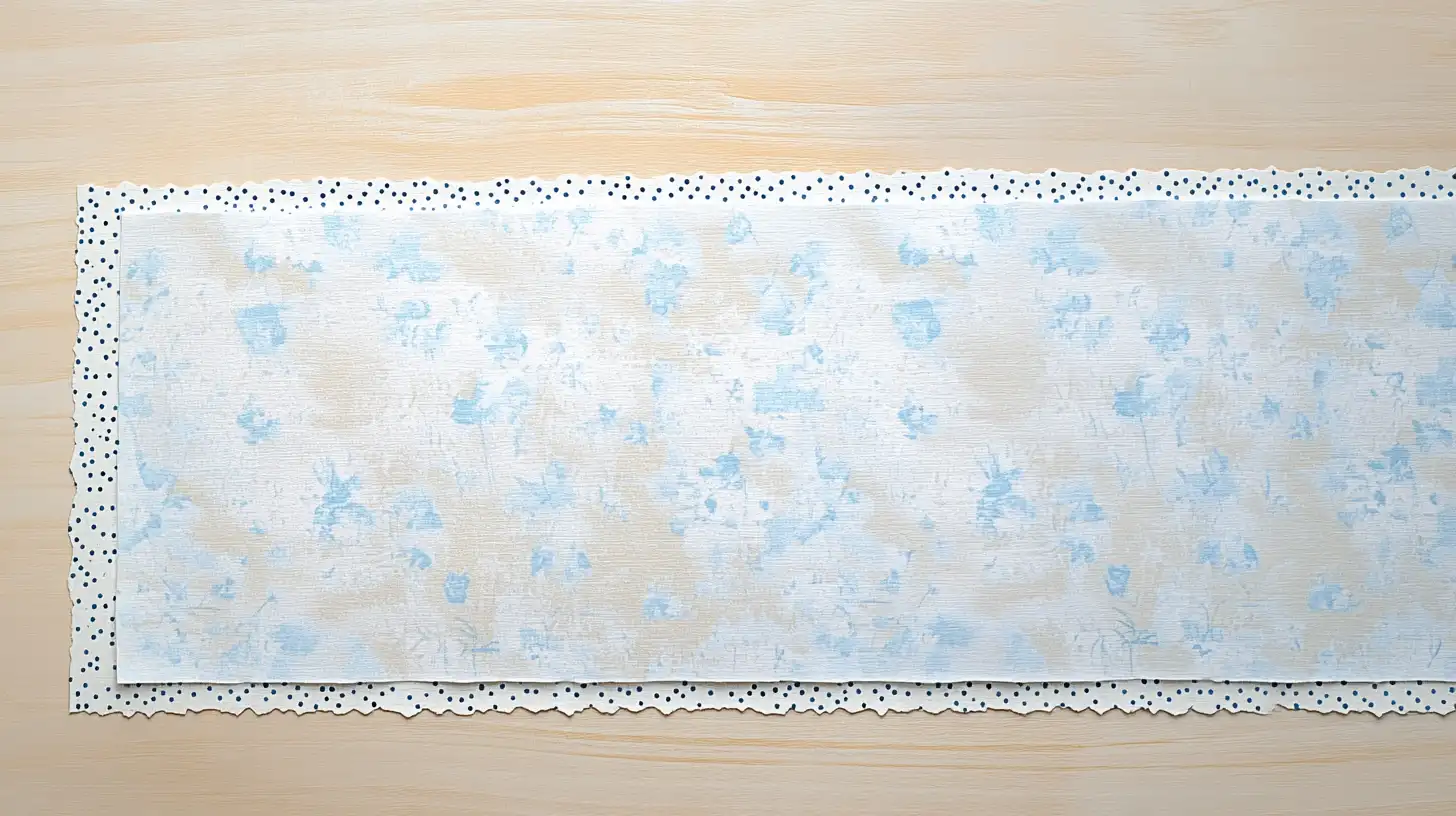
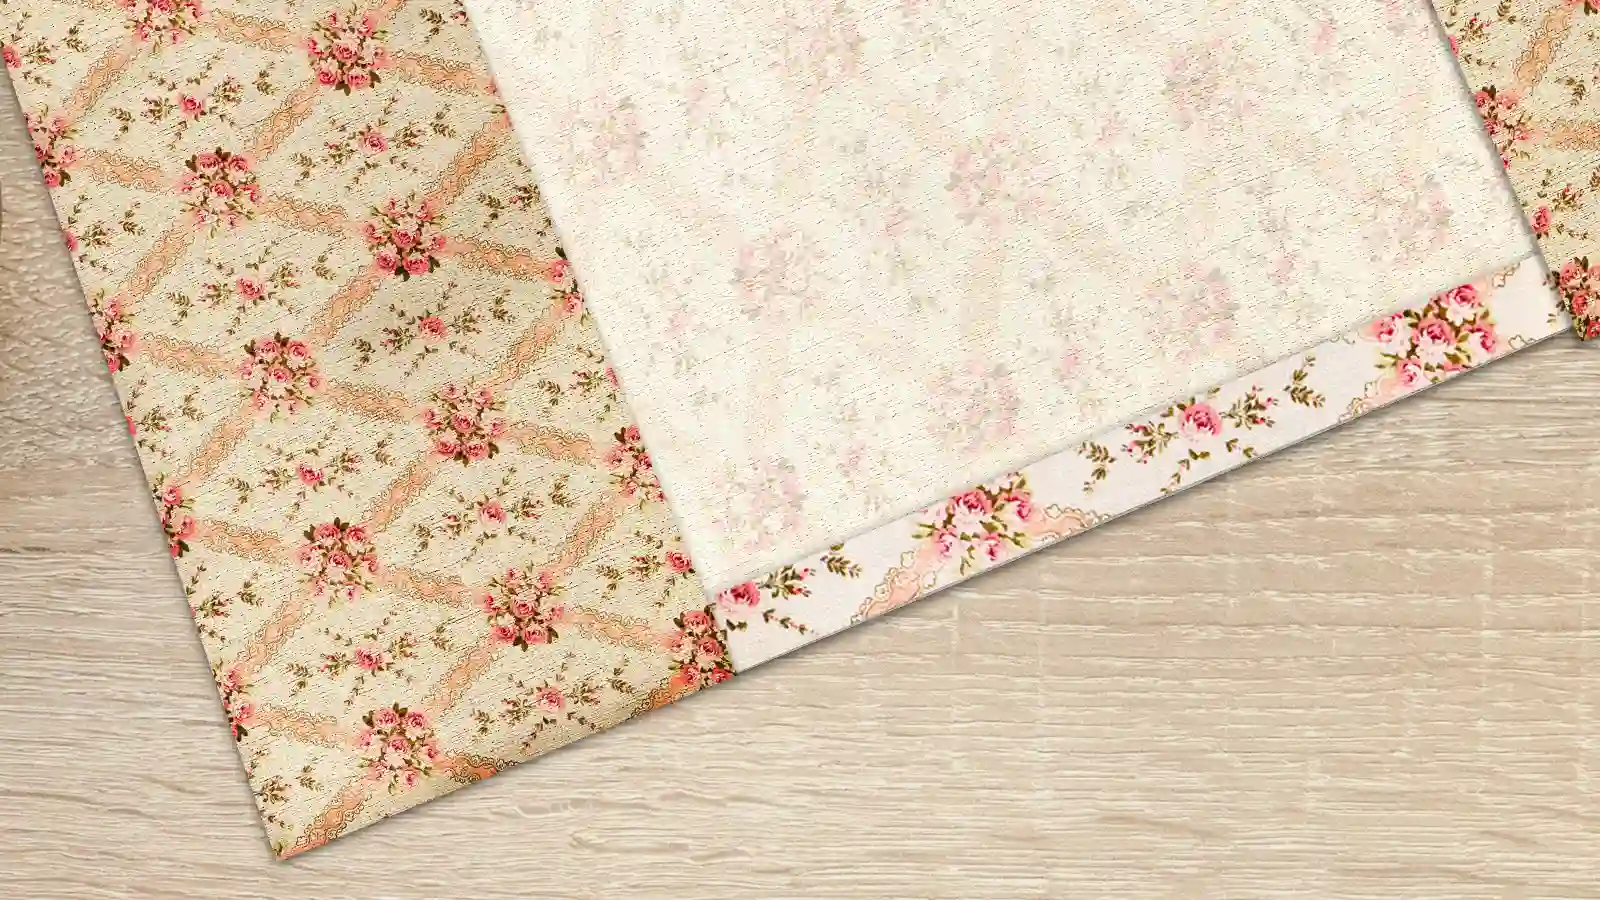
- Medium-weight linen fabric: Choose a color for a cohesive look.
- Measuring tape
- Sharp fabric scissors
- A sewing machine or needle and thread for hand sewing
- Fabric glue or hot glue without sewing
- Optional embellishments like embroidery, buttons, or patches
Gather these materials, and you'll be ready to start crafting your custom book cover.
DIY Linen Book Cover: A Step-by-Step Tutorial
Let's walk through the steps to make fabric book covers for your books or notebooks.
Step 1: Measure Your Book
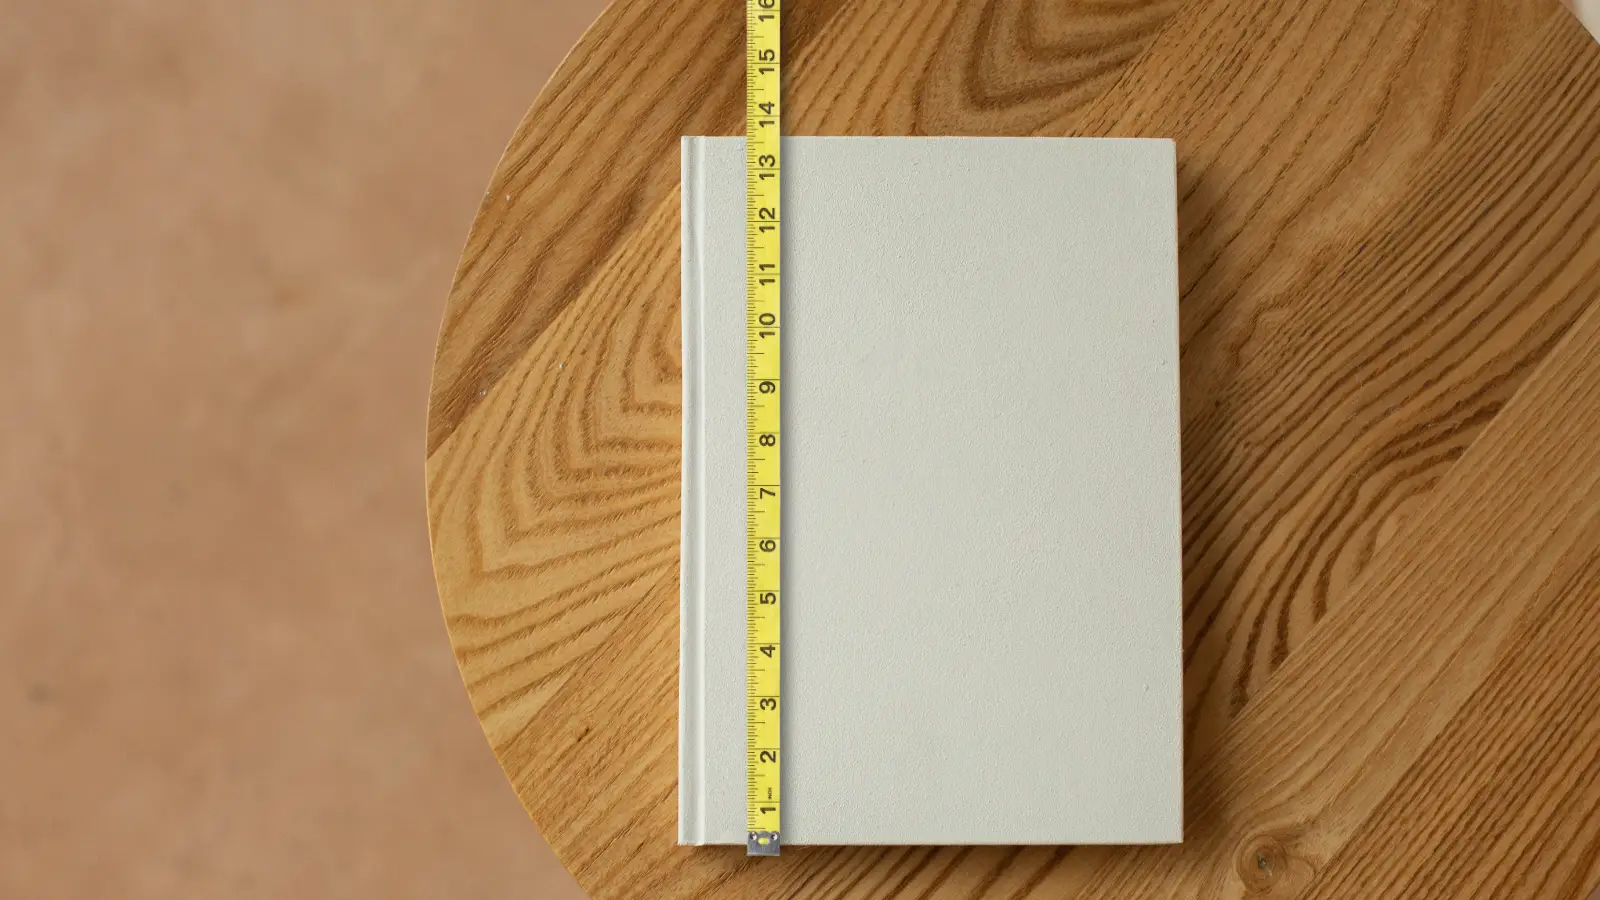
Accurate measurements are crucial for a well-fitting fabric cover, so start by determining the book's height and width. Use a measuring tape or ruler to measure the width, ensuring you capture the full dimension.
Next, measure the height. Once you have these measurements, add an extra 1.5 inches to the height for the flaps that will fold over the top and bottom. For the width, add an extra 8 inches to allow the cover to comfortably wrap around the book's sides.
This careful measuring will ensure your simple fabric book cover fits perfectly.
Step 2: Cut the Linen Fabric
Start by laying out your piece of fabric on a clean, flat workspace, ensuring it's free of wrinkles.
Measure the width and height of your book, then add 1.5 inches to the height and 8 inches to the width.
Once you have your measurements, use a ruler to mark the fabric accurately.
With sharp fabric scissors, cut the fabric carefully along the marked lines to achieve clean cuts. This precision ensures the linen will wrap snugly around your book.
Step 3: Hem the Edges
After cutting the linen fabric, hem the edges of the book cover to ensure a neat and durable finish.
Begin by folding the longer ends of the fabric inward about 1/4 inch. Press these folded edges with an iron to keep them crisp and flat.
Next, use a sewing machine to sew along the hemmed edges, securing the folds in place. You can also use fabric glue instead of sewing.
Step 4: Create Pockets for Book Covers
Fold each end of the fabric over by 4 inches to form the pockets that will hold your book covers.
Sew along the top and bottom edges of the folded sections to create pockets.
Repeat the process for the other end to ensure symmetry.
Once bonded, these pockets will securely hold your book while allowing easy insertion and removal.
At last, slip the book into the pockets you’ve created to finish this craft project.
Step 5: Add Decorations (Optional)
To personalize your linen book cover, consider adding decorative elements like fabric paint designs, buttons, or patches.
Try using contrasting thread colors for decorative stitching around the edges.
Appliqués are another excellent way to add personalized flair—think initials, favorite quotes, or intricate shapes.
Incorporate small pockets inside the cover for bookmarks or notes, enhancing both functionality and creativity.
These additional touches transform a simple cover into a personalized masterpiece.
Step 6: Add a Closure (Optional)
Once you've added your decorative touches, consider incorporating a closure to keep your book securely covered.
A simple ribbon or fabric tie sewn into the inside flaps can provide a secure fit.
Magnetic snaps offer a sleek and modern option, easily attached to the fabric with minimal effort.
For a more personalized touch, try using buttons and elastic. Sew a button onto one flap and an elastic loop on the opposite side.
If you prefer a fabric strap, cut a long strip of linen, fold it in half, sew along the edge, and attach it to the back cover for a wrap-around closure.
Adjust the fabric measurements to accommodate your chosen closure method for a snug fit.
Benefits of Using a Linen Book Cover
Making a fabric book cover offers numerous benefits, including excellent protection against wear and tear.
Protection
Linen book covers provide robust protection against wear and tear, keeping your books safe from dust, dirt, and moisture. They also reduce the likelihood of spine damage and fraying from frequent handling.
Plus, their sturdy construction makes books less susceptible to everyday impacts and abrasions during storage or transport. So, not only do linen book covers maintain the book's appearance, but they also help retain its resale value by preventing unsightly damage.
Customizable to Suit Personal Style
Tailoring linen book covers to your personal style allows you to choose from various colors, patterns, and embellishments, making each cover uniquely yours.
This customizable sewing project lets you personalize every detail, from the fabric's hue to intricate designs.
It's a fantastic way to express creativity and make your books stand out.
Reusable for Multiple Books
Opting for a linen book cover means you can easily switch it between different books, thanks to its durability and adaptability. This reusable cover protects your favorite reads without committing to a single book.
Eco-Friendly Alternative
Switching to a linen book cover offers numerous environmental benefits over traditional plastic covers.
Linen is a durable and long-lasting natural fiber that provides excellent protection for your books. Its breathable nature helps prevent moisture buildup, reducing the risk of mold and mildew.
Using upcycled fabric for your linen cover supports eco-friendly practices and promotes a circular economy. Unlike plastic derived from petrochemicals, linen lowers your carbon footprint and offers a sustainable alternative.
Conclusion
By making your own linen book cover, you'll not only protect your books but also add a touch of personal style.
This eco-friendly project is simple and rewarding. It allows you to get creative with custom decorations and is a great way to practice your sewing skills.
So, gather your materials, follow the steps, and enjoy the satisfaction of crafting something both beautiful and practical.
Your books deserve this stylish, sustainable upgrade!
Learn more sewing projects on the Longan Craft Blog, and dive into the fabric world with Longancraft!
FAQs
How to Make a Linen Cover for a Book?
You can make a linen book cover by measuring, cutting, and sewing the fabric. Add interfacing for durability, hem the edges, and create pockets. Customize with decorative stitching or embellishments for a personal touch.
What Is the Best Fabric for Book Covers?
You should choose a medium-weight cotton or linen blend for book covers. These fabrics offer durability and an attractive look while being easy to work with. Linen, in particular, is strong and has a natural, appealing texture.
What Material Should I Use for a Book Cover?
You should use medium-weight linen for your book cover. It's durable and stylish. Add interfacing for extra sturdiness. Choose a fabric that reflects your taste and aesthetic.
How Do I Stick Fabric to a Book Cover?
You'll want to stick fabric to a book cover with a hot glue gun or Stitch Witchery. Ensure the fabric has extra edges to wrap around, then use Mod Podge for a secure and protective finish.
0 comments