Get ready to unleash your creativity and elevate your crafting skills with an exciting DIY project that will bring joy to both kids and adults! Meet the Tie-Dyed Cloud Plush Toy – a delightful creation that combines the fun of tie-dyeing with the cuddly charm of a plush toy.
This project is more than just making a toy. It's an opportunity to showcase your individuality, play with vibrant colors, and craft a unique piece that exudes positivity. Let's embark on this colorful adventure and craft a cloud of happiness!
Key Takeaways
- Use rubber bands to secure sections of the fabric, apply dye in various colors, and wrap it in plastic for 6-8 hours.
- Draw and cut out a cloud-shaped template from cardboard, then trace and cut two identical pieces from the dyed fabric.
- Pin the fabric pieces together with the right sides facing in, sew around the edges, and leave an opening for turning and stuffing.
- Turn the fabric inside out, stuff it with soft material, and hand-sew the opening closed.
- Sew a coordinating ribbon to the top for hanging, and consider adding decorative elements.
Gather the Necessary Materials
When crafting a cloud plush toy, you'll need to gather a few key materials to ensure it's both safe and enjoyable.
- Tie-dyed fabric
- Stuffing/fiberfill
- Thread and needle
- Scissors
- Cloud-shaped sewing pattern/template
- Fabric Markers
- Ribbon or rope
DIY Tie-Dyed Cloud Plush Toy: Step-by-Step Instructions
Now, let's walk through the steps to create your own cloud plush toy. You can use these adorable toys as gifts, keychains, or home decor.
Step 1: Tie-Dye the Fabric
To tie-dye the fabric, pre-wash it first. This step removes any sizing or chemicals, helping the dye adhere better.
Prepare your dye according to the manufacturer's instructions, ensuring you have a variety of colors for a vibrant look. Secure sections of the fabric with rubber bands or string to create patterns like spirals or stripes.
Apply the dye using squeeze bottles, spray bottles, or brushes, blending colors to mimic a cloud's natural appearance. After dyeing, wrap the fabric in plastic wrap and let it sit for 6-8 hours.
Step 2: Make Cloud Templates and Cut Out

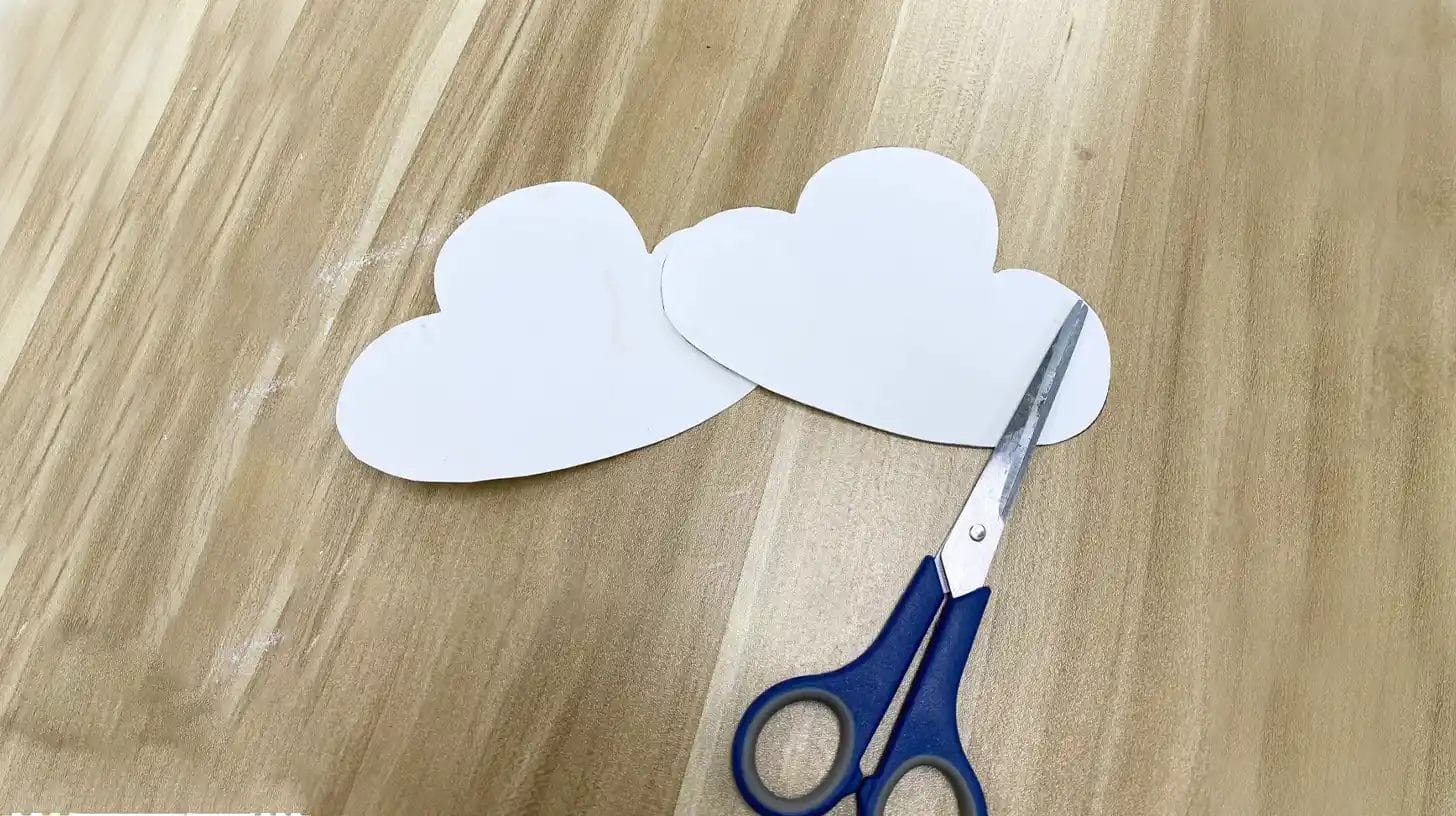
With your fabric ready, now create your cloud templates. Draw a cloud-shaped template on cardboard and cut it out.
Place the template on your fabric and trace the shape. Cut out two identical pieces to form the front and back of your stuffed plush toy. Don't forget to add a 0.5-inch seam allowance around the edges.
Step 3: Sew the Cloud

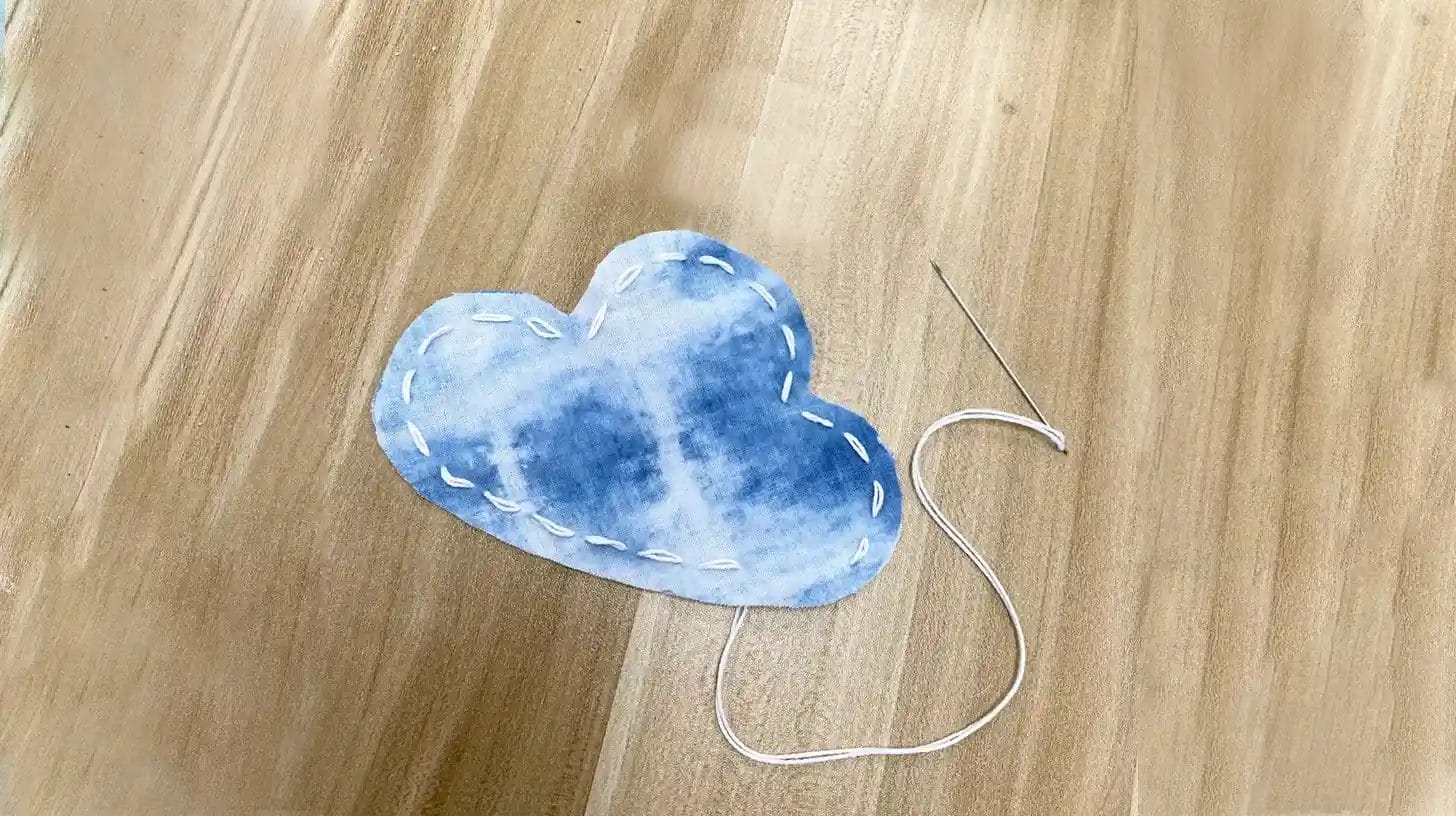
Start by taking your two cloud-shaped fabric pieces and pinning them together with the right sides facing inward.
Next, sew around the edges of the fabric, leaving a small opening of about 3-4 inches for turning and stuffing the cloud plush.
Carefully trim the excess fabric at the seams to reduce bulk and make the corners easier to turn.
Step 4: Stuff the Cloud

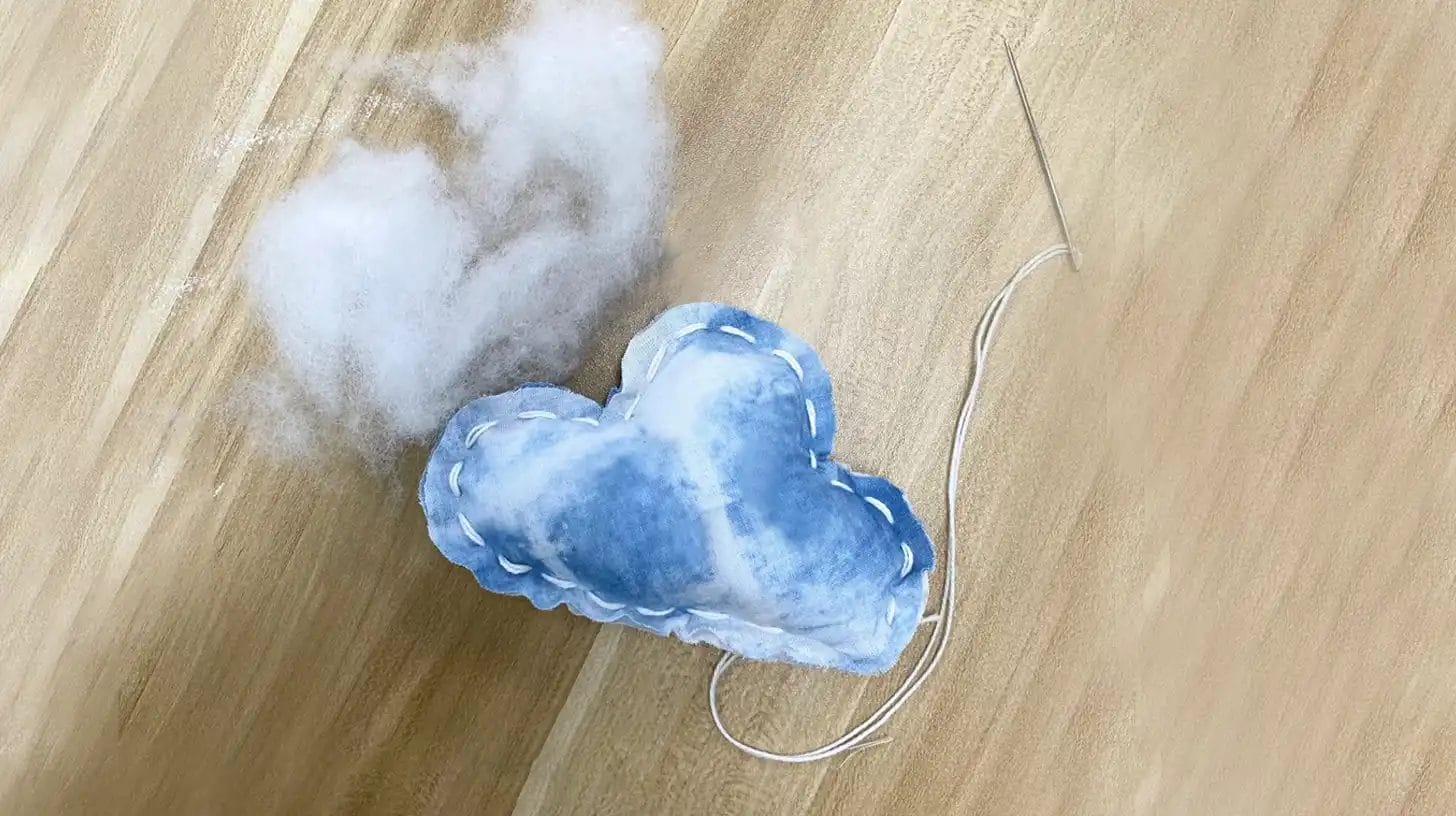
Turn the fabric inside out through the opening, using a blunt tool to push out the corners for a rounded shape.
Now, stuff your cloud plush with soft stuffing material until it reaches your desired fluffiness.
Finally, hand-sew the opening closed to complete your adorable stuffed toy project.
Step 5: Add the Hanging Ribbon

Adding a hanging ribbon to your cloud plush toy not only enhances its charm but also makes it easy to display.
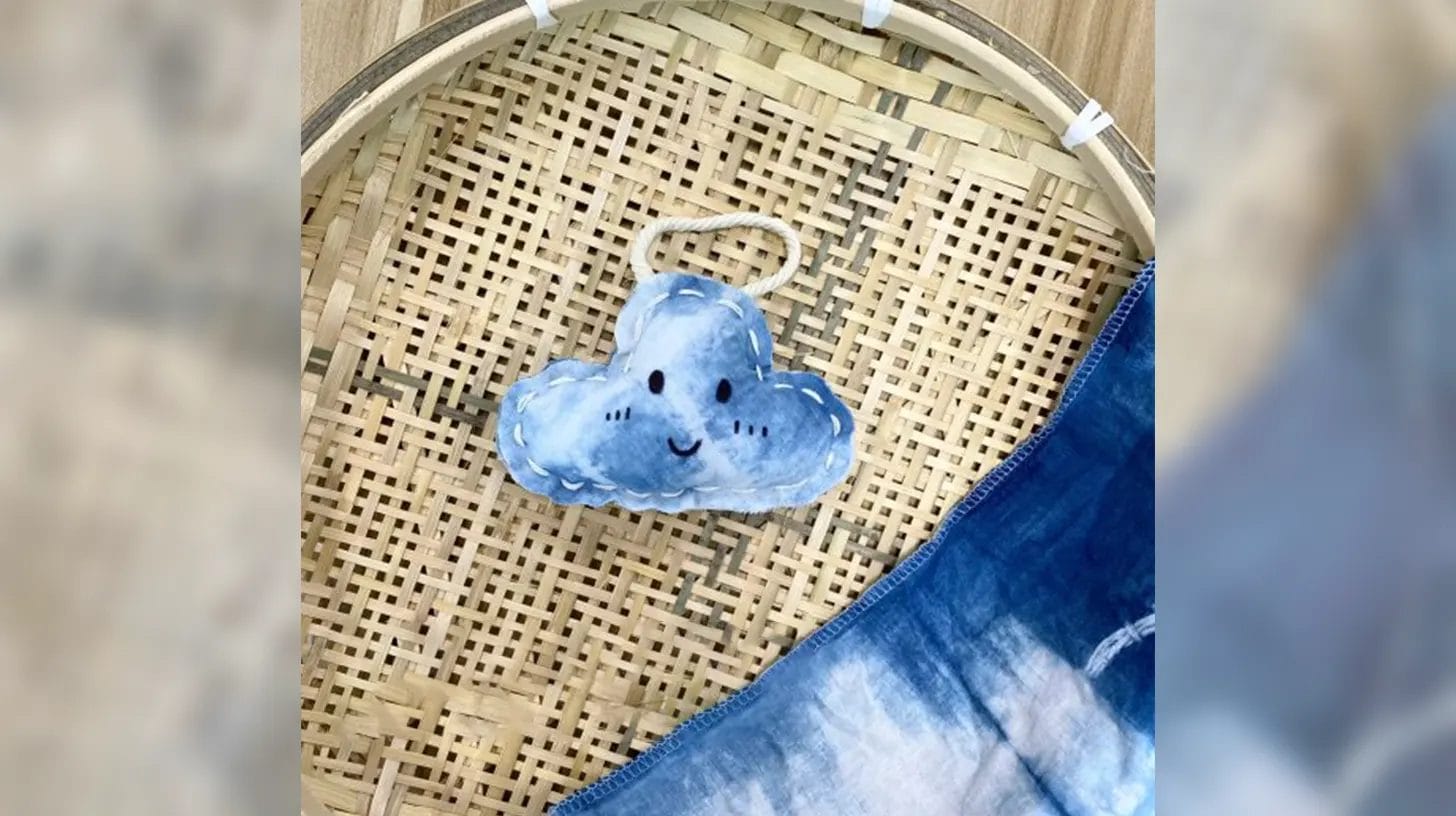
Start by choosing a coordinating ribbon that complements your plush toy. Use a needle and thread to securely sew the ribbon to the top of the cloud plush toy.
Don't forget to add some extra decorative elements. You can draw or sew different expressions for each cloud toy.
Conclusion
You've now crafted your own delightful Cloud Plush Toy! With its vibrant tie-dye fabric, it's sure to bring comfort and joy to anyone who holds it.
Don't forget to use the handy hanging ribbon to proudly display your creation. Whether for play or decoration, your Cloud Plush Toy is a whimsical addition to any room. Enjoy your cuddly, handmade masterpiece!
Learn more sewing projects on the Longan Craft Blog, and dive into the fabric world with Longancraft!


0 comments