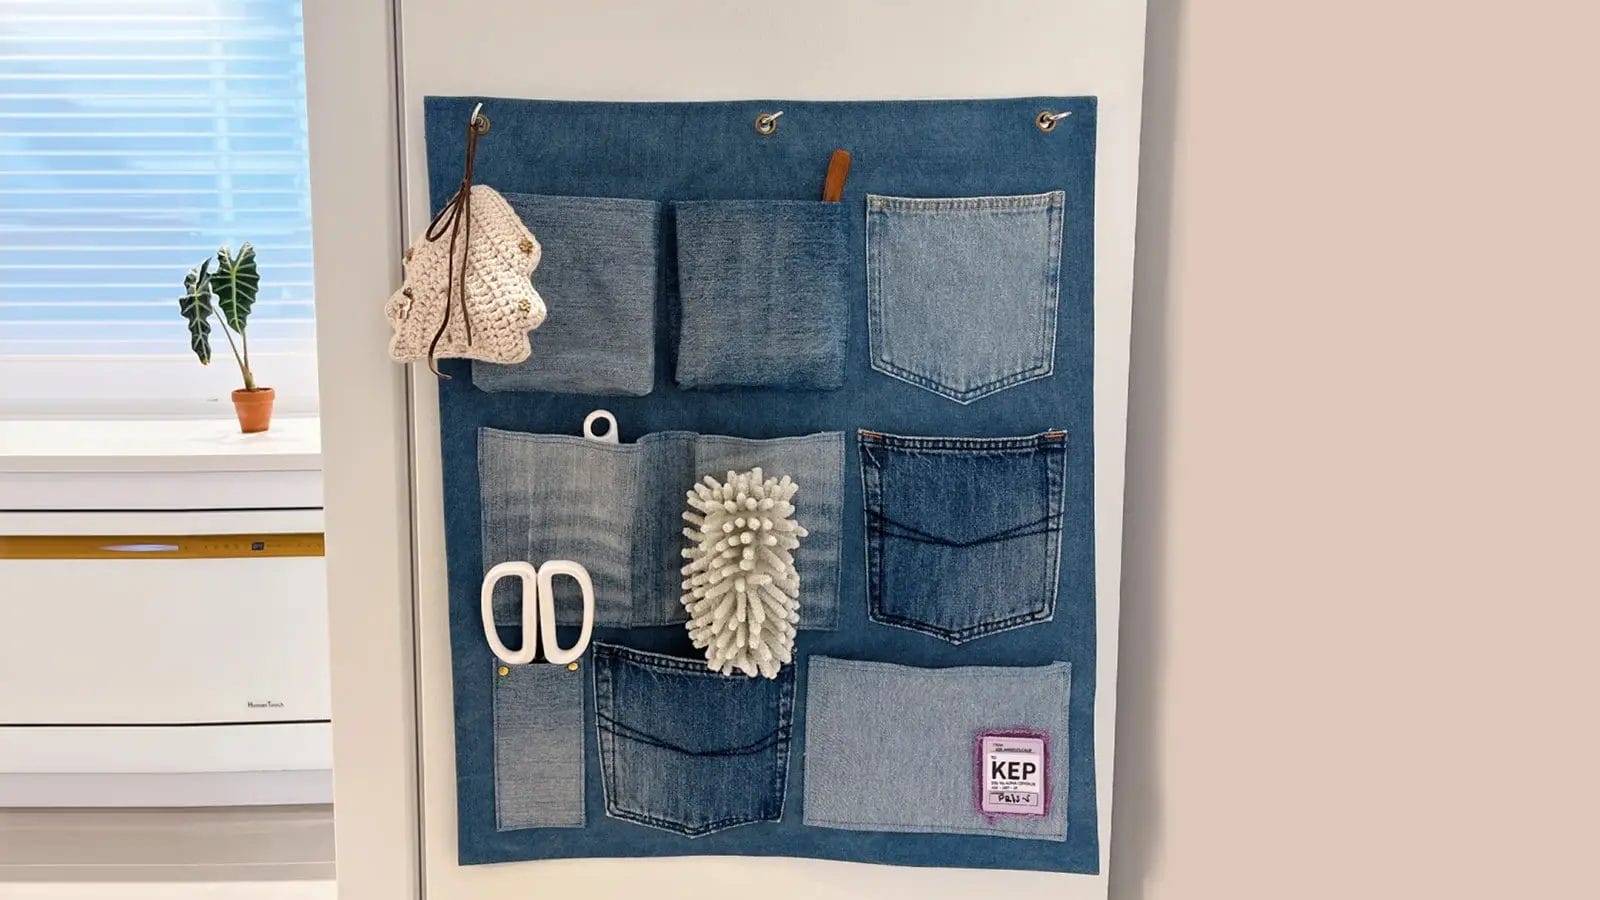
Have you ever looked at those old jeans in your closet and wondered if they could be better used? Instead of letting them gather dust, why not turn them into a practical and stylish wall organizer for your craft room?
This clever DIY project not only saves money but also adds a unique touch to your home decor. Let's dive in and give those jeans a second life while keeping your space tidy and organized!
Key Takeaways
- Choose and cut a piece of denim fabric and hem the edges for a clean finish.
- Sketch the layout, determine pocket sizes, and visualize how each pocket will function for efficient organization.
- Cut pockets from old jeans and maintain original stitching if desired.
- Pin and sew pockets onto the main fabric, ensuring secure attachment by topstitching along edges for durability.
- Personalize the organizer with decorative elements, secure all attachments, and inspect for quality and aesthetics.
- Fold the fabric over a dowel rod, attach hanging ropes, reinforce seams, and hang the organizer on a wall hook or nail.
Materials and Tools Needed
You'll frequently need a variety of materials and tools to make this wall organizer using old jeans:
- Old Jeans: Use one or more pairs depending on the size and number of pockets you want.
- Fabric Scissors
- Sewing Machine (or Needle and Thread)
- Fabric Glue: Optional, for securing pockets without sewing.
- Denim Backing Fabric: A sturdy fabric for the base.
- Wooden Dowel Rod: To hang the organizer.
- Ribbon or Rope: For hanging the dowel.
- Iron and Ironing Board: To iron out creases.
- Pins: To hold pieces in place while sewing.
- Decorative Elements: Such as patches, beads, or fabric paint.
DIY Wall Organizer Using Old Jeans: A Step-by-Step Tutorial
Let's get started with your DIY wall organizer by preparing the denim backing fabric.
Next, you'll design the layout, cut the pockets from old jeans, and sew them onto the fabric.
Step 1: Prepare a Denim Backing Fabric

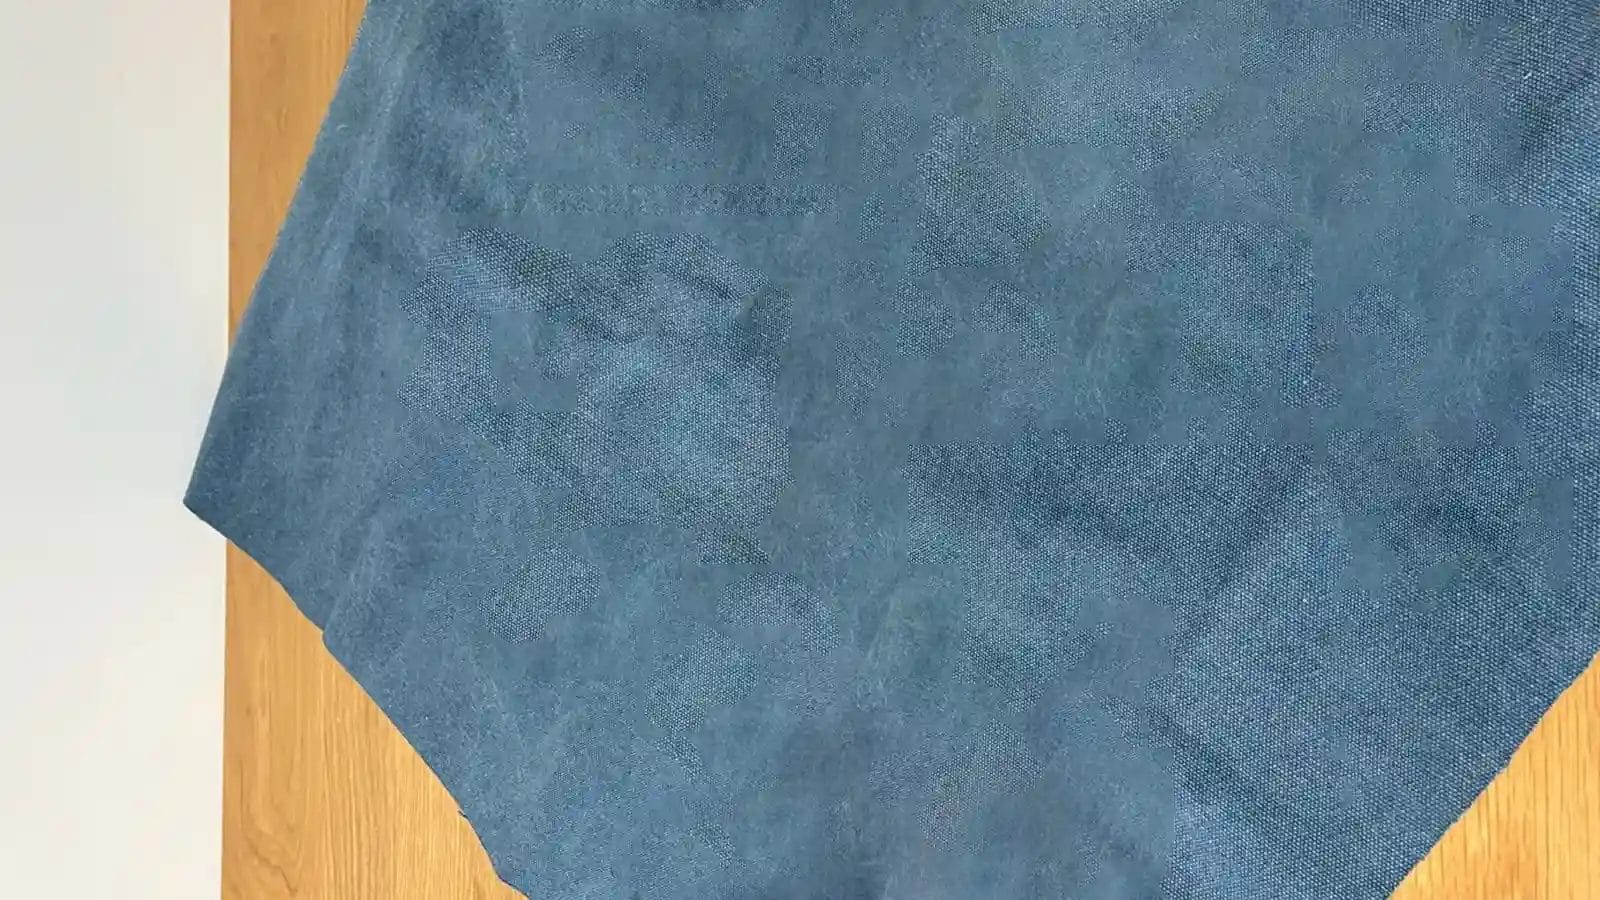
Start by picking out a piece of denim fabric that matches your desired size and style. Cut the denim to your required dimensions. Add a 1-inch seam allowance on all sides for a clean finish.
Pre-wash the denim to eliminate shrinkage and remove chemicals or dyes that might affect the appearance of your wall organizer.
Once dried, use a sewing machine to hem the edges, reinforcing the fabric to prevent fraying.
Step 2: Design the Organizer
Sketch a rough outline of your organizer, including the number and size of pockets, shelves, and hooks. This helps you visualize the final product.
Consider how each pocket will function and what items you'll store. With a clear design, you're ready to move to the next step.
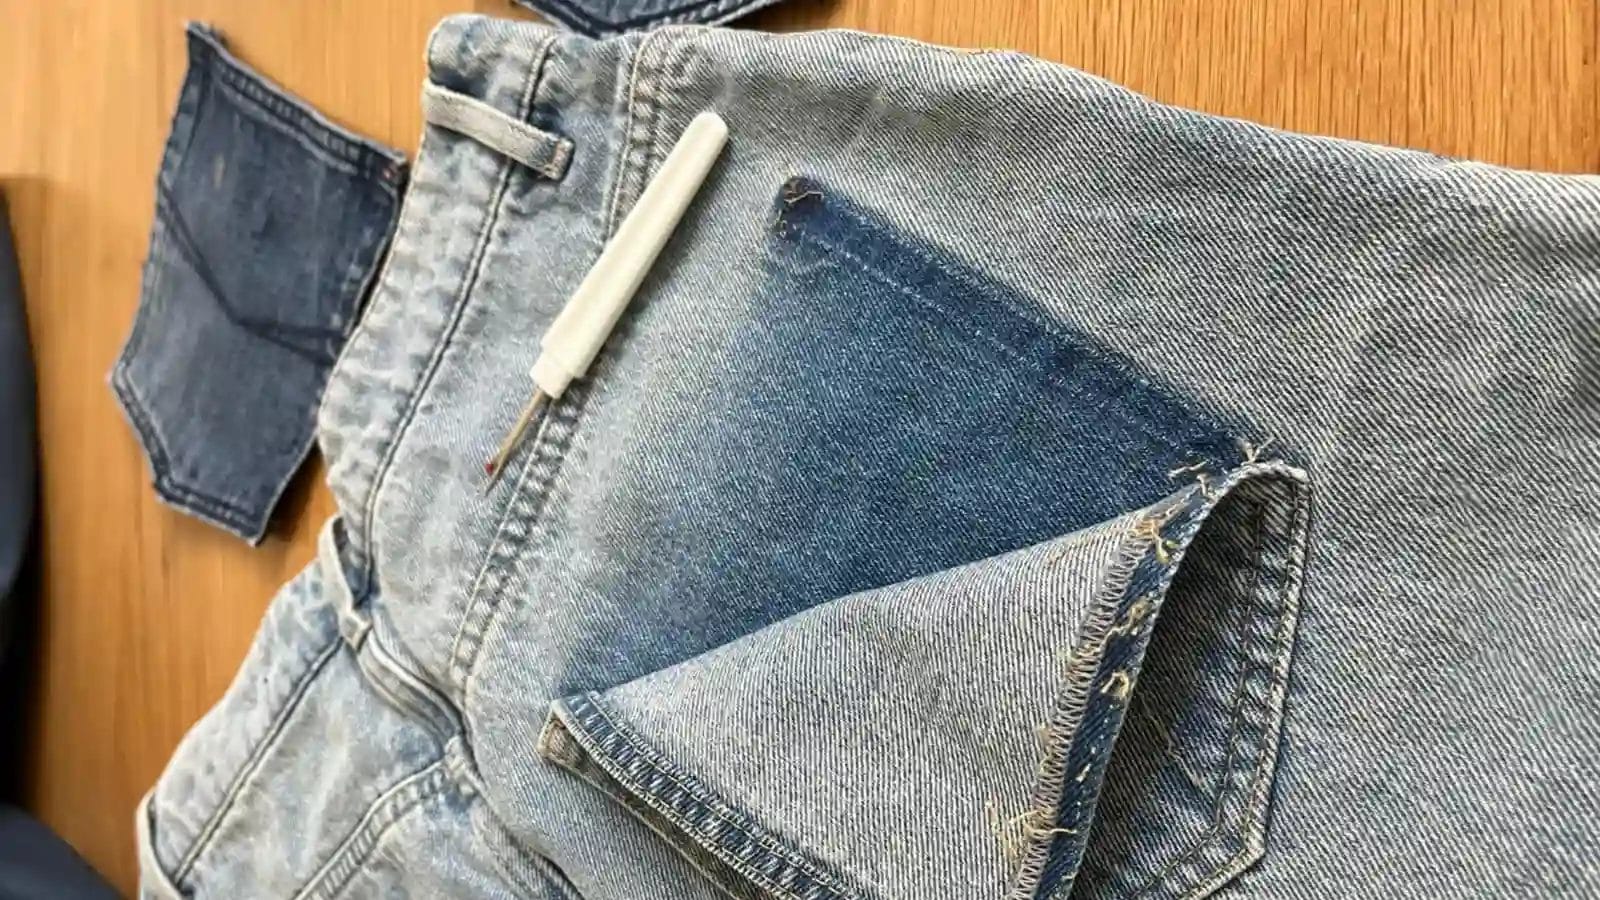
Step 3: Cut Out Pockets from Old Jeans

With your design in hand, grab old pairs of jeans and prepare to cut out the pockets for your DIY wall organizer.
If you prefer the original stitching, cut along the outer edges to maintain the pocket's rustic look. Remove any excess fabric or threads.
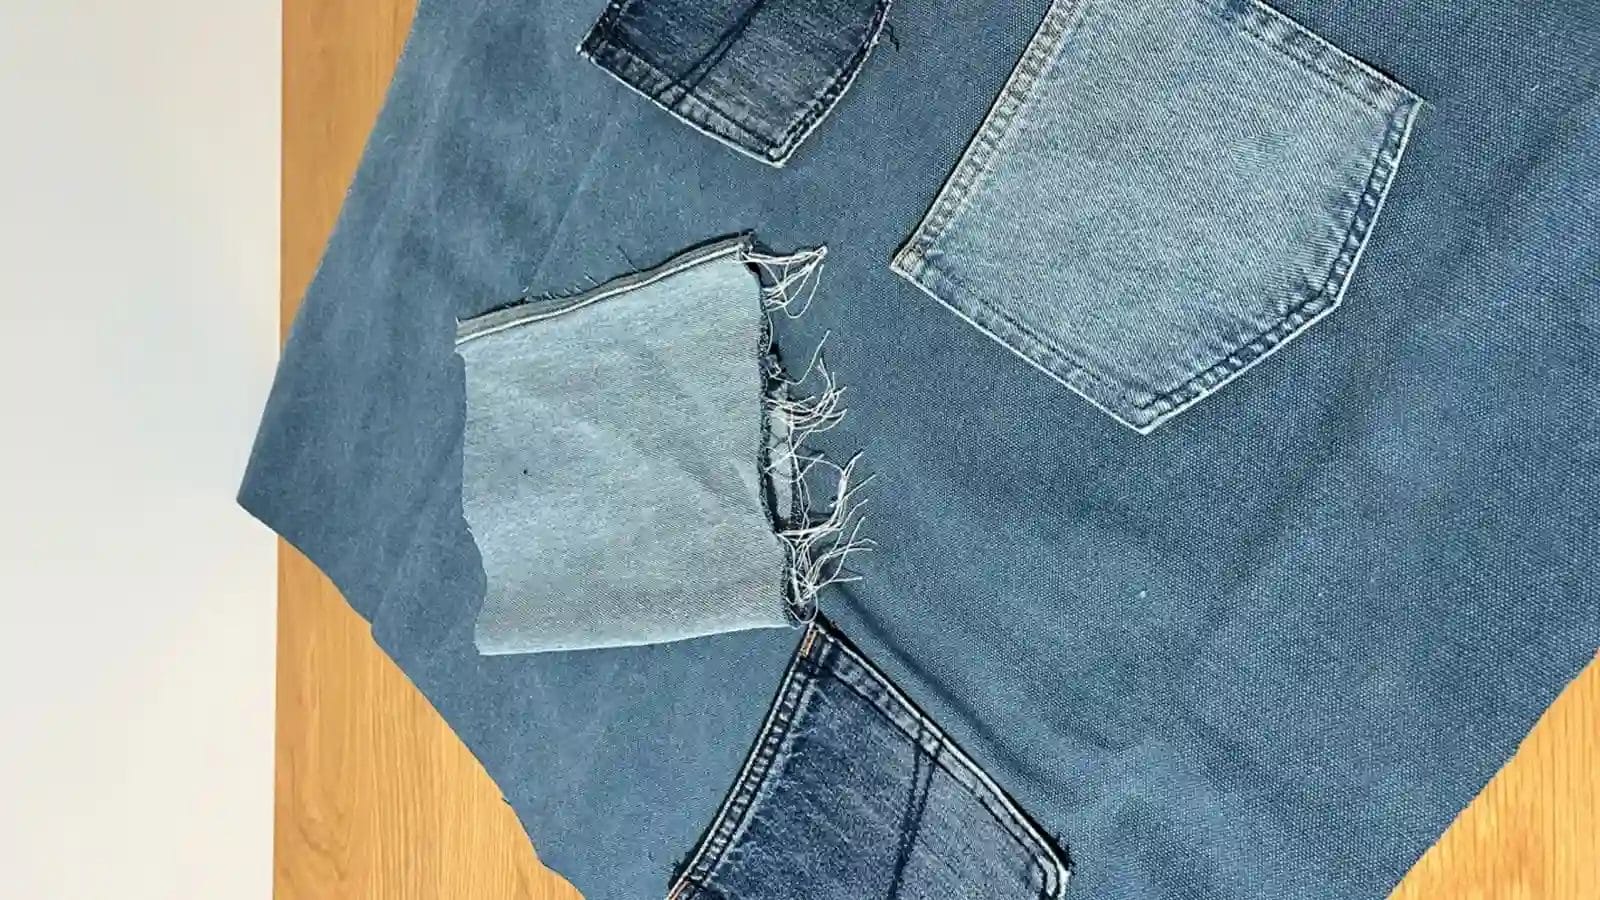
Once cut, arrange the pockets on your organizer and prepare to attach them securely.
Step 4: Sew the Pockets

Pin the pocket pieces to the main fabric, aligning them carefully. Sew along the sides and bottom edge to secure the pockets in place. After attaching them, topstitch along the sides and bottom edges for added stability. This ensures the pockets are firmly secured and durable.
If there is still space in your main fabric, you can use other materials to create additional pockets.
Step 5: Add Details and Finishing Touches
Consider adding decorative elements like fabric patches or stencils to personalize the organizer to your taste. Securely attach these embellishments with fabric glue or by sewing them on.
Double-check that all pockets are securely attached and inspect for loose threads or unfinished edges. This attention to detail ensures your hanging wall organizer is both functional and aesthetically pleasing.
Step 6: Hang the Wall Organizer

Fold the top edge of the main fabric over the dowel rod, sew it in place to create a loop, and slide the dowel through.
Attach a piece of rope or twine to each end of the dowel for hanging. For extra strength, reinforce seams with fabric glue.
Hang your organizer on a hook or nail on the wall and add any final touches, like ironing or decorations.
Additional DIY Wall Organizer Ideas
Explore more creative options to elevate your wall storage. These ideas enhance organization and add a unique touch to your space.
Pegboard Organizer
Pegboard organizers are an excellent choice for any DIY wall organizer project because they offer a versatile and customizable storage solution.
You can easily install one with just a drill and screws. Once up, it's simple to rearrange hooks, shelves, and other accessories to suit your evolving needs.
Place it in high-traffic areas like entryways or kitchens to keep keys, bags, and utensils within reach. This will reduce clutter and maximize your vertical space.
Recycled Wooden Pallet Organizer
Although often overlooked, recycled wooden pallets offer an eco-friendly and rustic option for creating wall organizers. You can easily disassemble and repurpose these pallets into shelves, hooks, or storage compartments, making them perfect for various organizational needs.
Hanging Baskets
Incorporating hanging baskets adds both functionality and style to any room. These versatile storage solutions can be crafted from materials like wire, wicker, or fabric and effortlessly match your personal decor.
Mounting hanging baskets on walls with brackets or hooks maximizes vertical space, keeping your floor clear and your items accessible. They're perfect for organizing art supplies, gardening tools, or small toys, making them an excellent addition to any wall organizer.
Hanging Leather Pockets
Hanging leather pockets add a touch of sophistication and durability to your DIY wall organizer. They provide an elegant, organizational option for items like mail, tools, or art supplies.
You can customize the size and color of these pockets to suit your needs and decor preferences in your DIY projects. Enhance their aesthetic appeal by adding decorative stitching, embossing, or brass hardware.
Chalkboard Organizer
With a chalkboard organizer, you can create a versatile command center that keeps your family on track with reminders, grocery lists, and necessary appointments. This DIY project is perfect for a home office or kitchen.
Use magnetic chalkboard paint to make a dual-functioning surface that holds metal items like keys or scissors while providing space for notes. Customize your organizer by adding hooks or shelves to store accessories, mail, or office supplies.
Chalkboard organizers not only boost your organization but also add a stylish touch to your home decor.
Pipe and Wood Organizer
A pipe and wood organizer is a durable and stylish way to neatly arrange your tools, craft supplies, or office essentials.
This DIY project combines the sturdiness of metal pipes with the warmth of reclaimed wood, creating a unique industrial-style storage solution. It can easily be customized to fit any wall space and aesthetic preference.
Conclusion
In just six steps, you've crafted a functional and stylish DIY wall organizer using old jeans.
Enjoy the satisfaction of your handiwork and the newfound organization it brings.
Now, every time you glance at your wall, you'll be reminded of your creativity and effort.
Happy organizing!
Learn more sewing projects on the Longan Craft Blog, and dive into the fabric world with Longancraft!
FAQs
How to Make a Wall-Hanging Organiser?
To make a wall-hanging organizer, cut fabric pieces to specified dimensions. Install grommets for hanging, sew pockets, and attach them to the main fabric. Add a dowel rod for stability and use S-hooks for extra storage.
How Can I Decorate My Wall DIY?
You can decorate your wall DIY using stencils for custom designs, adding colorful fabrics, and incorporating decorative elements like washi tape or wood stains. Experiment with textures and install LED strips for a unique look.
What to Put in a Wall Organizer?
A wall organizer can hold mail, bills, and homework. It can also store craft supplies like scissors and paintbrushes, display jewelry with hooks, or keep tools and office supplies handy. It keeps everything organized and easily accessible.
What Is the Use of Wall Organizer?
Use a wall organizer to maximize vertical space, reduce clutter, and keep frequently used items accessible. It helps you stay organized by providing designated storage, enhancing your home's functionality and aesthetic appeal.


0 comments