
Organza gift bags are a beautiful and versatile way to package gifts for any occasion. These delicate, sheer bags add a touch of elegance to your presents while also allowing the recipient a sneak peek at what's inside.
Whether you're giving jewelry, candles, or small trinkets, DIY organza gift bags are the perfect way to package them. In this article, we'll discuss how to make organza gift bags, so you can customize them to suit your style and the occasion you're celebrating.
Key Takeaways
- Measure and cut the organza fabric to the desired size, making it 50% larger than your gift.
- Fold the fabric in half and sew the sides to create a pouch.
- Fold and sew the top edge to create a drawstring channel, leaving small openings for ribbon threading.
- Thread the ribbon through the channel using a safety pin, tie knots at each end, and pull to close the bag securely.
- Trim excess fabric, turn the bag right-side out, and your organza gift bag is ready for use!
Prepare the Essential Materials
To get started on your organza gift bags, you'll need a few essential materials.
- First, grab some organza fabric, which is perfect for creating elegant bags.
- Scissors are a must-have for cutting the fabric accurately to your desired dimensions.
- A thin needle is crucial for sewing to avoid snagging the delicate organza.
- Next, you'll need a double-faced satin ribbon for a luxurious and strong drawstring closure.
- For added flair, consider using embellishments like beads or decorative stitching to customize and enhance your bags.
These materials will set the foundation for beautiful organza gift bags. Gather these items, and you'll be ready to start crafting!
How to Make Organza Gift Bags: A Step-by-Step Tutorial
Now that you've gathered your materials, let's get started with the step-by-step instructions.
Step 1: Measure and Cut the Organza
Start by determining the desired size of your organza gift bag. For a comfortable fit, make sure it's about 50% larger than your gift.
Cut a rectangular piece of organza fabric. The width should be twice the desired width of your finished bag plus 1 inch (for seam allowance). The height should be your desired height plus 2 inches (for hemming the top).
For a standard small gift bag, you might cut a piece that is 10 inches by 8 inches.
Step 2: Fold and Sew the Sides
Fold the rectangle piece in half with the right sides together. Pin along the two sides adjacent to the fold.
Sew along the pinned edges using a 1/4-inch seam allowance. This will create a pouch with an open top.
Step 3: Create the Drawstring Channel
With the sides sewn, fold the top edge by about 1/2 inch and press it flat. Sew a straight line along this fold to secure the hem.
Next, sew the other parallel line down from the top of the bag, but be sure to leave a small opening at each end for threading the ribbon. This will create a neat channel for your drawstring.
After sewing, trim any excess fabric at the corners to reduce bulk.
Step 4: Add the Ribbon and Finish Up
To add the drawstring, attach a safety pin to one end of the ribbon and thread it through the casing from one opening to the other.
Once threaded, ensure the ribbon is of equal length on both sides. Tie a knot at each end of the ribbon to prevent it from slipping back through the casing.
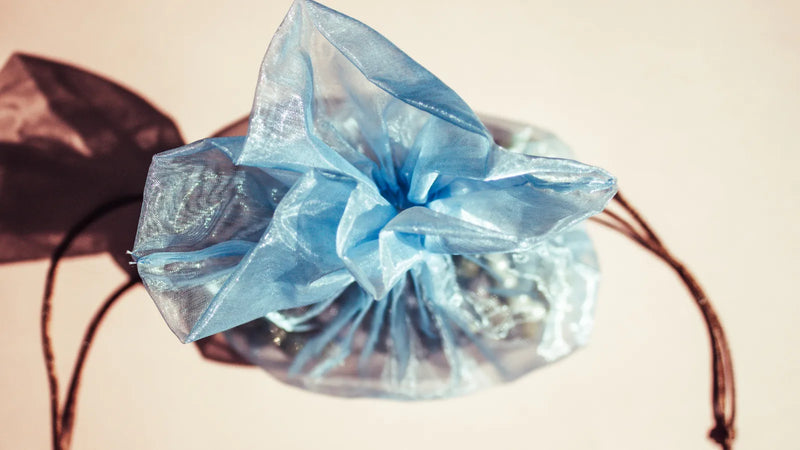
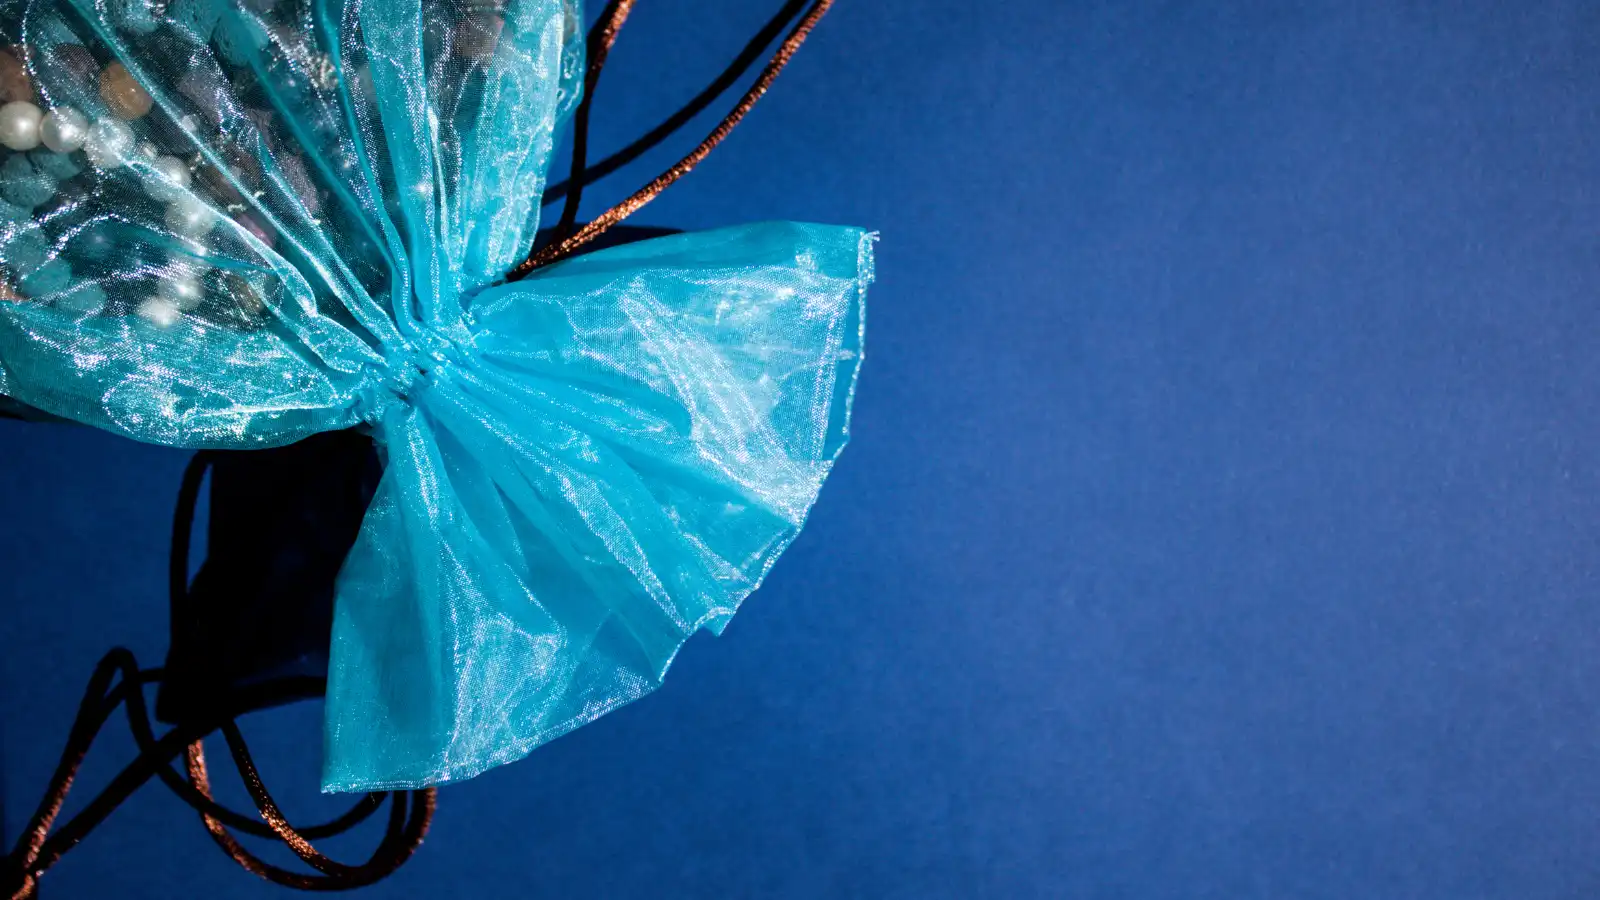
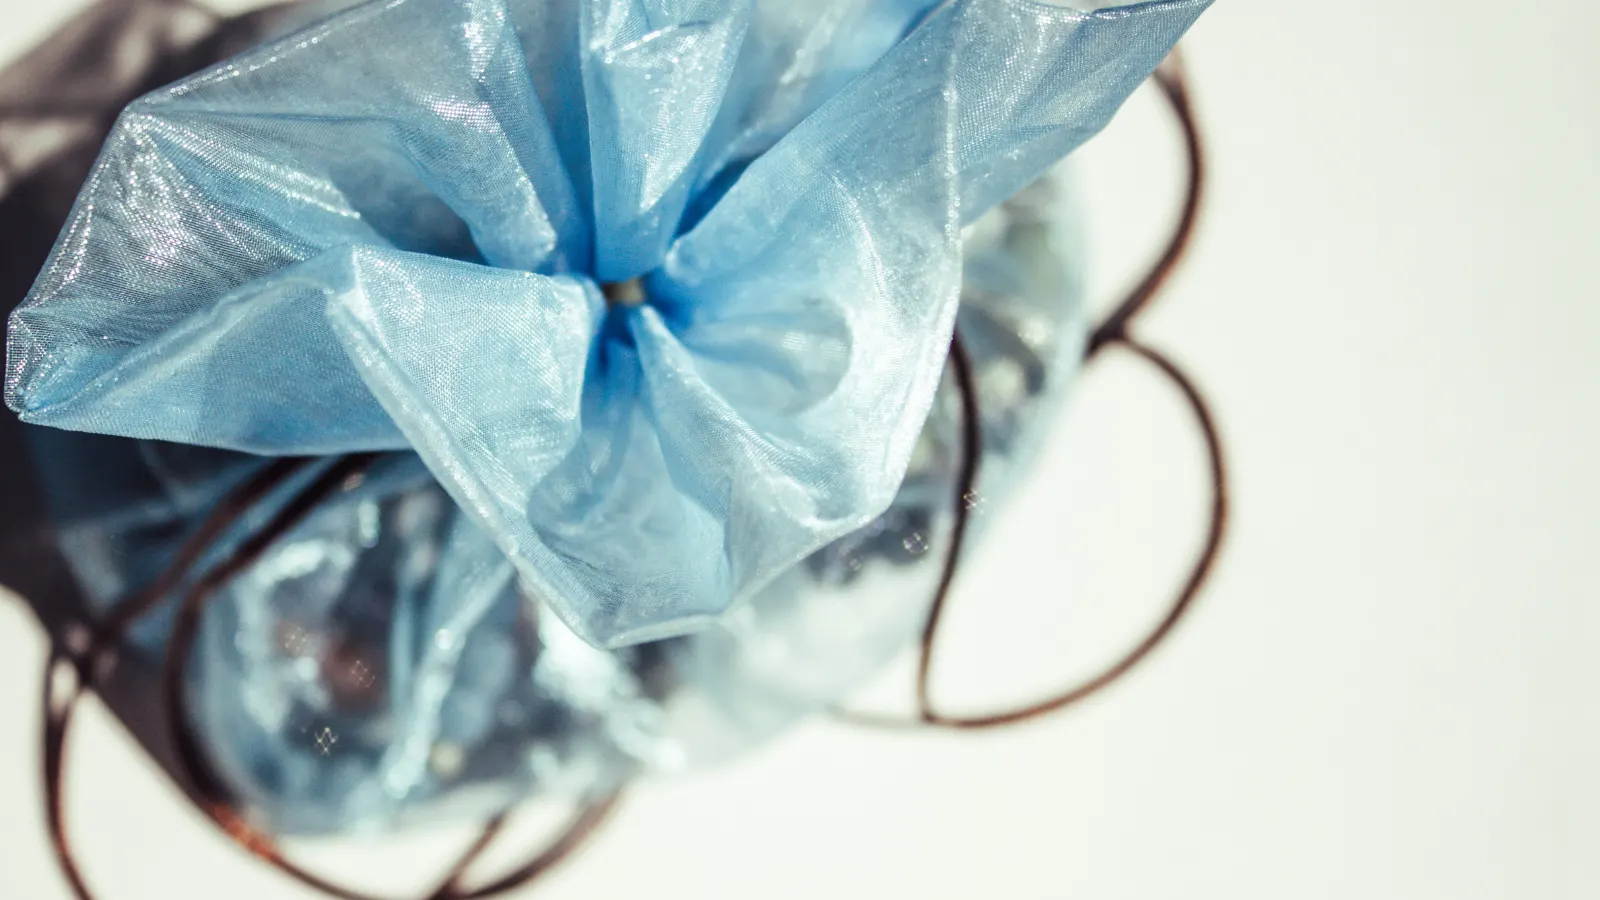
Turn the bag right-side out. Pull the ribbon to close the bag securely. Your organza gift bag is now ready to use!
How to Decorate Organza Gift Bags (Optional)
Now that your organza gift bag is ready, let's look at some optional decorations to make it special.
Fabric Paints and Markers
Adding a personal touch to your organza gift bags with fabric paints and markers can elevate them from simple packaging to cherished keepsakes.
- Start by ensuring the organza fabric is clean and dry for optimal adhesion.
- Using fabric paints, you can create personalized designs that reflect the recipient's personality. Stencils are also a great way to achieve intricate and consistent patterns.
- Test your paints or markers on a scrap piece of organza first to check for color fastness and desired effects.
- After decorating, let the designs dry completely to avoid smudging.
This simple step will transform your organza gift bags into unique, handmade treasures that add a special touch to any gift.
Embroidery
In addition, you can further enhance your bag's beauty and uniqueness by incorporating delicate embroidery designs.
Use lightweight embroidery thread that complements the transparency of the organza. Simple motifs such as flowers, hearts, or geometric shapes enhance the aesthetic best.
Start by finishing the edges of the organza with a zigzag stitch to prevent fraying. Experiment with various stitches, such as satin stitch or running stitch, to add texture and depth to your designs.
Beads and Sequins
Hand-stitching beads and sequins onto your organza gift bags can bring a delightful sparkle and personal touch to your creations.
- Start by selecting beads and sequins that complement your design.
- Securely attach these embellishments with a thin needle and strong thread.
- Arrange them in patterns or shapes, like flowers or stars, to enhance the bag's aesthetic.
- Leave some space between embellishments to maintain the lightweight and airy nature of the organza fabric.
- Mixing different sizes and colors can add depth and catch the light beautifully.
Charms and Tags
To give your organza gift bags a unique and personal touch, attach charms and tags using small jump rings or threading them onto the ribbon.
Charms add a decorative flair that can personalize each gift, making it special for the recipient. Custom tags crafted from cardstock or decorative paper provide space for a heartfelt message and elevate the overall presentation.
For a cohesive look, match the color scheme of your charms and tags with the organza fabric. Use a small hole punch to create an opening in the tag, then thread it through the ribbon to secure it.
Conclusion
You've now learned how to make beautiful organza gift bags! With just a few materials and steps, you can create elegant and personalized bags perfect for parties, weddings, and baby showers. For visual guidance, you can also consider watching a YouTube video.
Don't hesitate to get creative with embellishments like fabric paints, embroidery, beads, and charms.
Your handmade touch will surely impress your recipients and make your gifts even more special.
Now, grab your supplies and start crafting your stunning organza gift bags!
Learn more sewing projects on the Longancraft Blog, and dive into the fabric world with Longancraft!
FAQs
How to Make Easy Fabric Gift Bags?
To make easy fabric gift bags, cut a fabric rectangle 50% larger than the item. Sew the sides and bottom, turn inside out, create a drawstring casing, and thread a ribbon through. Personalize with embellishments.
What Can I Put in Organza Bags?
You can fill organza bags with jewelry, candles, chocolates, or dried herbs. They're great for party favors like candies or mini toiletries. You can also use them to organize travel accessories or as aromatic sachets for drawers and closets.
How to Make a Gift Bag Step-by-Step?
To make a gift bag, cut fabric, fold it, and stitch the sides. Turn it inside out for a clean finish. Hem the top for a casing, thread a ribbon, and you've got a beautiful gift bag!
Can I Put Food in Organza Bags?
You shouldn't put food in organza bags because they're not food-safe. They can absorb odors and aren't airtight, which might affect the food's quality. Instead, use containers specifically designed for food storage.
0 comments