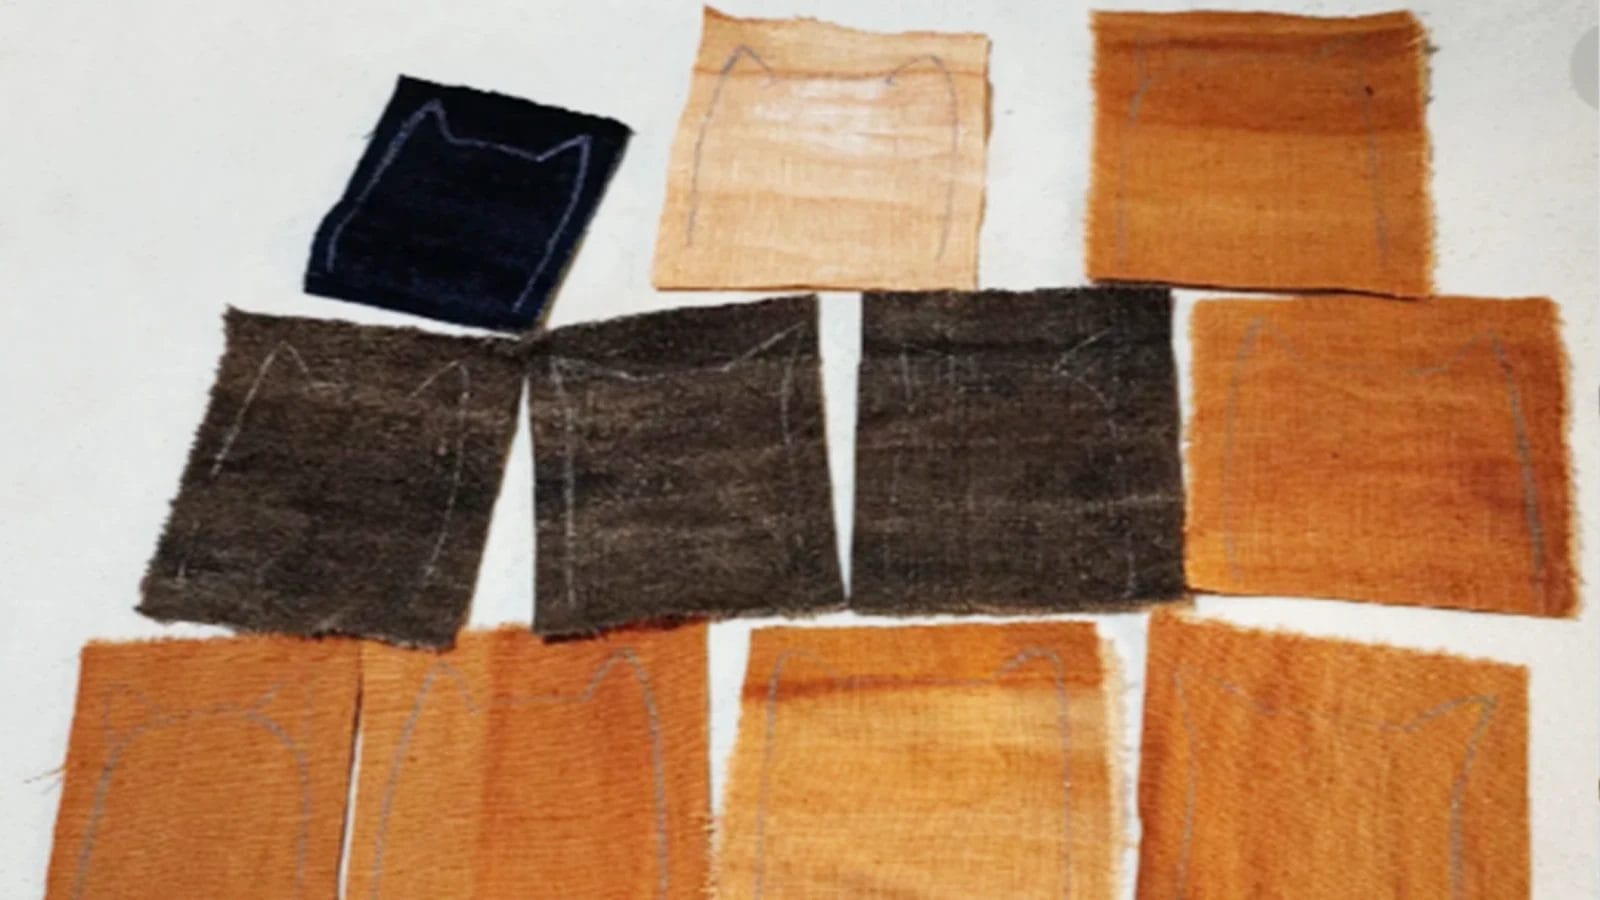
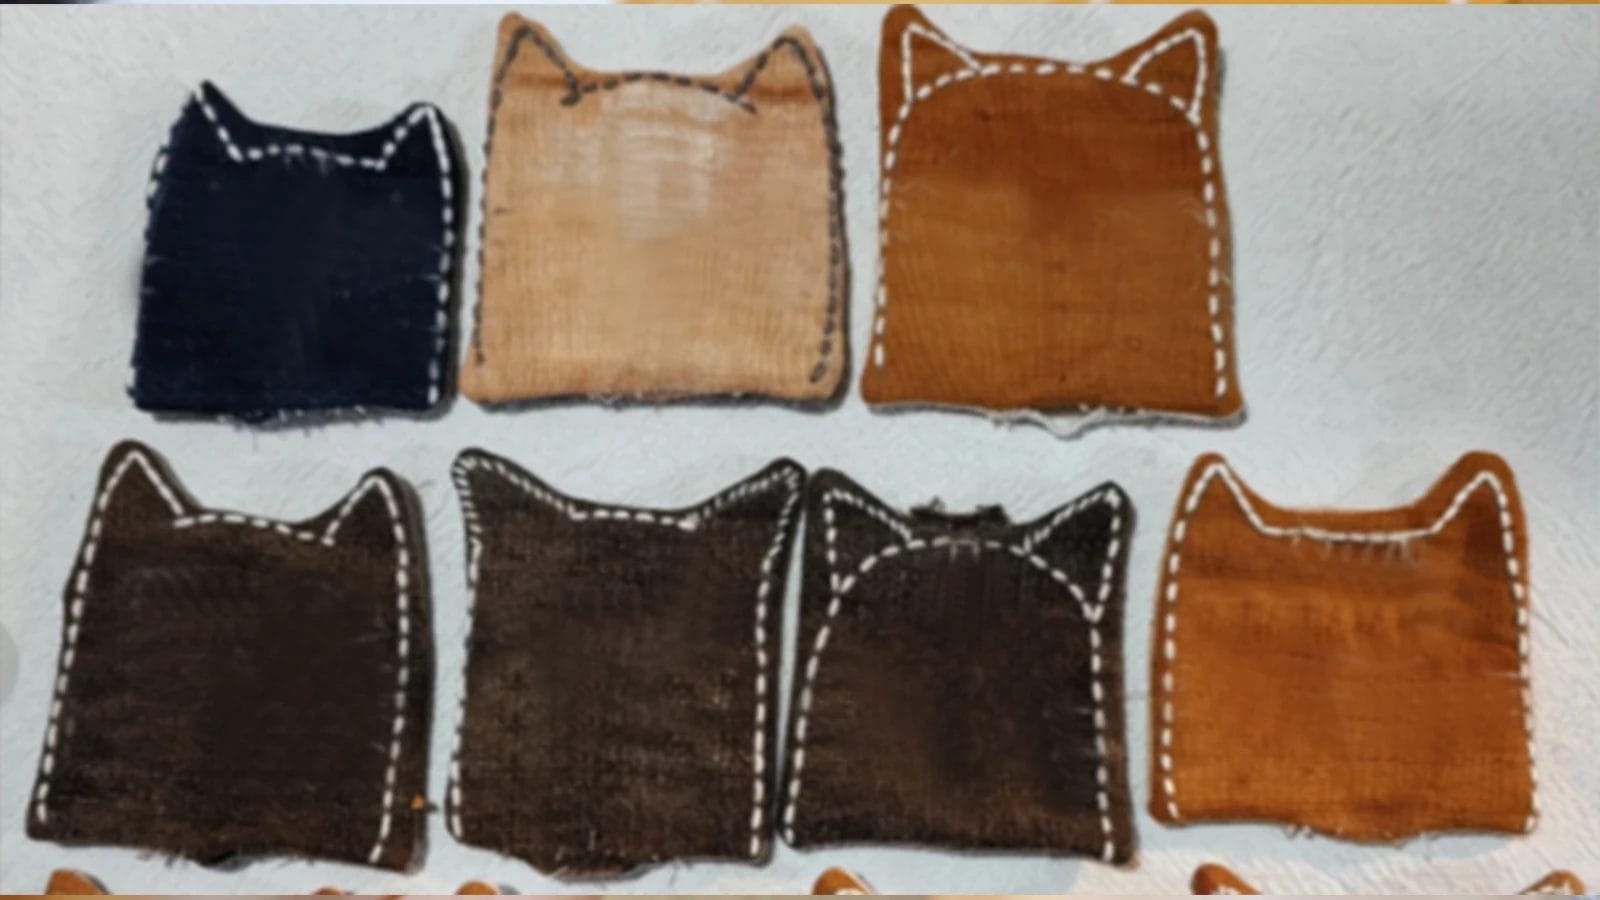
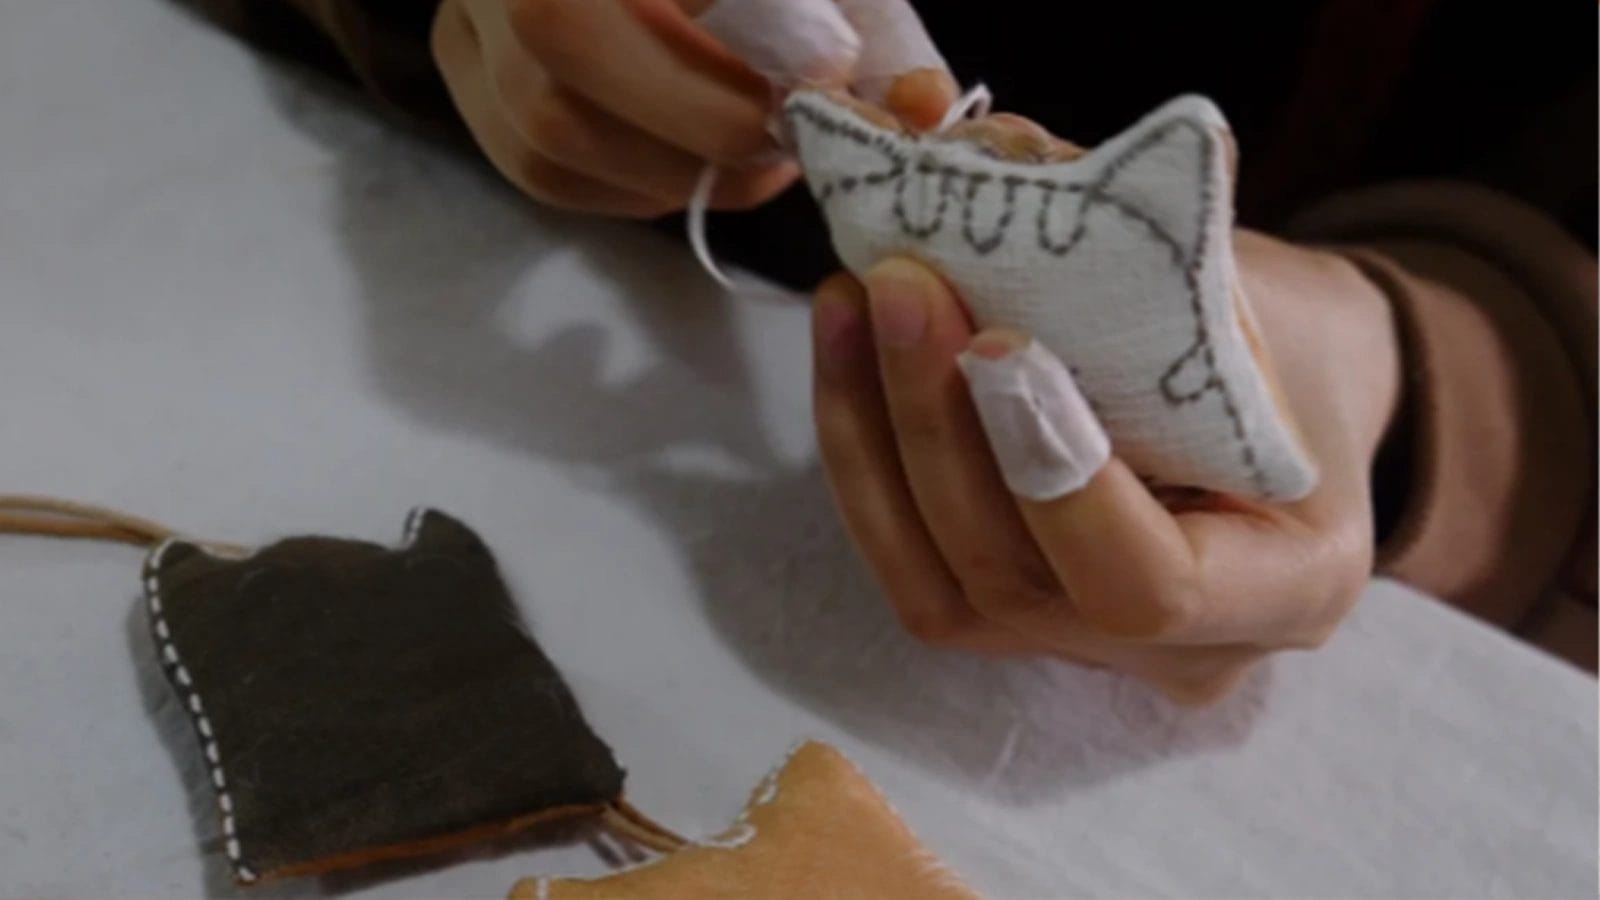
Making cat hanging ornaments from fabric scraps is a simple yet charming way. You'll start by cutting two equal-sized squares from your chosen fabric remnants. Drawing and embroidering a cat shape on one piece brings the design to life. Then stitch the pieces together and add filling. Don't forget to attach a decorative string for easy hanging. This project not only uses up leftover materials but also offers a unique, handmade element to your space. Curious about the detailed steps and tips for each stage?
Key Takeaways
- Cut two equal-sized square fabric pieces from fabric scraps.
- Draw and embroider a cat design on one square fabric piece.
- Stitch the two fabric pieces together, leaving a small opening.
- Flip the fabric right side out and stuff with cotton filling.
- Add a decorative string through the opening for hanging.
How to Make Cat Ornaments
Let's get started on your adorable cat hanging ornaments!
Step 1: Cut two square fabric pieces of equal size.
Start by cutting two square fabric pieces of equal size from your stash of fabric scraps. Choose solid color fabric remnants to give your ornaments a unique and personal touch. Each square should be sturdy enough to maintain its shape. So consider using cotton or a fabric with a bit of heft.
Step 2: Draw a cat shape on a piece of fabric.
With your fabric squares ready, it's time to draw the charming cat shape. Start by either using a template or freehand drawing a simple cat silhouette directly onto one piece of fabric. Think about adding a cute nose, pointy ears and rounded eyes to give it character.

Step 3: Embroider a cat shape by hand.
Bring your cat hanging ornament to life by embroidering this cat design directly onto the fabric. Start by using a simple back stitch or running stitch to outline the cat shape you've traced. To add personality, fill in details like eyes, whiskers, and a tail with small stitches. Experiment with different embroidery techniques to make each cat unique.

Step 4: Take out another piece of fabric and place the two fabric pieces right side to right side. Then stitch along the cat shape, leaving a small opening on top for turning over.
Carefully place the two fabric pieces with their right sides facing each other, ensuring the edges align perfectly. Once aligned, use pins to hold the fabric in place. With your sewing machine or by hand, stitch around the cat shape, leaving a small opening at the top. This opening will be essential for turning the fabric right side out later. Keep your stitches close to the edge, about a little seam allowance.

Step 5: Flip from the small opening to the front of the fabric and stuff it with cotton filling.
Now that you've stitched the edges, flip the fabric right side out through the small opening. Take a moment to admire the cute cat before you begin stuffing.
Use small amounts of cotton filling, gently pushing it into the corners and edges. Be careful not to overstuff; you want your cat hanging ornament to maintain its shape.

Step 6: Put the decorative string at the small opening, securing it with thread.
Thread a decorative string through the small opening at the top of your cat ornament. Use a needle and matching thread to secure the string in place. Stitch at the small opening, ensuring it's firmly attached. For added durability, double or triple stitch, especially if the hanging ornament will be handled frequently.

Conclusion
And there you have it! With just a few fabric scraps, basic sewing supplies, and a dash of creativity, you've made adorable cat hanging ornaments. These charming decorations are perfect for adding a whimsical touch to your home or gifting to fellow cat lovers.
Plus, they're eco-friendly and budget-friendly! Hang them on your tree, use them as gift toppers, or even decorate your workspace. Enjoy the satisfaction of transforming simple remnants into delightful, handmade treasures.
Learn more sewing projects on the Longan Craft Blog, and dive into the fabric world with Longan Craft!


0 comments