
Creating your own fabric butterfly wind chimes is a delightful and rewarding craft project that brings a touch of whimsy to any space. This guide will walk you through the steps to design and assemble these charming decorations using simple materials and techniques.
Whether you're an experienced crafter or a beginner looking for a fun project, making these wind chimes is a wonderful way to spend an afternoon and add a personal touch to your room. Let's get started!
Key Takeaways
- Trace and cut out butterfly shapes from colorful fabric scraps. Then, glue two pieces together for each butterfly to create a layered effect.
- Add beads for decoration by carefully sewing them onto the fabric butterflies, following the contours of the wings for a textured look.
- Attach the butterflies to the fishing line or string. Then, tie them to the hoop at varying lengths to create a visually appealing design.
- Get creative by adding extra beads, decorations, or charms to customize your wind chime and make it unique to your style.
Prepare All the Materials
When it comes to crafting fabric butterfly wind chimes, you should prepare the following materials:
- Fabric Scraps: Assorted colors and patterns.
- Embroidery Hoop: Any size, but typically, a smaller size works best.
- Butterfly Templates: You can print these out or draw your own.
- Needle and Thread: For sewing the butterflies.
- Scissors: Sharp ones for cutting fabric.
- Glue: Fabric glue or a hot glue gun.
- Beads: For decoration and adding weight to the chimes.
- Fishing Line or String: To hang the butterflies and beads.
- Small Bells: Optional, for additional chime sounds.
- Ribbon or Twine: To hang the entire wind chime.
With these materials, you can create a beautiful and functional piece of art that resonates with the beauty of nature.
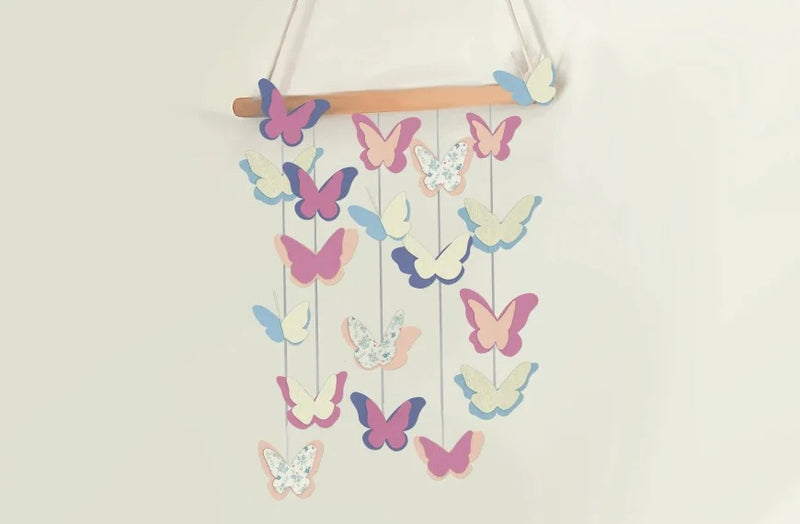
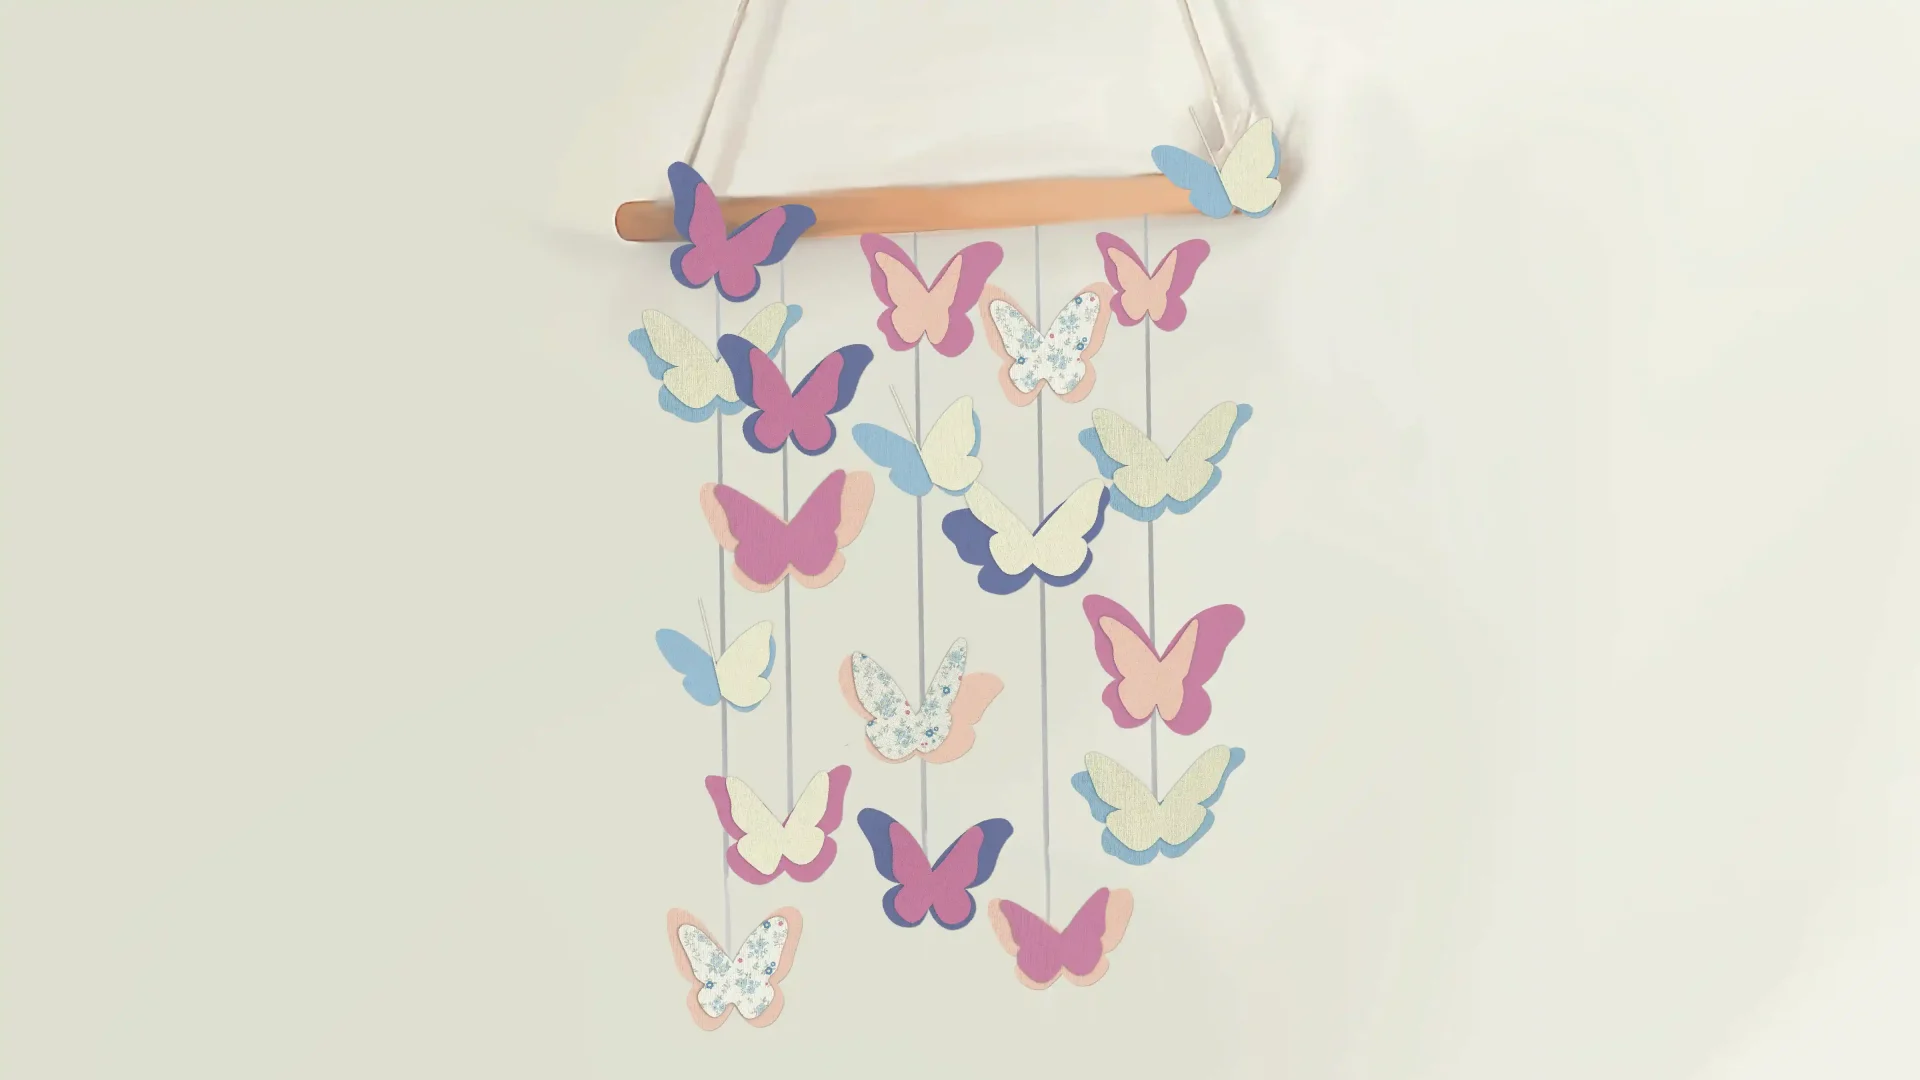
How to DIY Fabric Butterfly Wind Chimes
Now that you've gathered your materials, it's time to bring your fabric butterfly wind chime to life.
You'll start by tracing and cutting out butterfly shapes from fabric. Then, glue two pieces together for each butterfly.
Next, you'll add beads for decoration and attach the butterflies to the fishing line or string, eventually tying them to the hoop at varying lengths.
Step 1: Trace and cut out butterfly shapes
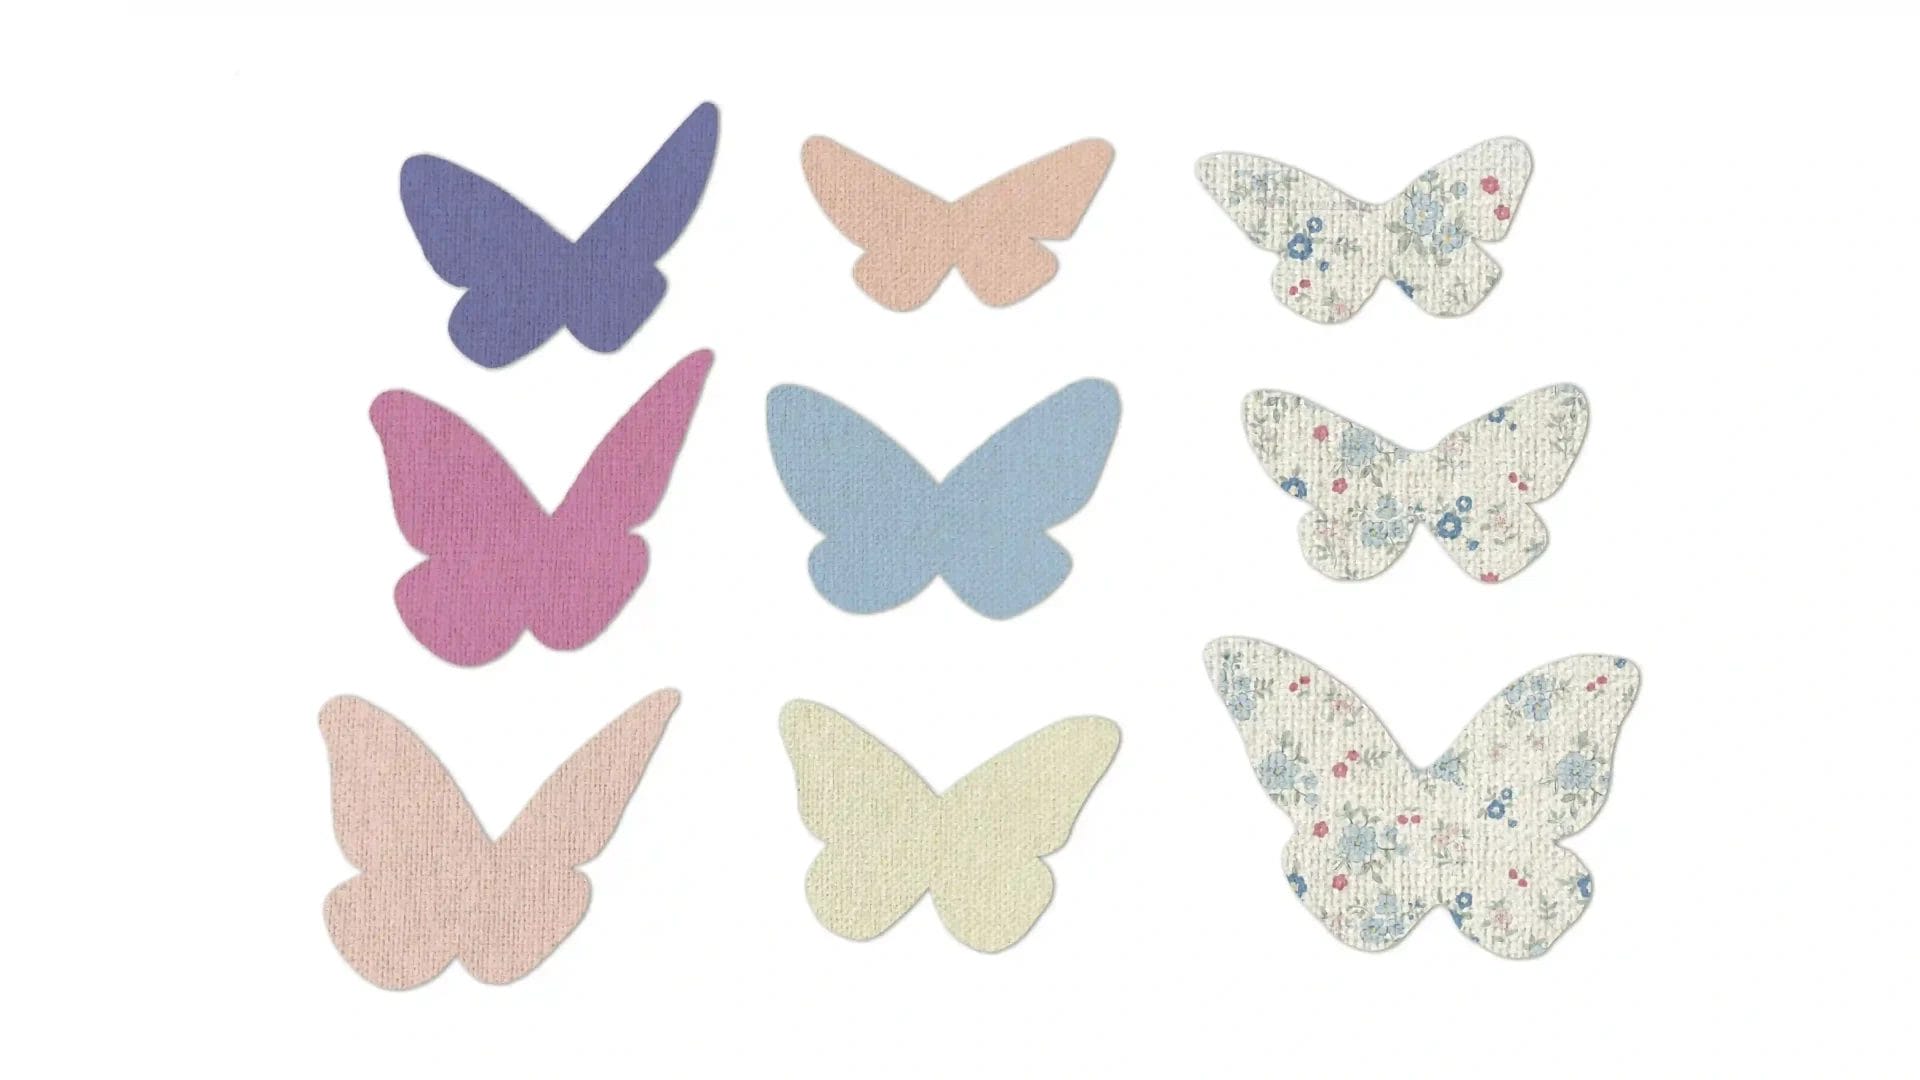
To begin, choose colorful fabric scraps to enhance the visual appeal of your wind chime. With your templates in place, carefully trace the butterfly shape onto the fabric. Use sharp scissors to cut out the fabric butterflies. Make sure to cut along the traced lines carefully to avoid frayed edges.
You can create multiple butterfly shapes in varying sizes to add a dynamic touch to your wind chime design. Experiment with different fabrics, such as silk, satin, or cotton, to add texture and variety to your fabric butterflies.
Step 2: Glue the butterfly pieces
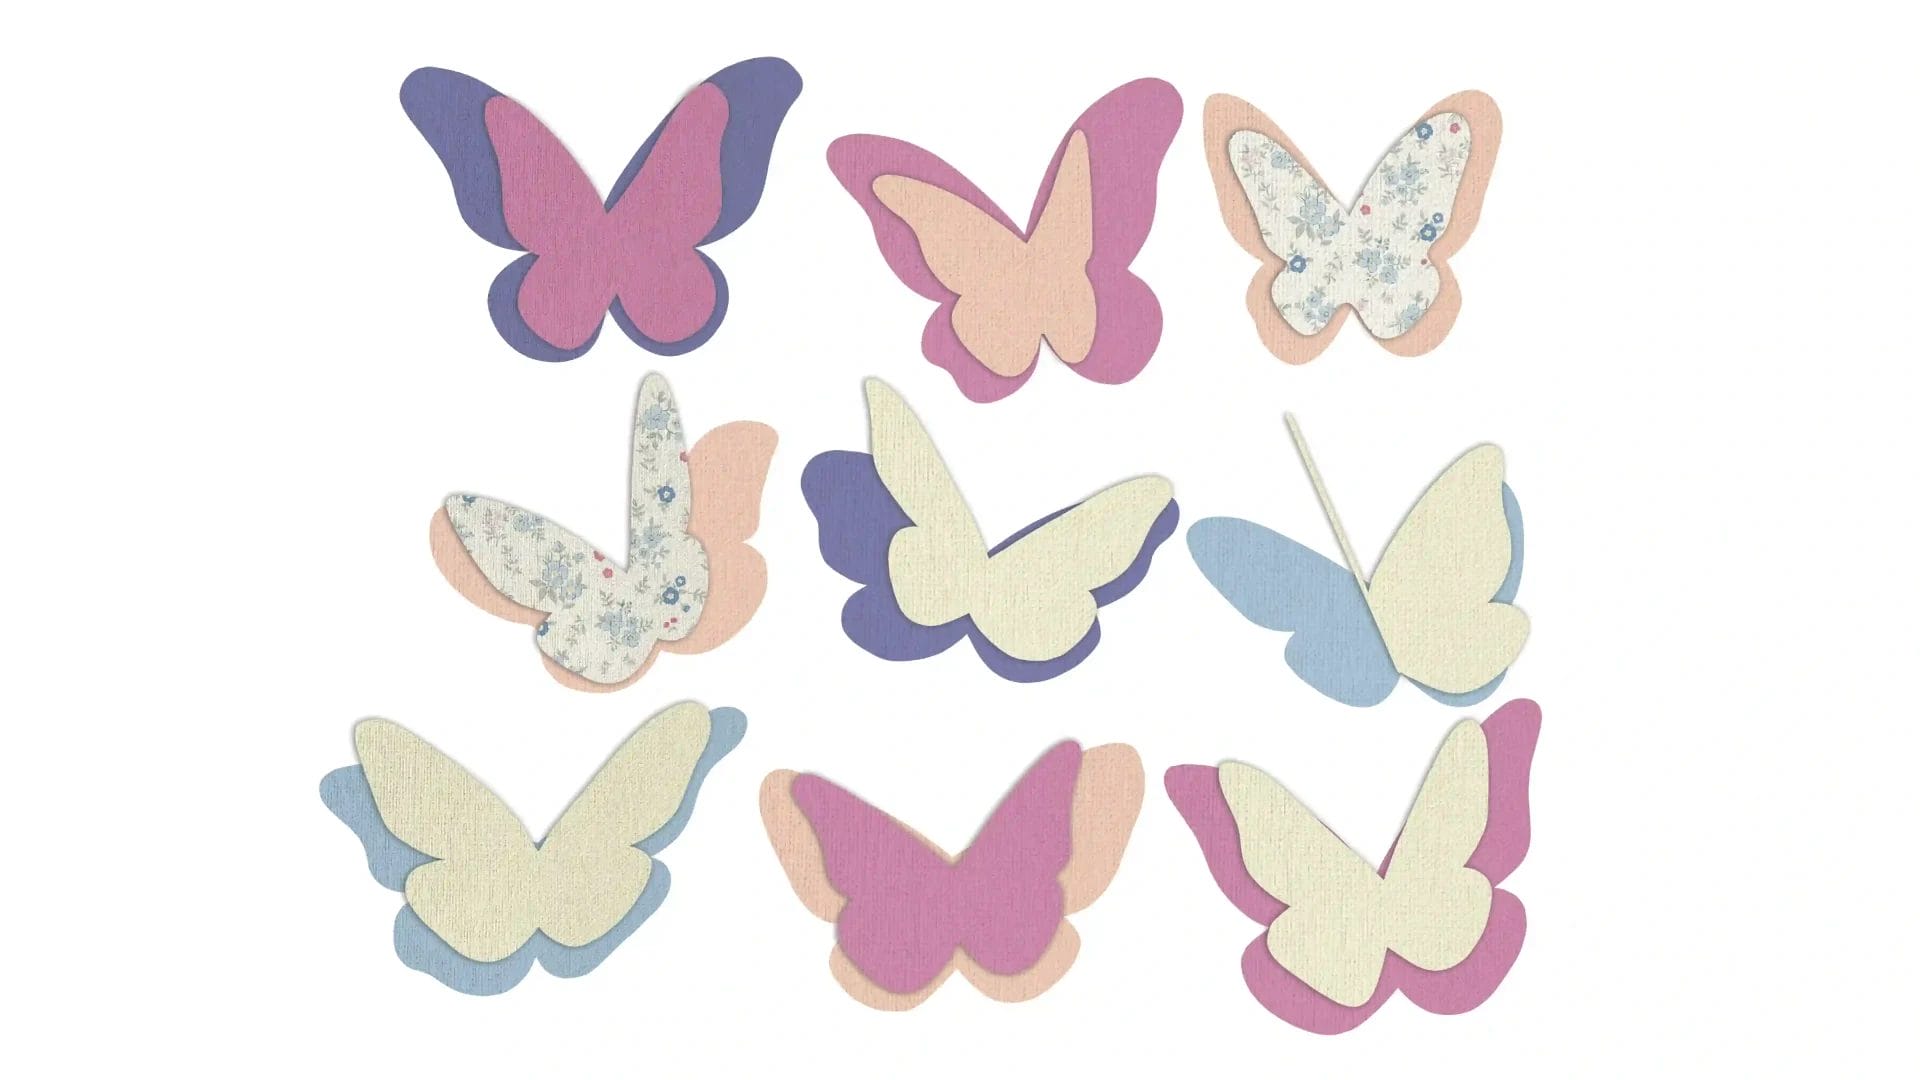
Start combining your fabric butterflies by applying a thin, even layer of fabric glue in the center of one butterfly piece.
Next, place the second butterfly piece on top and press the centers together firmly. The pressure will help the glue bond the fabric together. Here, for a unique look, you can try two pieces in different colors or patterns.
Following the manufacturer's instructions, let the glue dry completely before handling the fabric butterfly.
Repeat this process to create multiple fabric butterflies for your wind chime project. In addition to glue, you can also stitch the two pieces together.
Step 3: Attach beads to butterflies
Attaching beads to your fabric butterflies can add a beautiful and intricate touch. To start, gather a selection of beads in various sizes and colors that complement your butterfly design.
Using a fine needle and strong thread, carefully sew the beads onto the fabric, following the contours of the butterfly’s wings. Secure each bead with a knot to ensure they stay in place.
This technique can create stunning, textured patterns that make your butterflies truly stand out.
Step 4: Attach butterflies to the hoop
To attach the butterflies, use a lightweight fishing line or string that blends with the wind chime design. Then, thread the line through the butterfly decorations.
Next, tie the fishing line to the hoop at varying lengths, ensuring that each line is securely attached and spaced evenly apart.
Step 5: Add extra beads or decorations as desired
Now that your butterfly wind chime's foundation is set, you can get creative and add extra beads or decorations to give it a personalized touch that reflects your unique style.
You can enhance the aesthetic appeal of your wind chime by incorporating additional decorative elements, such as beads in coordinating colors or small bells for additional chime sounds. Experiment with different bead sizes, shapes, and textures to create a visually appealing design.
Consider adding themed charms or crystals to infuse a touch of whimsy or meaning into your decoration. By stringing additional beads or ornaments in a symmetrical or asymmetric pattern, you can customize the look of your wind chime and make it truly one-of-a-kind.
Conclusion
Following these simple steps, you can transform basic materials into charming fabric butterfly wind chimes. From selecting the fabrics to assembling the chimes, attention to detail ensures a beautiful result.
Whether for personal enjoyment or as a handmade gift, these wind chimes add a personal touch to any indoor or outdoor space. Enjoy the gentle melodies and vibrant visuals as your butterflies dance in the breeze, showcasing your creativity and craftsmanship.
Learn more DIY projects from the Longan Craft Blog, and dive into the fabric world with Longancraft!
0 comments