Are you ready to unleash your creativity and add a personal touch to your projects? Making a bow is not just a fun craft—it's a wonderful way to elevate your gifts, home decor, and fashion accessories!
With just a few simple steps, you can transform two fabric pieces into a stunning bow that showcases your unique style. Whether you’re a seasoned crafter or just starting out, this guide will inspire you to create beautiful bows that are sure to impress. Let’s get started on this exciting creative journey!
Key Takeaways
- Cut and sew two round and two square fabric pieces. The sizes depend on your desired bow size.
- Mark the diameter and diagonal line on the fabric pieces, then align them for stitching.
- Thread a needle, double knot, and stitch through the marked lines. Wrap the thread around the center 3-5 times for security, and finish with a knot.
- Cut a center strip from the same or contrasting fabric, apply glue, and wrap it around the bow's center. Allow the glue to cure.
- Enhance your bow with decorative items like beads or ribbons, using hot glue for attachment.
Prepare the Materials for Making Bows
When making a fabric bow, you'll need to gather specific materials and tools to ensure the best results.
- Fabric (cotton, satin, or any preferred type)
- Scissors
- Needle and thread or a sewing machine
- Fabric glue or hot glue gun
- Ruler or measuring tape
- Iron (optional, for pressing the fabric)
- Pins or clips
- Hair clip, band, or brooch pin (if you want to attach the bow to something)
How to Make a Bow Using Two Fabric Pieces: Step-by-Step Instructions
Now, let's learn how to make a bow using just two fabric pieces step by step.
Step 1: Make Round and Square Fabric Pieces

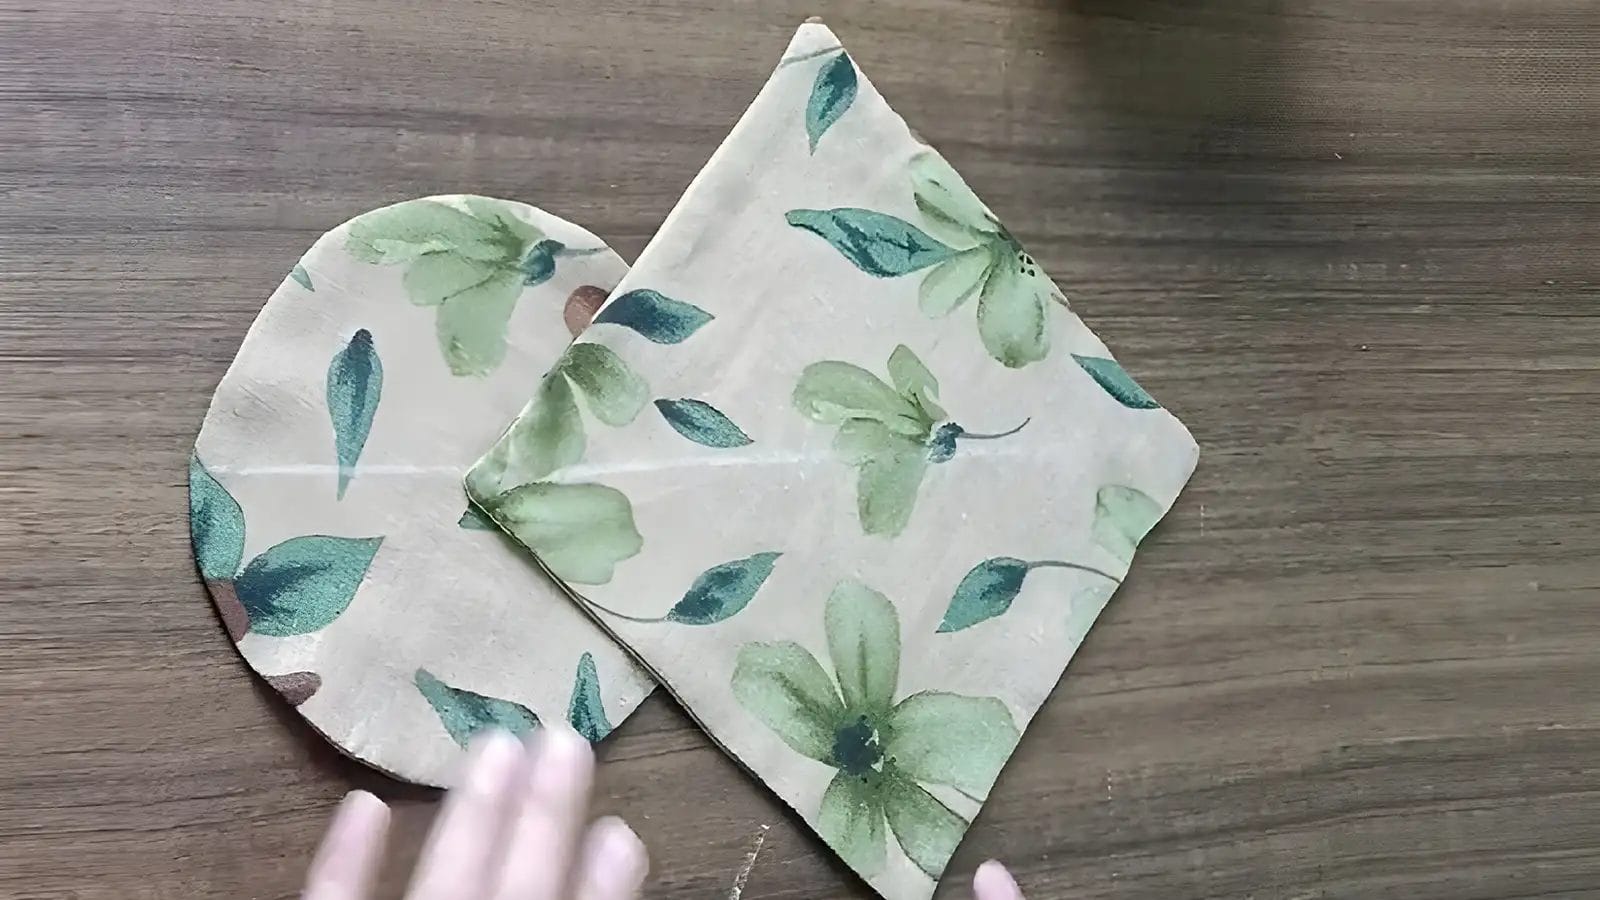
To make a fabric bow, create round and square pieces. They are essential for the bow's structure.
First, take a circular template and trace it onto your fabric. Carefully cut two fabric pieces and sew them together.
Next, measure and mark a square on the fabric. Make sure the square is bigger than the circle. Cut two square pieces and sew them together.
The sizes of the circle and square all depend on how large of a fabric bow you want.
Step 2: Mark and Align the Fabric Pieces
Identify and mark the diameter and diagonal line of the two fabric pieces.
Then, align the two lines to place the fabric.
Now, you're ready to proceed to the next step.
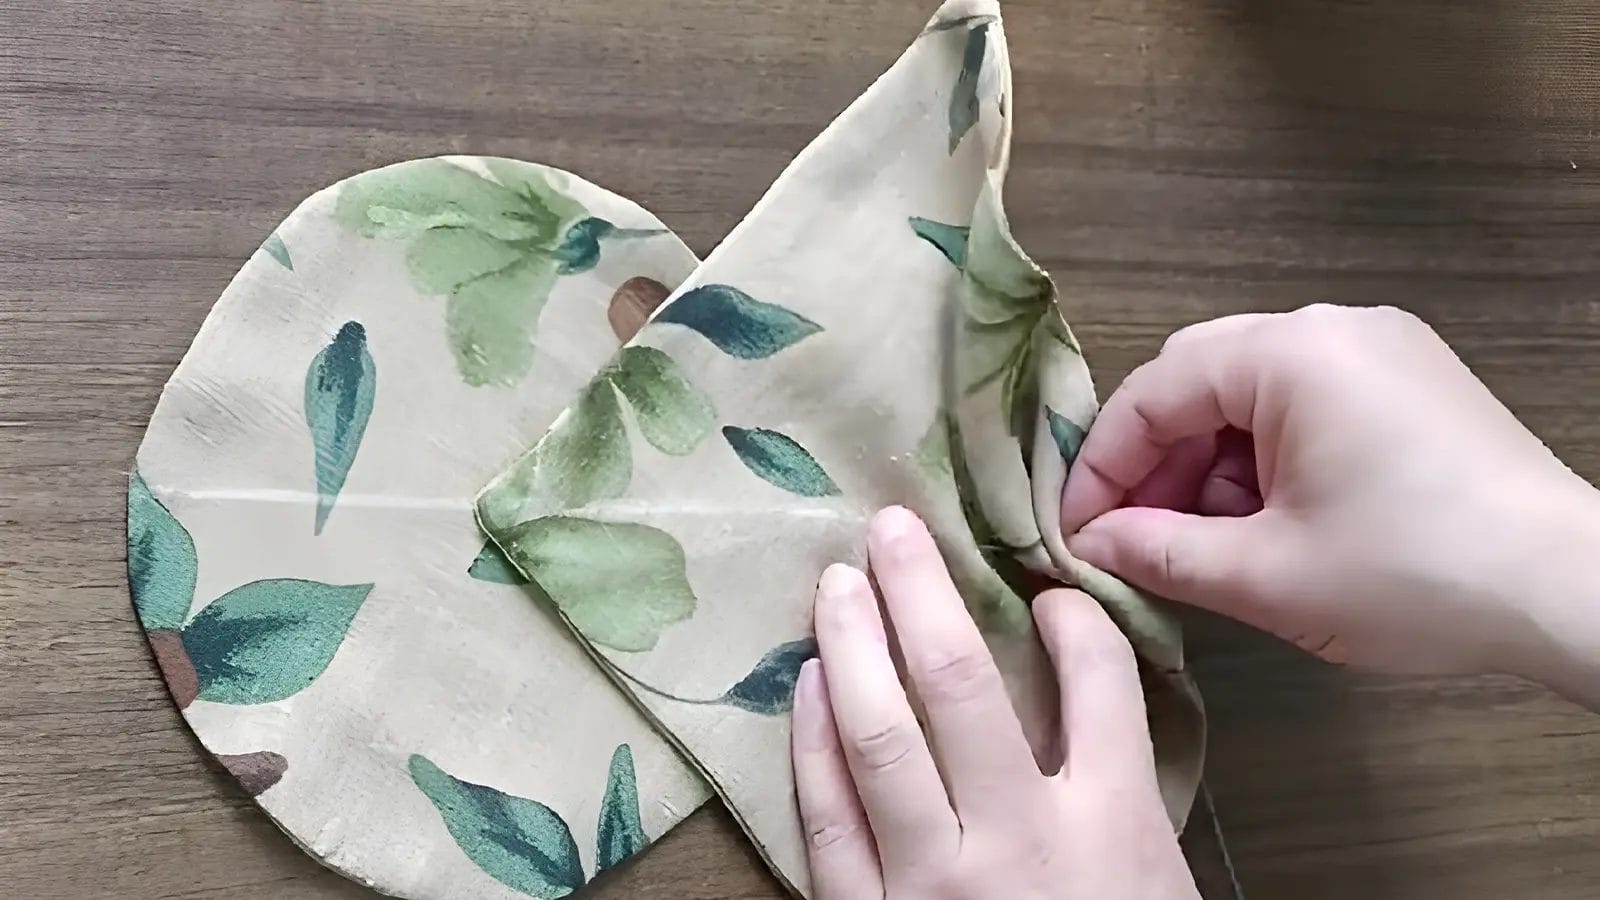
Step 3: Stitch Through the Fabric

With your fabric aligned, thread a needle and make a double knot.
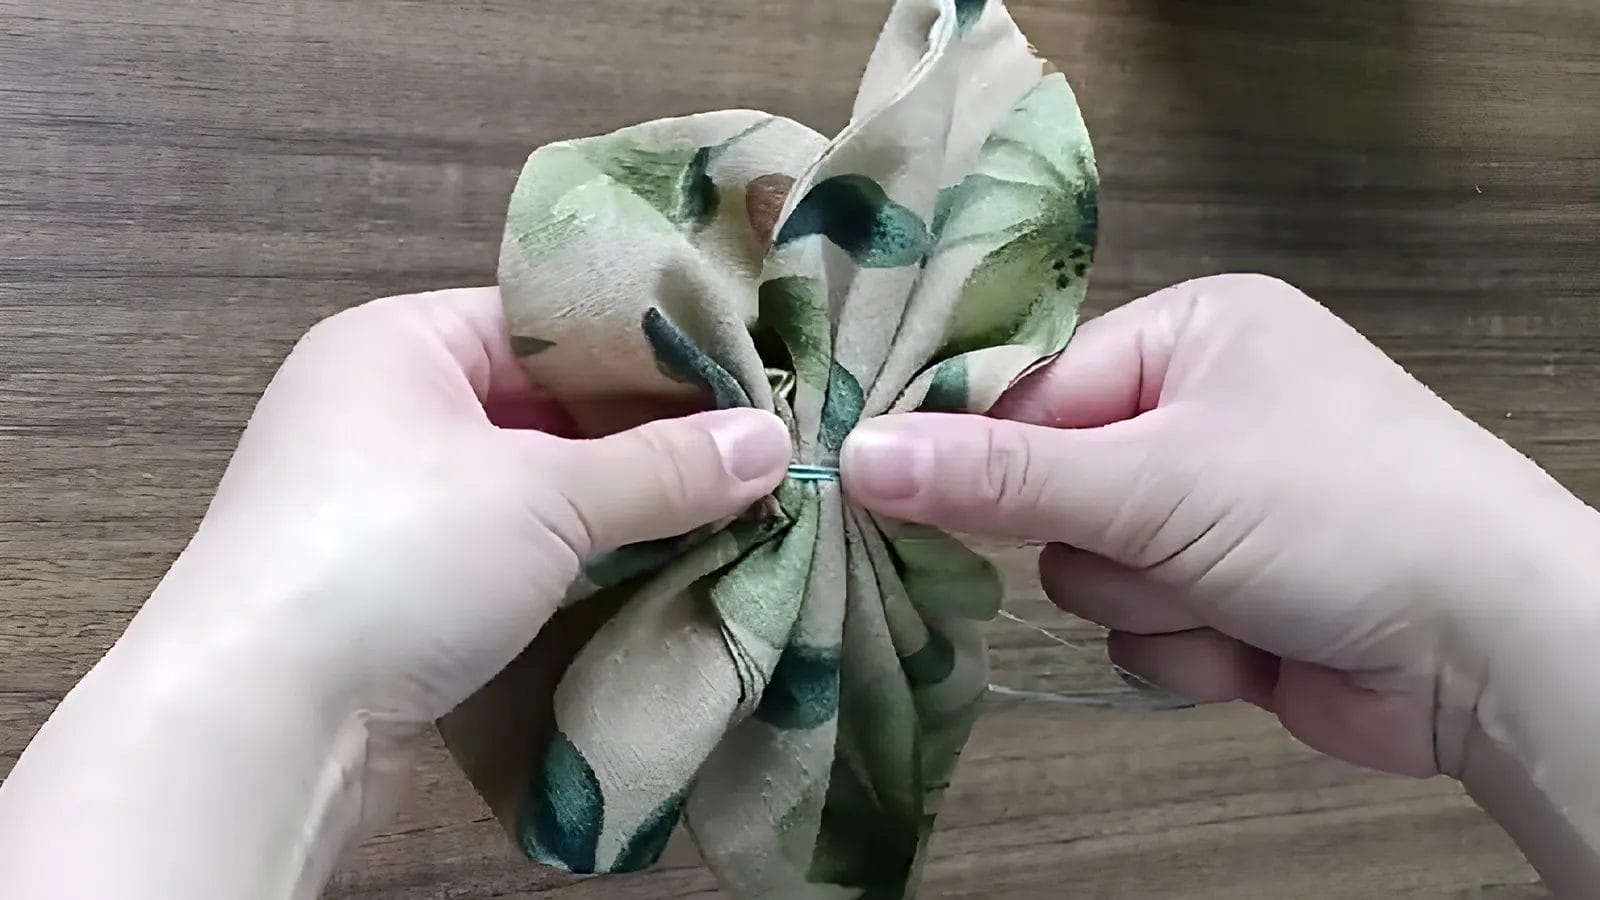
Stitch through the two lines until the end. Now, wrap the thread around the center a few times, typically 3-5 wraps, to secure the layers firmly.
To finish, sew a knot at the end of the thread to prevent it from unraveling.
Step 4: Glue a Center Strip

Cut a center strip to wrap around the middle using either the same fabric or a contrasting color. Apply the glue evenly to secure the strip.
Allow the glue to cure fully before moving on to the next steps.
Step 5: Add Embellishments (Optional)

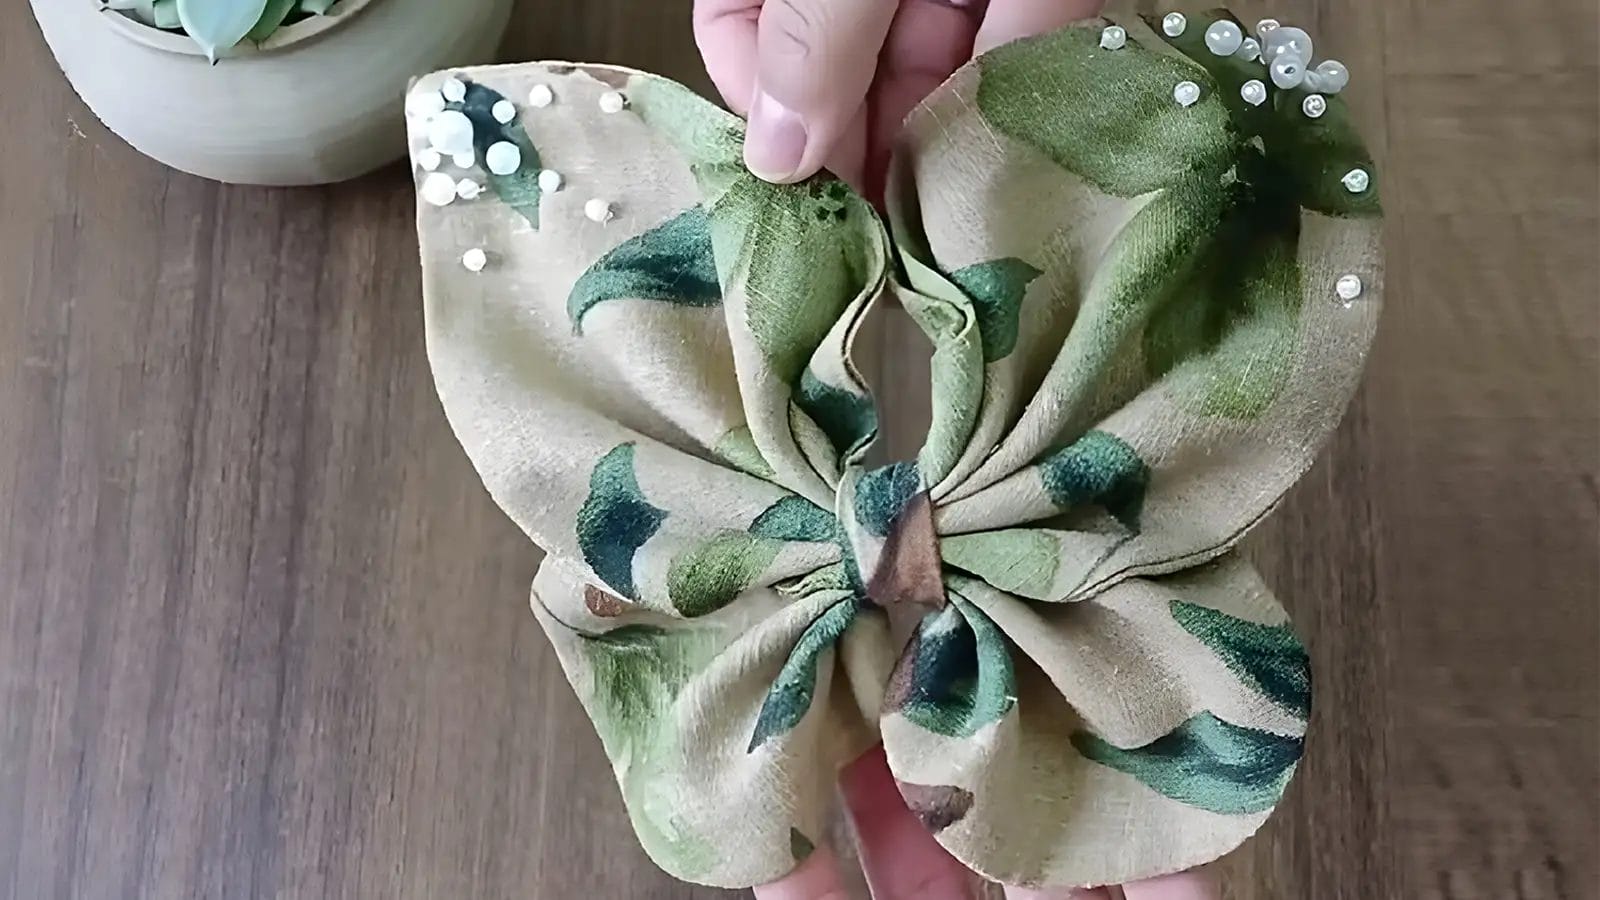
Although embellishments are optional, they can significantly enhance your bow's visual appeal. Start by selecting decorative beads, fabric flowers, or seasonal ribbons. Use hot glue to attach these embellishments securely to your bow.
Uses of Your DIY Fabric Bow
You can use fabric bows in a variety of ways to add charm and personalization.
- Gift Wrapping: Adds a personalized touch to presents, making them look extra special.
- Hair Accessories: Bows can be used as a stylish hair clip or headband decoration.
- Home Decor: Perfect for embellishing cushions, curtains, or table settings.
- Clothing Accents: Enhances dresses, blouses, or even shoes with a unique flair.
- Party Decorations: Ideal for adorning party favors, banners, or centerpieces.
- Craft Projects: DIY ribbon bows are great for scrapbooks, greeting cards, or handmade ornaments.
- Wreaths: Adds a beautiful touch to holiday or seasonal wreaths.
- Pet Accessories: Fabric bows can be used to decorate pet collars for a cute look.
- Event Backdrops: Used in photo booths or event decor for an elegant background.
- Bags and Purses: Enhances tote bags, clutches, or backpacks with a custom design.
Conclusion
You've now mastered the art of fabric bow making. With this bow tutorial, you can create stunning hair accessories, add unique touches to clothing, wrap gifts stylishly, and enhance your home decor.
Remember, practice makes perfect, so don't hesitate to experiment with different materials and techniques. Happy crafting, and enjoy the satisfaction of making a simple bow with your own hands!
Learn more sewing projects on the Longan Craft Blog, and dive into the fabric world with Longancraft!
FAQs
How Do You Make an Easy Bow?
You can make an easy bow by looping the ribbon into two equal-sized loops, pinching the center, and securing it with a thin ribbon or zip tie. Adjust the loops and tails to create a balanced, attractive bow.
How to Make a Bow Out of Thick Ribbon?
Start by cutting the ribbon into two lengths. Create three loops on each side, ensuring even spacing. Secure the center with a zip tie or wire, fluff the loops, and adjust the tails for symmetry.
How to Tie a Bow With Ribbon?
To tie a bow with ribbon, start by making two loops. Cross one loop over the other, pull it through the opening, and adjust the loops and tails. Tighten gently for a perfect bow.
How to Make a Bow Out of Ribbon Without Wire or Glue?
You can make a bow out of ribbon without wire or glue by layering strips, pinching the center, and securing it with a thin ribbon or pipe cleaner. Fluff the loops for a balanced look. It's easy and elegant!


0 comments