Are you ready to unleash your creativity and craft something truly delightful? Making a fabric apple is not only a fun project but also allows you to explore your sewing skills while creating a charming decoration or gift.
Whether you’re a beginner or an experienced crafter, this project is perfect for anyone looking to add a personal touch to their home or surprise a loved one. Grab your fabric and sewing supplies, and let’s dive into the enjoyable world of crafting a lovely fabric apple!
Key Takeaways
- Sketch and cut out a leaf-shaped template. The size of the template will determine the apple's size.
- Trace the template onto the fabric and cut out four pieces, marking the seam allowance for guidance.
- Sew the four fabric pieces together, leaving a gap for turning and stuffing.
- Turn the apple right side out, stuff it gently with batting, and sew the opening closed.
- Enhance your fabric apple by embellishing it with buttons or other decorative items for a unique touch.
Prepare the Essential Materials
When making a DIY fabric apple, you'll need a few specific materials to get started.
- Fabric (red, green, or any color you prefer)
- Thread (matching the fabric color)
- Needle
- Scissors
- Stuffing
- Sewing pins
- Fabric pencil or chalk
With these materials, you're ready to begin crafting.
How to Make a Fabric Apple: A Step-by-Step Tutorial
Now that your materials are ready, let's go through the easy steps to make fabric apples.
Step 1: Make a Leaf-Shaped Template
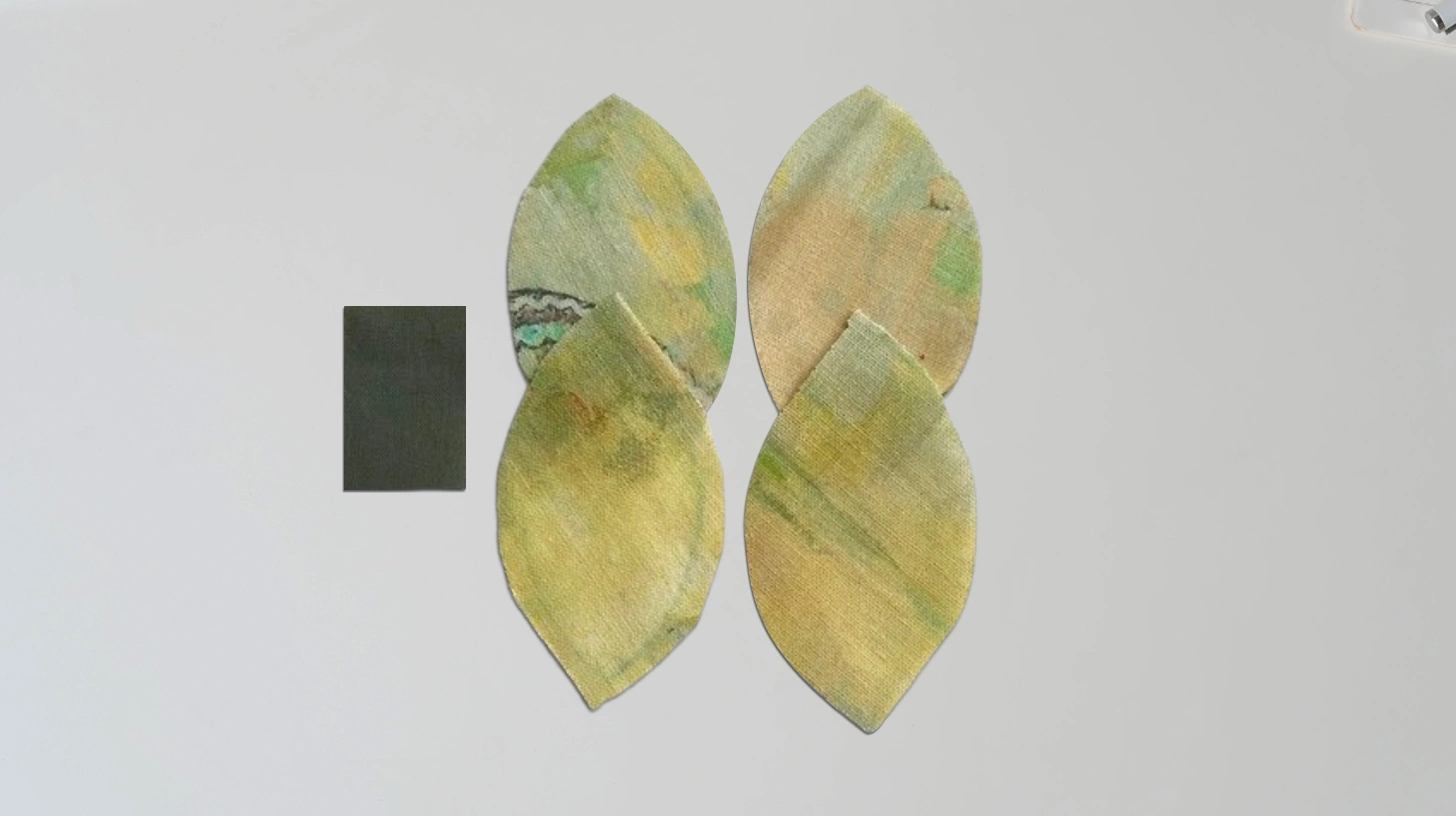
To create a leaf-shaped template, start by sketching a simple leaf outline on paper. Remember to leave enough seam allowance. Cut out this leaf shape from the paper to use as a guide. The size of the template decides how big your fabric apple will be.
Step 2: Cut Out 4 Fabric Pieces

Trace the template onto the fabric. Carefully cut out four pieces, ensuring you follow the traced outline closely for uniformity.
Use a fabric marker to mark the seam allowance, which helps with the later sewing process.
Step 3: Sew and Stuff the Apple

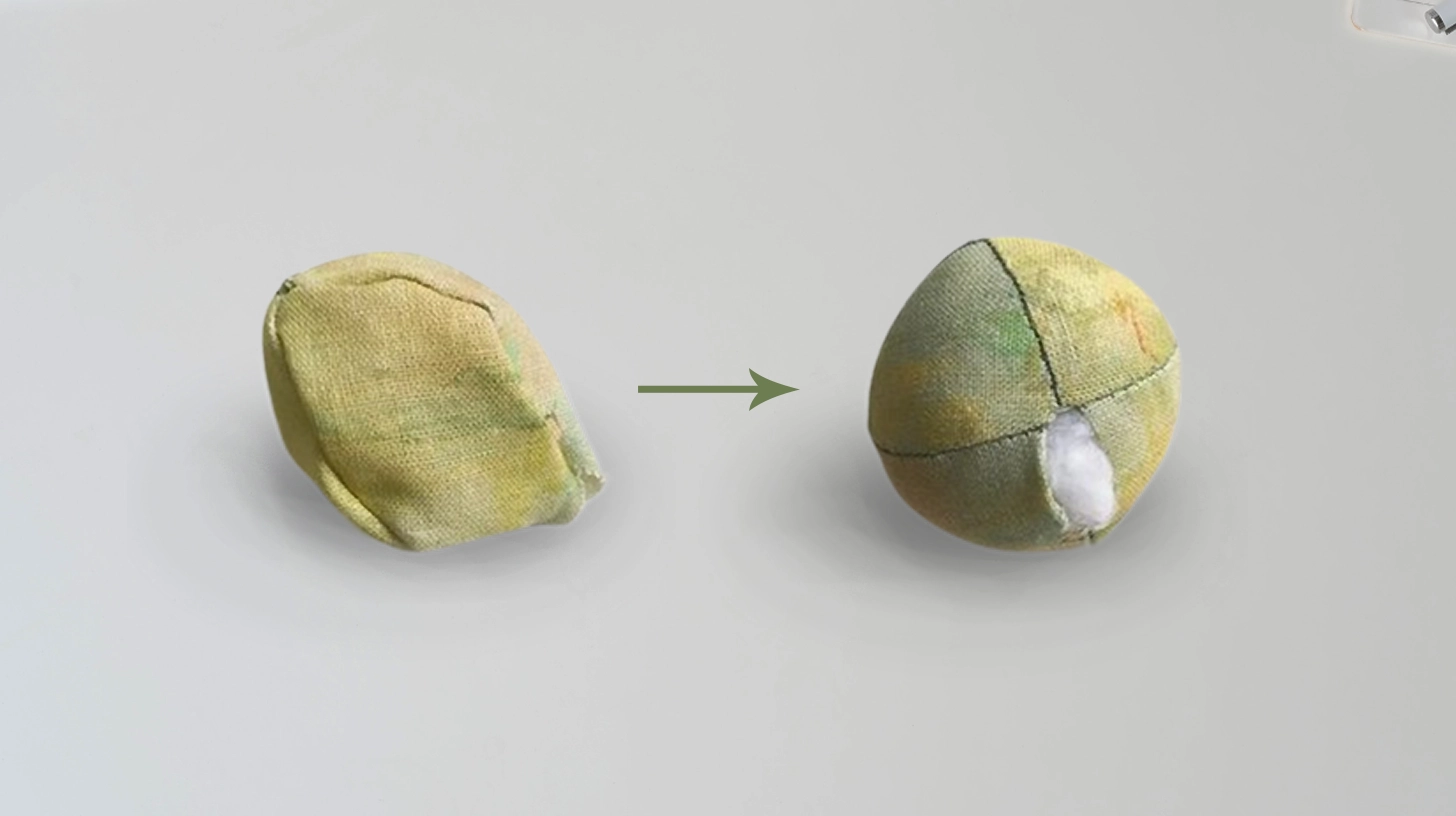
Sew the four apple pieces together using a 1/4-inch seam allowance, leaving a gap of about 2-3 inches for turning and stuffing. You can use a sewing machine for quicker results or hand-sew if you prefer.
After sewing, carefully turn the apple right side out through the opening. Gently stuff the apple with batting, using a pencil to push the stuffing into all corners for a rounded shape. Avoid overstuffing to maintain a puffy effect.
Once adequately stuffed, sew the opening closed.
Step 4: Add Details

Why not give your fabric apple some extra charm by adding a few thoughtful details?
Start by cutting a small leaf shape from green felt and attaching it to the top with a needle and thread or fabric glue.
To create a decorative finish, use contrasting thread colors to stitch along the edges of the apple.
Consider adding a folded red satin ribbon loop between the fabric layers before closing the apple so it can be hung as a decoration.
For added embellishing, sew on buttons or other decorative items.
Make sure the stuffing is evenly distributed to maintain the apple's shape.
These details will give your fabric apple a delightful and unique appearance.
Conclusion
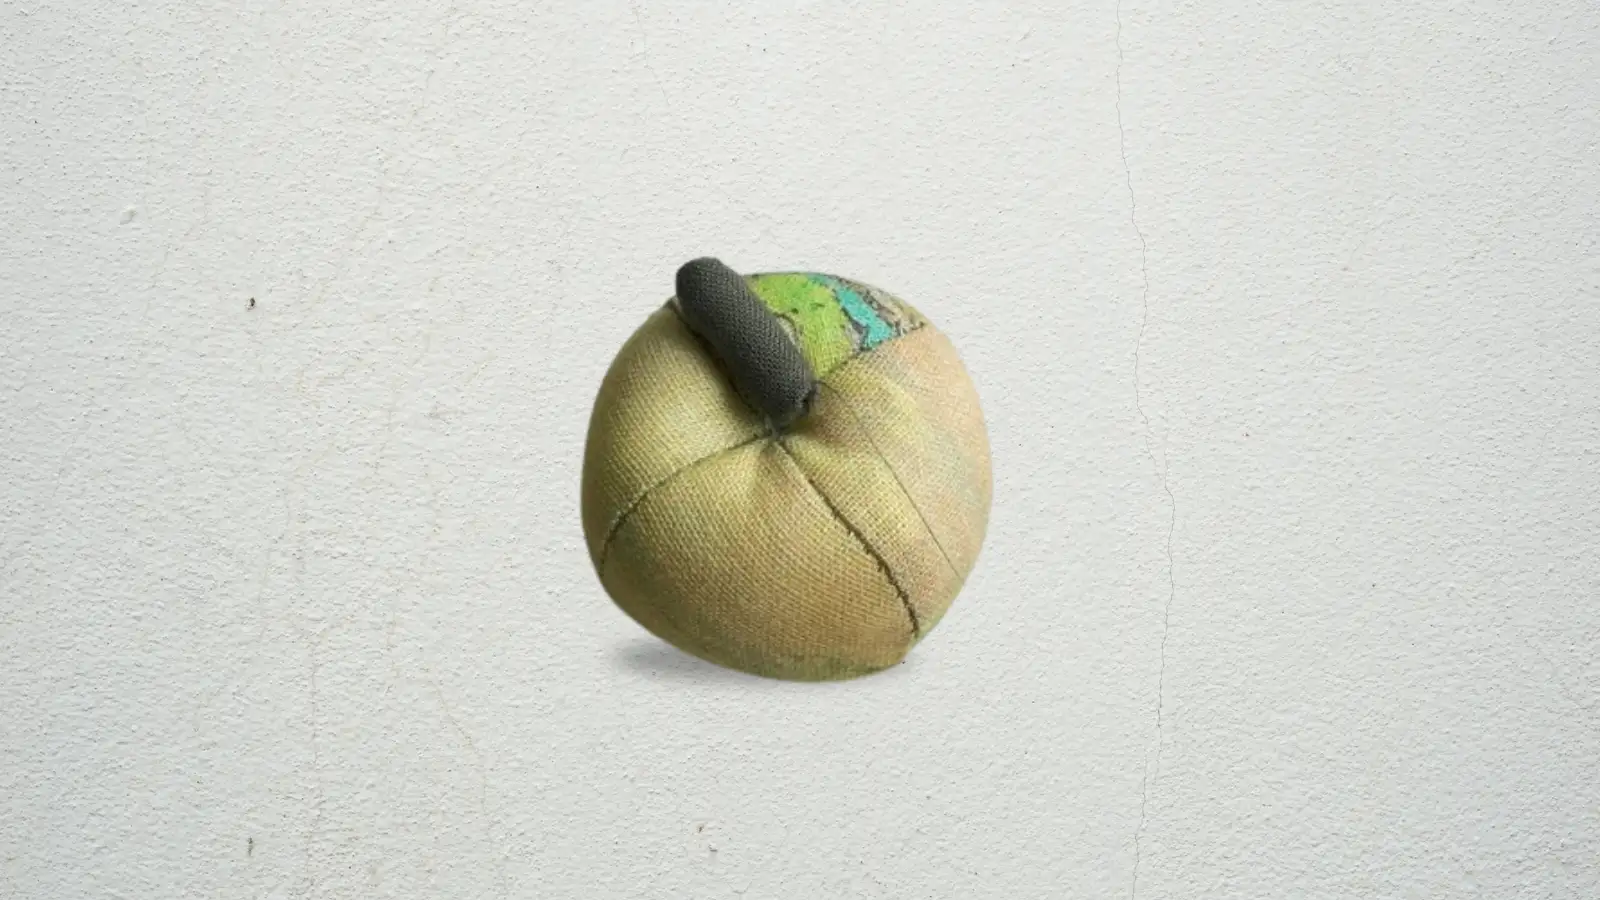
You've now crafted a delightful fabric apple, perfect for adding a touch of homemade charm to any space. With your new skills, you can experiment with different fabrics and embellishments to create unique designs.
Don't be afraid to get creative—these fabric apples make great gifts, festive decorations, or playful kitchen additions. Enjoy the satisfaction of your handiwork and the joy it brings to your home or to others. Happy crafting!
Learn more sewing projects on the Longancraft Blog, and dive into the fabric world with Longancraft!
FAQs
How to Sew a Felt Apple?
Cut two apple shapes from felt and sew them together, leaving an opening. Turn the right side out, stuff with batting, and close with a ladder stitch. Add a ribbon loop for hanging and a felt leaf for decoration.
How to Make a Mosaic Apple?
To make a mosaic apple, start by cutting your materials into small pieces. Arrange them on a sturdy, apple-shaped base. Secure with glue, cover the entire surface, and finish with a sealant for a vibrant, decorative piece.
How to Make an Apple-Shaped Pin Cushion?
To create an apple-shaped pin cushion, cut out two apple-shaped fabric pieces and sew them together with an opening. Flip them inside out, fill them with stuffing, close the seam, and add a pipe cleaner stem and a felt leaf for decoration.
How to Make an Origami Apple Step by Step?
To make an origami apple, start by folding a square paper diagonally, then fold the corners and bottom up. Fold in half for the apple's body. Create a stem with a strip of paper, adding a green leaf. There are many YouTube videos you can watch as guidance.


0 comments