Crafting an adorable hug cat coin purse requires carefully following a series of detailed steps. You'll start by embroidering the cat's face. The next phase requires crafting the cat's hands and tail. Once you've got the components ready, securing the hands to the front fabric is crucial. But how do you ensure the entire purse comes together seamlessly? Let's explore that next.
Key Takeaways
- Outline and embroider the cat's face using a fabric marker and embroidery thread.
- Stitch and align six fabric pieces to craft the cat's hands and tail.
- Securely attach the hands and tail to the front fabric piece.
- Sew a zipper between the back fabric pieces and trim any excess.
- Assemble front and back fabric pieces, and attach lining.
What Supplies You'll Need
- One zipper
- One front fabric
- Two back fabrics
- One front lining
- Two back linings
- Four fabric pieces for sewing a cat's hand
- Two fabric pieces for sewing a cat tail
How to Make a Hug Cat Coin Purse
Here's a tutorial for making a cute hug cat coin purse.
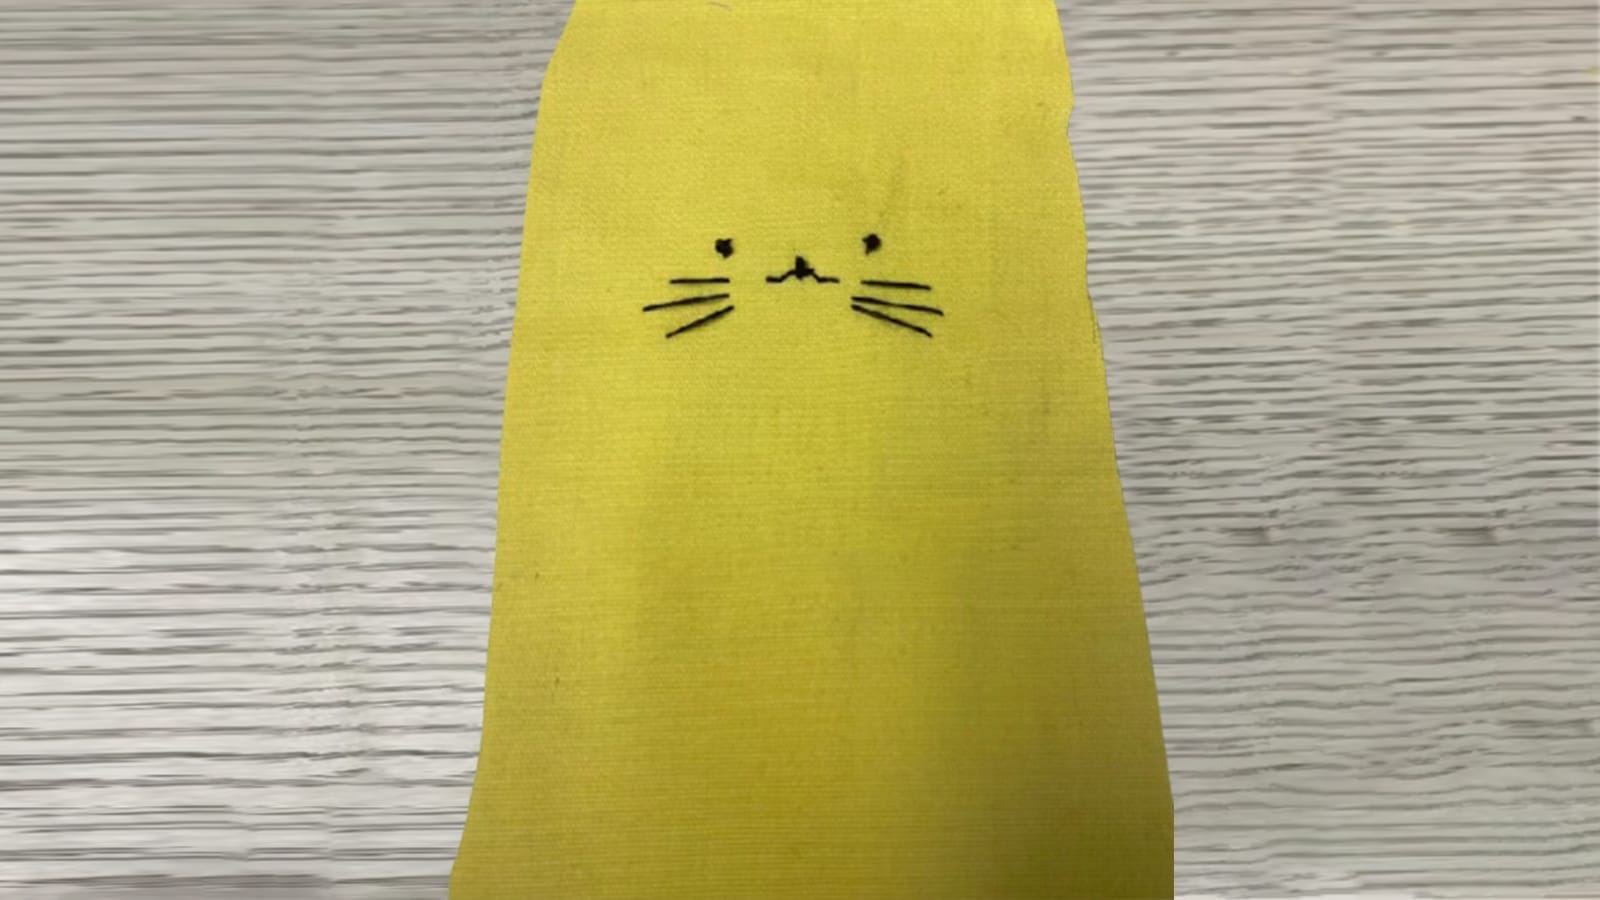
Step 1: Embroider the cat's face on the front fabric.
To begin, outline the cat's facial features with a fabric marker to serve as a guide for your embroidery. Use embroidery thread to carefully stitch the eyes, nose, and mouth. Opt for a satin stitch for the eyes, and a back stitch for the outline to ensure precision.
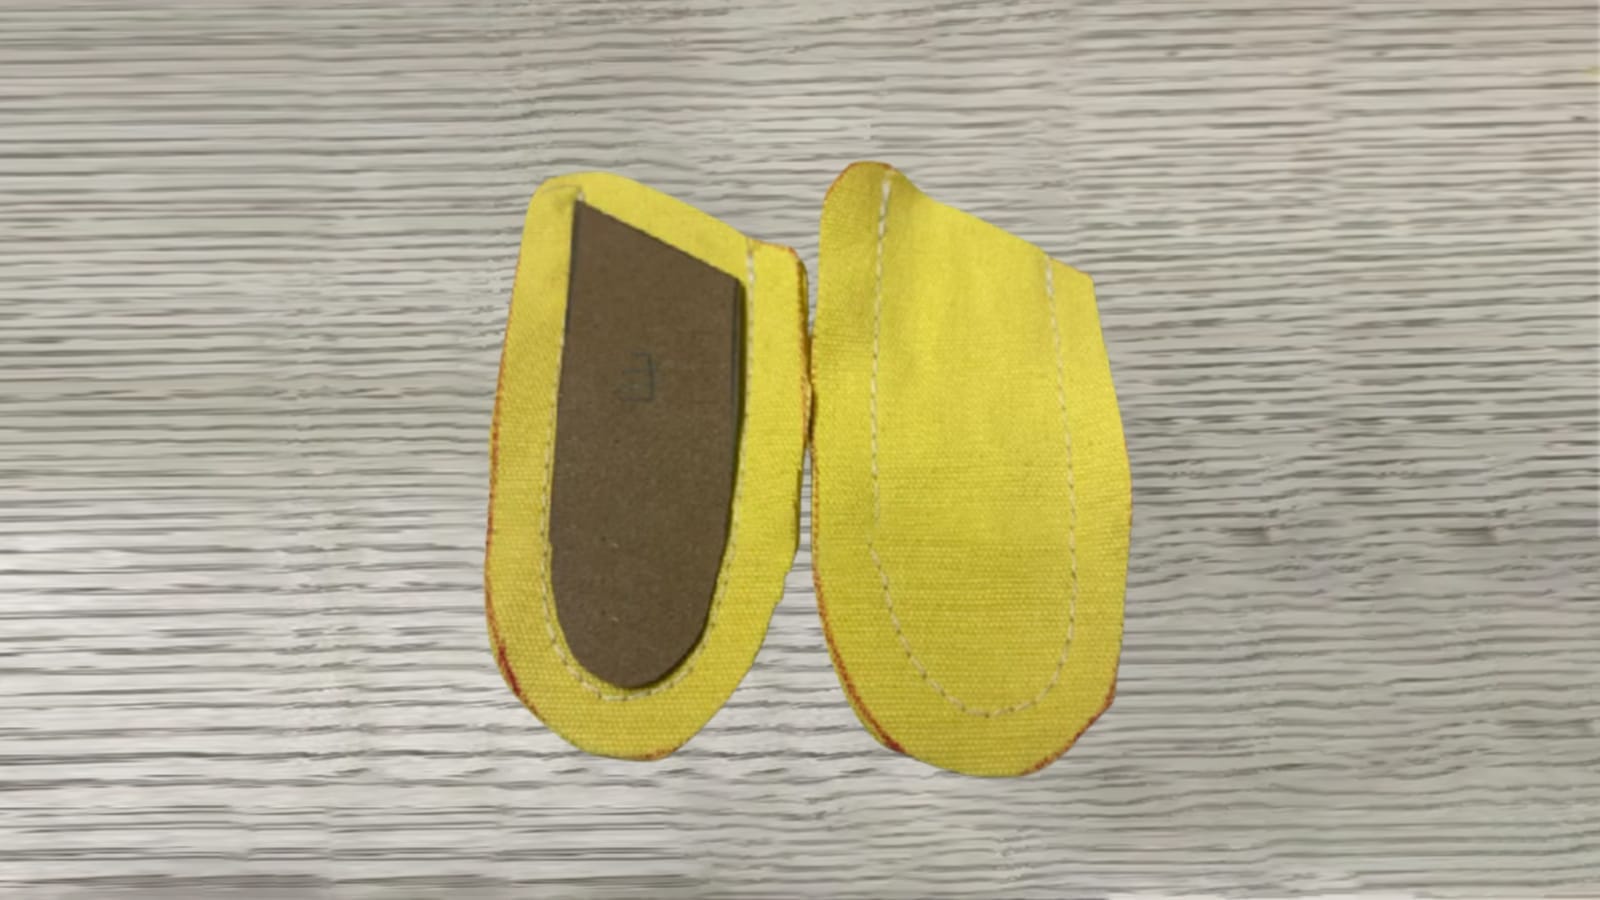
Step 2: Take out six fabric pieces and stitch them together in pairs to form the cat's hands and tail.
Start by selecting six fabric pieces, ensuring they match in size and shape. Then pair them up for stitching into the cat's hands and tail. Align each pair meticulously, right sides facing each other, to maintain symmetry. Use a ¼-inch seam allowance for precision. Pin the two pieces together to prevent shifting during sewing.
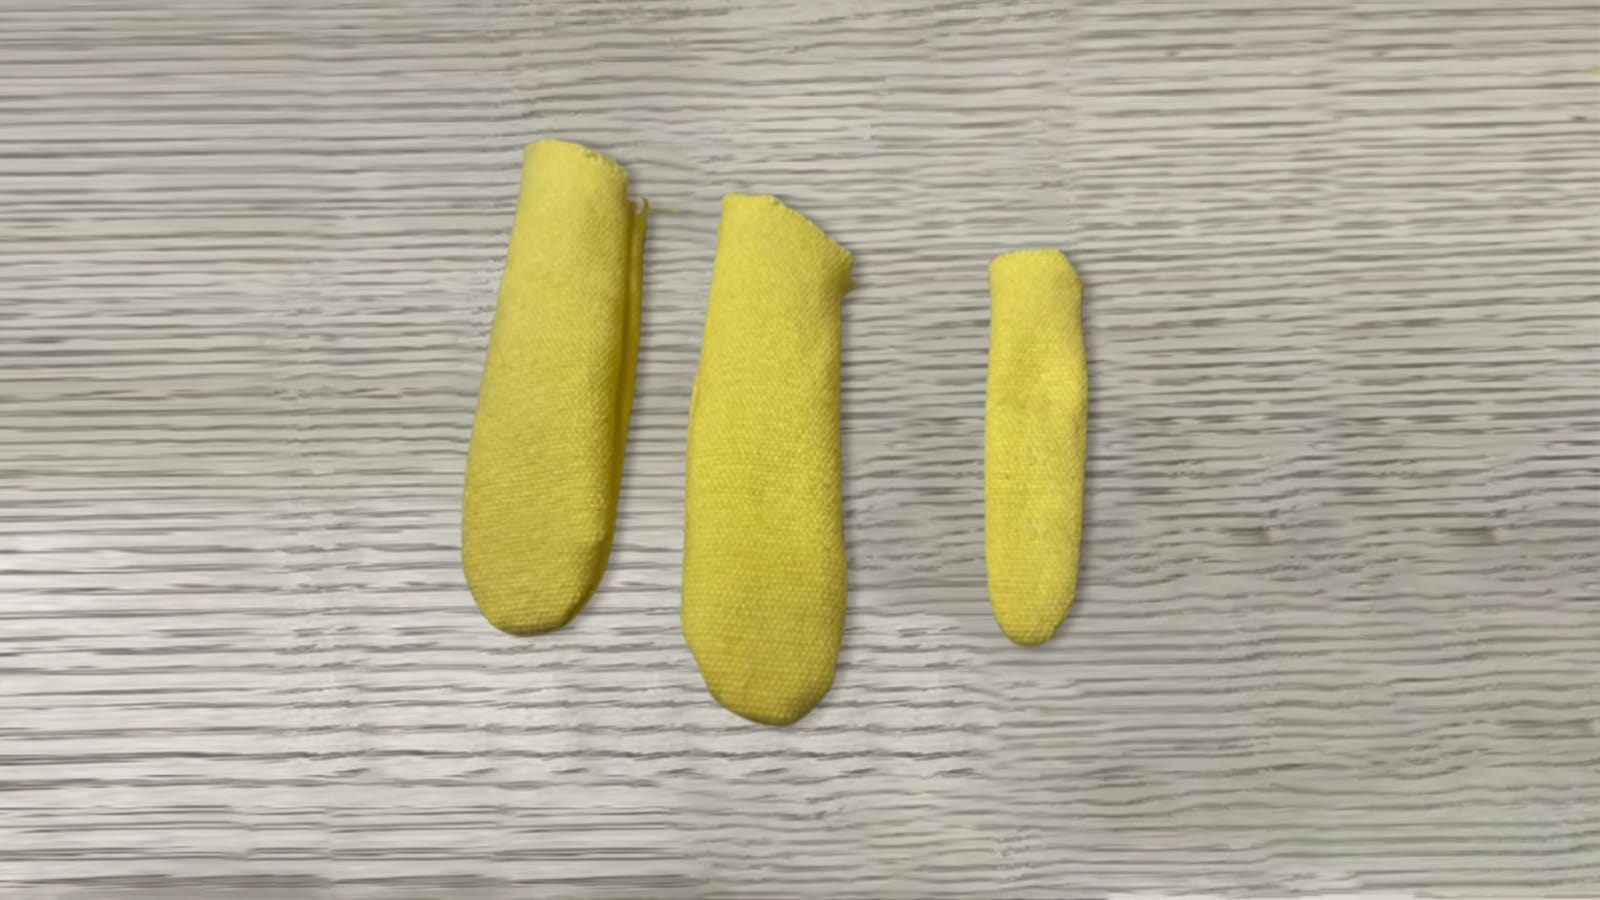
Step 3: Turn the finished fabric of hands and tail over to the front side.
After stitching the cat's hands and tail, carefully turn each piece right side out. Use a point turner or a blunt tool to ensure the seams are fully pushed out, creating smooth, rounded edges.
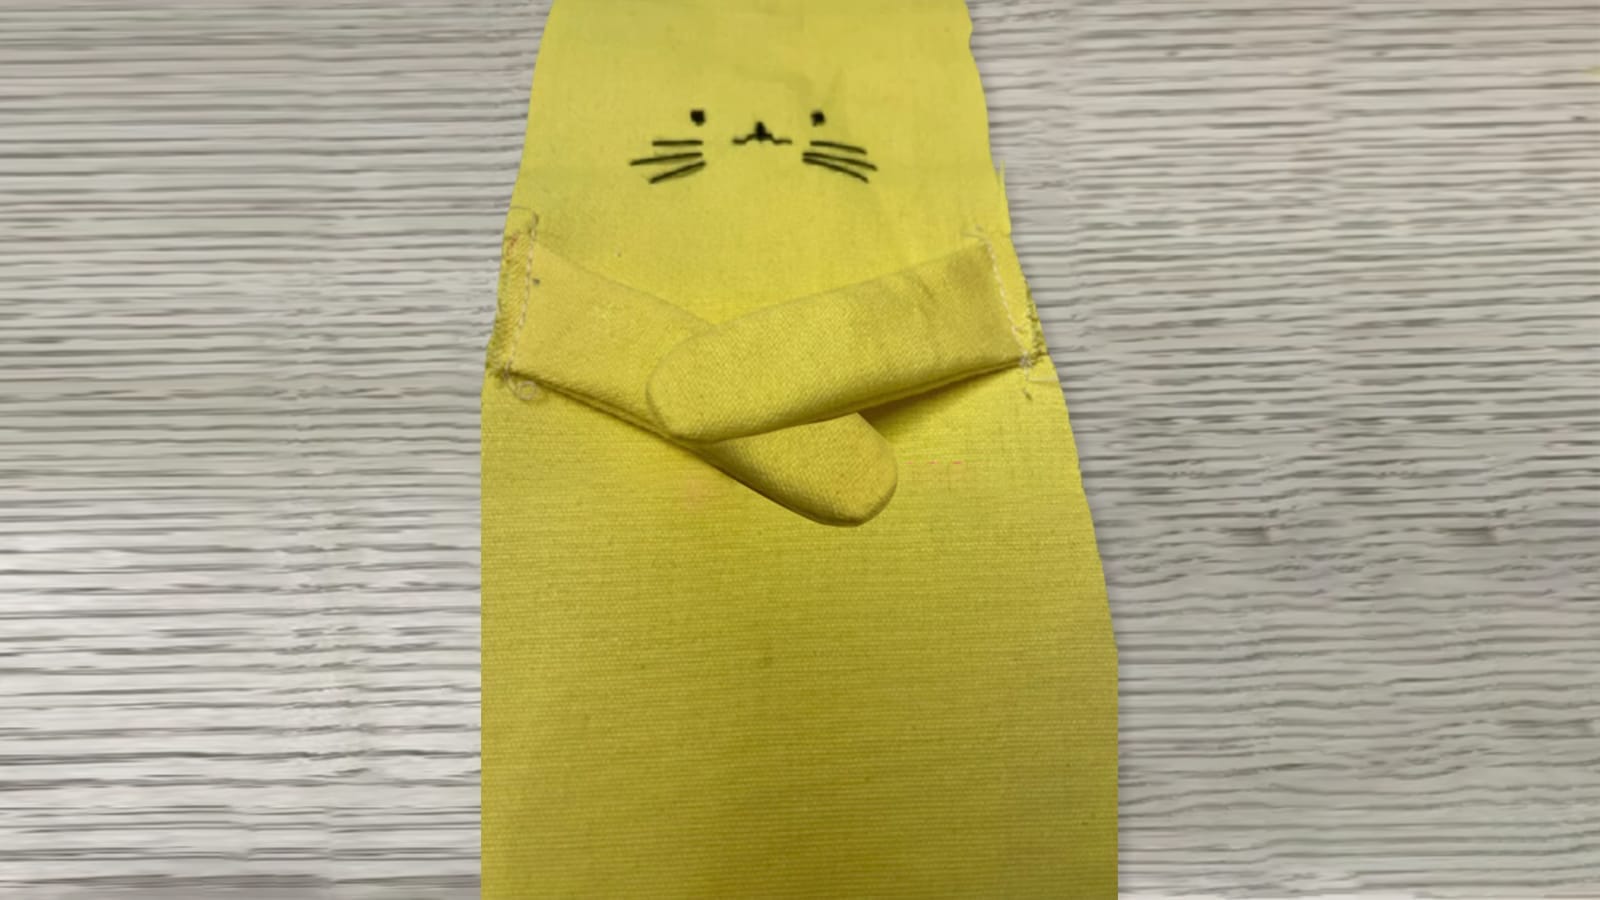
Step 4: Secure the fabric of the cat's hands to the front fabric.
Carefully align the cat's hands on the front fabric. With a needle and thread, begin stitching along the edges where the hands meet the front fabric. Ensure each stitch is tight and even, creating a seamless, professional finish. Pay close attention to the placement, double-checking that the hands are positioned correctly for the hugging effect. Use small, precise stitches to prevent any loose threads.
Step 5: Fix the tail to the two back fabrics, leaving space for the zipper in the middle.
Align the tail precisely with the center of the two back fabrics. Make sure to leave ample space in the middle for the zipper installation. Pin the tail securely in place to prevent any shifting. Use a reinforced stitch, such as a back stitch, to attach the tail.
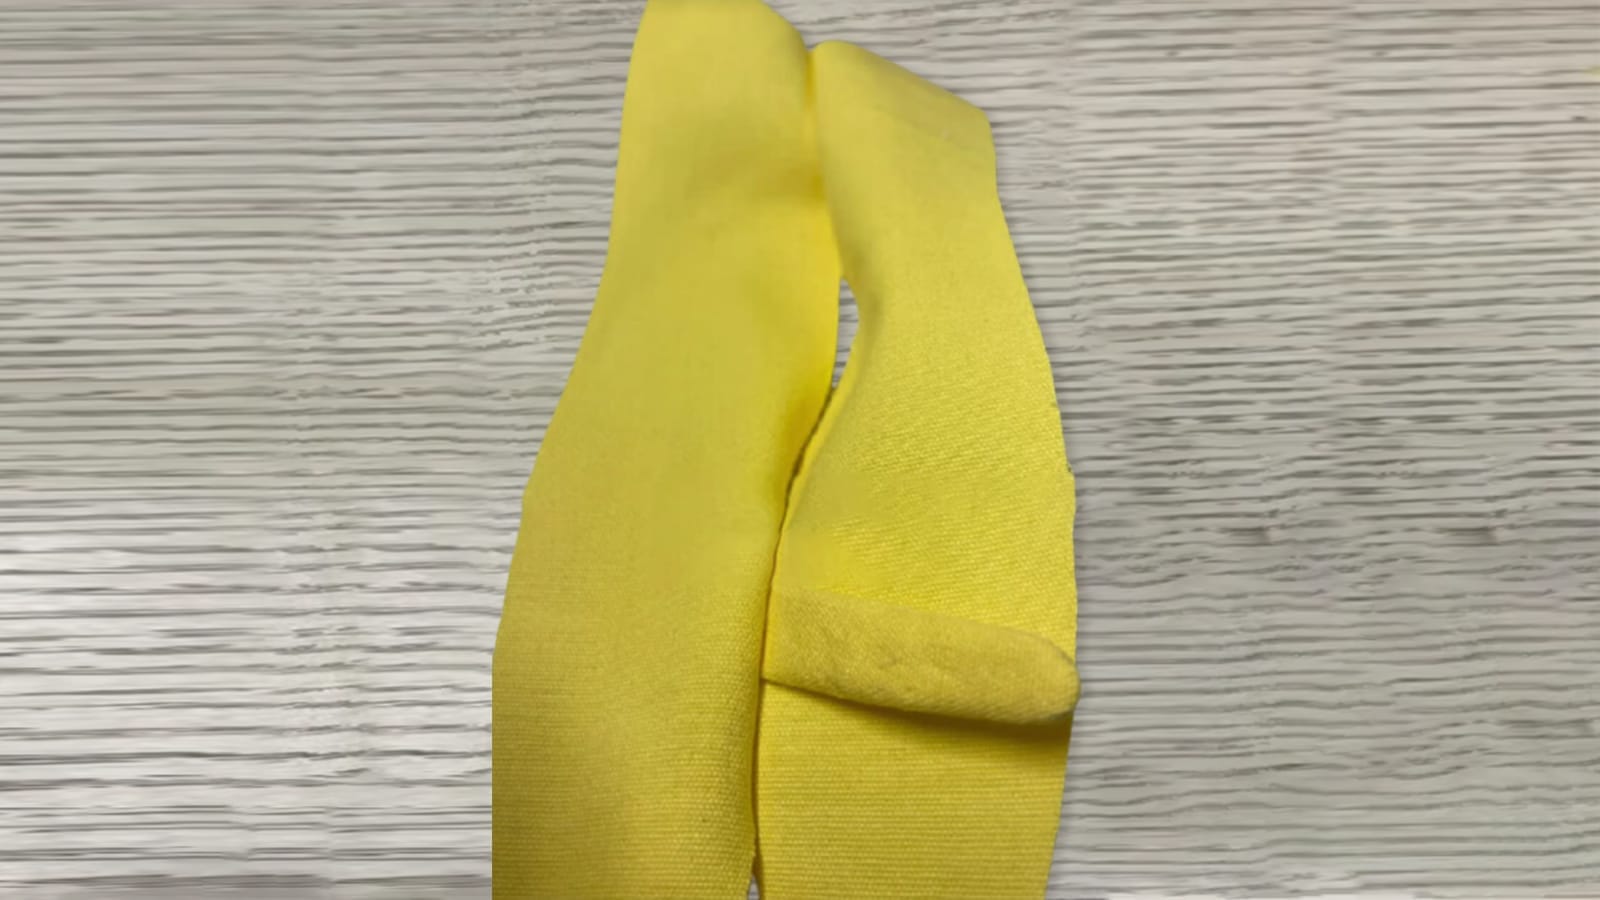
Step 6: Sew the zipper between the two pieces of back fabric.
Place the zipper right side down along the middle of one back fabric piece. The zipper teeth are aligned with the fabric edge. Use pins or fabric clips to secure it. Using a zipper foot, sew along the edge of the zipper tape, maintaining a consistent seam allowance.
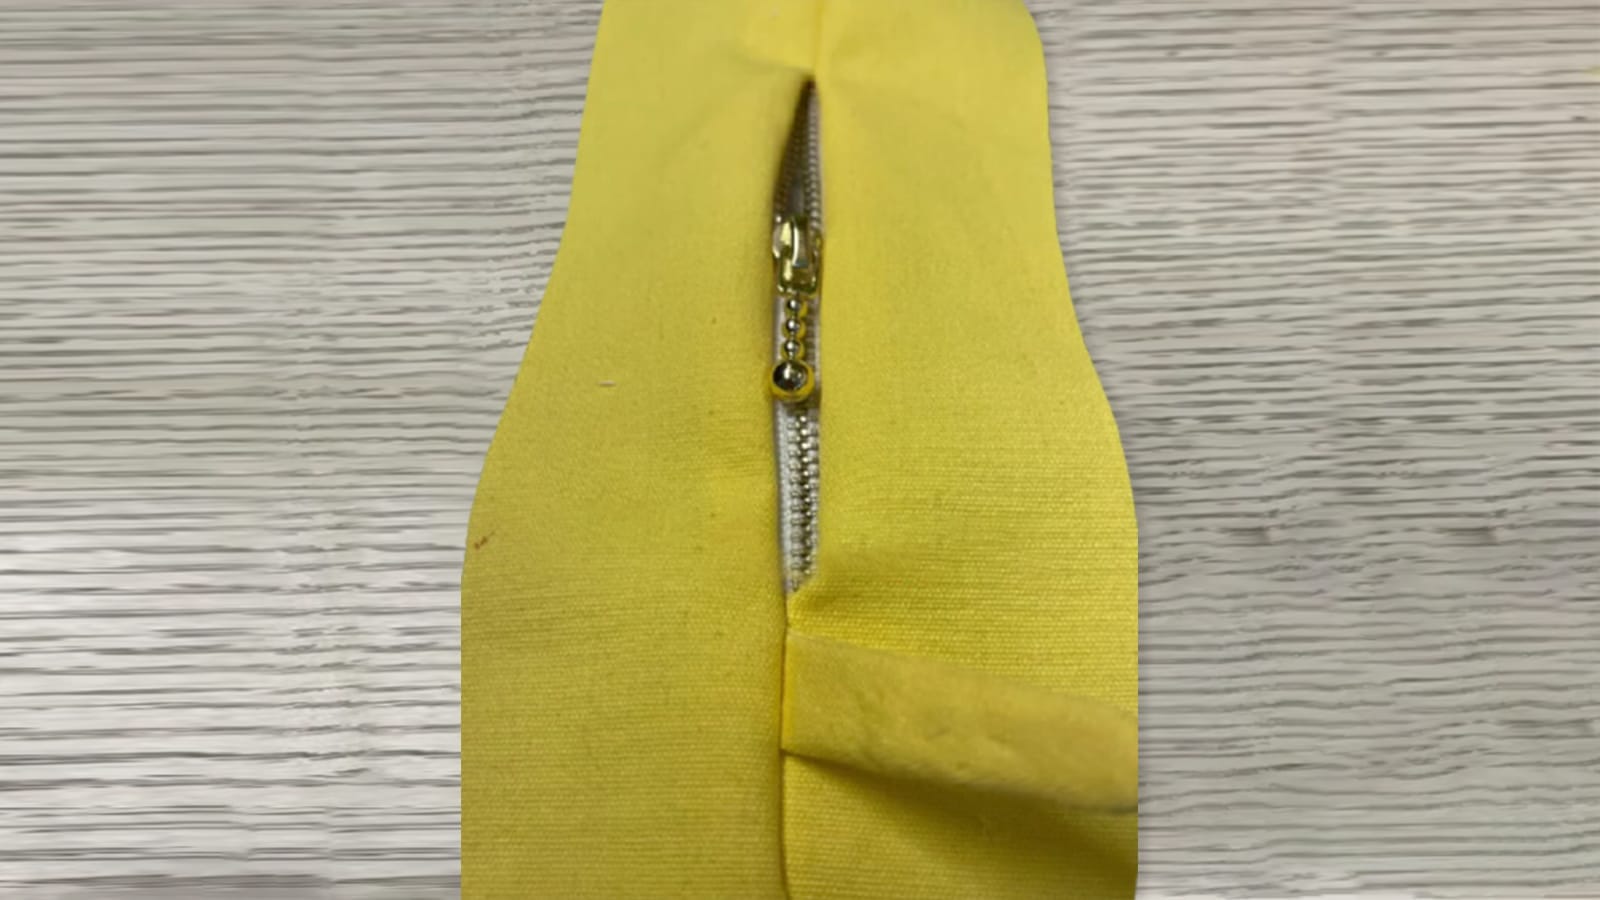
Step 7: Put the front fabric and back fabric facing each other and stitch them together. In the same way, sew the linings together.
To begin, position the front and back fabric pieces with their right sides facing each other. Ensure that all edges are perfectly aligned. Pin the fabric layers together to prevent shifting during sewing. Using a straight stitch, stitch around the edges.
Next, repeat the process with the lining fabric. Place the lining pieces right sides together, align the edges, and stitch around.
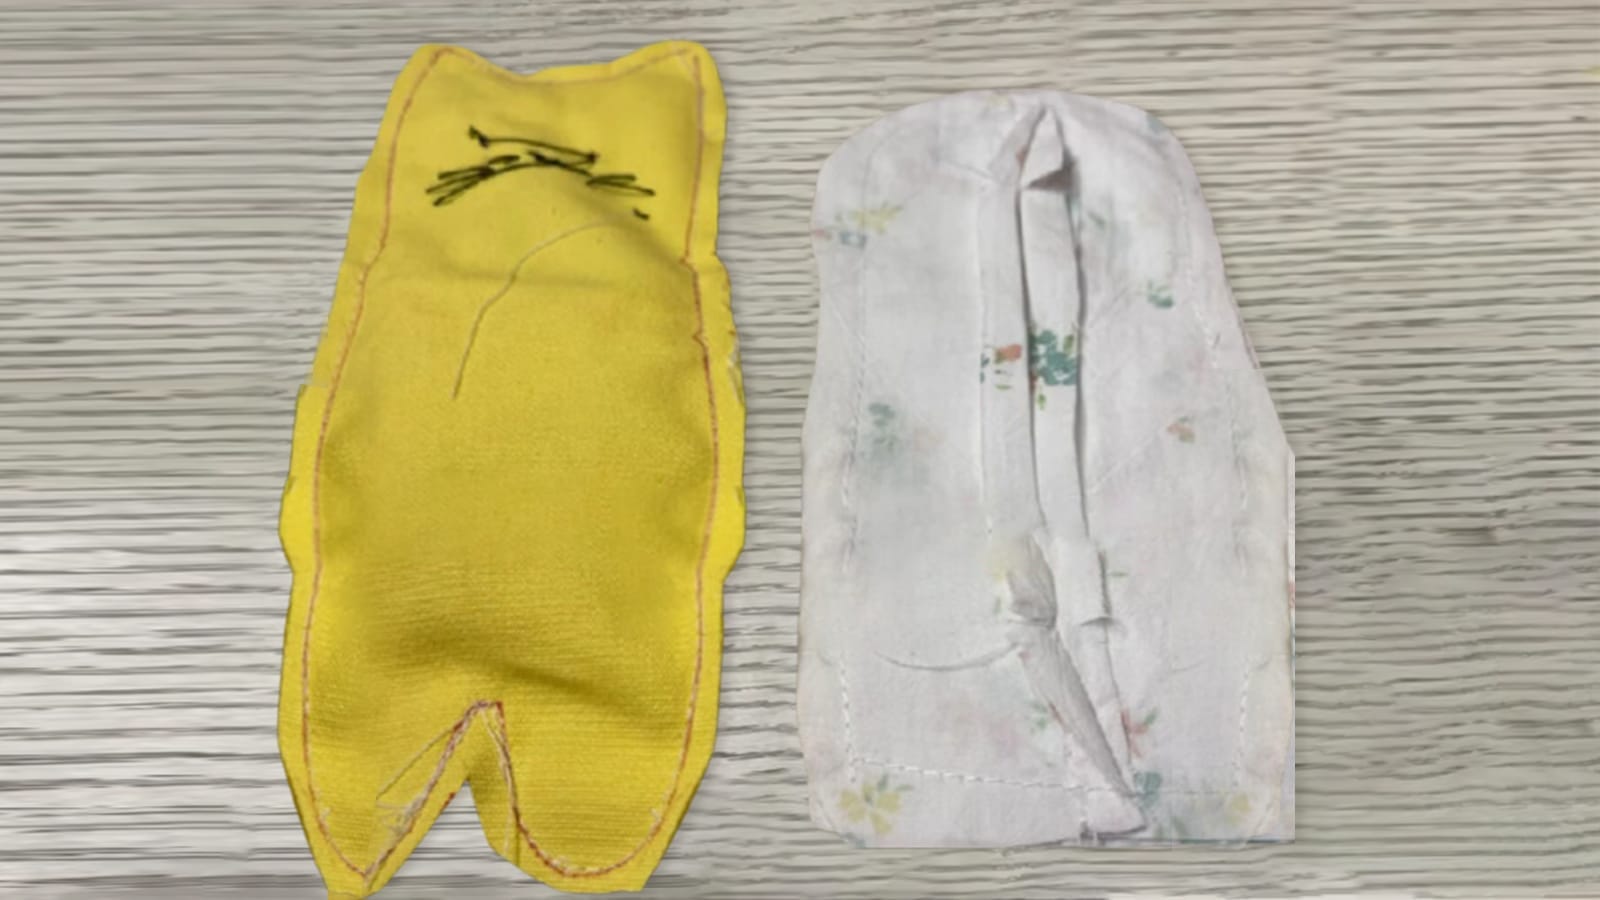
Step 8: Put the lining fabric over the outer fabric and sew the zipper to the lining.
With both the outer and lining fabrics prepared, position the lining fabric over the outer fabric. Ensure that the zipper is sandwiched between them. Begin sewing the zipper to the lining fabric.
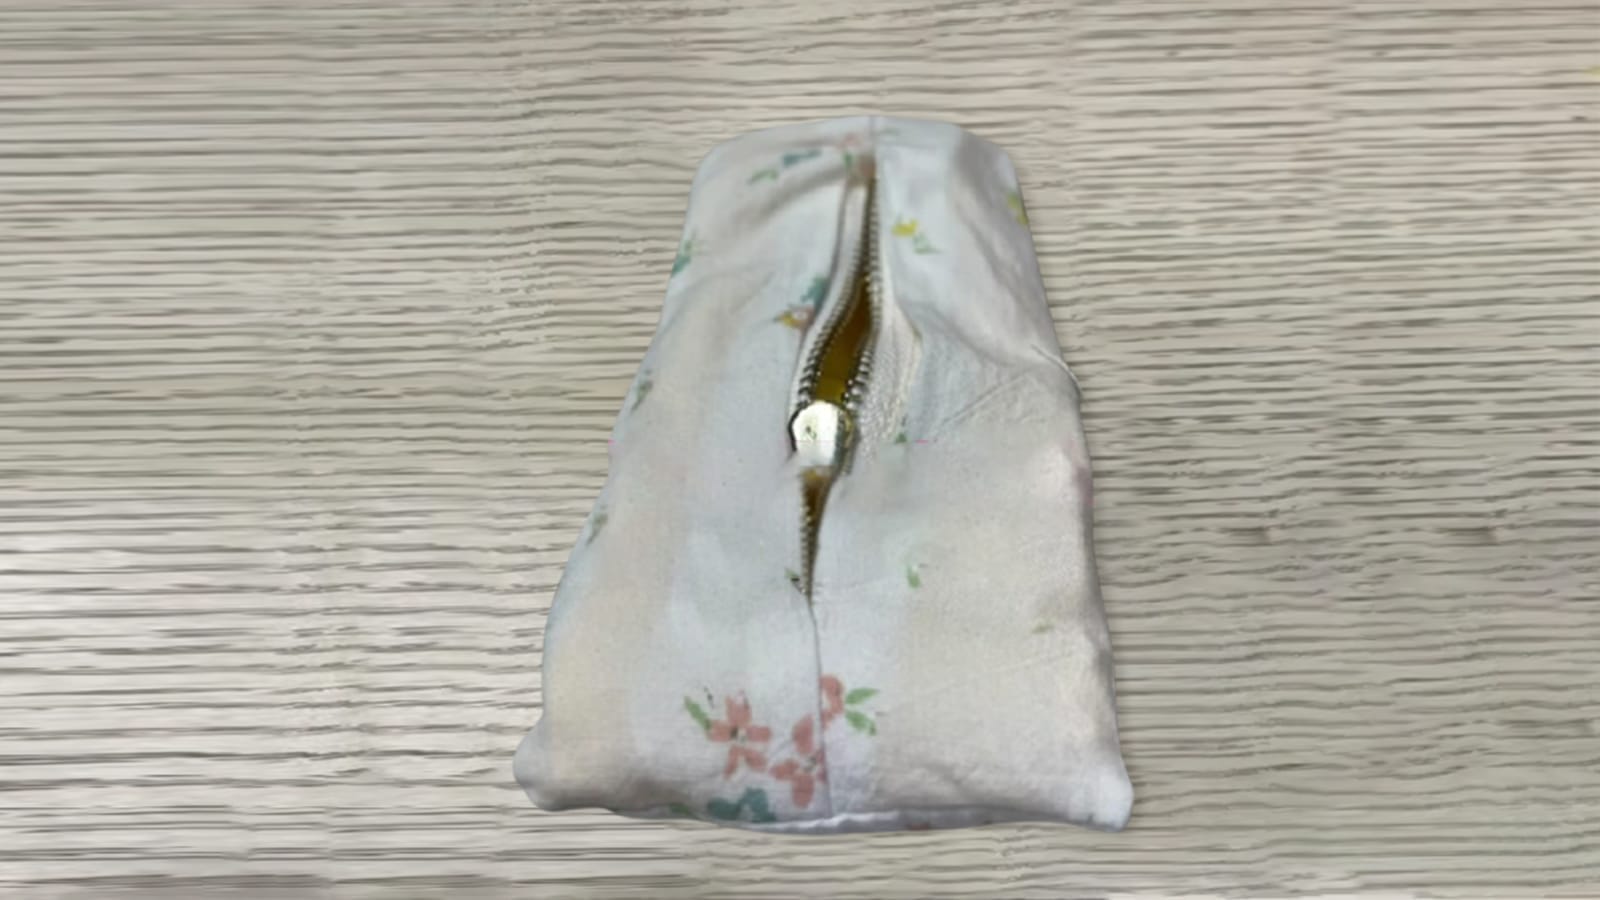
Step 9: Turn the finished cat coin purse over to the front and iron it flat.
Gently flip your cat coin purse so that the outer fabric is facing up. Then carefully press it flat using a hot iron set to the appropriate temperature. Glide the iron gently over the surface, making sure to avoid any embellishments that could be damaged by heat.
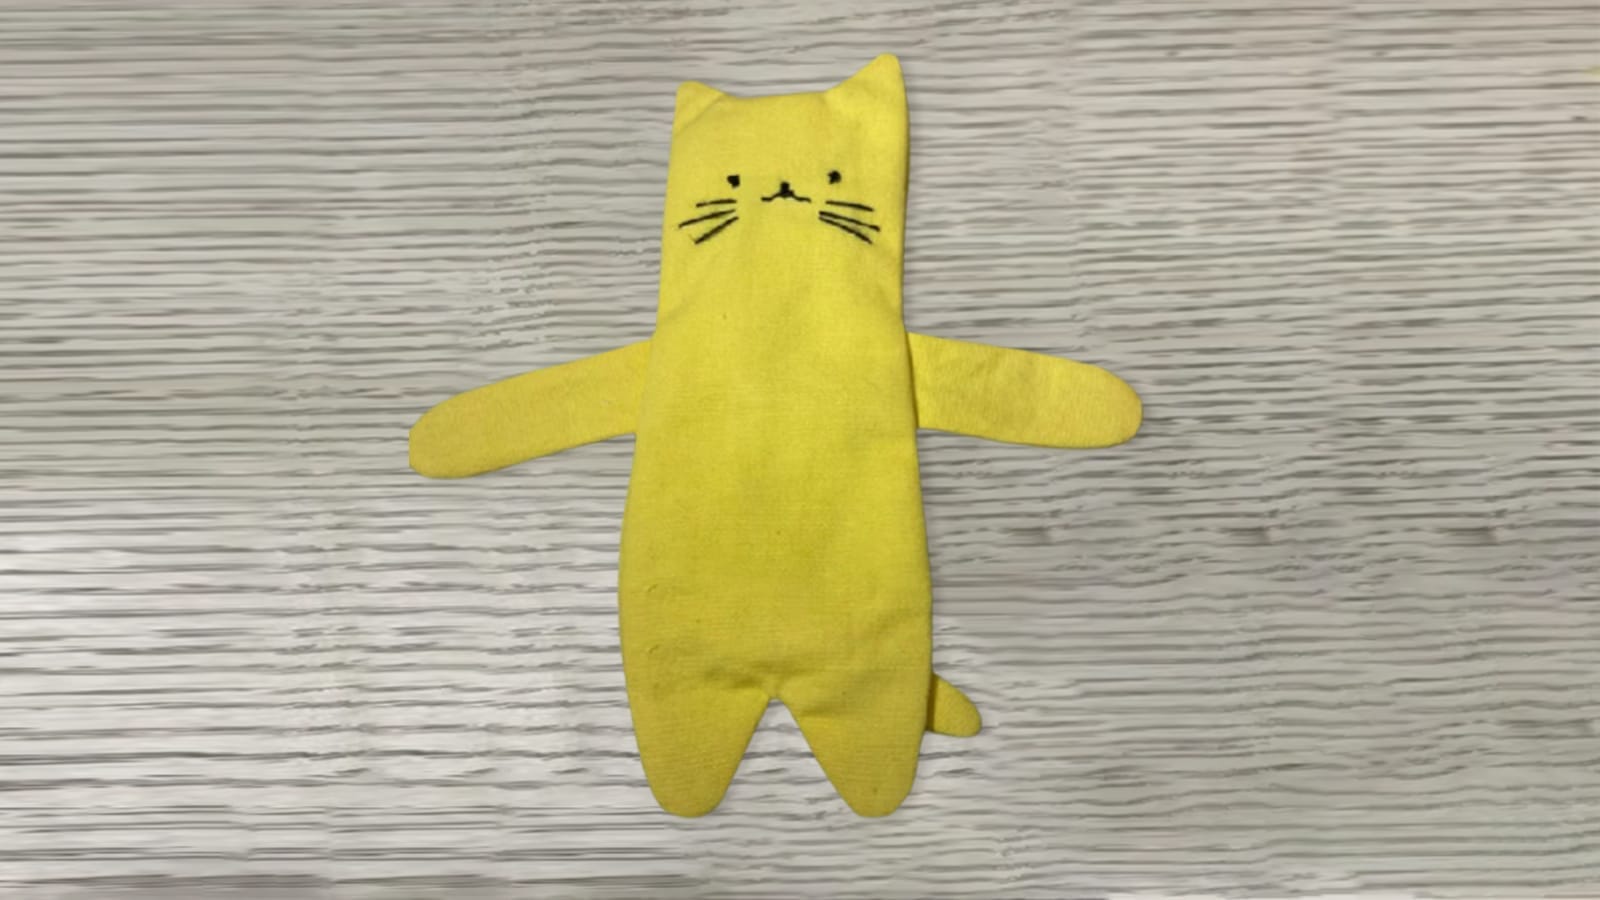
Step 10: Attach buttons to the cat's paws to complete the coin purse.
Next, carefully sew small buttons onto the cat's paws. Select buttons that complement the overall design and color scheme. Using a strong, durable thread, position the buttons precisely on the cat's paws.

Conclusion
Well done on crafting your adorable hug cat coin purse! Enjoy your handcrafted purse, a testament to your advanced sewing skills. Show it off or gift it to someone special!
Learn more sewing projects on the Longan Craft Blog, and dive into the fabric world with Longan Craft!


0 comments