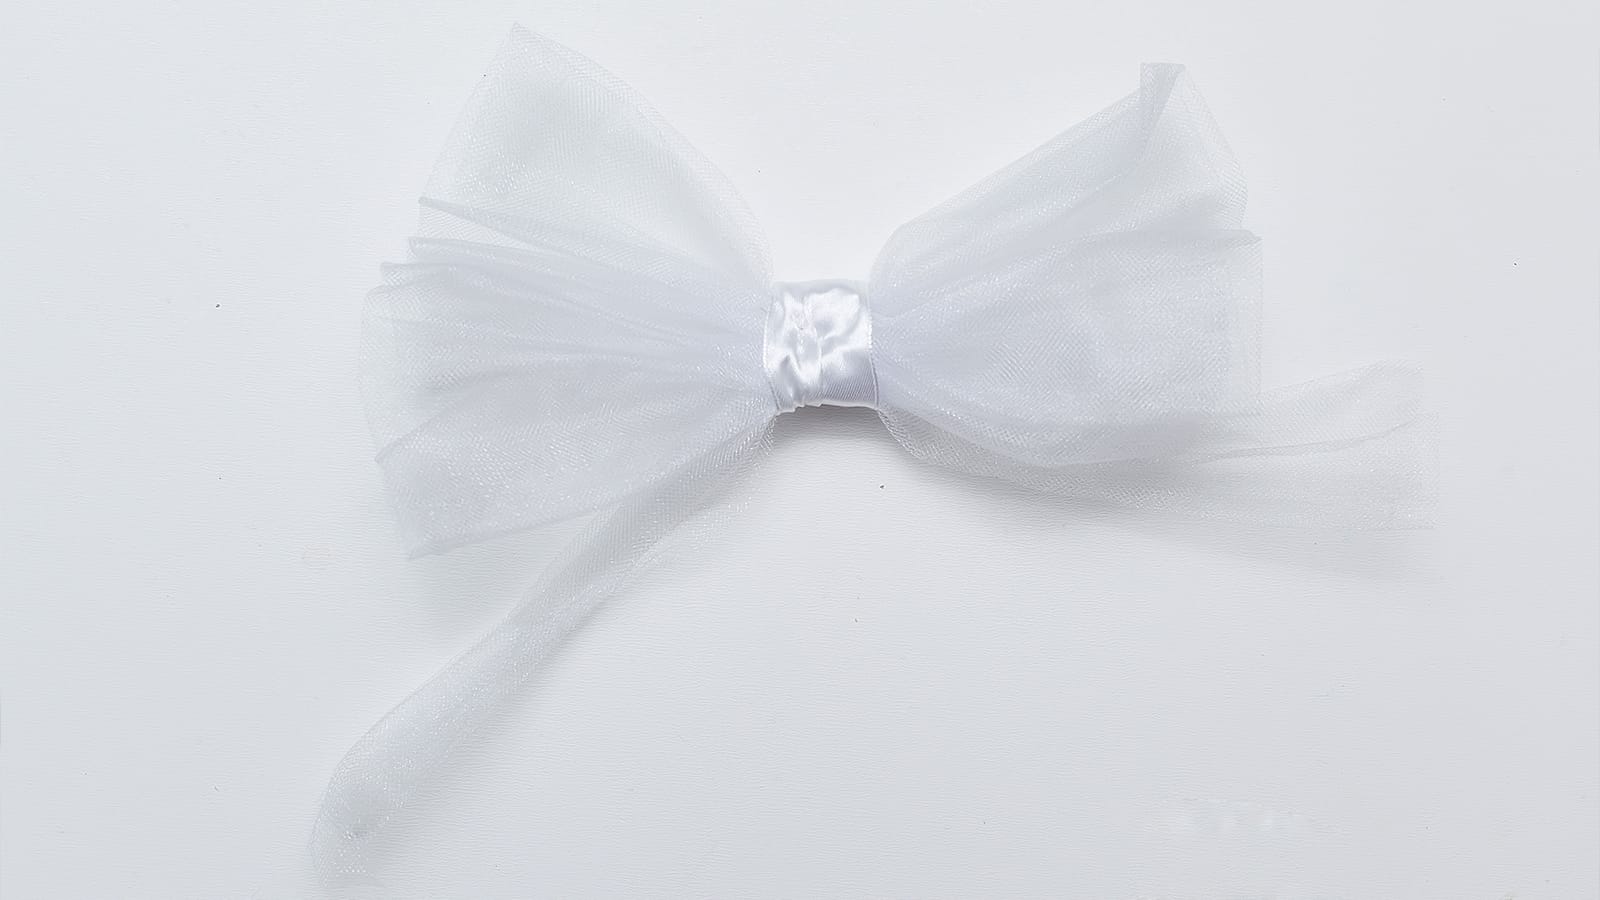
Tulle bows are a beautiful and versatile way to add a touch of elegance to any gift, decoration, or outfit. With their airy and delicate appearance, they're perfect for weddings, parties, or any special occasion.
Making a DIY tulle bow without sewing may seem intimidating at first. But with a few simple steps and some practice, you can quickly master the technique. In this article, we'll guide you through creating a perfect tulle bow that'll impress and delight anyone who sees it.
Key Takeaways
- Gather materials: tulle, scissors, ruler, ribbon, and optional decorative centers.
- Cut tulle into desired lengths and fold in half to create loops.
- Secure the center tightly with tulle or ribbon.
- Shape the bow by fluffing and trimming excess tulle.
- For added depth, personalize with embellishments like jewels, beads, or layered colors.
How to Make a Tulle Bow: Step-by-Step Instructions

To make a tulle bow, gather your materials, including tulle and scissors.
Next, cut the tulle to your desired length and fold it to form the bow's loops.
Then, tie the center tightly and shape the bow by fluffing the loops and trimming any excess tulle.
Step 1: Gather Your Materials
Start by gathering all the materials you'll need: tulle, scissors, a ruler, a ribbon, and optional decorative centers.
Tulle typically comes in spools, which makes it easier to handle. Use scissors to cut the tulle to your desired lengths.
A ruler ensures precise measurements.
Step 2: Cut the Tulle
Begin by measuring and cutting the tulle into multiple equal-length strands for a balanced and full bow. Precision is key to ensuring each strand is the same length, which helps create a symmetrical bow.
Uniform-length strands will make your bow look neat and professional. Remember, cutting tulle carefully will result in a fluffy bow that stands out beautifully.
Step 3: Fold the Tulle
With your tulle strands cut to size, fold each one in half lengthwise to create a loop, ensuring both ends align perfectly. Hold the loop firmly at the center to maintain its shape.
This folded tulle will form the base of your bow. Finally, use scissors to trim any uneven ends for a clean finish, preparing your tulle for the next step.
Step 4: Tie the Center
Gather the middle of the folded tulle strands tightly to create the bow's center. Tie a piece of tulle or ribbon around the center, wrapping it multiple times to secure it.
Ensure the center knot is tight, as this will hold the bow's shape. Trim any excess tulle or ribbon from the center knot for a clean finish.
Step 5: Shape the Bow
Now that the center is secured, hold the tulle bundle like a bouquet to start shaping the bow.
Gently fluff and adjust the tulle layers to create a full, round shape.
Ensure the tulle bow looks symmetrical and balanced from all angles.
Use your fingers to shape and manipulate the tulle strands, finalizing by adjusting any uneven layers for a cohesive appearance.
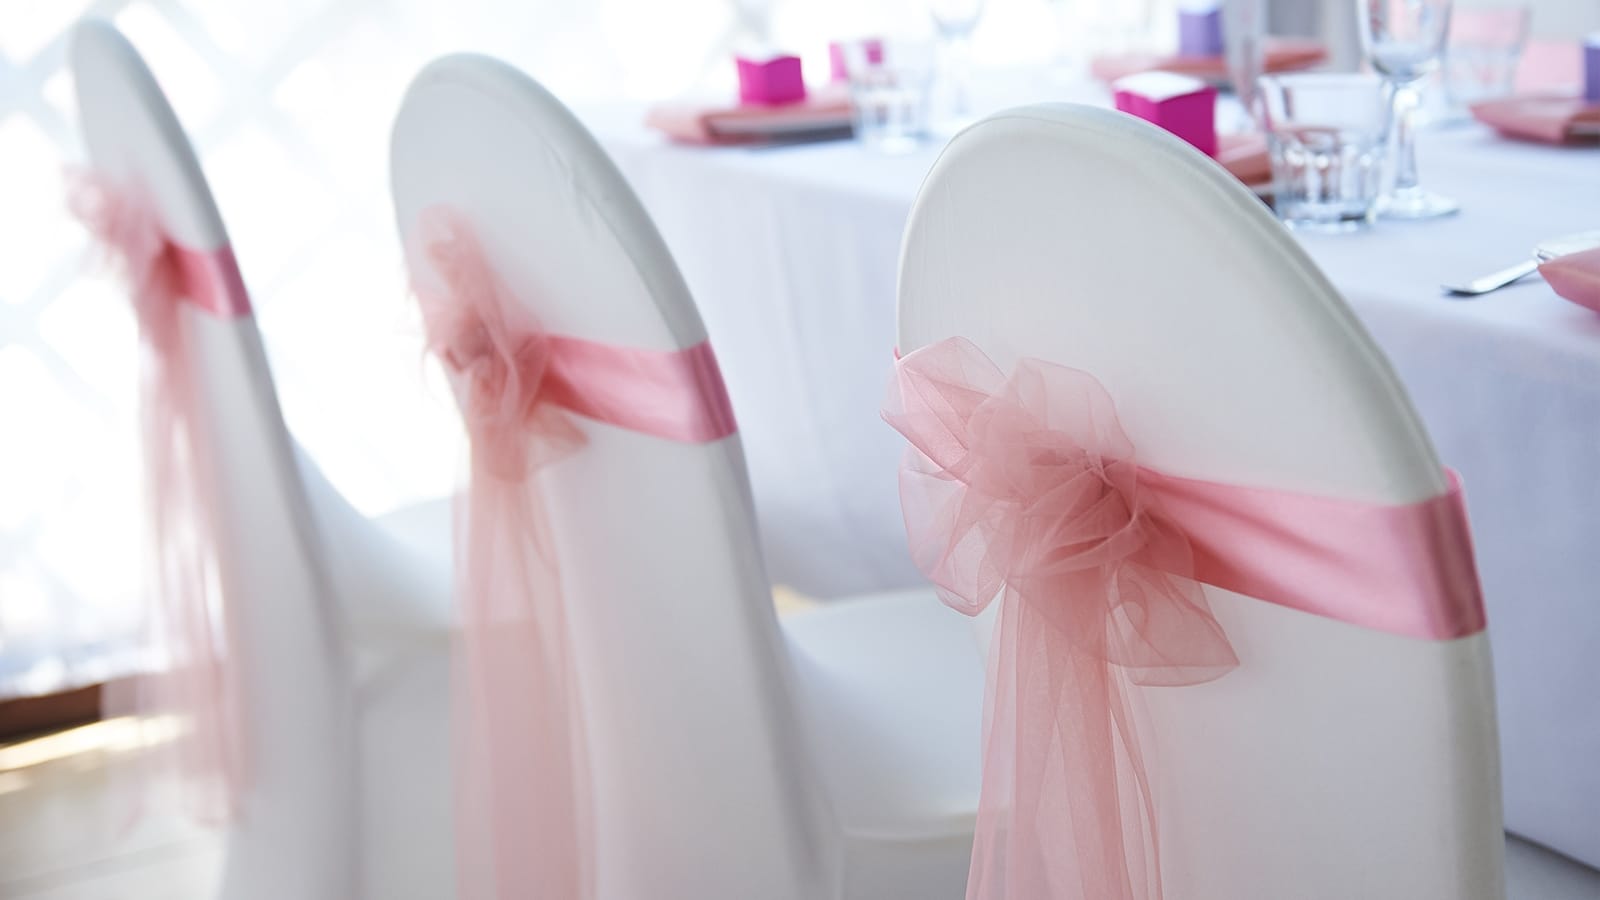
How to Make Tulle Bows for Chairs

Creating tulle bows for chairs is an easy and affordable way to add style to any event. Choose a tulle that matches your theme.
- Cut tulle strips about 6 inches wide and long enough to wrap around the chair back, with extra length for tying a bow.
- Next, fold the strip in half to find the center. Place it in the middle of the chair back.
- Wrap the ends around the chair and bring them to the front.
- Tie a simple knot to secure it in place, then create loops on each side to form the bow.
- Adjust the loops and tails until you achieve your desired bow shape and fullness.
- Finally, fluff the bow to give it volume and ensure it looks symmetrical.
- Repeat this process for each chair to create a cohesive and beautiful setup.
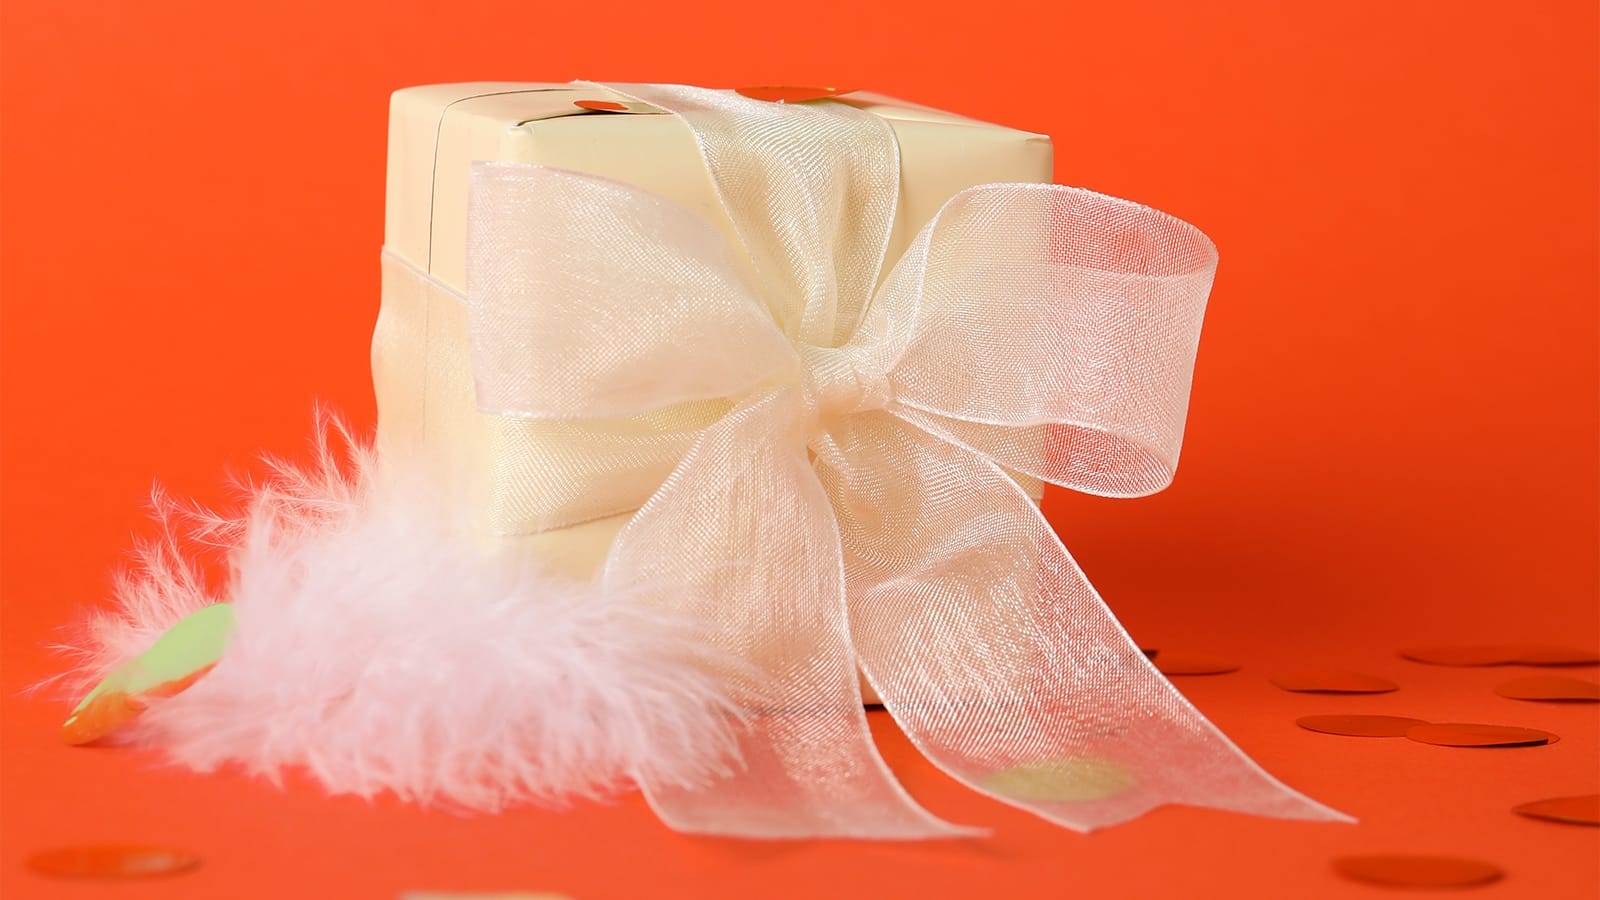
How to Make a DIY Tulle Gift Bow

Creating a tulle bow for gifts is a simple yet elegant way to add a personal touch to your presents.
- Cut several strips of tulle, each about 12-24 inches long, depending on the bow size you want. The more strips you use, the fuller the bow will be.
- Stack the tulle strips on top of each other. Fold the stack in half to find the center point.
- Tie a piece of tulle or ribbon tightly around the center. This will form the base of your bow.
- Gently pull apart and fluff each layer of tulle to create a voluminous bow. Adjust and arrange the layers until you're happy with how it looks.
- Use the tulle or ribbon to attach the bow to your gift. Voila, your tulle gift bow is complete!
Applications of Easy DIY Tulle Bows
Tulle bows are perfect for adding an elegant touch to gifts, weddings, baby showers, and various DIY projects.
You can use them to decorate gifts, create charming accents at weddings, or add a playful touch to baby showers.
They're also great for DIY projects like wreaths and hair accessories.
With various sizes and colors, tulle bows offer versatility for any occasion.
Additional Tips and Tricks
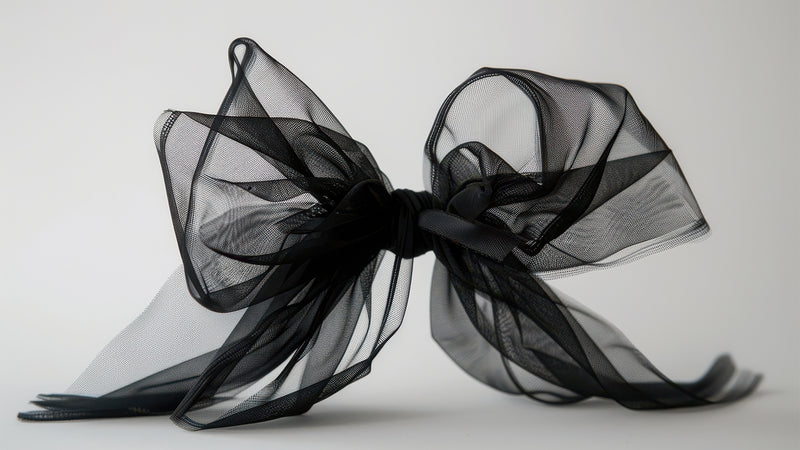
To add flair to your tulle bows, try using different colors of tulle to create a multi-colored effect.
You can also personalize your bows by adding embellishments like jewels or beads.
For securing the center, consider alternatives such as elastic bands or decorative ribbons.
Use Different Colors of Tulle
Experimenting with different tulle colors can turn a simple bow into a vibrant, eye-catching accessory. Try layering various colors of tulle to add depth and dimension.
Mixing contrasting colors can create a striking, dynamic effect, while a cohesive color scheme ensures harmony. This approach allows you to craft a unique and personalized multi-colored bow that stands out.
Add Embellishments
Elevate your tulle bows by incorporating embellishments like jewels, initial beads, or silk flowers for a truly personalized touch.
You can add felt flowers for a whimsical look. To personalize further, use initial beads that spell out a name.
These small details turn a simple bow into a standout piece.
Alternatives for Securing the Center
To secure the center of your tulle bow, consider using a small rubber band or tying a coordinating ribbon around it for added flair.
Double-knot the tulle strands tightly to ensure they stay secure.
Alternatively, you can apply a small dab of hot glue at the center of the bow to hold everything together.
Experiment to find the method that works best for you.
Final Words
With these simple steps, you can easily make gorgeous tulle bows for any occasion. Whether you're decorating chairs for a wedding, wrapping a special gift, or adding a touch of elegance to a DIY project, tulle bows are versatile and beautiful.
Don't be afraid to experiment with different colors and embellishments to make your bows unique. Now that you know the basics, get creative and enjoy making your own stunning tulle bows!
Learn more sewing projects on the Longancraft Blog, and dive into the fabric world with Longancraft!
FAQs
How Many Yards of Tulle Do I Need for a Bow?
For a standard bow, you'll need 4-5 yards of tulle. If you want it fuller, use more tulle. Having extra tulle on hand is always a good idea for adjustments or modifications.
How to Tie Tulle on a Present?
To tie tulle on a present, wrap the tulle around the gift, crossing it at the bottom. Bring the ends to the top, tie a knot, and finish with a bow. Fluff and trim for a polished look.
How to Make a Tulle Flower Puff?
To make a tulle flower puff, cut the tulle into small squares, stack them, and secure the center with a bead or button. Fluff the layers and trim as needed for a beautiful, flower-like decoration.


0 comments