

Tulle tutus are a fun and whimsical accessory that can be the perfect addition to any outfit, whether for a Halloween party or everyday wear. Creating a DIY tulle tutu is a rewarding and creative project. You can customize the colors and lengths to suit your style.
In this article, we'll provide you with a step-by-step tutorial on how to make a tulle tutu that is both beautiful and budget-friendly. So gather your supplies and get ready to unleash your inner fashion designer as we guide you through creating your very own tulle tutu.
Key Takeaways
- Measure and cut tulle strips to the desired length.
- Prepare and cut an elastic waistband to fit snugly.
- Attach tulle strips to the elastic waistband with tight knots.
- Adjust and fluff the tulle for the desired volume and shape.
- Decorate the tutu with ribbons, flowers, glitter, or beads for added charm.
How to Make a Tulle Tutu Without Sewing
Step 1: Prepare Tulle Strips
Start by accurately measuring and cutting the tulle into strips that are twice the length you want the finished tutu to be. This ensures a fuller skirt. Use a measuring tool to keep the lengths consistent.
Step 2: Cut the Elastic Waistband
Once you've prepared your tulle strips, measure and cut the elastic waistband to fit the intended wearer's waist size.
Overlap the ends of the elastic and secure them with a safety pin or hot glue. This forms the base for your no-sew tutu skirt.
With your elastic waistband prepped, you can easily attach tulle strips to create a fluffy, vibrant tutu.
Step 3: Attach the Tulle Strips to the Elastic
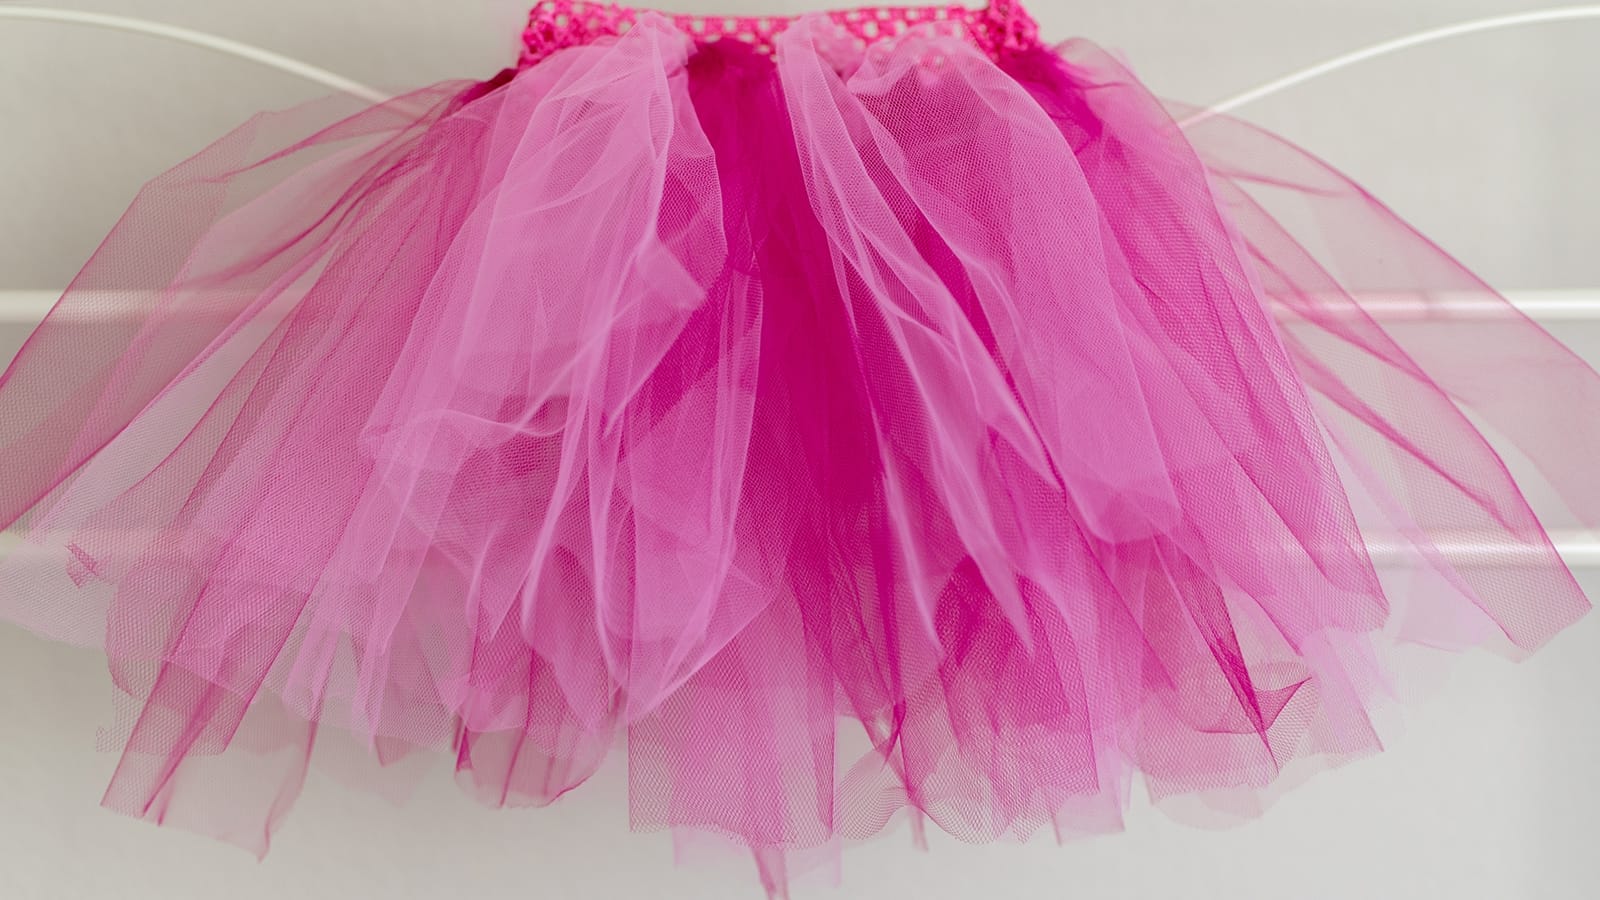
With your tulle strips ready, fold each one in half and loop it around the elastic band, tying it with a tight knot. This no-sew method ensures the tulle strips stay attached firmly.
Alternate colors and sizes for a layered effect. Continue adding tulle strips side by side until the elastic band is completely covered, creating a full and colorful tutu.
Step 4: Adjust and Fluff the Tutu
For a perfectly fluffy tutu, begin by gently separating and fluffing each tulle layer as you go. Use rubber bands to hold the tulle layers in place while you work.
Once you've added enough tulle for the desired volume, trim any uneven ends for a neat look.
How to Sew a Tulle Tutu
Step 1: Fold the Tulle
For a small child’s tutu, you'll need between 2 and 4 yards of tulle. For a medium-sized tutu, you'll need 5 to 7 yards; for a large one, you'll need 8 to 10 yards.
Start by folding the entire piece of tulle in half width-wise. Then, fold the tulle in half again in the same direction, creating four layers of tulle.
Step 2: Cut the Elastic Waistband
Wrap the elastic band around the wearer's waist. Make sure the elastic is pulled taut against the skin with no space between. Cut the elastic to this length without overlapping the ends.
Step 3: Sew the Elastic Casing on the Tulle
When sewing the elastic casing, use a straight stitch about 2 inches from the top of the fold. Ensure you sew through all four layers of tulle along the folded edge.
Use a safety pin to guide the elastic through the casing, ensuring it's not twisted. Once inserted, overlap and sew the ends securely.
Step 4: Sew the Tutu Skirt Together
Now, you just need to sew the back side where the two ends of the tulle meet. Pin the edges together, then sew down about ¼ of an inch from the edge with a straight stitch. Remember to sew through all four layers of fabric, not just the top layer.
Decoration Ideas for a DIY Tulle Tutu
Layers and Colors
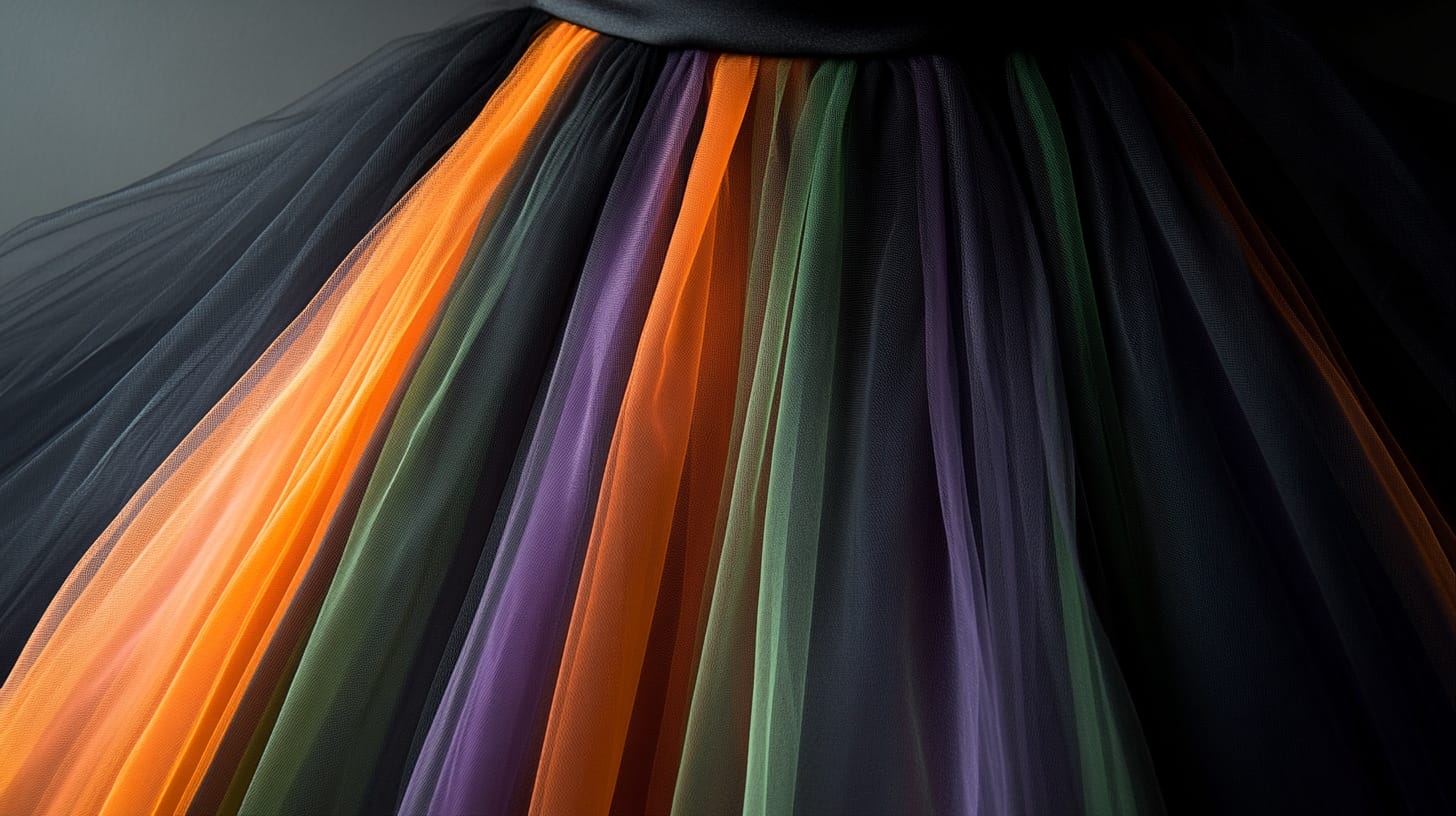
When decorating your handmade tulle tutu, layering multiple shades of tulle can create a stunning gradient effect that adds depth and dimension.
Mix colors like pastels or bright hues to achieve this. Add shimmer or glitter tulle for sparkle. Use contrasting colors to make a bold statement.
Experiment with different patterns like ombre or stripes for a unique and eye-catching design.
Ribbon Accents
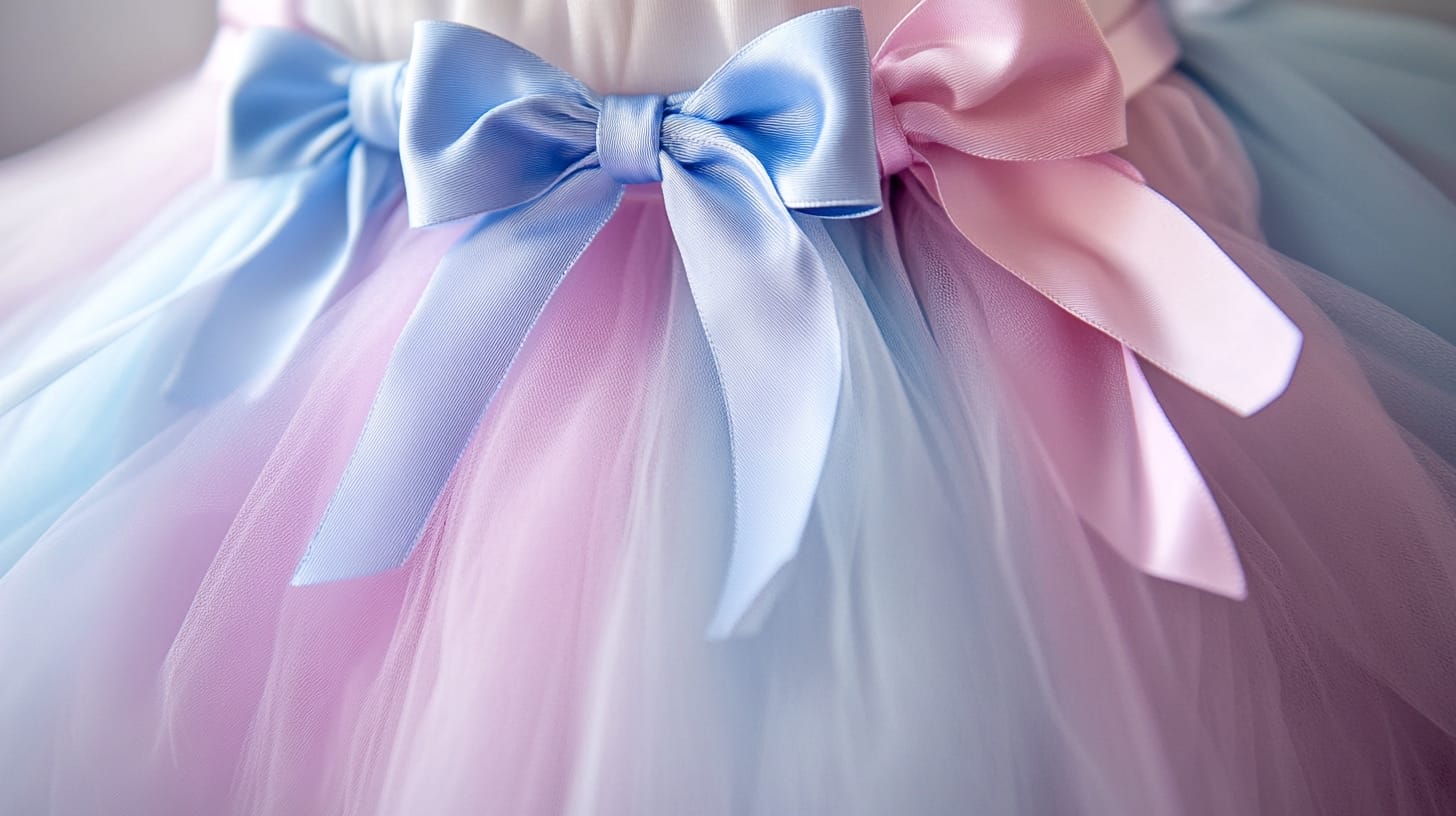
Enhance your DIY tutu by adding ribbon accents for extra color and texture. Use satin or grosgrain ribbons in coordinating or contrasting colors to make your tulle tutu stand out.
Attach ribbons along the waistband or intersperse them between tulle layers for a whimsical touch.
Experiment with different ribbon widths and lengths, securing them with knots or bows for a playful embellishment.
Flowers and Bows
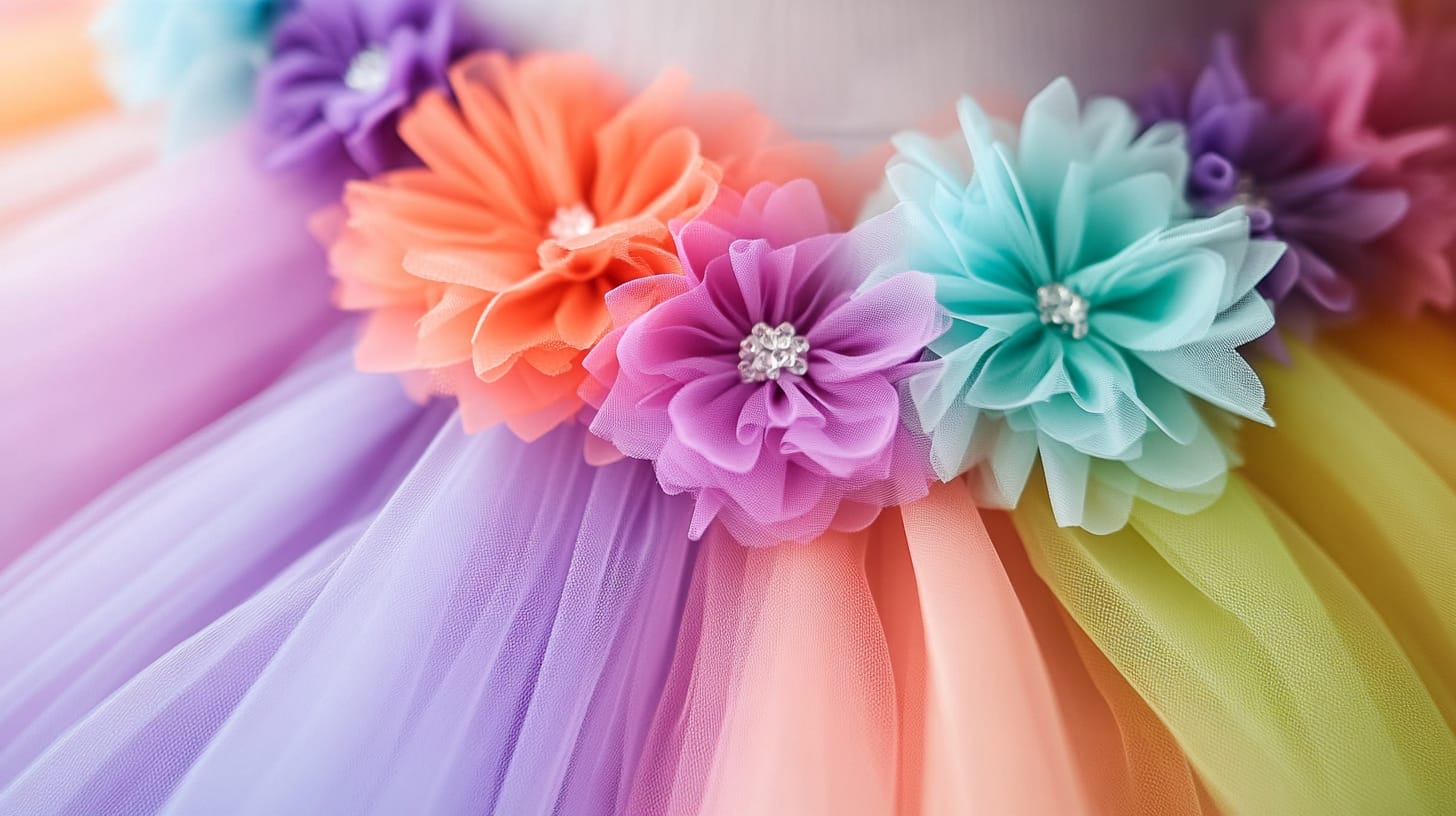
Adding flowers and bows to your tulle tutu brings an extra layer of charm and sophistication.
Attach handmade tulle flowers in various sizes for a dynamic look.
Strategically place colorful tulle bows to enhance the appeal.
Customize by mixing and matching tulle flower colors to complement the overall design.
Secure everything with small stitches or hot glue for a lasting finish.
Glitter and Sequins

Transform your tulle tutu into a showstopper by incorporating glitter and sequins for a dazzling effect.
Add a touch of sparkle by applying glitter onto the tulle strips before attaching them to the crochet band.
Strategically place sequins on specific sections for extra dazzle.
Experiment with different glitter colors and sequin shapes to create a unique and eye-catching tulle tutu design.
Beads and Pearls
Consider elevating your tulle tutu by incorporating beads and pearls for an elegant and glamorous touch. Choose beads and pearls in various sizes and colors to complement the tulle.
Sew or glue them onto the fabric in a pattern or randomly. Use a beading needle and thread for secure attachment.
Experiment with different placements to enhance the overall beauty of your tulle tutu.
Appliqués and Patches
One creative way to personalize your handmade tulle tutu is by sewing or gluing on appliqués or patches. These decorations can add a unique touch and make your tutu stand out.
Choose themed appliqués or patches to match events, holidays, or favorite characters. Appliqués can be sewn or glued, while patches can be ironed or sewn onto the tulle for a fun, personalized look.
Conclusion
You've now got the know-how to craft a stunning tulle tutu, whether you choose the no-sew method or decide to sew it.
Don't forget to add your personal touch with decorations like ribbons, sequins, or flowers.
With these tips, you can create a perfect tutu for any occasion.
So grab your materials and get crafting—your unique, beautiful tutu is just a few steps away!
Enjoy the process, and have fun!
Learn more sewing projects on the Longancraft Blog, and dive into the fabric world with Longancraft!
FAQs
How Many Yards of Tulle Do I Need to Make a Tutu?
You'll need 2-3 yards of tulle for a child-sized tutu and 4-6 for an adult-sized one. If you want extra full, add up to 8 yards or more for added volume.
How to Cut Tulle for a Tutu?
To cut the tulle for a tutu, measure the desired length and cut it into equal strips. For a layered look, use sets of three strips. Keep your cuts straight to ensure even layers.
How Do I Stiffen Tulle for a Tutu?
To stiffen tulle for a tutu, use a starch spray or fabric stiffener. Lightly mist the tulle, ensuring even coverage, and let it dry completely. This will add structure and volume to your tutu.
How Many Layers Should a Tulle Skirt Have?
You should decide on 3-6 layers for a tulle skirt. Beginners might prefer 3-4 layers for easier handling, while experienced crafters can go for more layers to achieve a fuller, dramatic look.
0 comments