
Are you ready to learn how to make Easter basket liners? It's an easy and fun DIY project that'll transform plain baskets into personalized holiday treasures. Whether you're crafting for kids or creating elegant adult Easter displays, these custom liners add the perfect finishing touch.
This sewing project is beginner-friendly and requires basic materials. Are you ready to discover how to make your baskets look professionally lined?
Key Takeaways
- Measure your basket's base diameter, height, and circumference. Add 1/2 inch seam allowance to all measurements for proper fitting.
- Choose lightweight fabric like quilting cotton or gingham. It usually requires about 1 yard for a standard Easter basket liner.
- Cut fabric pieces: one circle for the bottom and two trapezoids for the sides. Follow basket measurements plus seam allowances.
- Stitch side pieces together, create a casing at the top for the ribbon and attach the bottom piece.
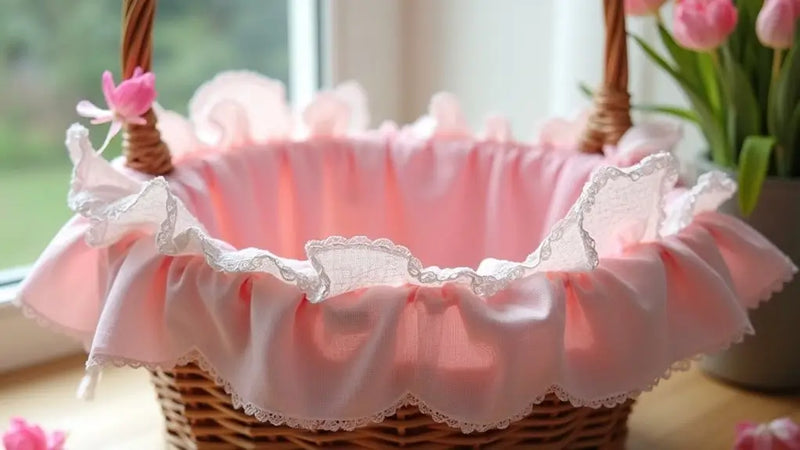
- Add optional decorative elements like lace trim, pom-poms, or appliqués to personalize your Easter basket liner.
What Materials Do You Need?
Before you craft your beautiful Easter liner, you'll need to gather all the right materials!
Start with 1 yard of your favorite fabric. Quilting cotton, gingham, or seersucker work great! You'll also want 1/2 yard of white fabric for the liner flap.
Don't forget your sewing machine and 1/2-inch bias tape to give those edges a perfect finish!
Grab 2 yards of 1/4-inch ribbon to secure your liner to the basket.
Want to make it extra special? Pick up some fun decorations like lace trim, pom-poms, or cute appliqués to personalize your creation!
How to Make Easter Basket Liners By Sewing
Let's get started on your beautiful Easter basket liner with this quick and easy sewing tutorial!
Step 1: Measure the Basket
Taking accurate measurements is the foundation of creating a perfect DIY Easter basket liner!
Measure your basket carefully to guarantee your liner fits just right. Start by measuring the diameter of the base. This tells you how much fabric you'll need for the bottom circle.
Next, measure around the widest part to determine the side of the basket. Don't forget to check the height too!
Remember to add a 1/2 inch seam allowance to all your measurements. If your basket has handles, be sure to measure between them for the perfect fit.
Step 2: Choose the Fabric
Now that your measurements are ready, it's time for the fun part - picking out your fabric! Choose colors and patterns that match your basket's theme. Bright pastels are perfect for Easter, or go with fun character prints for kids!
Before you start cutting, make sure to pre-wash your fabric. This prevents any surprises from shrinking later!
You'll need about 1 yard for a standard basket, but grab extra if you want fuller gathers. Look for lightweight materials like quilting cotton or gingham. They're super easy to work with and give your basket that perfect festive look!
Step 3: Cut the Fabric
Grab your scissors, and let's transform your fabric into the perfect liner pieces!
First, cut a circle for the bottom, adding an extra 1/2 inch all around for seams.
For the side pieces, you'll need two trapezoids based on your height measurements. Don't forget those seam allowances!
Use sharp scissors or a rotary cutter on your mat for clean edges. Before you move on to the next step, test all your cut pieces against your basket.
Step 4: Stitch the Liner
Let's plunge into the exciting sewing steps that'll bring your Easter liner to life!
Using your custom pattern, start by joining the pieces of fabric for the sides. Sew them with the right sides together, leaving the top and bottom edges open.
Next, line up the circle fabric piece with the bottom of the side piece. Pin everything in place and stitch around them carefully.
Create a casing by folding over the top edge and stitching it down. Thread your elastic or ribbon through the casing, and you're almost done!
Step 5: Add Decorative Elements (Optional)
Now that your basic liner is complete, it's time to jazz it up with some fun decorative elements!
Start by laying out your trim options. Lace, pom-poms, or bias tape looks amazing along the edges.
Want to make it extra special? Try adding personalized designs using fabric markers to write names or draw sweet Easter motifs!
Pre-cut appliques are perfect for quick and beautiful additions. Just position them carefully on the flap area before sewing.
Mix different fabrics like quilting cotton and gingham to create a visually interesting contrast.
Remember to step back and check that all your decorative touches create a cohesive design that'll make your basket pop!
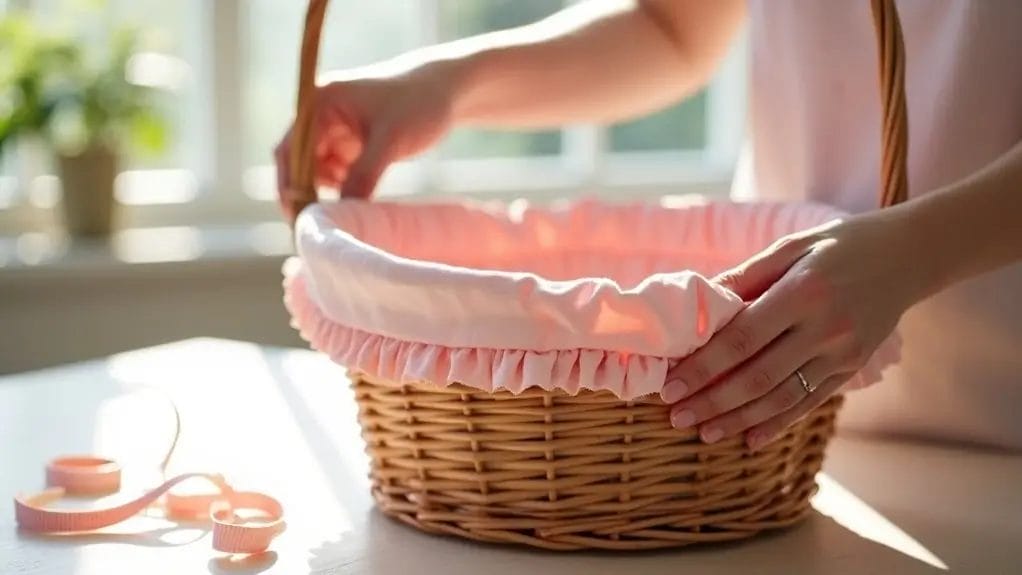
Step 6: Insert the Liner into the Basket
Your beautiful Easter liner is ready for its final destination! Carefully insert the liner into the basket! Make sure the top edge sits perfectly around the rim while smoothing the fabric down to create a snug fit at the bottom.
Take your ribbon ties and gently pull them to secure the liner in place. No more slipping or bunching!
Finish with a pretty bow, and you've got a professionally lined Easter basket that's ready for treats!
How to Make Easter Basket Liners Without Sewing
In addition to the sewing method, making a basket liner without sewing is simple and fun! Follow these steps:
- Materials Needed: Gather fabric (cotton or felt), scissors, and fabric glue or double-sided tape.
- Measure the Basket: Measure the diameter and height of the basket to determine the size of the fabric needed.
- Cut the Fabric: Cut a circular piece of fabric for the bottom and a rectangular piece for the sides, ensuring it's tall enough to fold over the edge of the basket.
- Attach the Bottom: Use fabric glue or double-sided tape to attach the circular piece to the bottom of the basket.
- Wrap the Sides: Fit the rectangular piece around the sides of the basket, folding it over the edge. Secure it with glue or tape.
- Finish Edges: If desired, use pinking shears to trim the edges of the fabric to prevent fraying.
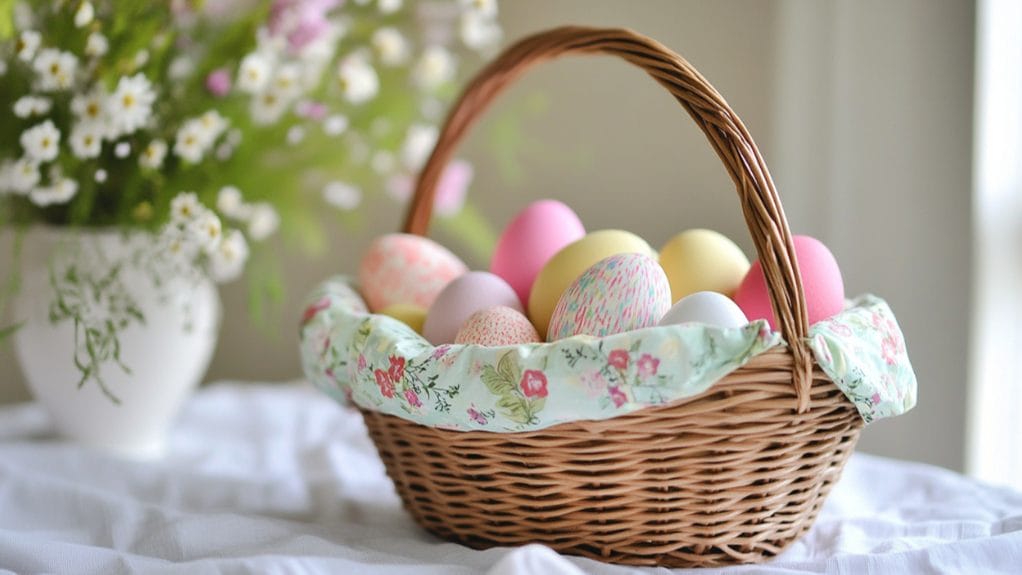
Decoration Ideas for Easter Basket Liners
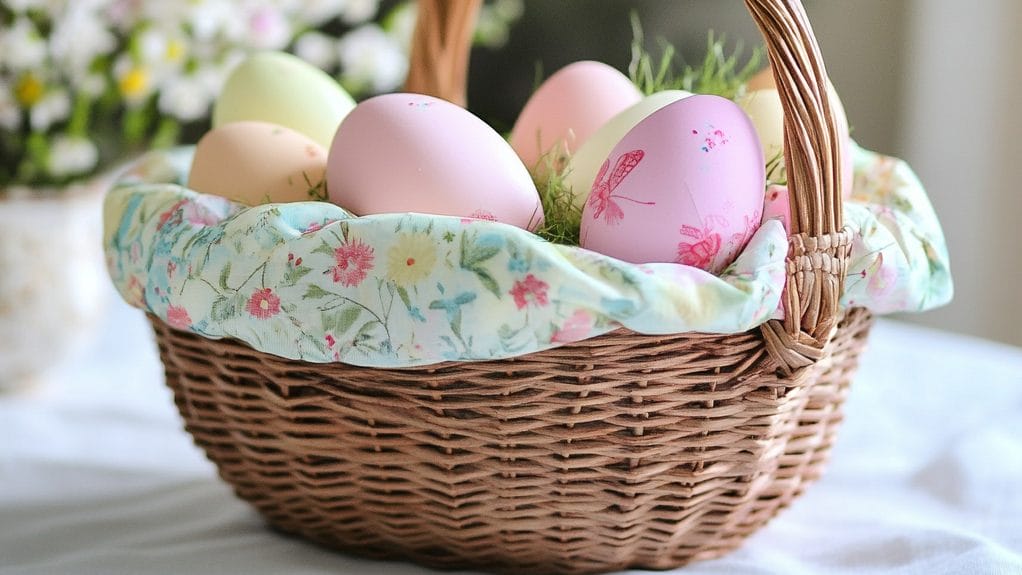
Decorating your liner transforms an ordinary basket into a spectacular holiday centerpiece.
- Fabric Liner: Use pastel-colored fabric like cotton or linen with fun patterns.
- Paper Liner: Choose colorful tissue or wrapping paper, crumpled for texture.
- Natural Elements: Opt for burlap for a rustic look, adding dried flowers or herbs.
- DIY Stenciled Liner: Stencil Easter designs on plain fabric or paper with paint.
- Easter Grass: Line the basket with green Easter grass for a classic touch.
- Personalized Touch: Personalize the liner with iron-on letters for names or messages.
- Layered Liners: Combine different fabrics and papers for added texture and volume.
- Seasonal Colors: Use soft pastel colors that reflect the Easter theme.
- Ribbon Accents: Add ribbon around the edges for a finished and decorative look.
- Interactive Elements: Incorporate pockets for treats or gifts using Velcro or snaps.
Conclusion
You're all set to make a DIY basket liner for Easter! With these simple steps, you'll have a perfectly fitted, custom liner that'll make your basket extra special. Don't forget to have fun mixing and matching fabrics and adding personal touches!
Whether you're making one for yourself or as a gift, your handmade liner will bring joy and style to any Easter celebration. Get crafting and show off your creative flair!
Learn more sewing projects on the Longan Craft Blog, and dive into the fabric world with Longan Craft!
FAQs
How to Make a Liner for Hanging Basket?
Measure your basket's size, cut the weather-resistant fabric into a circle and rectangle, sew them together to form a pouch, add drainage holes, and finish the top edge with bias tape or hem.
How to Make Lining for Wicker Basket?
Measure your wicker basket's dimensions, then cut fabric pieces for the bottom and sides. Add seam allowances, sew panels together, create a casing for ribbon, and fit the liner inside, securing it neatly.
How to Line a Basket With Plastic?
First, measure your basket's dimensions and cut the plastic to fit. Use hot glue or double-sided tape to secure the edges. Fold the excess over the rim and attach it underneath. You'll want smooth coverage throughout.
How to Line a Round Basket With Fabric Without Sewing?
Measure your basket's diameter and depth, cut the fabric to size, and then use fabric glue to attach the circular base. Secure the side strip around the basket's interior, folding the top edge for a clean finish.
0 comments