Are you looking for a fun and creative way to spruce up your home decor? Look no further than making your own embroidered coasters! Not only are they a practical addition to any living space, but they also add a personal touch that can't be bought in stores.
With just a few simple materials and our tutorial, you can create beautiful fabric coasters to impress your guests and make a statement in your home. So roll up your sleeves, and let's get stitching!
Key Takeaways
- Draw your design on fabric using a heat erasable pen and secure it in an embroidery hoop.
- Embroider the design with matching thread, using a tear-away stabilizer for support.
- Use a hairdryer to remove the heat-erasable pen marks and dissolve the stabilizer.
- Cut the embroidered fabric to shape, pair it with backing fabric, and add cotton batting.
- Sew the layers together and add decorative stitches and lace trim.
Materials for How to Make Embroidered Coasters
To get started on your embroidered coasters, you'll need to gather essential materials.
- Fabric: Cotton, linen, or canvas works well.
- Embroidery Hoop: A small one, around 4-6 inches in diameter.
- Embroidery Floss
- Embroidery Needles
- Scissors
- Backing Fabric: Felt or another piece of fabric for the back of the coaster.
- Stabilizer
- Temporary Spray Adhesive
- Cotton Batting: To give the coaster some thickness.
- Heat Erasable Pen: To draw your design onto the fabric.
- Thread: Sewing thread to attach the backing fabric.
- Lace Trim: For decorating your coasters.
These materials will set a solid foundation for your creative embroidered coaster project.
Step 1: Use a Heat Erasable Pen to Draw the Design
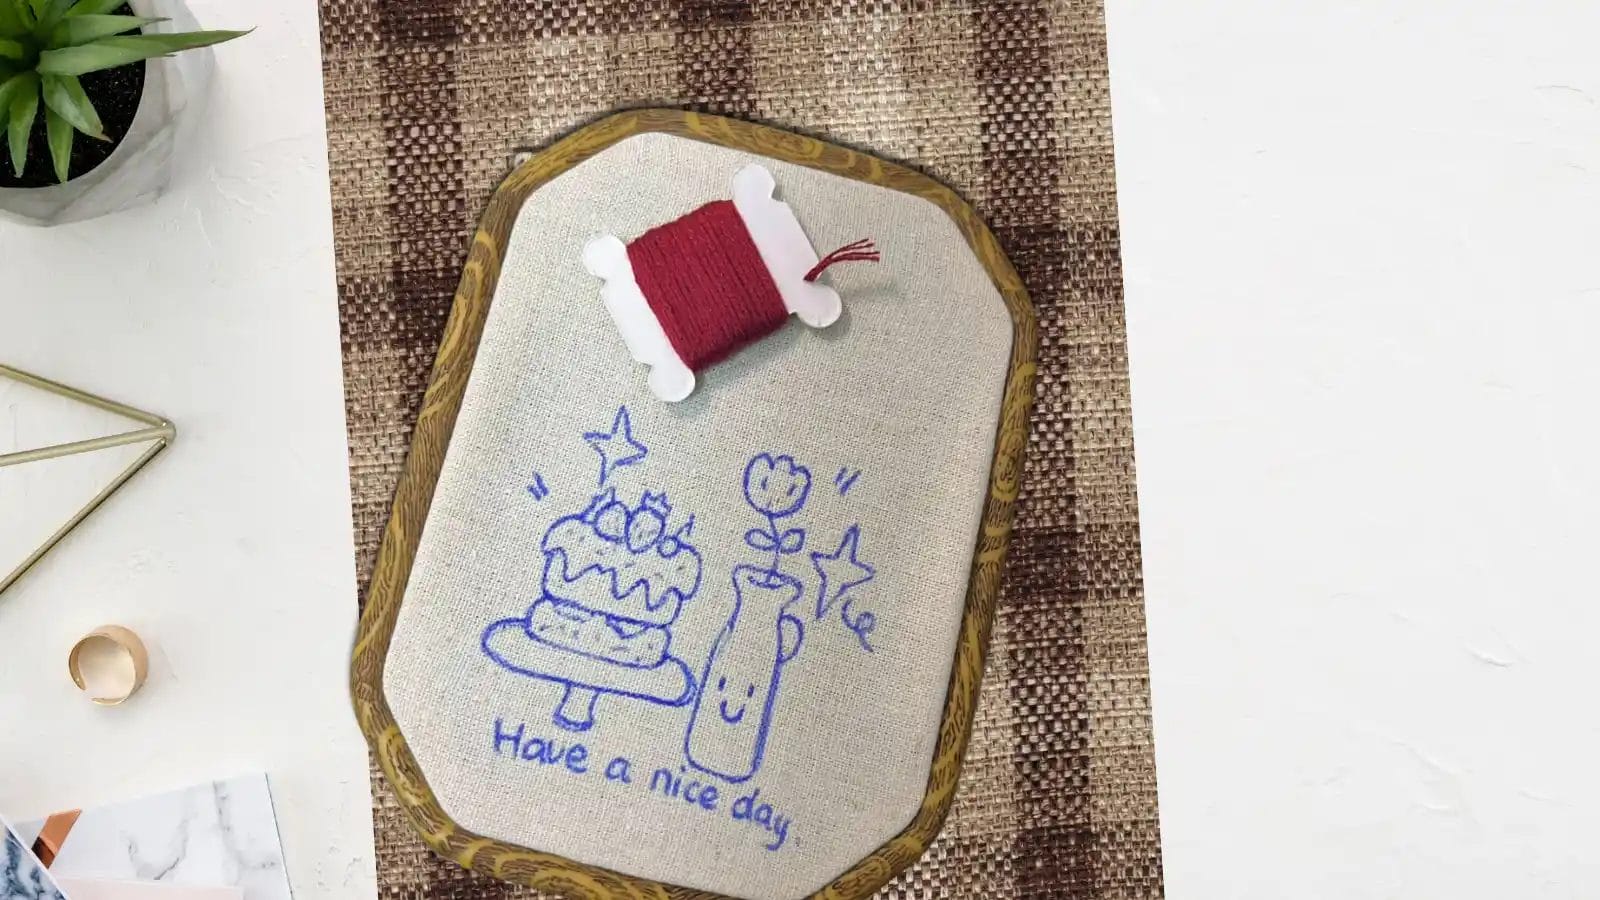
After gathering your materials, use a heat-erasable pen to draw your design directly onto the fabric for precise embroidery placement. Start by ensuring your fabric is clean and smooth. Carefully sketch your design, making sure it's centered and aligned correctly. The heat-erasable pen's temporary marks will guide you during the embroidery process and disappear with a touch of heat.
Step 2: Embroider the Design
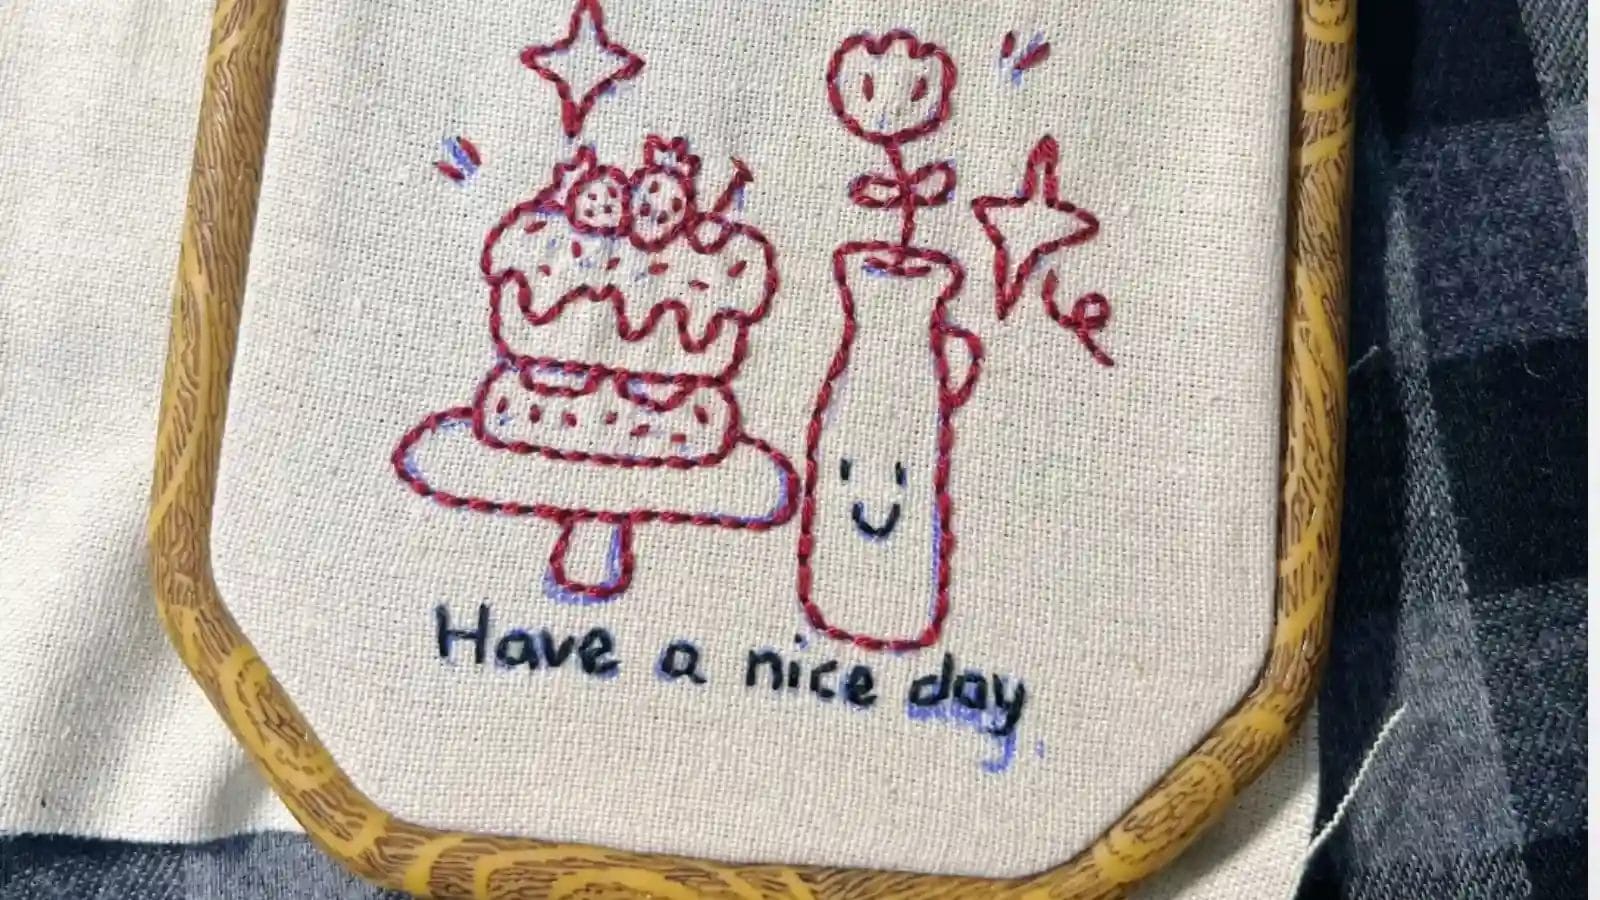
Begin embroidering by securely hooping both the fabric and stabilizer, ensuring they're taut and well-aligned. Use temporary spray adhesive to secure your fabric to the stabilizer.
Choose the appropriate needle to ensure clean and precise stitching. Select the thread colors that match your design. Follow the design on your fabric to embroider all the intricate details accurately.
Step 3: Use a Hairdryer to Remove the Design Marks
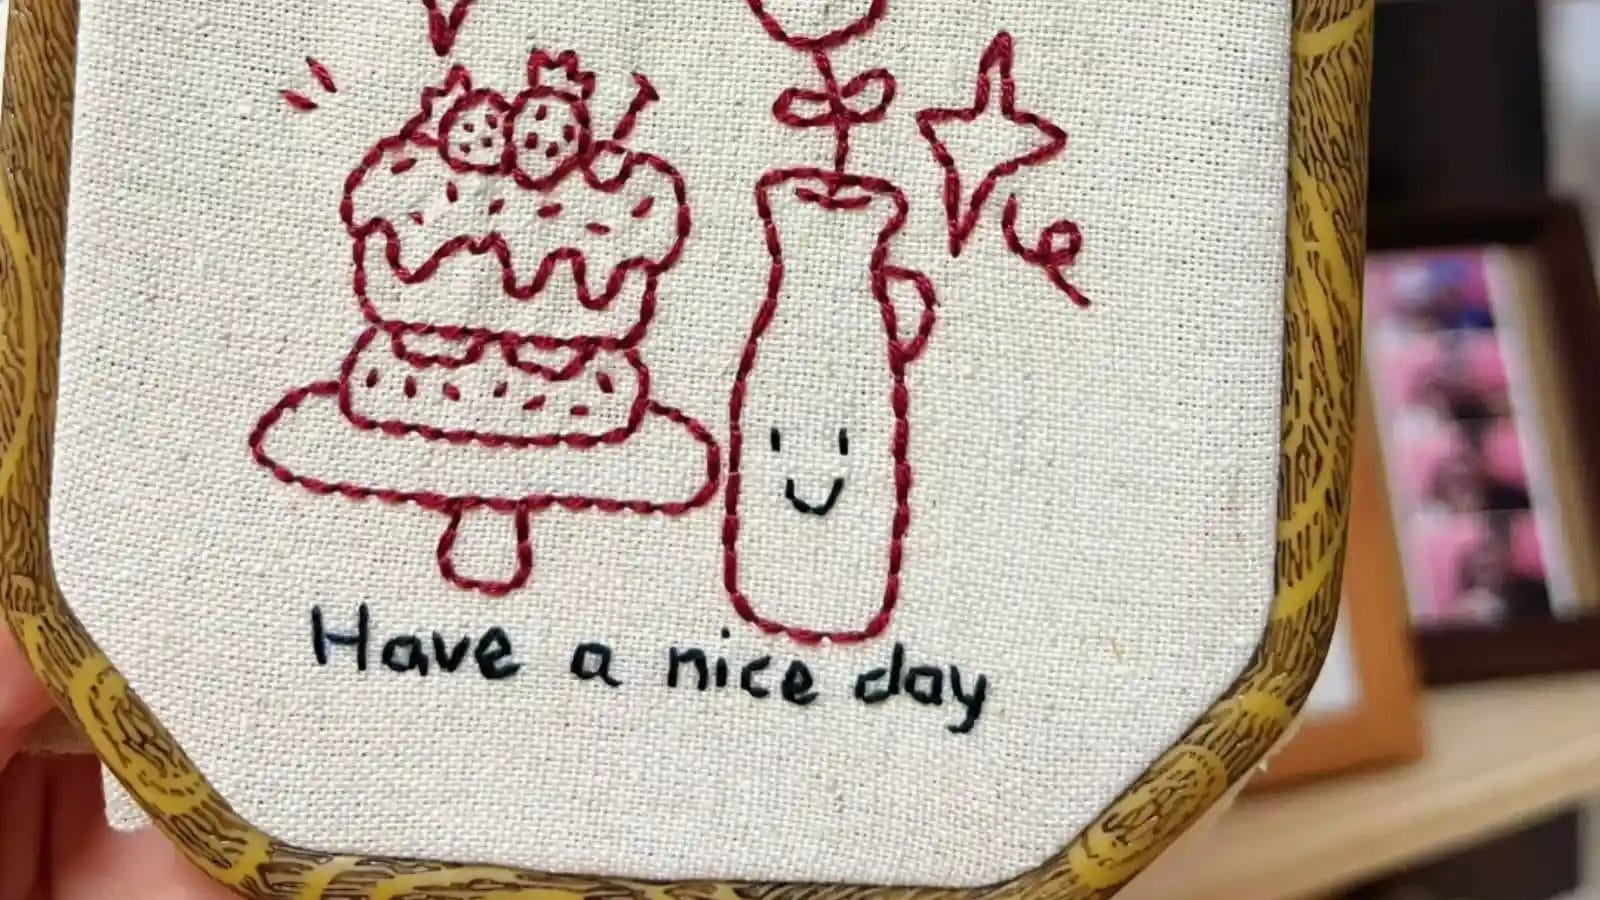
Hold the hairdryer a few inches away from the fabric to remove the design marks. Use a circular motion to distribute the heat evenly across the design.
Then, you can tear away the stabilizer. This step is essential for a clean finish, preparing your coaster for the next steps in the process.
Step 4: Cut the Design and Pair it with a Fabric Backing
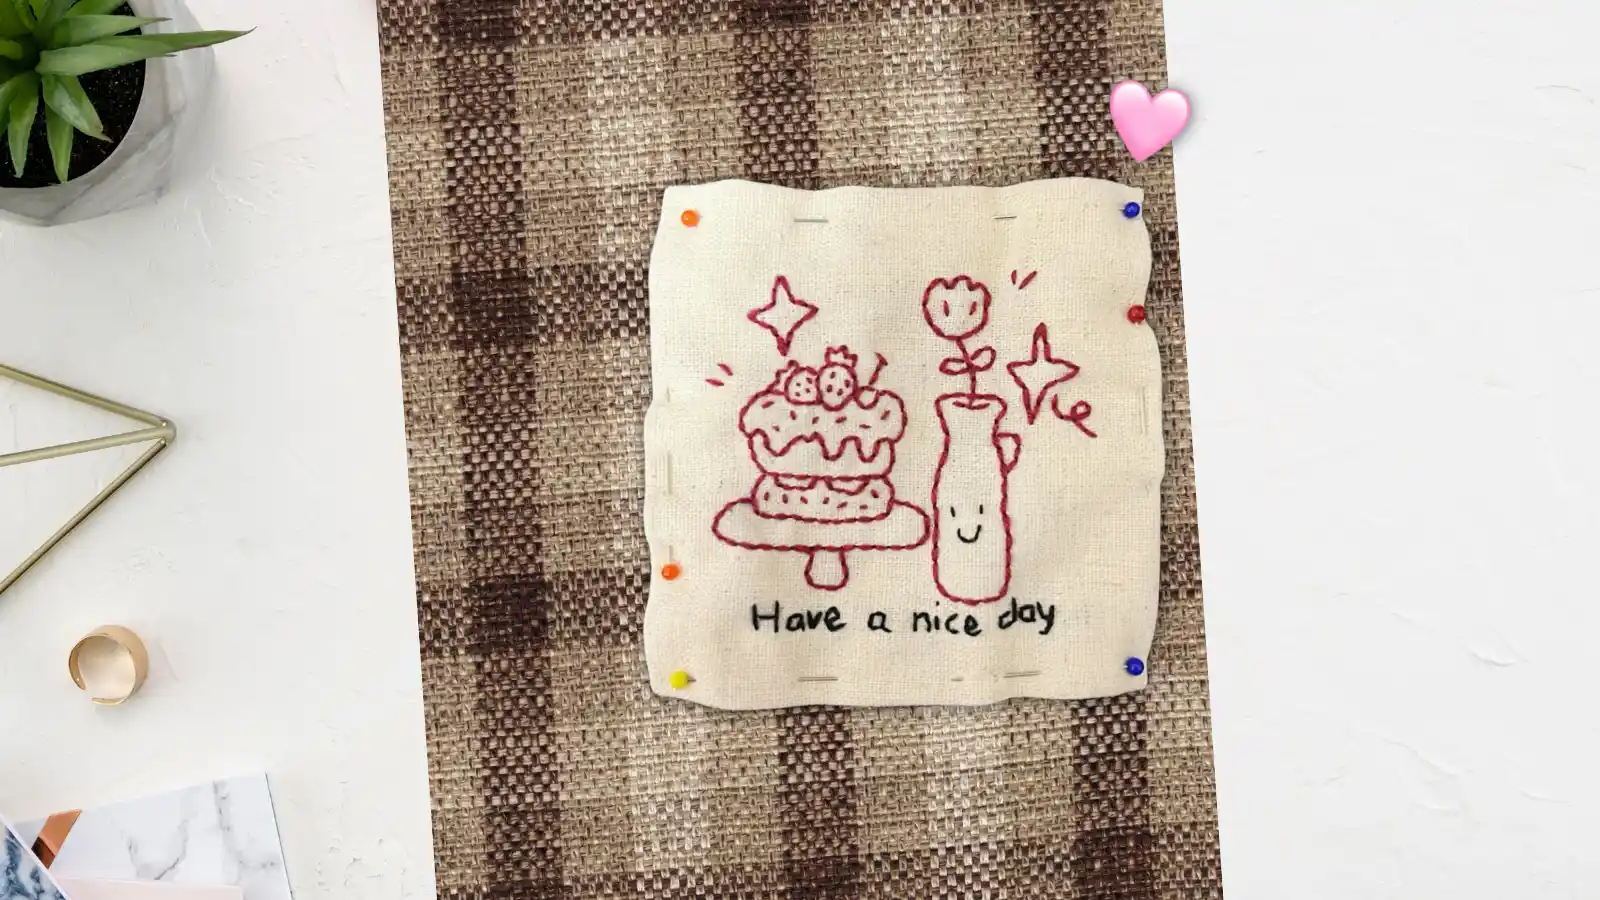
Carefully cut out the embroidered design to create the shape of your coaster. Once you've cut the design, it's time to pair the embroidered fabric piece with a matching fabric backing.
This step is crucial for adding stability and a finished look to your coaster. Lay the backing fabric flat and place the embroidered fabric piece on top, ensuring proper alignment. The edges of both pieces should match perfectly to maintain the desired coaster shape.
This careful pairing will set the stage for the final construction and finishing touches, ensuring your embroidered coasters look neat and professional.
Step 5: Add Cotton Batting and Sew the Edges
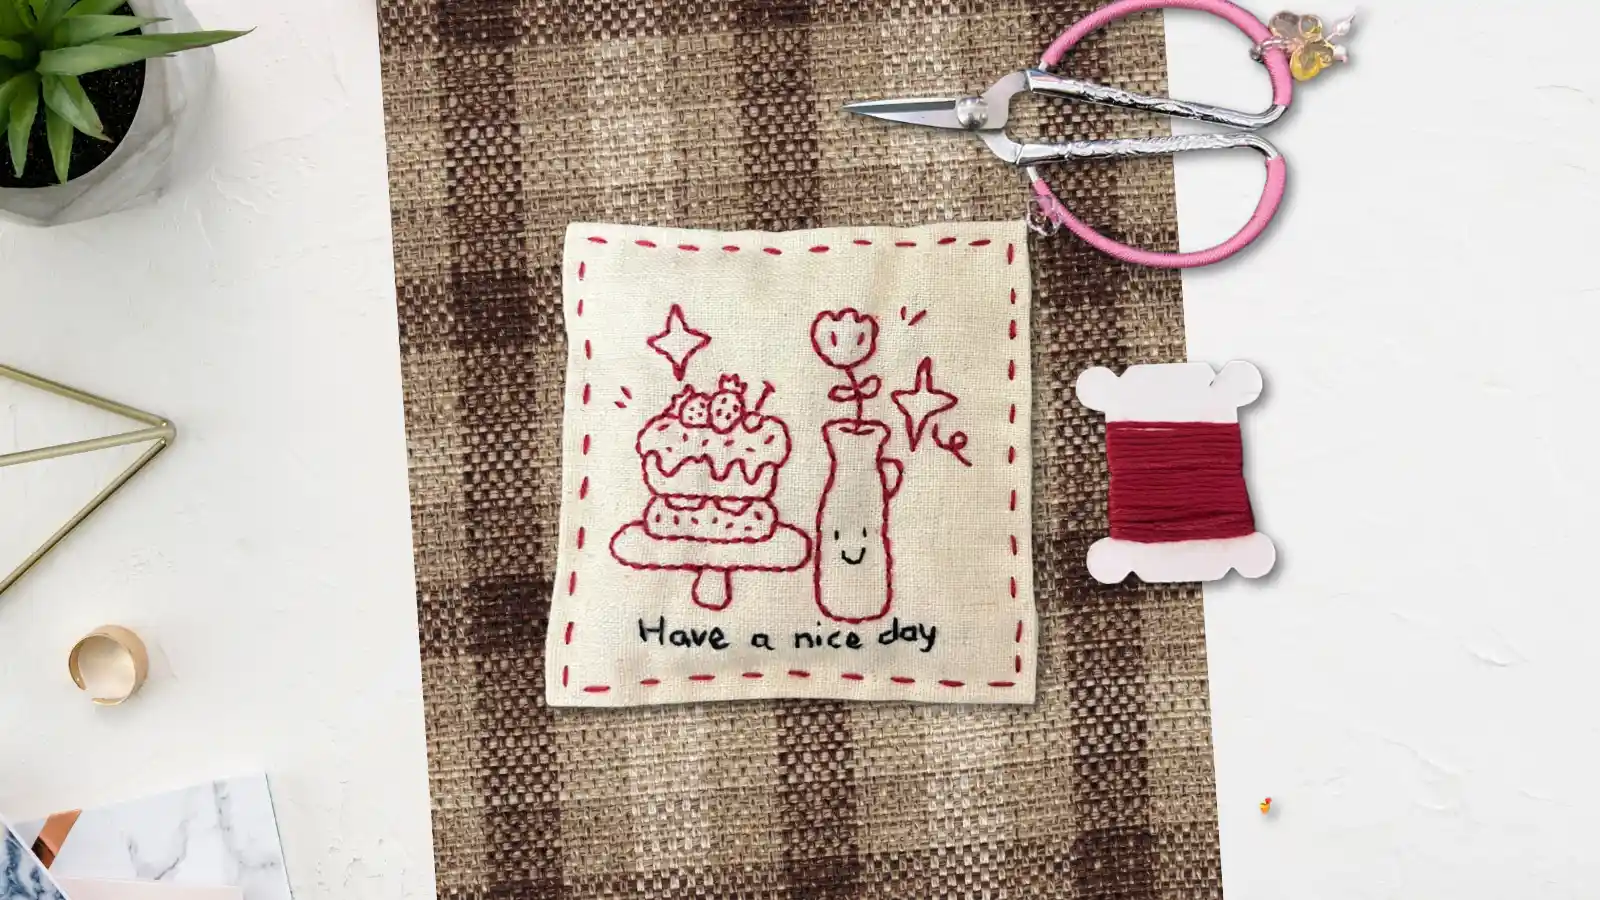
Now that you've paired the embroidered fabric with the backing, place a piece of cotton batting between them for added thickness and insulation.
Align the layers carefully, then sew around the edges using a 1/4-inch seam allowance. Leave a small opening to turn the coaster right side out. Before you do, trim the corners to reduce bulk, ensuring the coaster's edges lay flat.
Close the opening neatly once the coaster is turned out on the right side.
Step 6: Add Embellishments
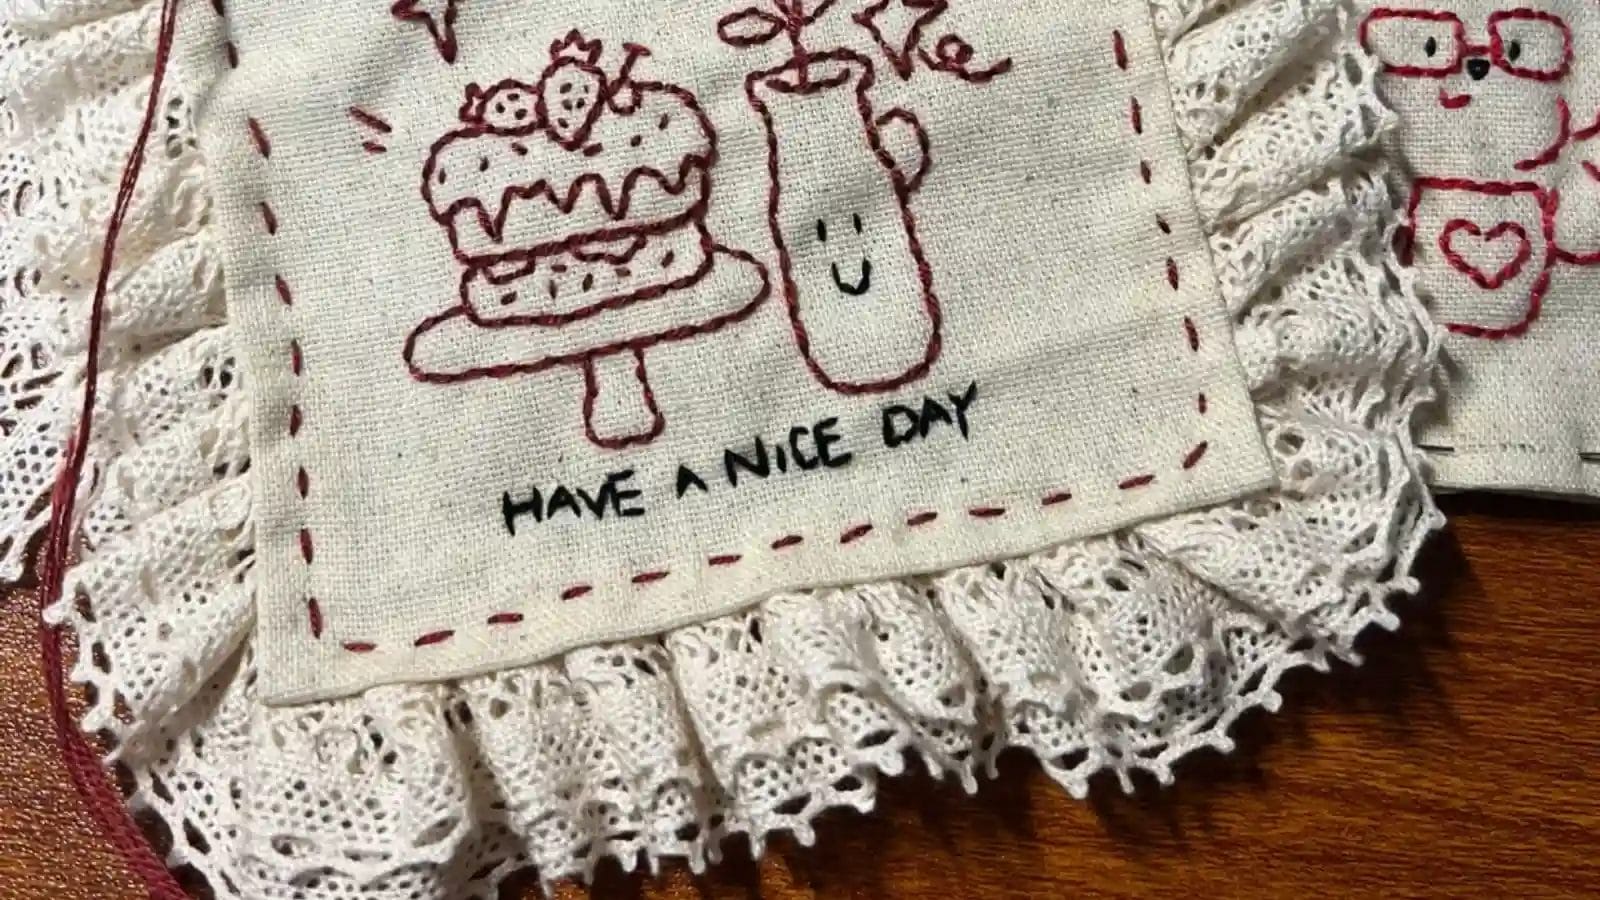
Enhance your embroidered coasters by adding decorative stitches and lace trim for a personalized and elegant touch.
Start by experimenting with various embroidery stitches, such as French knots, chain stitches, and satin stitches, to create unique embellishments. These stitches not only add texture but also elevate the overall decor of your coasters.
Next, consider adding a delicate lace trim around the edges. Simply sew the lace trim carefully along the coaster's border, ensuring it's evenly attached.
Whether you prefer a minimalist look or something more intricate, these embellishments will make your embroidered coasters truly stand out.
Final Words
Congratulations—you've just created your very own embroidered coasters! By following these steps, you've turned simple materials into personalized, decorative pieces that are perfect for your home or as gifts.
Remember, the more you practice, the better you'll perfect your stitches and designs. Enjoy showing off your beautiful handiwork. Each coaster is a unique piece of art that showcases your creativity.
Happy crafting!
Learn more sewing projects from the Longan Craft Blog, and dive into the fabric world with Longancraft!


0 comments