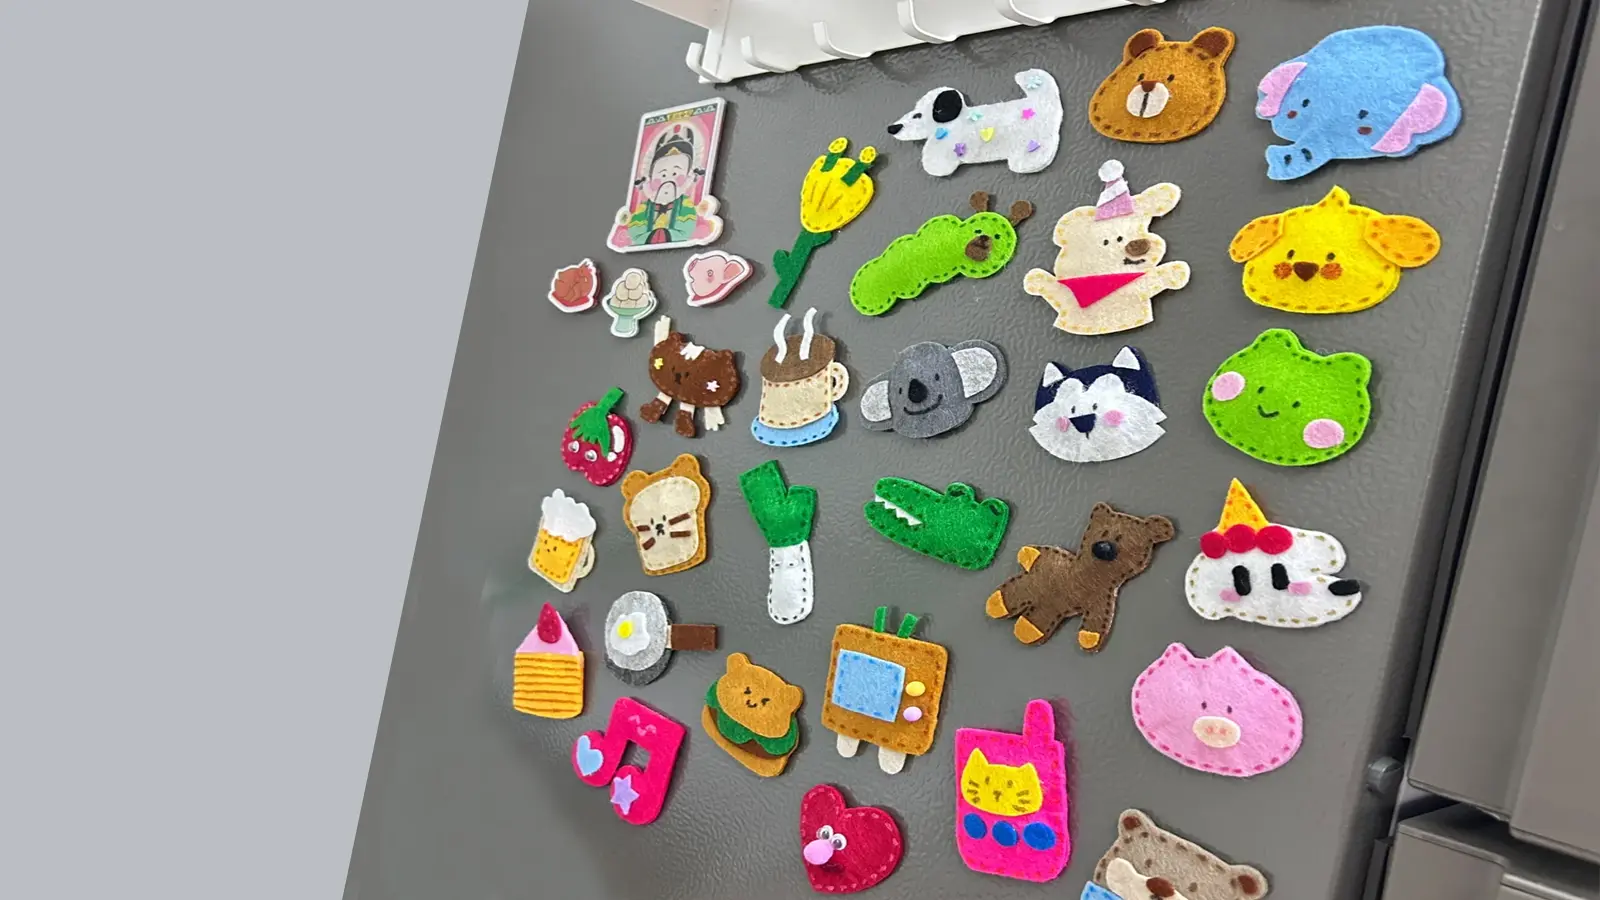
Felt magnets are a delightful and easy craft project that adds a personal touch to your fridge or magnetic boards. Not only do they brighten up your space, but they also make for thoughtful gifts or charming decorations for special occasions.
With just a few simple materials and some creativity, you can transform colorful felt into fun shapes and designs that stick. In this guide, we'll walk you through the steps to create DIY felt magnets, perfect for all ages and skill levels!
Key Takeaways
- Choose colorful felt sheets and cut them into desired shapes.
- Use strong adhesive to attach business card magnets to the felt.
- Layer and glue additional felt pieces for intricate designs.
- Add decorative stitches with embroidery floss for personalization.
- Allow all glue to dry completely before using or gifting.
Prepare the Materials Needed
To get started on making felt magnets, you'll need to gather a few essential supplies:
- Felt Sheets: Various colors depending on your design.
- Scissors: For cutting the felt into desired shapes.
- Templates or Stencils: Optional, for more precise shapes.
- Glue: A hot glue gun or fabric glue works best for attaching pieces together.
- Magnets: Small, flat magnets to attach to the back of the felt shapes.
- Needle and Thread: Optional, for sewing details or securing parts more firmly.
- Fabric Paint or Markers: For adding details or decorations.
- Embellishments: Buttons, beads, or sequins for extra decoration (optional).
How to Make Felt Magnets for Your Fridge

With your materials ready, let's review the step-by-step instructions for making your super cute and easy felt magnets.
Step 1: Choose and Prepare Your Design
Selecting your design is a crucial first step in making felt magnets. Start by picking colorful pieces of felt sheets.
Think about creating flower or animal paper templates that appeal to you.
Step 2: Cut and Assemble the Felt Pieces
Cut various felt pieces according to your templates. Ensure the base piece is bigger than your magnets.
Use craft glue to adhere the pieces together to create different patterns
Allow the glue to dry completely before proceeding.
Step 3: Attach the Magnet
Once you've completed your felt design, flip it face down on a flat surface to prepare for gluing a magnet.
Use hot glue to generously cover the back of the felt shape, ensuring secure adhesion.
Carefully attach the magnet, pressing firmly to bond it. Allow the hot glue to cool completely.
For a durable hold, consider adding a second felt layer or sturdier backing.
Step 4: Add Decorative Stitches
To add a touch of personalization and flair, begin decorating your felt magnets with decorative stitches.
Thread a needle with colorful embroidery floss, tie a knot at the end, and start stitching. Use simple patterns like running stitches or decorative knots to outline shapes or add texture to your felt.
Secure all ends and trim excess thread for a polished finish.
Step 5: Final Touches
Give your felt magnets a polished look by trimming any excess felt around the edges.
For a decorative touch, add a ribbon or tag for hanging if used as a gift idea.
Test the magnet's strength to ensure it holds securely.
How to Clean and Care for Your Felt Magnets
Caring for your pretty felt magnets ensures they remain fresh and functional.
To clean felt magnets, gently wipe with a damp cloth, avoiding excess moisture. For tougher stains, use a mild soap solution and a soft brush, then rinse. Avoid harsh chemicals.
Store your felt magnets in a cool, dry place to prevent moisture buildup and potential mold.
Replace the magnet backing if needed.
Conclusion
Congratulations! You've now mastered the art of making felt magnets. With just a few materials and these straightforward steps, you can create personalized, decorative magnets for any occasion.
Remember to let the glue dry thoroughly and test the magnet's strength before using it. Using embroidery floss can also add unique touches that make your magnets stand out.
Enjoy your new, adorable creations and have fun experimenting with different designs!
Learn more sewing projects on the Longan Craft Blog, and dive into the fabric world with Longancraft!
FAQs
How Do You Attach Felt to a Magnet?
To attach felt to a magnet, cut the felt into your desired shape. Use hot glue or craft glue for a strong bond. Press firmly and let it dry completely to ensure it sticks securely.
How to Make a Homemade Magnet?
To make a homemade magnet, cut a shape from felt, then attach a small magnet to the back with strong glue. Let the glue dry completely. Add decorative elements to personalize it, and enjoy your custom magnet!
How to Make Magnets Stronger at Home?
To make magnets stronger at home, use neodymium magnets and stack multiple layers together. Secure them with hot glue or craft adhesive, and ensure even distribution with a cardboard backing for heavier items. Test different placements for optimal strength.


0 comments