
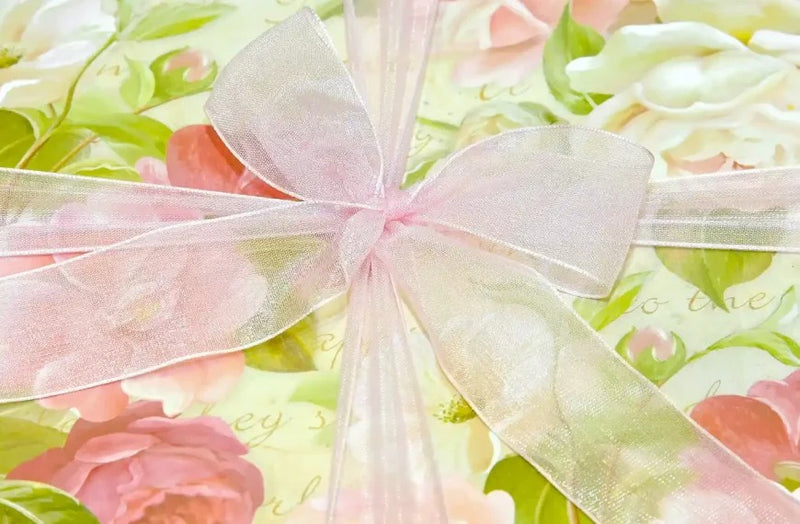
Are you looking to add a touch of elegance and finesse to your gift wrapping or decor? Look no further than organza bows! These delicate and beautiful bows are perfect for adorning presents, bouquets, and even hair accessories. Making organza bows is easier than you think, and with a little practice, you can create stunning bows that will elevate any project.
In this article, we'll show you how to make organza bows that will impress. So grab your supplies and unleash your creativity with these gorgeous and versatile accessories. Let's get started!
Key Takeaways
- Measure and cut the organza ribbon to the desired length, considering the bow size you want to create.
- Fold the ribbon to create loops, pinching at the folded point to create a crease, and use thumbs to form the loops.
- Secure the center of the bow with hot glue or a stitch. Wrap the loose ends evenly around the center and tighten gently.
- Fluff and adjust the bow shape by teasing out the organza layers and coaxing the folds with fingers or a tool.
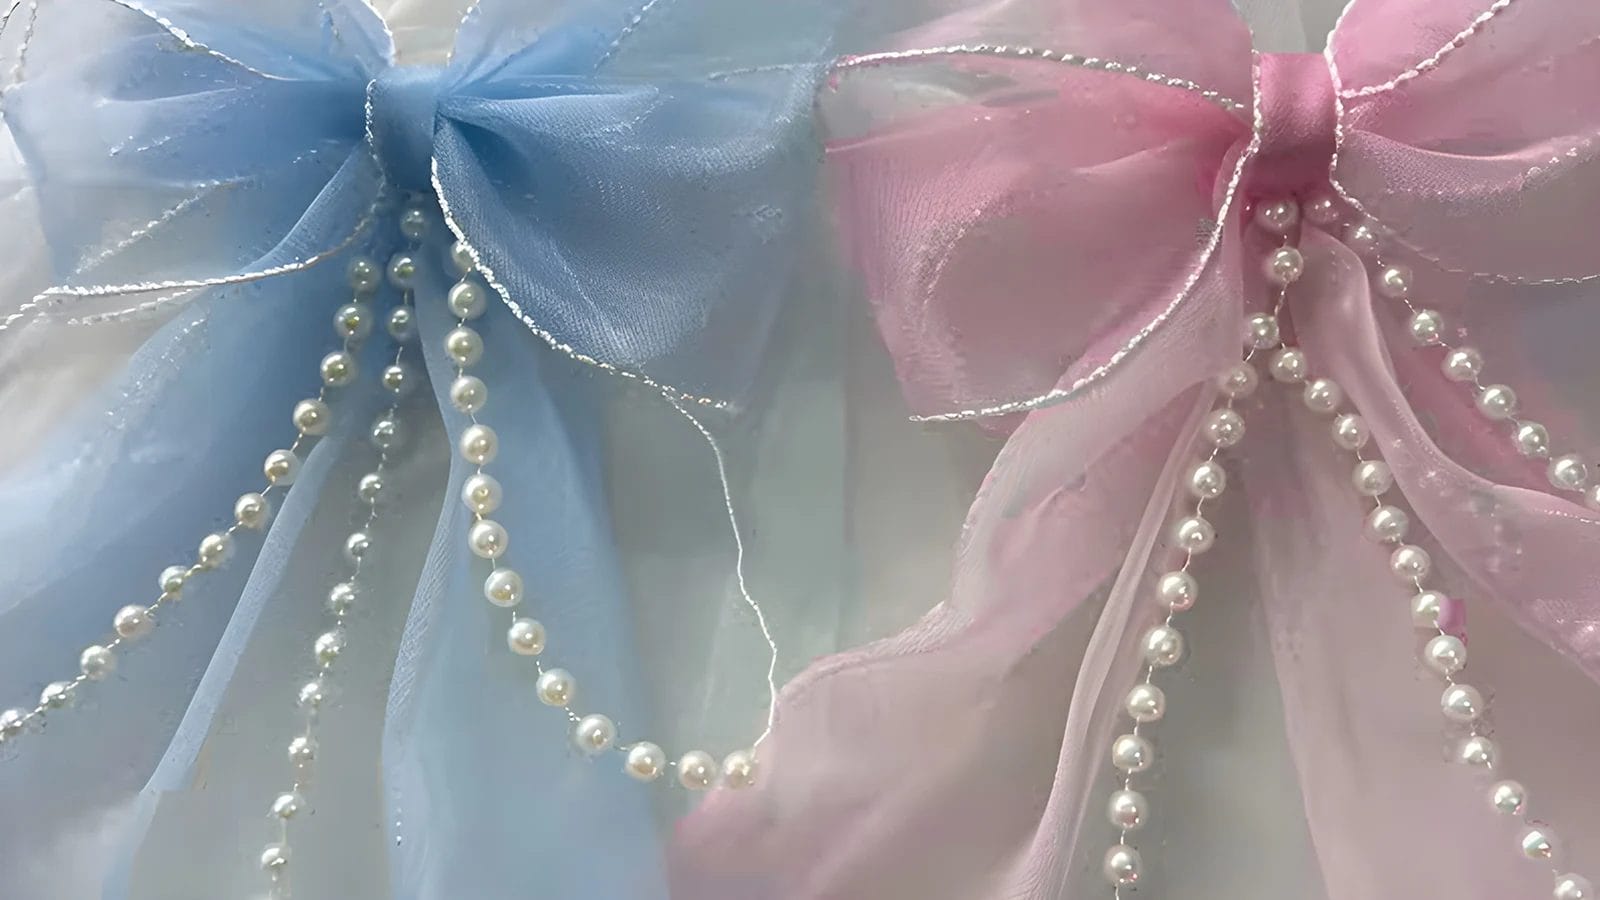
- Add optional decorative elements like rhinestones, pearls, or flowers, balancing and restraining the design for a beautiful finish.
Prepare the Materials
Gather your crafting arsenal because you'll need specific supplies to create beautiful organza bows.
- Organza Ribbon: Choose the width and color based on your preference.
- Scissors: Sharp scissors for clean cuts.
- Ruler or Measuring Tape: To measure the length of the ribbon needed.
- Needle and Thread: For securing the bow in the center.
- Hot Glue Gun: Optional, for attaching the bow to other items.
- Wire (Floral or Craft Wire): If you prefer not to sew, use wire to shape and secure the bow.
- Lighter or Fray Check: To seal the edges of the ribbon and prevent fraying.
- Embellishments: Such as beads, buttons, or small flowers for decorating the center of the bow.
With these supplies, you can start making your own stunning organza bows.
How to Make Organza Bows: An Easy Tutorial
Now that you've gathered all the necessary materials, you can start creating your beautiful organza bow. Follow these steps carefully for making elegant organza bows.
Step 1: Measure and Cut the Ribbon
Measure a length of ribbon that's approximately three to four times the desired finished bow size. This will give you enough material to create a full, fluffy bow.
When choosing the length, consider the size and type of project you're making. For instance, a small bow for a hair clip might require a shorter length, while a large bow for a wedding decoration might need a longer one.
Cut the organza ribbon using sharp scissors or a craft knife, making sure to cut cleanly and smoothly. Avoid crushing or bending the ribbon, as this can cause it to lose its shape and texture.
Step 2: Create the Loops
To create the loops, fold the cut ribbon in half lengthwise, with the wrong sides facing each other, and pinch the ribbon at the folded point to make a small crease. This crease will serve as a guide as you create the loops for your organza ribbon bow.
Holding the folded ribbon, use your thumbs to create a loop, keeping your fingers at the crease to adjust the size. To form the bow shape, you'll want to create multiple loops, each tied to the previous one. As you tie each loop, gently pull the ribbon to secure it in place.
Adjust the loops as needed to achieve your organza ribbon bow's desired fullness and shape.
Step 3: Secure the Center
You'll need to thread the loose ends of the ribbon through the center of the bow, securing them with a small dot of hot glue or a tiny stitch. This step is crucial in keeping your bow intact.
Hold the bow in one hand and use the other to wrap the loose ends around the center, making sure they're even and secure. As you wrap, gently pull the ends to tighten the center of the bow. Take your time and ensure everything is in place before proceeding to the next step.
Step 4: Fluff and Adjust the Bow
Now that your bow's center is secure, gently tease out the organza layers to create a fuller, more dimensional shape. Adjust the bow's shape to your liking as you fluff out the layers.
You can use your fingers or a tool like a stylus to coax out the folds gently. Remember, the goal is to create a soft, rounded shape that's visually appealing. Take your time and work slowly, as this step requires patience.
Step 5: Add Decorative Elements (Optional)
Add a touch of elegance to your organza bow by incorporating decorative elements, such as rhinestones, pearls, or delicate flowers, which can elevate its visual appeal and make it truly special.
You can also experiment with other decorative elements, such as beads, sequins, or even tiny pieces of lace, to add a unique touch to your design.
As you work on your DIY project, remember that balance and restraint are key to achieving beautiful decor. Don't overdo it. A few well-placed elements can make a bigger impact than a cluttered design.
Uses for Handmade Organza Bows
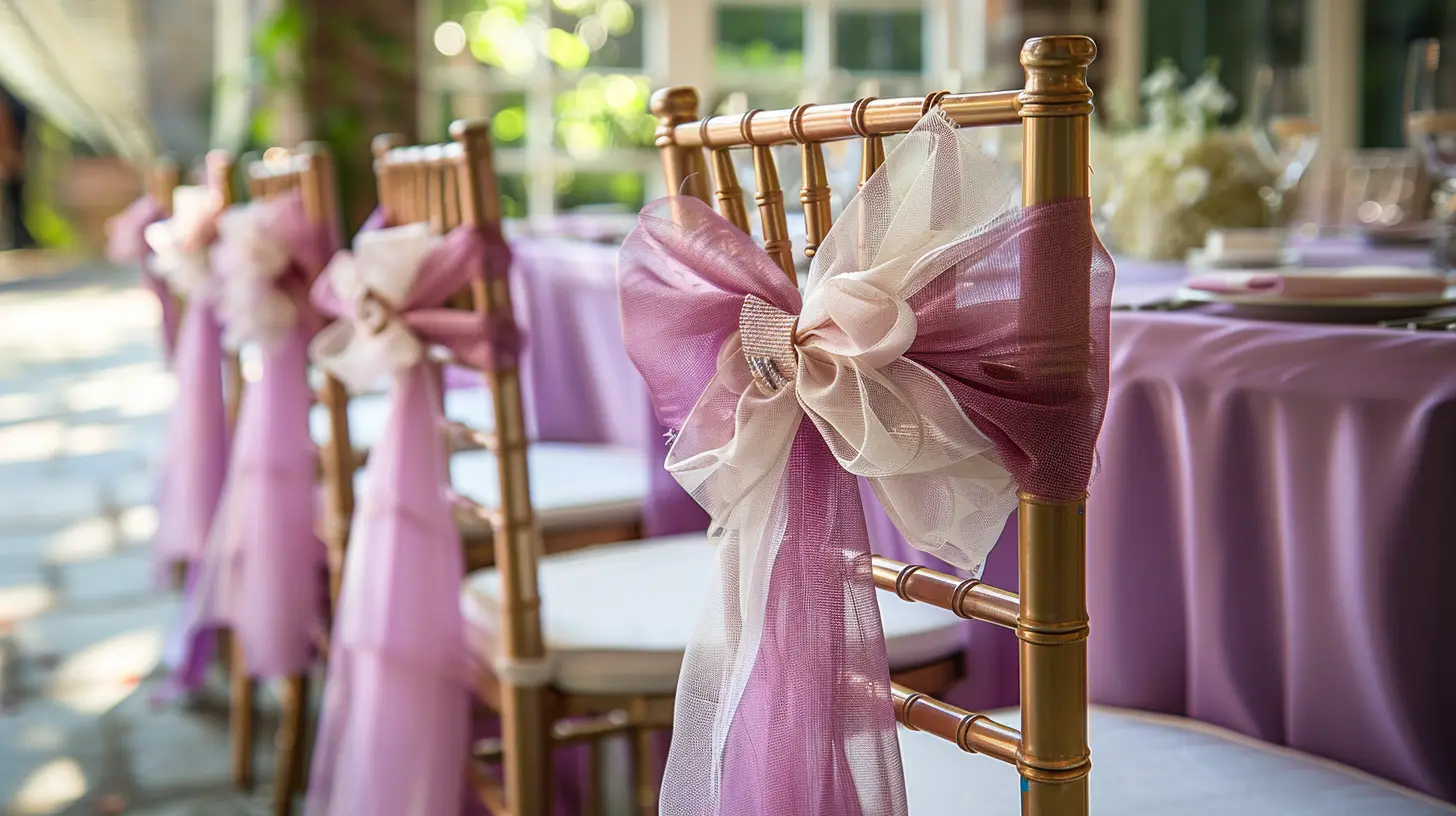
From wedding decorations to gift wrapping, organza bows add a touch of elegance and sophistication to various aspects of your life.
You can use them to embellish gifts for special occasions, making them unforgettable.
Organza bows are also perfect for marking milestones like birthdays, anniversaries, or graduations.
You can attach them to party favors and decorations or wear them as a hair accessory.
Whether a casual gathering or a formal event, your handmade organza bows will add a touch of refinement to any occasion.
Conclusion
You've successfully created your beautiful organza bow! With your newfound skill, the possibilities are endless.
Add a touch of elegance to gifts, hair accessories, or party decorations. You can even wear your creation as a stylish hairpiece for any occasion.
Get creative and experiment with different ribbon colors, sizes, and embellishments to make your organza bows unique.
Learn more sewing projects at Longan Craft Blog, and dive into the fabric world with Longancraft!
FAQs
Can I Use a Wired Ribbon to Make an Organza Bow?
Yes, you can! The wired ribbon provides structure and holds its shape. It's a great alternative to traditional organza fabric for creating beautiful bows.
How Do I Prevent Fraying on the Organza Edges?
To prevent fraying on fabric edges, you can use a few simple techniques. You can singe the edges with a lighter, apply fabric glue, or use a serger to finish the seams.
Are Organza Bows Suitable for Outdoor Decorations?
Since organza is a lightweight, delicate fabric, you'll need to weigh its suitability for outdoor use, as it may not withstand harsh weather conditions.
Can I Dye or Paint Organza to Match My Theme?
You can dye or paint organza to match your theme, but test the fabric's reaction to different dyes or paints before applying them to your bows to ensure the desired color and texture.
Do Organza Bows Retain Their Shape Over Time?
You'll be relieved that organza bows retain their shape well over time. But you should store them properly to prevent creasing or flattening.
0 comments