
You're about to embark on a fun DIY project that'll keep your furry friend clean and stylish - making pet bibs! You'll start by selecting two coordinating fabric pieces, like durable cotton or double gauze, that'll ensure comfort and durability. With your fabrics in hand, you'll cut out the bib shape and sew the pieces together. But that's just the beginning - you'll also add a touch of elegance with lace trim. Now, are you ready to learn the simple steps to bring this project to life?
Key Takeaways
- Choose durable fabrics like cotton or double gauze that are comfortable.
- Add a professional finish to your pet bib with welting cord for a stylish touch.
- Elevate your pet bib's design with delicate lace trim that complements the fabric and is washable and pet-friendly.
- Use a cotton fabric ribbon to add elegance and sophistication to the pet bib.
- Secure the bib with a comfortable and adjustable tie made from cotton fabric ribbon.
Gather Your Supplies
Now it's time to gather the essential supplies for your pet bibs. Get these must-haves ready, and you'll be all set to start creating adorable, functional bibs for your furry friend!
- 2 Pieces of Fabric: As you begin crafting your pet's bib, select two fabric pieces with the same sizes. Consider durable fabrics like cotton or double gauze, which are easy to clean.
- Welting Cord: Use welting cord that matches or contrasts with your fabric to give your pet bib project a professional look.
- Lace Trim: You can add an extra touch of elegance with lace trim. Select a style that harmonizes with your fabric choice to create a cohesive, stylish look.
- Cotton Fabric Ribbon: Select a cotton fabric ribbon that wraps comfortably around your pet's neck. Its width and design are carefully chosen to complement their unique style and size.
How to Make Pet Bibs
Now that you've got your supplies ready, it's time to bring your pet bib to life!
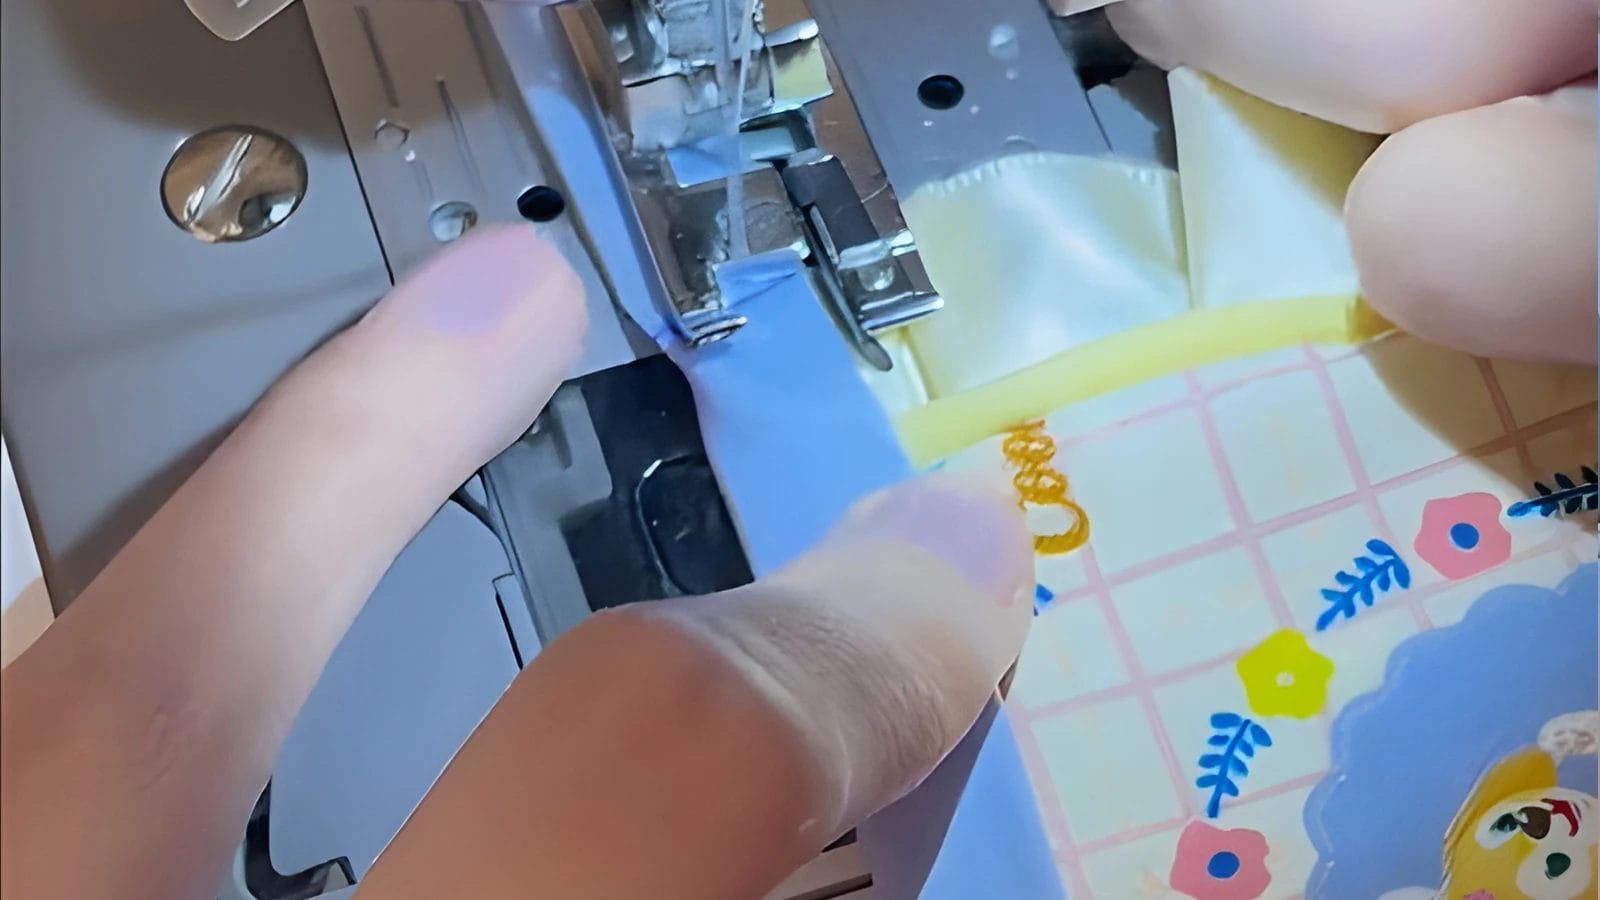
Step 1: Take out one piece of fabric and stitch the welting cord along the curved part of the fabric.
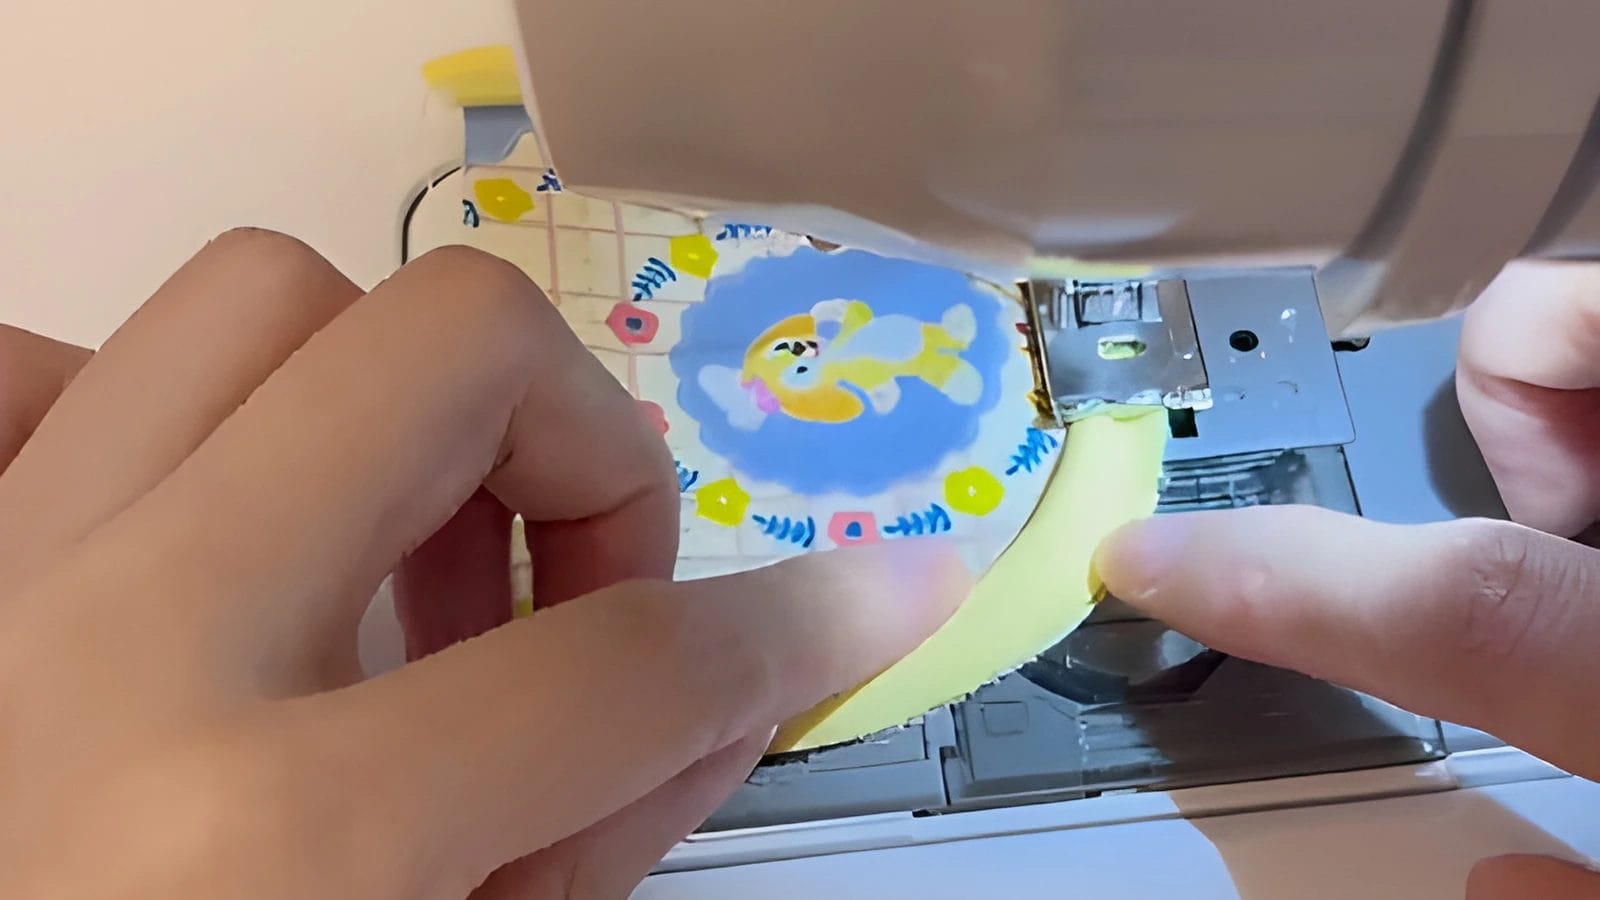
Place the welting cord on one piece of fabric and align the front side of the fabric piece with the welting cord. To make a tidy and durable pet bib, it is important to sew the welting cord along the curved edge of the fabric. As you sew, make sure to stitch close to the cord edge for a professional finish. So, take a deep breath and carefully guide your needle through the fabric.
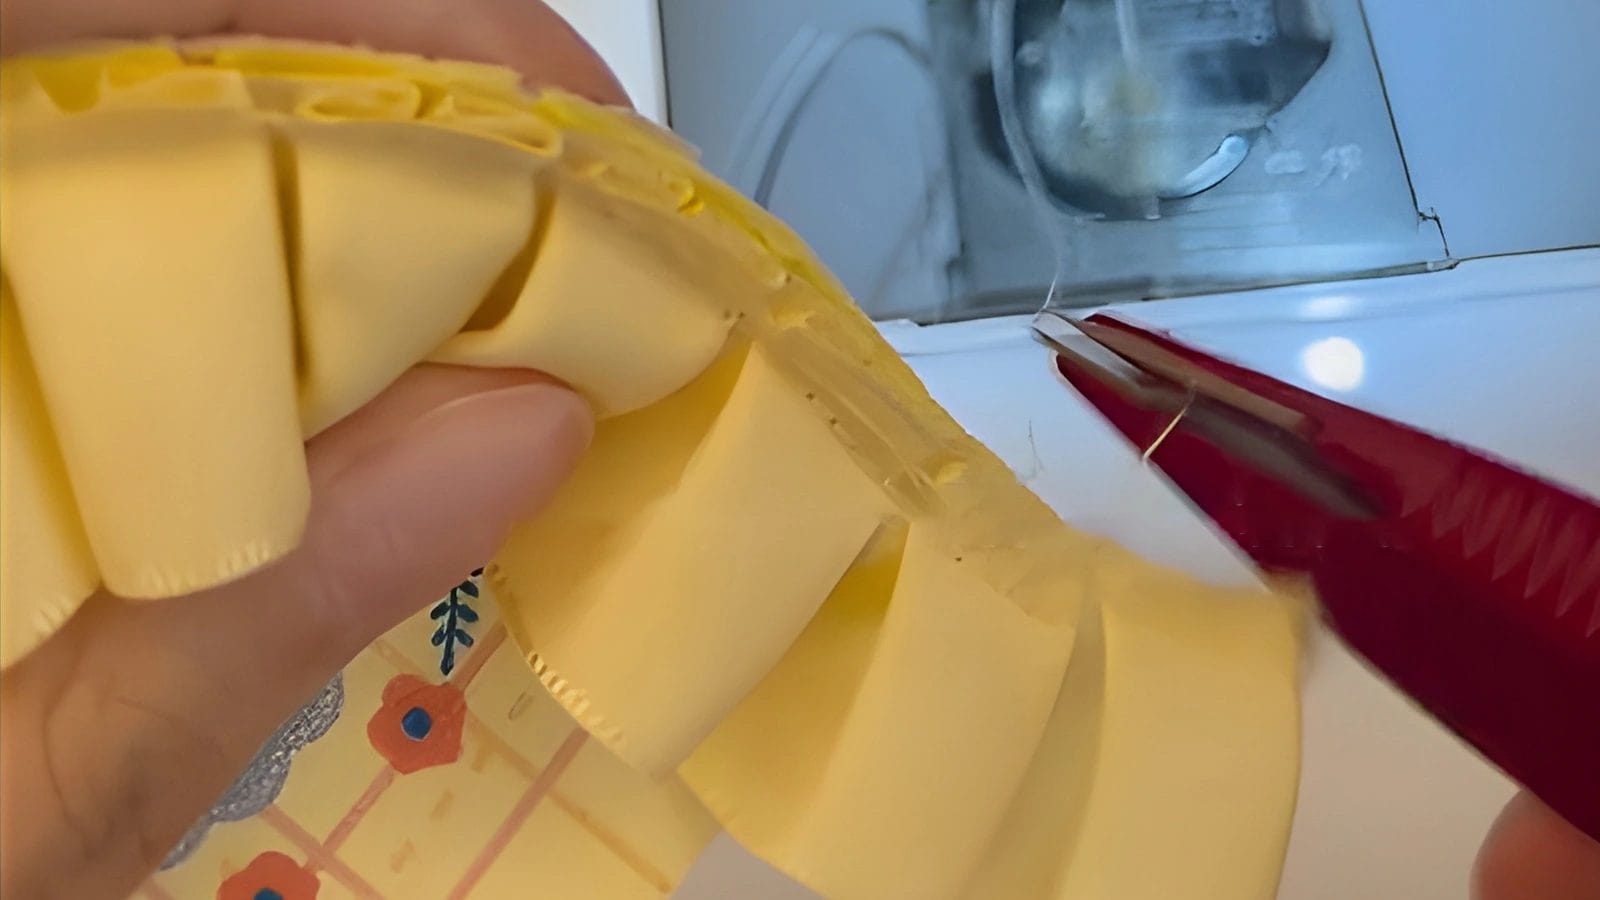
Step 2: Trim any excess welting cord.
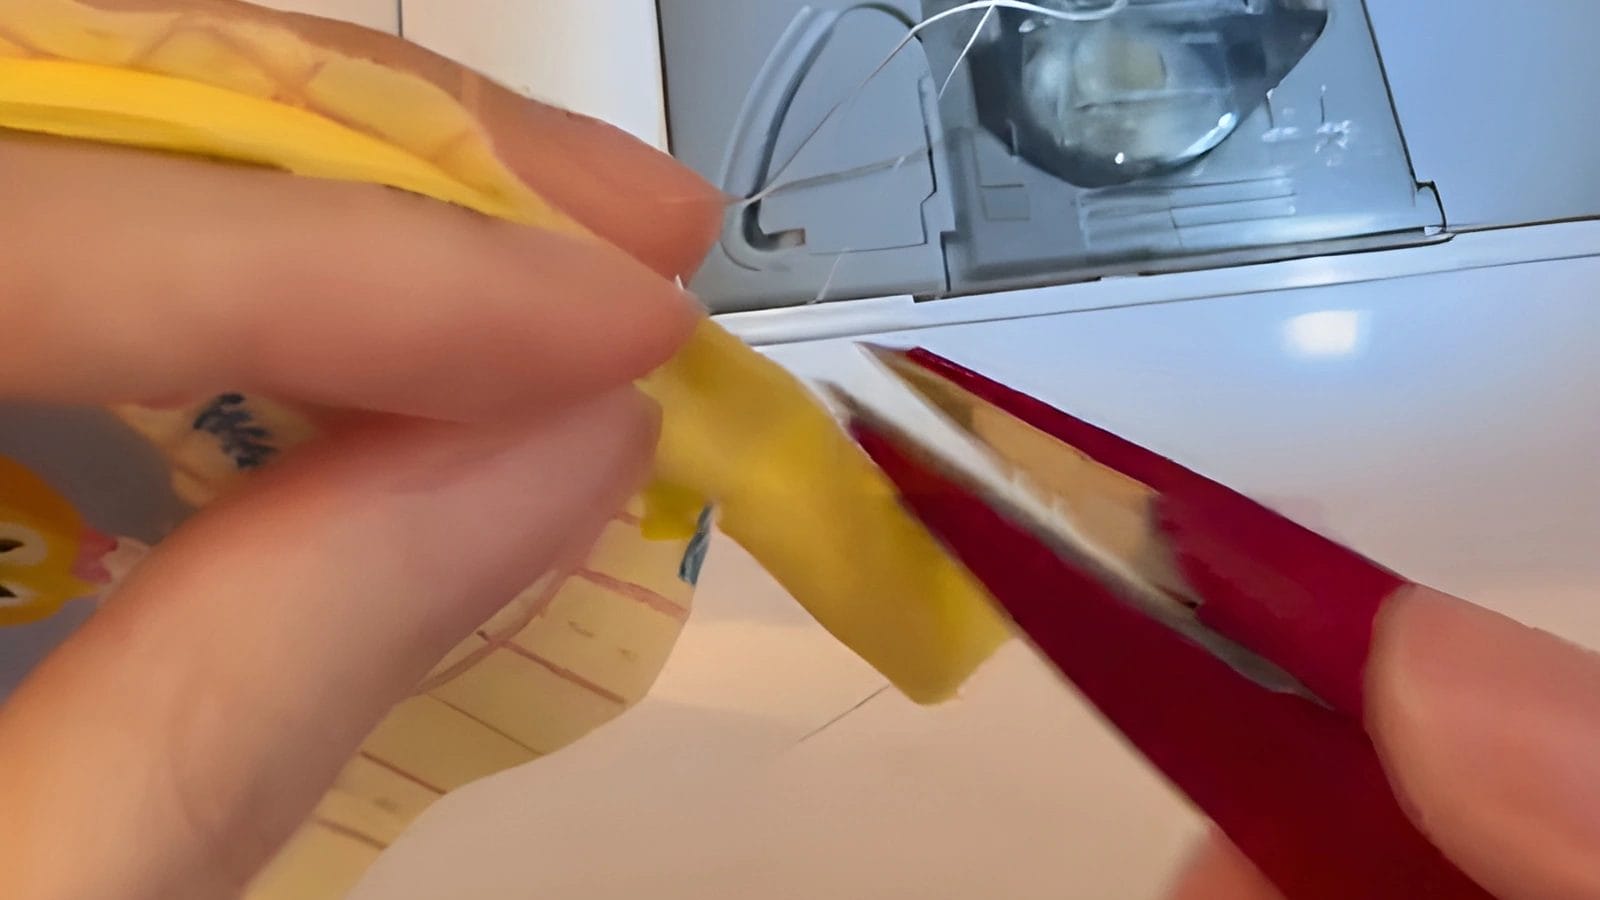
With your welting cord securely in place, take a close look at the stitched area. Then carefully trim away any excess cord that's peeking out from beneath the fabric. Use sharp fabric scissors to trim the cord close to the stitching. Be careful not to cut into the fabric, as this can compromise the integrity of your pet bib. As you trim, check for any frayed edges or loose threads and tidy those up too.
Step 3: Cut small slits in the welt cord, being careful not to cut the seams.
As you've tidied up the welting cord, turn your attention to cutting small slits in it, taking utmost care not to snip through the seams. You don't want to risk fraying or unraveling the fabric. These small slits will help your seams flow more smoothly when you turn the fabric over to the right side.
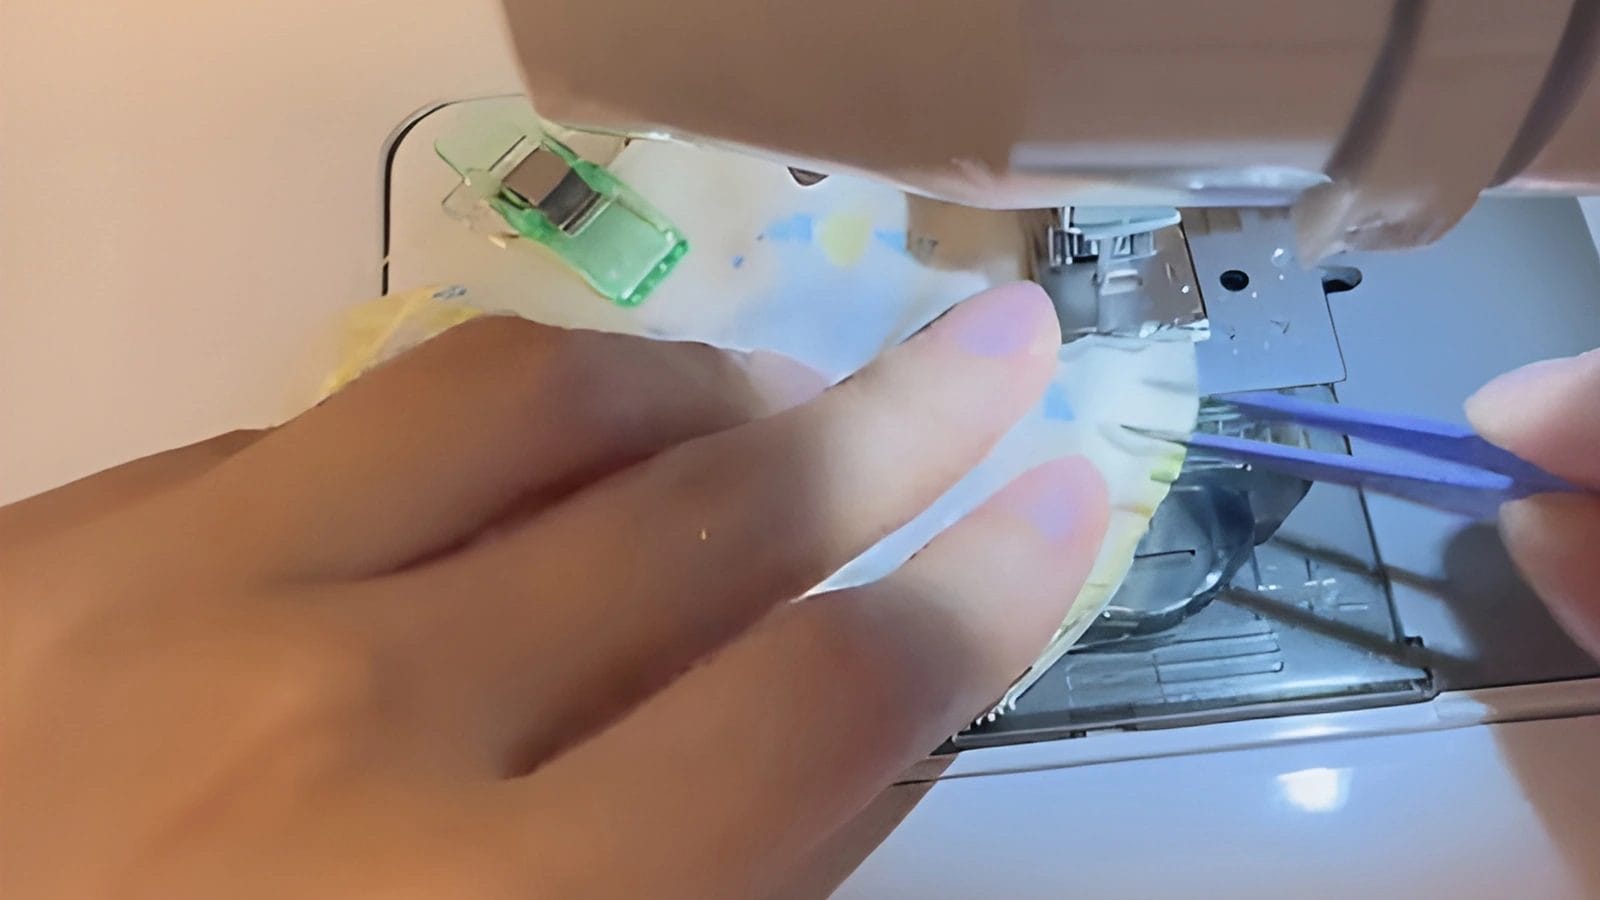
Step 4: Lay the lace right side down and stitch along the curved part of the fabric.

Embracing the elegance of lace, you carefully lay it right side down along the curved edge of the pet bib. Then secure it in place with a precise stitch. When you sew along the curved part of the fabric, you secure the lace and give the pet bib a charming and stylish edge.
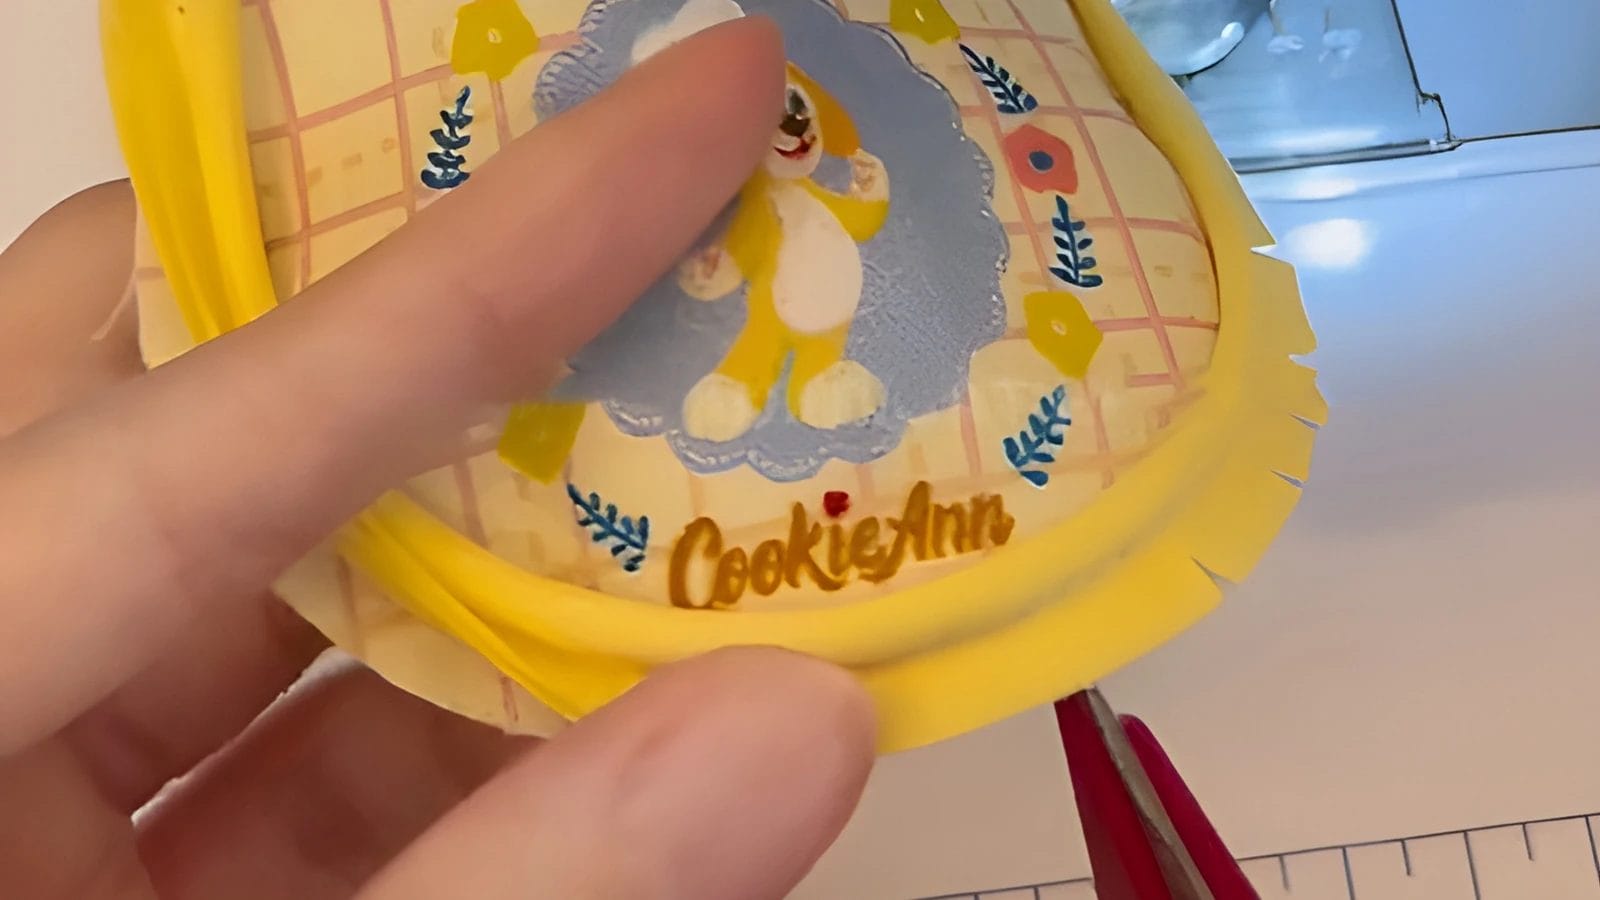
Step 5: Trim off any excess lace.
Using sharp scissors, carefully trim the excess lace that extends beyond the edges of the bib. You want to maintain a neat and tidy look, so take your time and make precise cuts. As you trim, pay attention to details and avoid fraying or uneven edges.
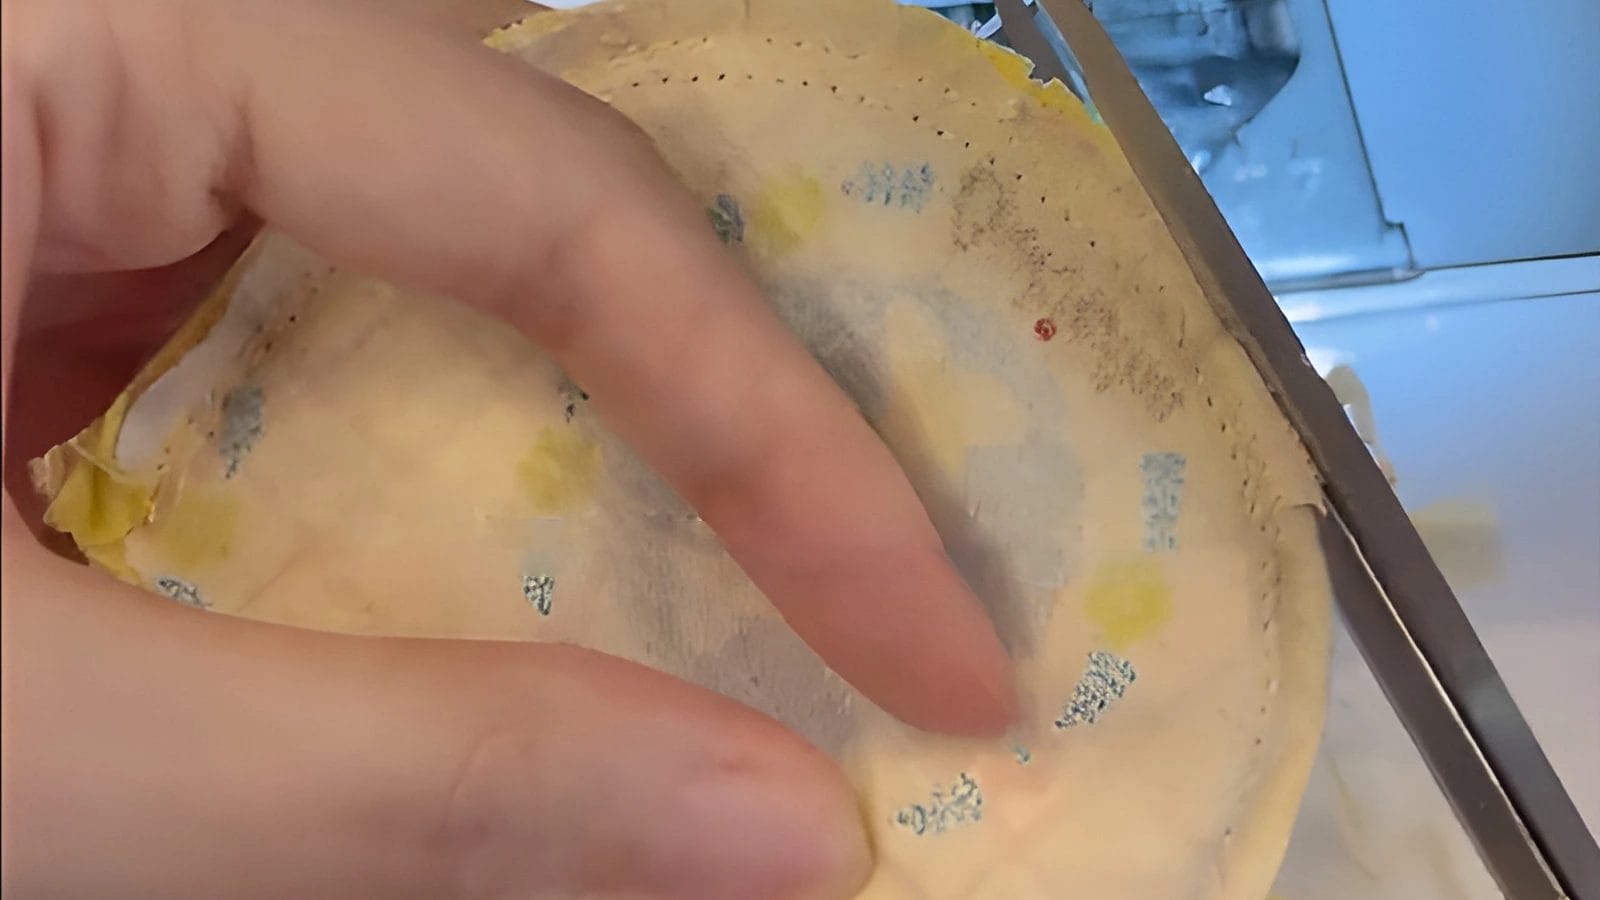
Step 6: Take another piece of fabric, then align the two pieces and stitch them together.
Now take a second piece of fabric, identical to the first. Carefully align it with the initial piece to create the front and back layers of your pet bib. Ensure both pieces are perfectly matched, maintaining symmetry in the finished product. Secure the two layers together using sewing clips, making sure they're evenly spaced and holding the fabric firmly in place. This will prevent any shifting during the stitching process, allowing you to achieve crisp, clean seams.
With the layers aligned and secured, you're ready to move on to the next step. You'll sew along the edges to enclose the fabric and create a sturdy, stylish pet bib.
Step 7: Trim any excess seam allowance and turn the bib right side out.
With your bib stitched together, it's time to refine the seams and reveal your handiwork. Trim any excess seam allowance before carefully turning the bib right side out. Use a turning tool to help push out the corners for a clean look. Pay attention to the corners and edges while turning to ensure a smooth finish. Make sure the bib is fully turned right side out before moving on to the next step.
Step 8: Take out the cotton fabric ribbon and use a tape maker to make it into a long strip.
You've successfully turned your pet bib right side out. Now it's time to add the finishing touch with a stylish and functional ribbon tie.
Take out the cotton fabric ribbon, a lovely addition to your pet's new accessory. To create a fabric strip, use a tape maker, making it easy to transform the ribbon into a long strip. This strip will soon become the tie that secures the bib around your pet's neck. Ensure the strip is long enough to comfortably fasten the bib, allowing for easy adjustments.
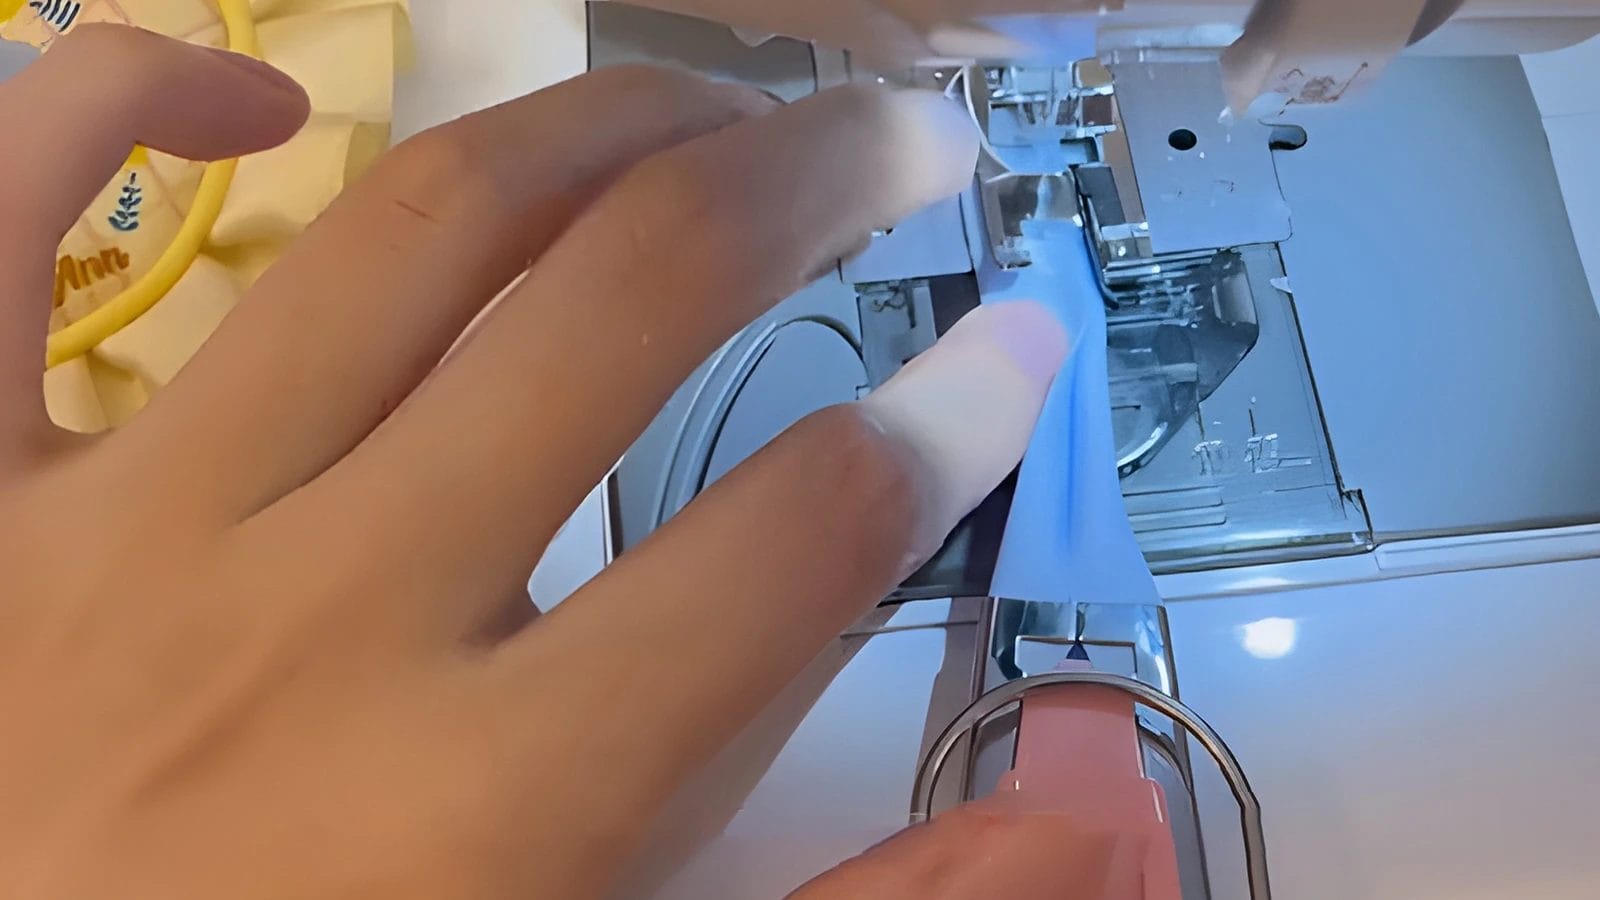
Step 9: Sew the long strip to the center of the bib.
Position the long strip in the center of the bib, aligning the edges, and prepare to sew it in place. Secure the strip with pins or clips to ensure it doesn't shift during sewing. Stitch along the edges of the strip, making sure it's securely attached to the bib. Don't forget to backstitch at the beginning and end of the seam for extra durability. With the strip securely in place, your pet bib is finished.
Conclusion
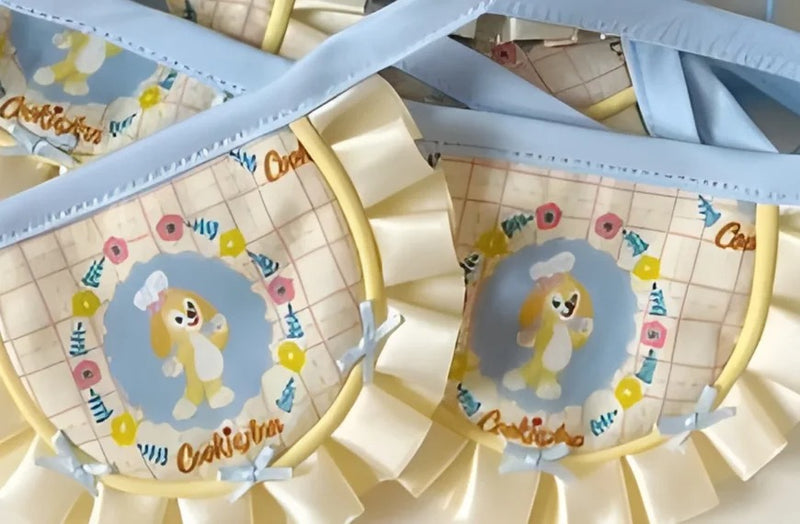
You've turned a pile of fabric into a stylish, functional bib for your furry friend! Now, get ready for mealtime messes to be a thing of the past, and for your pet to dine in style!
Learn more DIY projects from the Longan Craft Blog, and dive into the fabric world with Longancraft!
0 comments