
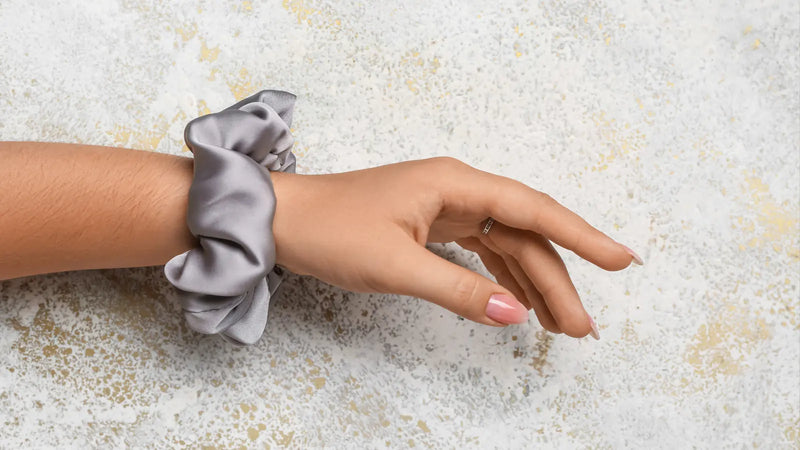
Learning how to sew a scrunchie is a fun and simple sewing project that can add a personalized touch to your hair accessories collection. With just a few materials and basic sewing skills, you can create a stylish and functional scrunchie in no time.
Perfect for beginners, this DIY project allows you to experiment with different fabrics and patterns. Whether you're looking to match your outfit or create a gift for a friend, let's dive into the step-by-step tutorial for sewing your very own scrunchie!
Key Takeaways
- Cut fabric strip to 22x3 inches; pre-wash and iron to prevent shrinkage.
- Fold the fabric lengthwise with right sides together; sew along the long edge.
- Cut elastic to 9 inches; thread it through the fabric tube with a safety pin.
- Sew the elastic ends securely before closing the fabric opening.
- Use a ladder stitch to close the opening for a seamless finish.
Prepare Materials Needed
When you're ready to make DIY hair scrunchies, you'll need to gather a few essential materials.
Start with a fabric strip measuring 22 inches by 3 inches. Choose from soft options like cotton, silk, or velvet. This guarantees your scrunchie feels comfortable and looks stylish.
Next, grab an elastic band about 9 inches long or 10 inches for thick hair. Choose one 1/4 inch wide elastic.
Basic sewing tools are vital: needles, thread, and scissors are must-haves. A safety pin is invaluable for turning the fabric right side out and threading the elastic.
How to Sew a Scrunchie: A Step-by-Step Tutorial
With everything in place, let's transition into the exciting part: learning how to make a scrunchie, one step at a time.
Step 1: Prepare the Fabric
Before sewing your scrunchie, start by preparing the fabric with precision. Cut your fabric or fabric scraps into a rectangle measuring 22 inches by 3 inches for a standard size. Pre-wash and iron the fabric to prevent shrinkage and guarantee a smooth surface.
Step 2: Create the Fabric Tube
With your fabric prepared, the next step is to create the tube that forms the body of your scrunchie.
Fold your fabric rectangle in half lengthwise, aligning the edges with the right sides together. Secure the edges with pins to prevent shifting.
Using a sewing machine or needle and thread, sew along the long edge using a 1/4-inch seam allowance.
Step 3: Turn the Fabric Right Side Out
Now that you've created the fabric tube, it's time to turn it right side out. Attaching a safety pin to one end of the fabric. This will serve as your guide.
Insert the pinned end into the opening of the tube and gently pull it through, pushing the fabric from the opposite side. As you pull, the fabric will gradually turn the right side out, revealing the patterned or desired side.
If you have a loop turner, you can use it alternatively by inserting it into the tube and pulling the fabric through.
Step 4: Insert the Elastic
To insert the elastic into your scrunchie, first cut it to your desired length, typically around 9 inches for regular hair or 10 inches for thicker hair.
Attach a safety pin to one end of the elastic, which will help guide it through the tube. Insert the pinned end into one side of the tube, carefully threading it through while firmly holding the unpinned end to prevent it from slipping inside.
Step 5: Secure the Elastic Ends Together
Ensuring both ends of the elastic are outside the fabric. Use a safety pin to prevent the elastic from slipping inside.
Once both ends meet, you can tie them in a secure knot. Alternatively, you can sew the ends of the elastic together using a zigzag stitch.
Step 6: Close the Scrunchie
With the elastic securely in place, it's time to focus on closing the short ends of your scrunchie.
Tuck in the raw edges of the fabric at the opening, ensuring they align neatly. Pin the edges together to hold them in place.
If you prefer to hand sew, use a ladder stitch for an invisible seam. Whether using a sewing machine or sewing by hand, remember to backstitch at the beginning and the end of your seam to reinforce the closure. This step is essential for durability, especially given the tension from the elastic.
Once sewn, trim any excess threads to maintain a clean look.
Customization Ideas for Your Handmade Scrunchie
Embracing creativity in your scrunchie-making process can lead to truly personalized accessories that reflect your style.
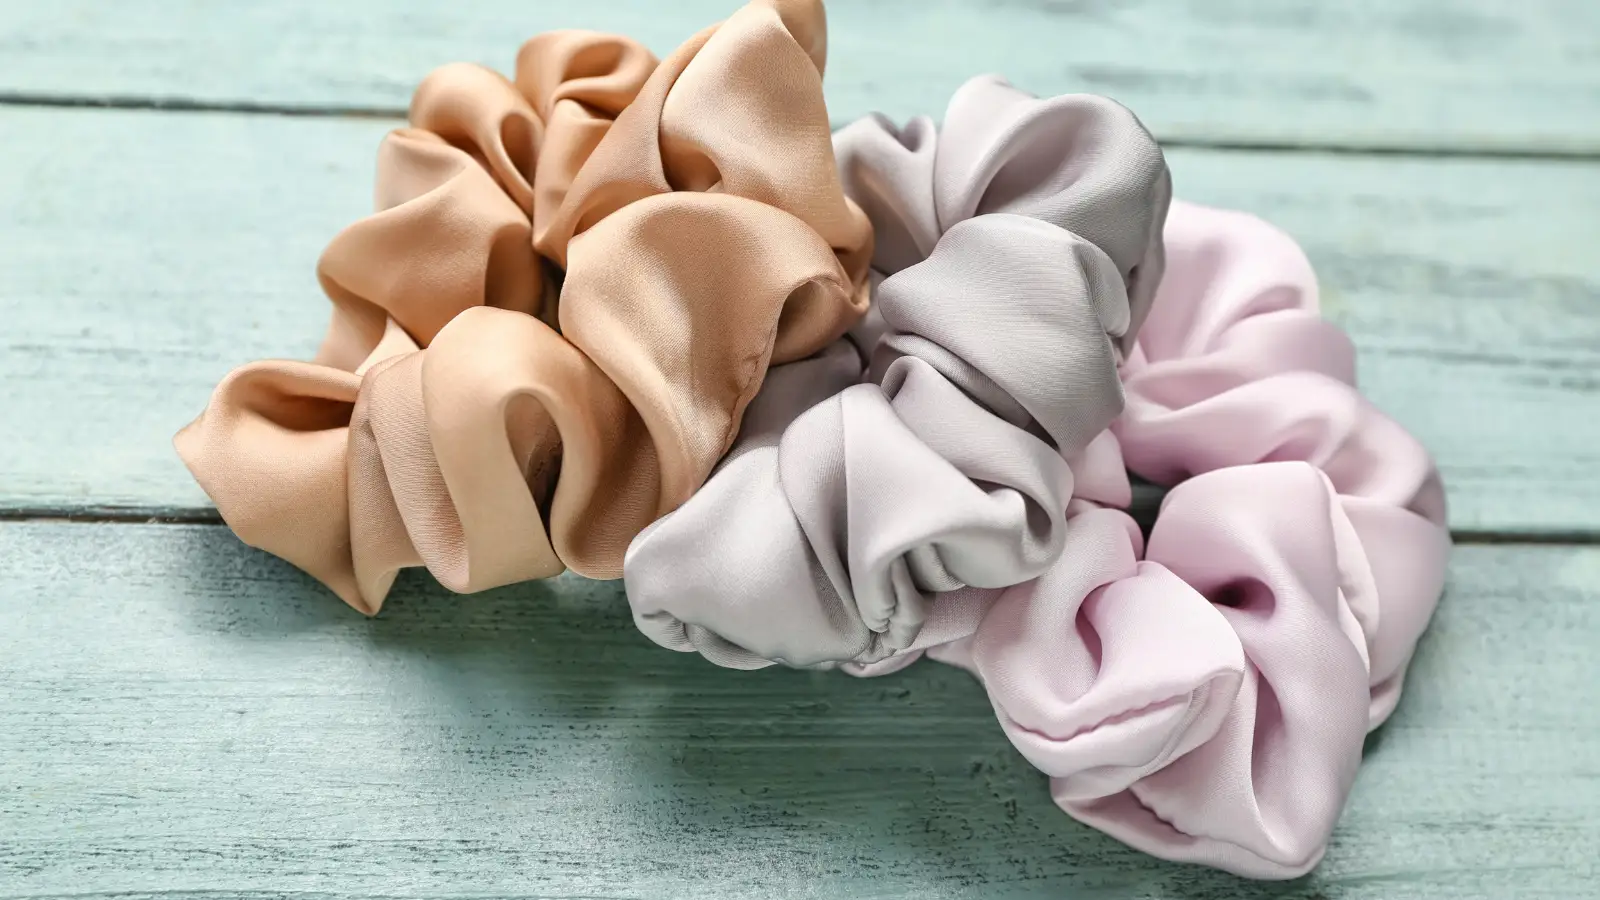
1. Fabric Choices:
- Use a variety of fabrics such as velvet for a luxurious feel, silk for elegance, or cotton for everyday use.
- Incorporate seasonal themes with fabrics that feature holiday patterns or colors.
2. Dye Techniques:
- Try tie-dye or dip-dye techniques for vibrant, colorful effects.
- Use fabric paint to add personalized designs or names.
3. Embellishments:
- Add beads, sequins, or small charms to the scrunchie for a bit of sparkle.
- Sew on small bows or fabric flowers for a feminine touch.
4. Textured Fabrics:
- Experiment with textured fabrics like lace, ribbed knits, or faux fur for a different look and feel.
5. Size Variations:
- Create scrunchies in different sizes, from mini ones for thin hair to oversized ones for a bold statement.
6. Pattern Mixing:
- Combine different fabric patterns and colors to create a patchwork effect.
7. Personalization:
- Embroider initials or small symbols onto the fabric.
- Attach small tags with uplifting messages or quotes.
8. Seasonal Themes:
- Design scrunchies with themes, such as autumn leaves, winter snowflakes, or spring flowers.
Conclusion
You've now mastered the art of sewing a DIY hair scrunchie! By carefully preparing your fabric, creating a neat tube, and skillfully threading the elastic, you've crafted a stylish accessory from start to finish.
Make certain the closure is seamless for a professional look. Don't hesitate to add your personal flair with unique fabrics or embellishments.
With practice, you'll perfect your technique and have a collection of custom scrunchies that showcase your newfound expertise. Happy sewing!
Learn more sewing projects on the Longan Craft Blog, and dive into the fabric world with Longan Craft!
FAQs
How Do You Make a Scrunchie Step by Step?
Cut an 22x3 inch fabric piece. Fold it lengthwise, sew the long edge, and turn it right-side out. Insert 8-10 inches of elastic, sew its ends, gather fabric, tuck raw edges, and close the seam.
What Are the Measurements for a Scrunchie?
For a regular scrunchie, cut your fabric to 18 inches long by 4 inches wide. For a larger one, use 22 inches by 4 inches. Adjust the elastic to 8 or 9 inches for a better fit.
Is Making Scrunchies Hard?
Making scrunchies isn't hard at all! You'll find it's a straightforward, beginner-friendly project. Just cut, sew, and insert elastic. Enjoy experimenting with fabrics and embellishments, making it both a rewarding and enjoyable sewing experience.
How to Hand Sew a Scrunch?
To hand-sew a scrunchie, cut a fabric strip, fold it inside out, and stitch the long edge. Then, turn it right-side out, insert elastic, secure the ends, tuck raw edges, and sew the opening with a ladder stitch.
0 comments