

If you've ever struggled with buttons or velcro, you'll appreciate the convenience of snaps on your fabric projects. These small but mighty fasteners can transform your handmade items, from baby clothes to bags, into professional-looking pieces.
While attaching snaps might seem straightforward, there's more to it than simply pressing them together. Let's explore how to attach snaps to fabric and learn insider tips to help you master this valuable sewing skill.
Key Takeaways
- Mark precise snap placement points on fabric, ensuring male and female pieces align correctly.
- Choose the appropriate snap type based on fabric weight: metal for durability or plastic for lightweight materials.
- Position the male snap piece on the fabric front and the female piece on the back. Follow the manufacturer's instructions for orientation.
- Use snap pliers or a setter tool to clamp both pieces together firmly. Apply even pressure until the snap is securely fastened.
- Test snap functionality after installation by connecting and disconnecting several times to ensure proper attachment.
How to Attach Snaps to Fabric: Materials Needed
Before learning the snap installation tutorial, you'll need several essential items:
- Snap Fasteners: Every snap button consists of four components: the button cap with its socket and the stud, along with the matching post.
- Snap Setting Tool or Pliers (Like brand Dritz)
- Fabric Marking Tools: Like chalk or disappearing ink
- Needle and Thread: For installing snaps by sewing
- Your Chosen Fabric
- Sharp Scissors: For trimming excess fabric.
- Ruler or Measuring Tape: To guarantee precise snap placement.
- Interfacing: For reinforcing the areas where you'll attach the snaps if you're working with delicate fabrics.
Types of Snap Fasteners
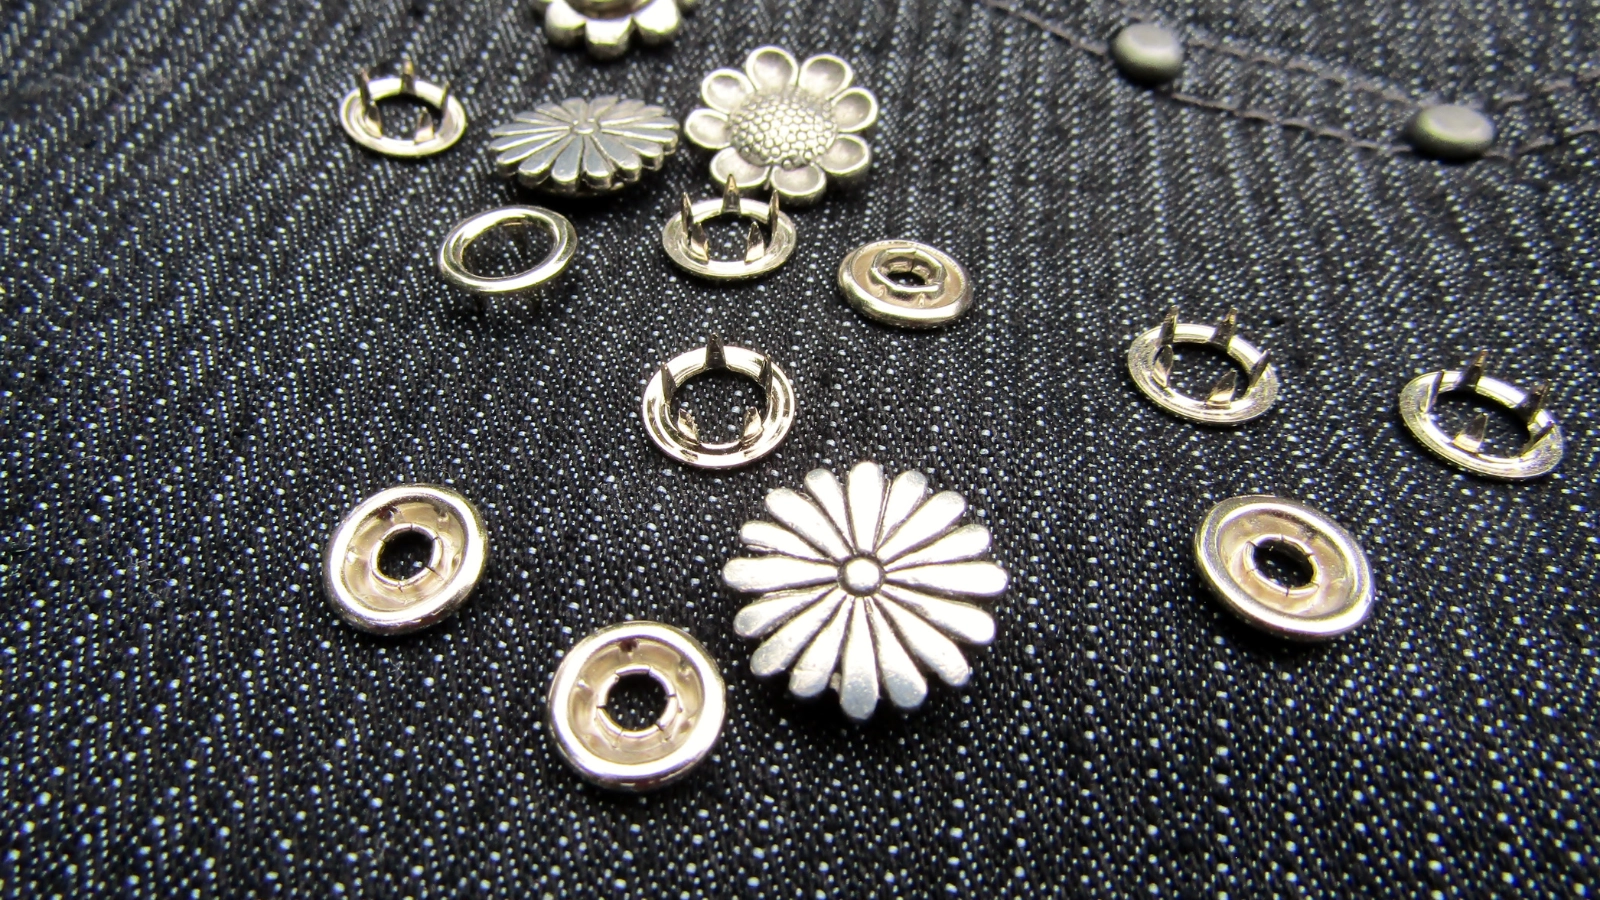
Snaps come in several types, each serving different purposes. Here are some common types:
- Sew-on Snaps: These are the traditional type of snap fasteners that are sewn onto the fabric. They usually consist of two parts: a ball and a socket.
- Prong Snaps: These snaps have prongs that pierce through the fabric and are then bent over to secure the snap in place. They're often used in lighter fabrics.
- Post Snaps: These are similar to prong snaps, but they use a post and cap to secure the snap to the fabric. They're commonly seen in heavy duty applications like denim.
- Spring Snaps: These snaps have a spring mechanism that provides a stronger hold. They're often used in jackets and other outerwear.
- Magnetic Snaps: These snaps are used mostly in bags and purses. They use magnets to hold the fabric together.
- Snap Tape: This is a strip of fabric with pre-attached snaps, often used in baby clothes or for quick closures.
- Plastic Snaps: Made from durable plastic, these are frequently used in cloth diapers, bibs, and other items where metal might cause irritation or corrosion.
Step 1: Choose the Right Type of Snap
When selecting snaps for your sewing project, verify the weight of your fabric and the item's intended use. Consider whether the item needs to withstand frequent use or washing.
- Heavy fabrics like denim or canvas require larger, more durable snap fasteners.
- Delicate materials work better with lighter snap parts.
Most snap parts come in metal or plastic options:
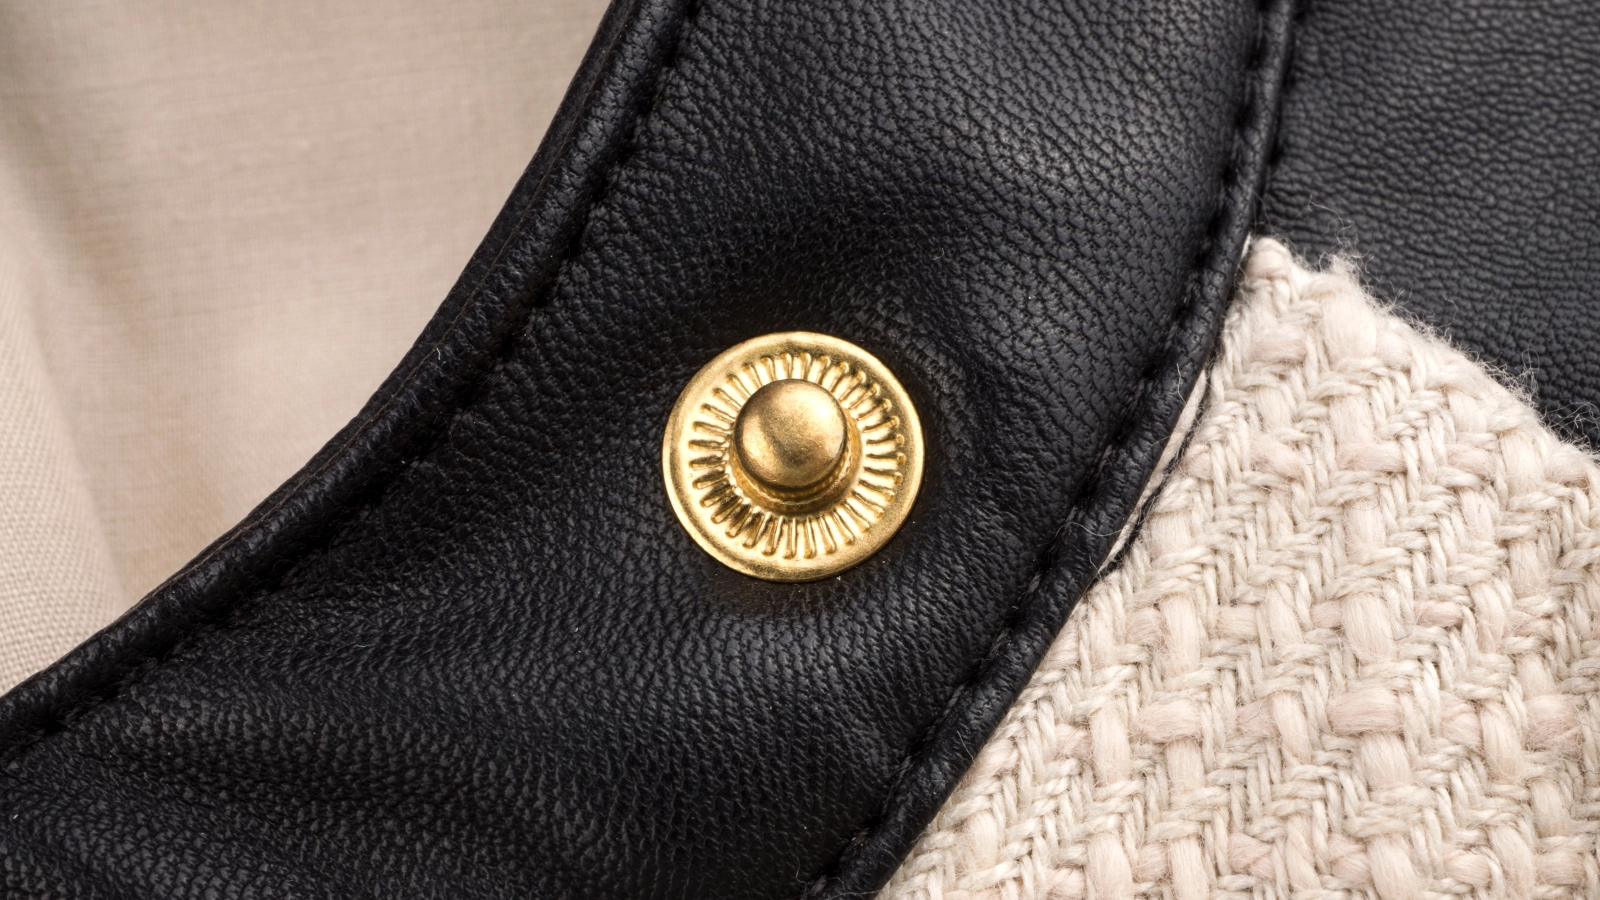
- Metal snaps offer durability and a professional finish, perfect for outerwear and bags.
- Plastic snaps work well for baby clothes and lightweight garments.
Look for snaps labeled with size measurements to confirm you're choosing ones that match your fabric's thickness.
Step 2: Mark the Placement of Snaps on the Fabric
With your snaps selected, precise marking guarantees proper placement and functionality.
- Take your fabric pen or pencil and determine exactly where you'll position each snap component.
- Measure carefully and mark the center point for both the male and female pieces.
- Double-check each mark you made before proceeding with installation.
Pay special attention to the orientation of the snap pieces, as incorrect alignment can affect how well they function.
Step 3: Attach the Snaps
There are three methods for adding snaps to the fabric. Each method has its own advantages.
Method A: Use Snap Pliers
With your fabric marked and snap pliers ready, insert the male snap piece into the pliers with its pointed side facing down. Position the fabric where you want the snap. Then, firmly squeeze the pliers to push the prong through the material. When it's secure, you'll hear a clicking sound.
Next, insert the female snap piece face-down into the pliers. Line it up with the male piece on the opposite side of your fabric. Squeeze the pliers again until you hear the click. Test the snap by fastening and unfastening it to verify it's properly attached.
Method B: Use Hammer and Anvil Set
While snap pliers offer one approach, a hammer and anvil set provides an equally effective method.
- To begin, place your layers of fabric on the anvil base.
- Position the male snap piece with its prong facing up through your fabric.
- Set the matching anvil die on top, ensuring it aligns perfectly with the snap piece.
- Using firm, controlled strikes, hammer the snap until it's securely fastened.
- Repeat this process for the female portion, but place it face down on the fabric.
When you're done, both parts should be firmly attached and ready for use.
Method C: Sew-On Snaps
If you prefer hand-sewing the snaps to the fabric, here's a simple sewing tutorial:
- After marking your snap positions, thread a needle with a doubled-up thread and knot the end securely.
- Place the first snap piece on your marked position and sew through each hole around its edge.
- Make small, tight stitches and work your way around the snap several times to guarantee it's firmly attached.
- Repeat this process for the corresponding snap piece on the other side of your fabric. Make sure both pieces align perfectly.
- When you're done sewing both parts, tie off your thread with a few tiny stitches and trim any excess thread.
Common Mistakes and How to Avoid Them
Several mistakes can trip up beginners when attaching snaps to the fabric.
1. Misalignment of Snaps:
- Mistake: Not aligning the male and female parts of the snap correctly.
- Avoidance: Mark the desired positions on both sides of the fabric. Use a ruler for accuracy. Then, place the part of the snap and the socket part of the snap in the right direction.
2. Inadequate Reinforcement:
- Mistake: Not reinforcing the fabric, leading to tearing.
- Avoidance: Add interfacing or a small piece of extra fabric behind the snap area to strengthen it.
3. Applying Too Much Pressure:
- Mistake: Applying excessive force when attaching snaps, which can damage the fabric or snap.
- Avoidance: Follow tool instructions carefully and apply just enough pressure to secure the snap without overdoing it.
4. Improper Hole Size:
- Mistake: Creating holes that are too large or too small for the snap post.
- Avoidance: Use a hole punch or an awl to create the right-sized holes. Test on scrap fabric first if unsure.
Care and Maintenance Tips for Snaps
Proper maintenance of your fabric snaps will markedly extend their lifespan and functionality.
- Check your snaps regularly for signs of wear, including looseness or rust, and replace them when needed.
- To keep them in top condition, clean them with a soft cloth using mild soap and water.
- For optimal care, don't expose your snaps to harsh chemicals, prolonged sunlight, or extreme temperatures. Store extra snaps in a cool, dry place.
- You can also reinforce the fabric around snap attachments with interfacing or additional stitching. This will prevent stress damage and safeguard long-lasting performance.
Conclusion
Now, you're ready to confidently attach snaps to your fabric projects. Remember to select the right snap type, mark your placement carefully, and use the proper tools for installation.
Don't forget to test on scrap fabric first, and always double-check your snap alignment before securing them.
With practice and attention to detail, you'll create professional-looking snap closures that last through regular wear and washing.
Learn more sewing tips on the Longan Craft Blog, and dive into the fabric world with Longan Craft!
FAQs
How Do You Put Snaps on Fabric?
You'll need to position the clamp, insert the male snap facing down, and squeeze through the fabric. Then, place the female end face-in, clamp it, and let the claw hook into it.
How to Attach Snap Clips?
Position your clamp with the claw facing out, place the male snap down into it, and squeeze through the fabric. For the female end, insert it face-in, secure it in the clamp, and press until the claw hooks through.
How to Attach Snaps to Fabric With Hammer?
You'll need to place the snap's male end face-down in the clamp, position it on your fabric, and tap it firmly with the hammer. Then, repeat with the female end facing inward.
0 comments