

Replacing a needle on your sewing machine may seem like a small task, but it’s a crucial step in ensuring your sewing projects turn out beautifully!
Whether you’re a seasoned seamstress or just starting your creative journey, knowing how to replace the needle can enhance your sewing experience and boost your confidence. A fresh needle not only improves stitch quality but also helps prevent fabric damage and thread breakage.
So, let’s dive into this essential skill that will elevate your sewing game and keep your projects running smoothly!
Key Takeaways
- Turn off and disconnect the sewing machine for safety before starting the needle change process.
- Raise the needle to its highest position using the handwheel.
- Loosen the needle clamp screw, remove the old needle, and dispose of it properly.
- Insert the new needle with the flat side facing the back and tighten the clamp screw securely.
- Test the new needle to ensure proper installation and stitch quality.
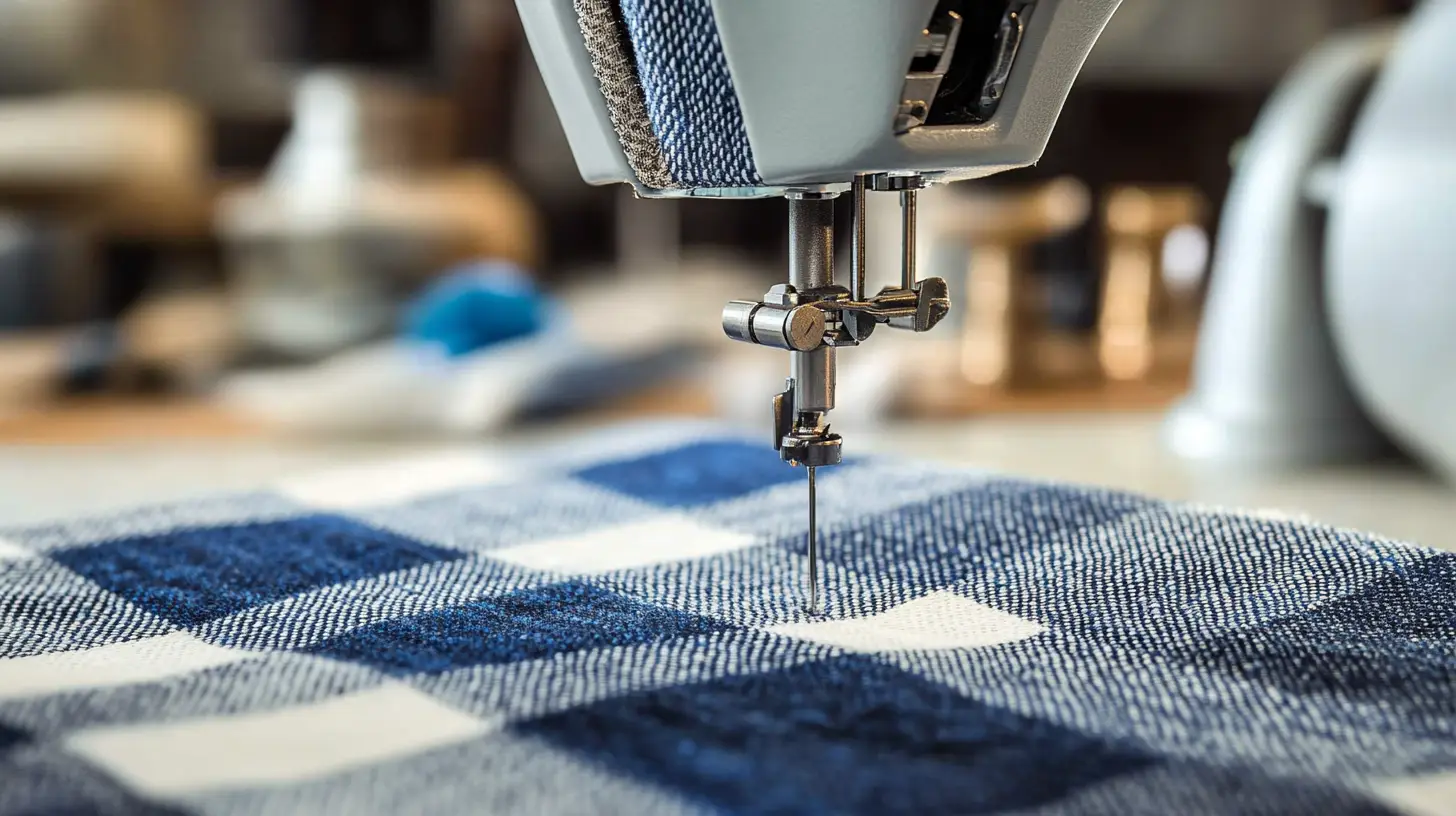
How to Change a Sewing Machine Needle
When it's time to change the needle on a sewing machine, it's important to follow this detailed tutorial to ensure a smooth transition.
Step 1: Preparations
Before you change the needle, make sure to turn off your home sewing machine. This step is crucial for your safety to prevent any accidental operation.
Disconnect the machine from its power source to eliminate any electrical risks. Raising the presser foot also helps, as this allows easier access to the needle clamp. Consulting your sewing machine manuals might provide additional, model-specific instructions.
Always prioritize safety and follow these preparatory steps carefully.
Step 2: Remove the Old Needle
You're ready to remove the old needle. Start by loosening the needle clamp screw. Turn it counterclockwise using a mini screwdriver for better access.
Once the screw is loosened, hold the needle securely and pull the old needle straight down to detach it from the needle bar.
Before you dispose of the old needle, inspect it for any signs of bending or damage. This step ensures that you handle it safely and helps diagnose any stitching issues you might have had.
Step 3: Insert the Needle
Inserting a new needle ensures your stitches remain consistent and your projects flawless.
- First, take the needle and identify the flat side; it should face the back of the machine.
- Put the needle into the clamp, pushing it up until it reaches the stopper. Make sure it's seated correctly.
- While holding the needle in place, tighten the needle clamp screw securely but avoid overtightening to prevent damage.
- After tightening, gently tug the needle to confirm it's properly installed and doesn't move.
This step ensures your needle won't slip during sewing, maintaining the quality of your stitching.
Step 4: Reassemble and Test the Machine
Now that the needle is securely in place, it's time to reassemble your machine and get it ready for action.
Start by ensuring the needle clamp is tight. If you removed the presser foot, reattach it, ensuring it's properly aligned and secured. Lower the presser foot to its normal position.
Next, clean any remaining threads or debris to maintain optimal machine performance.
Double-check that the needle is correctly aligned with the needle plate. This alignment is crucial for smooth operation.
Before start sewing your project, you'll need to perform a test stitch on a scrap piece of fabric to ensure everything functions correctly.
Tips for Maintaining Sewing Needles
Regularly inspect and change your needles to keep your sewing projects running smoothly.
Use the correct needle type for different materials. Remember to switch needles every 8 hours of sewing or at the start of a new project.
Store your needles in a cool, dry place to prevent rust and keep them in top condition.
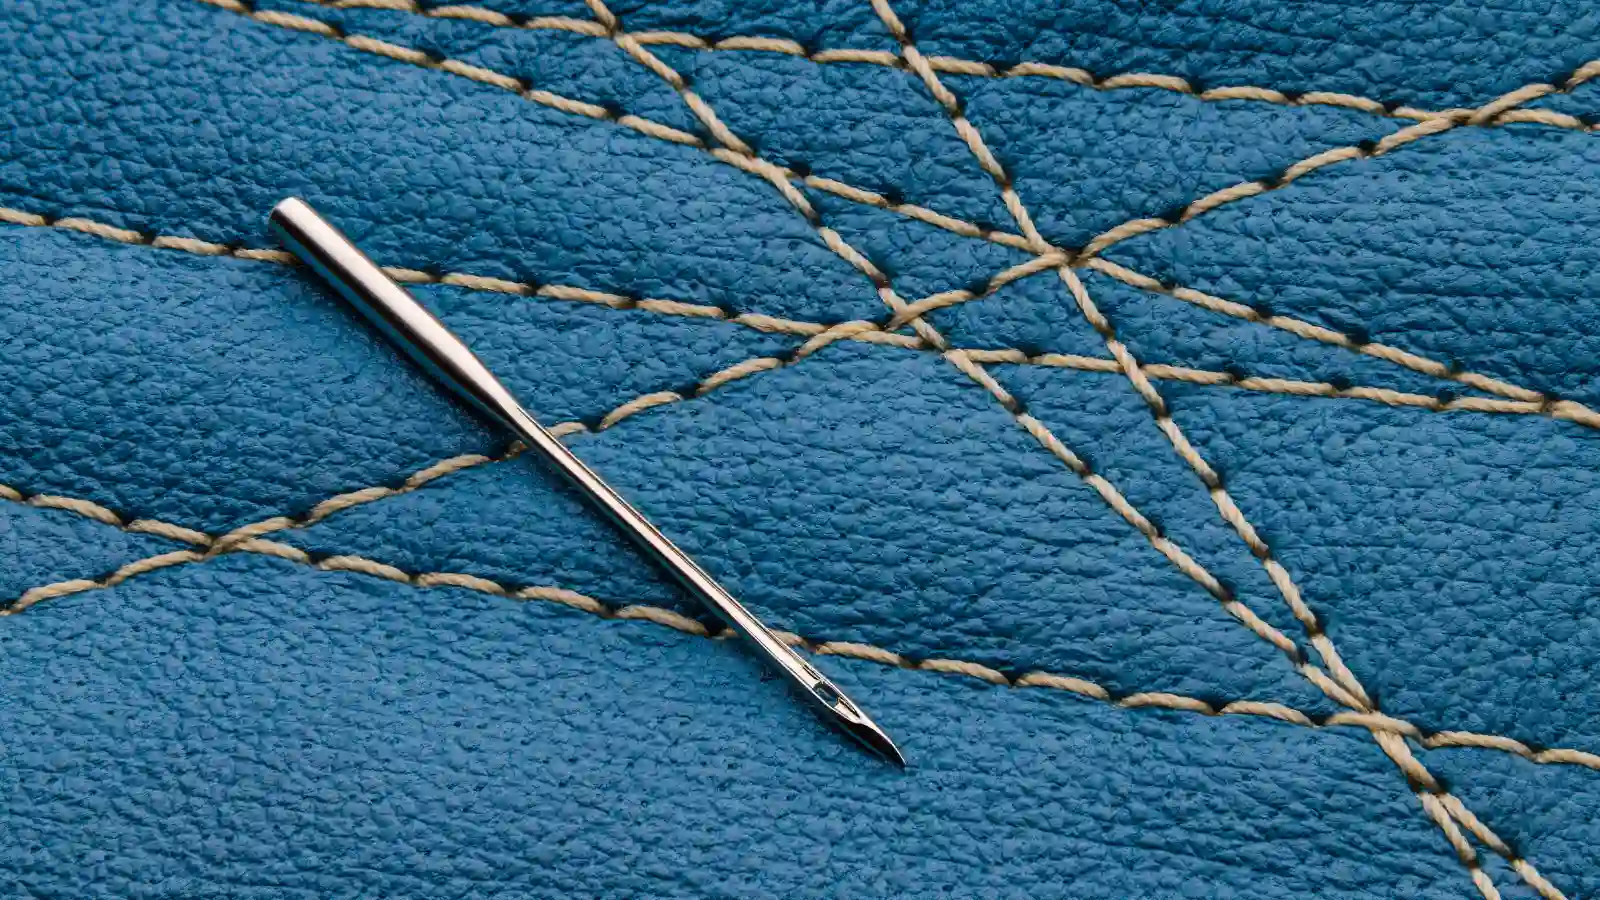
Recommended Needle Types for Different Fabrics
Choosing the correct needle is crucial to achieving a professional finish in your sewing projects.
| Fabric Type | Recommended Needle Type | Needle Size |
|---|---|---|
| Cotton | Universal Needle | 70/10 - 90/14 |
| Denim | Denim Needle | 80/12 - 100/16 |
| Jersey/Knits | Ballpoint Needle | 70/10 - 90/14 |
| Silk | Microtex Needle | 60/8 - 80/12 |
| Leather | Leather Needle | 90/14 - 100/16 |
| Fleece | Stretch Needle | 75/11 - 90/14 |
| Tulle | Universal or Microtex Needle | 60/8 - 70/10 |
| Quilting Fabric | Quilting Needle | 75/11 - 90/14 |
| Canvas | Heavy Duty Needle | 100/16 - 110/18 |
| Wool | Wool Needle | 80/12 - 90/14 |
How Often to Change Needles
Change the sewing machine needle with each new project to keep things running smoothly. This ensures optimal stitch quality and performance.
Always use a sharp needle for specialized materials like leather or stretchy materials. Regular checks are crucial; aim to swap needles every 8 hours of active sewing. Dull needles can cause skipped stitches, thread breakage, and fabric fraying, reducing your sewing efficiency.
Consistent needle maintenance enhances your sewing outcomes and prolongs the life of your machine.
Store Needles Safely
Organization and protection are key to storing sewing needles safely. Store your needles in a designated needle case or magnetic holder, which will protect them from bending or damage.
Keep them in their original packaging or organize them by type and size, making it easier to find the right needle for each project. Always store needles in a cool, dry environment to prevent rust and deterioration.
Label your needle containers with the date of purchase or last use to track needle age and ensure timely replacements. Before use, regularly inspect stored needles for any signs of damage or bending to maintain optimal sewing performance.
Conclusion
Changing your sewing machine needle is a simple yet crucial task to keep your projects running smoothly. Just remember to power off your machine, handle the needle with care, and test your setup.
By following these steps and regularly checking your needle's condition, you'll ensure your sewing projects go smoothly. Keep your needles organized and replace them as needed to maintain optimal performance.
Happy sewing!
Learn more sewing tips and fabric knowledge on the Longan Craft Blog, and dive into the fabric world with Longancraft!
FAQs
Is It Easy to Replace Sewing Machine Needle?
Yes, it's easy to replace a needle. Just turn off the machine, raise the needle, loosen the clamp screw, and swap the old needle for a new one. Tighten everything back up, and you're good to go!
How to Take Out a Needle From a Sewing Machine?
First, turn off your machine for safety. Use the handwheel to raise the needle to its highest position. Loosen the needle clamp screw, then pull the old needle straight down. Now, you're ready to insert a new one.
How to Change a Needle on a Singer Sewing Machine?
First, turn off your Singer machine and raise the needle using the handwheel. Loosen the needle clamp screw, remove the old needle, and insert the new one with the flat side facing back. Tighten the screw securely.
0 comments