Keeping your sewing machine in top shape is essential for achieving flawless results and ensuring a smooth sewing experience. Just like any other tool, a little care and maintenance can prolong the life of your machine.
In this guide, we’ll explore the steps to effectively clean a sewing machine, empowering you to tackle dirt and debris confidently. Get ready to unleash your creativity, knowing your machine is primed and ready to bring your visions to life!
Key Takeaways
- Unplug the machine before cleaning to ensure safety.
- Remove the needle and presser foot for better access to components.
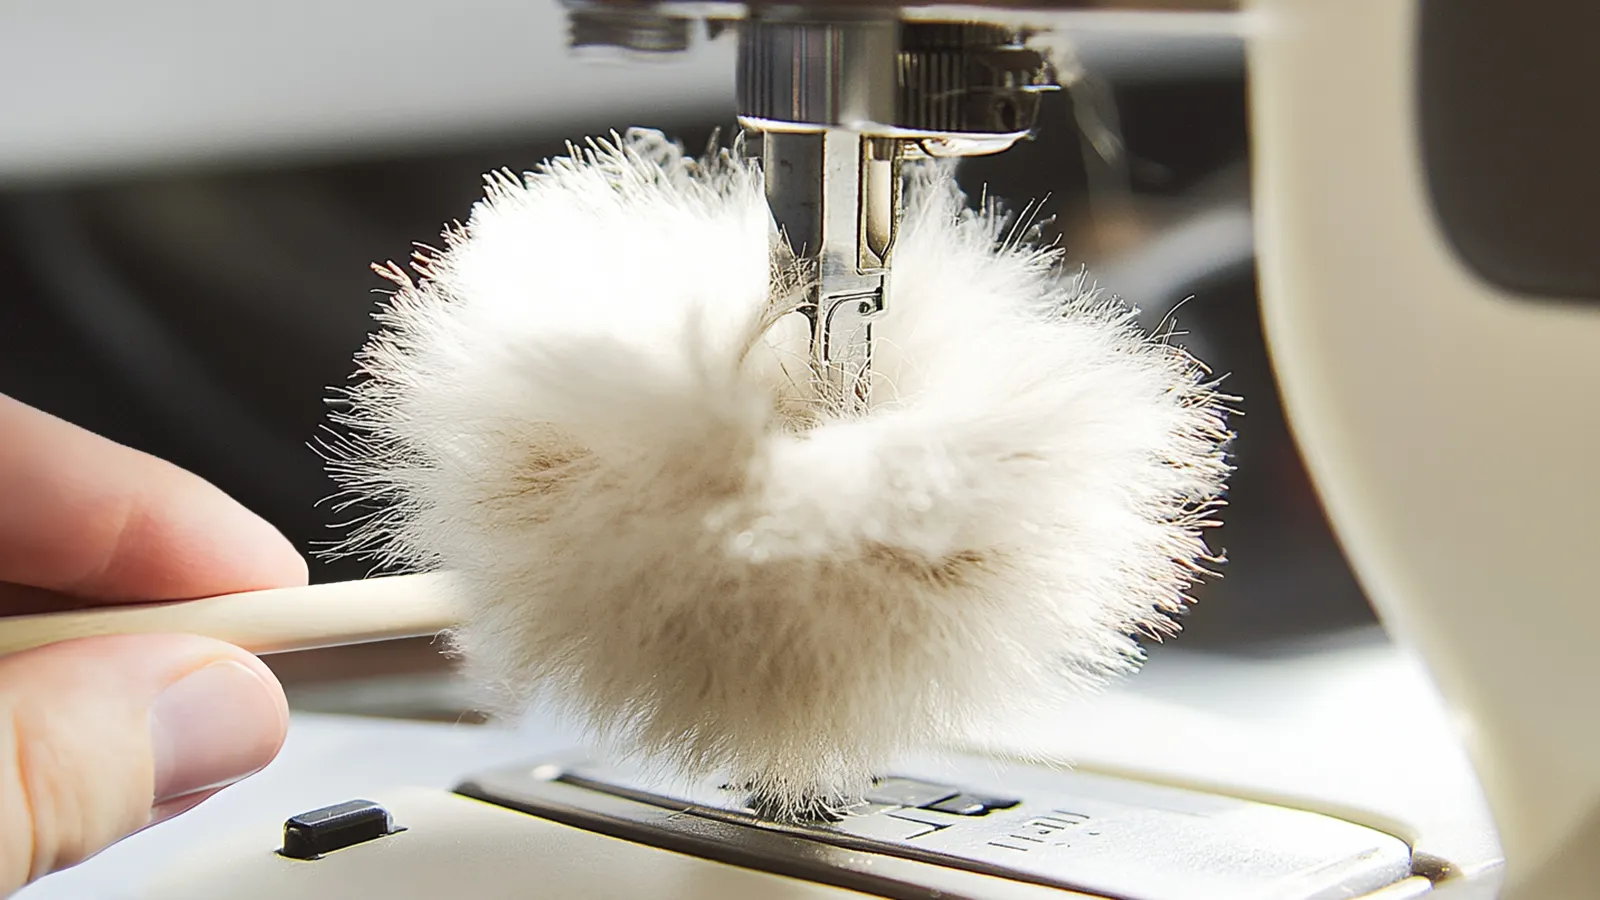
- Use a soft brush to clear lint and dust from the bobbin area and feed dogs.
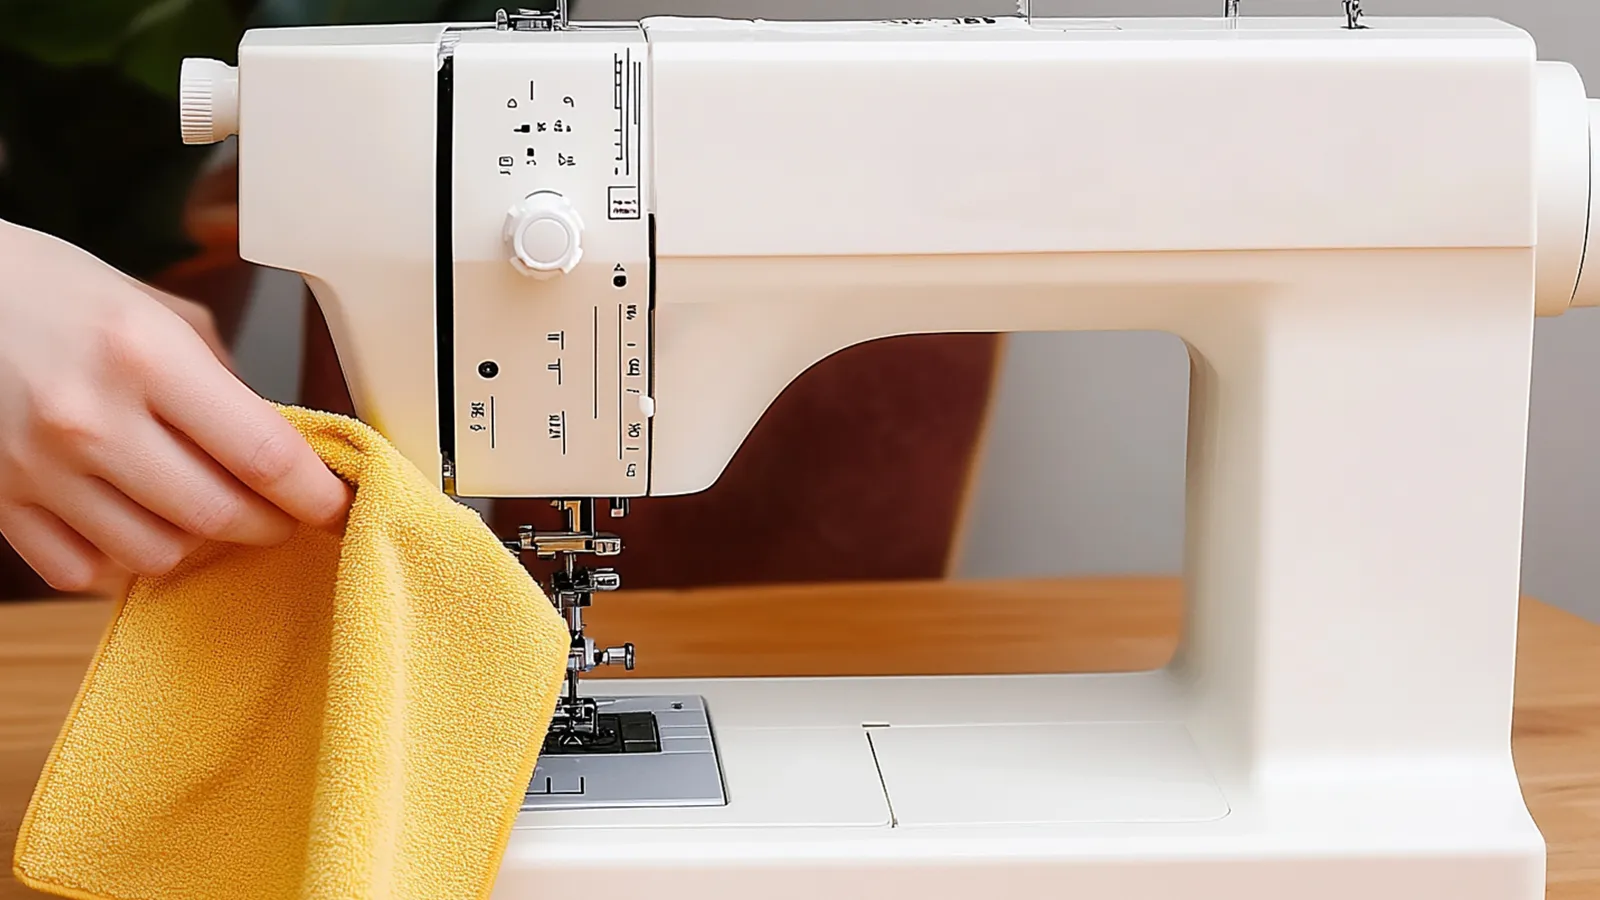
- Wipe down the exterior with a lint-free cloth and mild cleaner if necessary.
- Consult the owner's manual for specific instructions and oiling guidelines.
Tools and Materials Needed
You'll need specific tools and materials to learn how to clean a sewing machine.
- Soft Brush: A small, soft-bristled brush helps remove lint and dust from hard-to-reach areas.
- Lint Cloth or Microfiber Cloth: Use this to wipe down the exterior and any machine surfaces.
- Screwdriver: A small screwdriver may be needed to remove the needle plate or to access other parts for cleaning.
- Tweezers: Helpful for picking out tiny bits of lint from tight spaces.
- Vacuum with Small Nozzle: A vacuum can help remove dust and debris around the machine.
- Oil: Sewing machine oil is essential for lubricating moving metal parts.
- Cleaning Solution: If needed, a mild soap solution can clean the machine's exterior. Avoid harsh chemicals.
How to Clean a Sewing Machine: A Cleaning Tutorial

To start the step-by-step cleaning process, follow these steps carefully.
Step 1: Preparation
Before diving into the cleaning process, your sewing machine's safety and accessibility are top priorities.
First, unplug your machine to prevent accidents. Then, remove the needle, presser foot, and thread for better access.
Step 2: Clean the Exterior
With your sewing machine prepped for cleaning, let's focus on the exterior surfaces.
Use a soft cloth to clean the exterior, wiping down the control panel, sides, and top.
If needed, dampen the cloth with a mild cleaner, ensuring no liquid seeps in.
Step 3: Clean the Bobbin Area
Cleaning the bobbin area of your sewing machine is crucial for maintaining its performance and longevity.
Remove the bobbin and bobbin case. Use a soft brush to clear lint and debris.
Inspect the bobbin case for damage, then use a vacuum to clean tight spaces before reassembling everything securely.
Step 4: Clean the Feed Dogs
After you've properly cleaned the bobbin area, it's time to focus on the feed dogs.
Detach the throat plate to expose the feed dogs. Use a soft brush to clean lint and debris around and between the feed dogs. For stubborn dirt, gently use a stiff-bristled brush.
Step 5: Clean the Needle Plate
Remove the presser foot and needle. Use a small screwdriver to unscrew and remove the needle plate.
Gently brush away lint with a soft brush. Inspect the needle plate for burrs or damage, replacing parts if needed.
Step 6: Clean the Tension Discs
Ensuring your sewing machine's optimal performance starts with maintaining the tension discs.
Use a soft brush or lint-free cloth to clean the tension discs. Avoid liquid cleaners; a slightly damp cloth is fine if needed.
Thread the machine with clean fabric or thread to remove residual debris.
Regular cleaning ensures consistent stitch quality and prevents thread breakage.
Step 7: Oil the Machine (If Applicable)
When oiling your sewing machine, consult the owner's manual for specific instructions tailored to your model.
Use only small drops of oil and a needle oiler for precise application to moving parts. Crank the hand wheel to distribute the oil evenly.
Regularly clean areas where oil has been applied to prevent dust and lint buildup, ensuring smooth, optimal operation.
Step 8: Reassemble the Machine
After thoroughly cleaning your machine, begin reassembly by carefully reinserting the shuttle hook and ensuring it's properly positioned to avoid future issues.
Replace the bobbin case, ensuring it clicks securely. Reattach the needle plate, aligning it with the screw holes and tightening the screws without overtightening.
Attach the presser foot as per the manufacturer's instructions.
Step 9: Test the Machine
Once you've reassembled your machine, it's crucial to test it to ensure everything works smoothly.
Start by performing a test seam on scrap fabric to check for proper stitching and tension settings.
Monitor the machine's sound and operation, listening for unusual noises.
Inspect the stitch quality for even tension and no skipped stitches.
Regular testing helps maintain optimal machine performance.
How to Clean Different Types of Sewing Machines

Cleaning different machines involves understanding their own unique needs.
Mechanical Machines
With their intricate gears and levers, mechanical machines demand regular care to ensure peak performance.
Clean your machine frequently for proper sewing machine maintenance. Focus on the bobbin area and feeding dogs.
Use a small screwdriver to remove the needle plate and access the internal parts.
Oil your machine every 2-3 projects, ensuring smooth operation and preventing thread jams.
Electronic Machines
While mechanical machines have their own maintenance needs, electronic machines come with unique care requirements.
Start by unplugging the machine and consult the owner's guide for specific maintenance tips.
Focus on regular cleaning of the bobbin case and removing lint buildup. Use a soft brush and a USB-powered mini vacuum, avoiding canned air.
Serger Machines
When maintaining your serger machine, you should pay special attention to the areas where lint accumulates.
Focus on cleaning the upper and lower looper areas, the needle plate, and feeding dogs. Remove the stitch finger to clear the lint buildup.
Regularly oiling and changing the needle will keep your serger running smoothly and ensure high-quality stitches.
Additional Sewing Machine Maintenance Tips
To keep your machine in top shape, these simple habits will ensure your machine runs smoothly and lasts longer.
Regular Cleaning Schedule
It's important to maintain a regular cleaning schedule to keep your machine running smoothly and extend the life of the machine.
To maintain your sewing machine, perform regular cleaning after every 2-3 sewing bobbins or after a few projects. This prevents lint buildup and ensures optimal performance.
Light users should clean monthly, while infrequent users can aim for semi-annual cleaning.
Always check for dust and unusual noises.
Proper Storage
Proper storage is essential to keep your sewing machine in top condition.
Store properly by using a dust cover to protect against dust. Keep the machine in a dry, climate-controlled environment to avoid moisture damage.
Organize sewing accessories in airtight containers. Avoid direct sunlight to prevent fading and deterioration.
Regularly check for pests or humidity in the storage area to ensure complete protection.
Conclusion
You've got all the tools and know-how to keep your sewing machine in great condition. Regularly cleaning and following your owner's manual ensures it runs smoothly and lasts longer. Don't forget to unplug it before starting, and always remove the needle and presser foot.
With a little care and attention, your DIY sewing projects will go smoothly. Keep up with maintenance, and you'll always improve your sewing experience, even using an old sewing machine!
Learn more sewing tips on the Longan Craft Blog, and dive into the fabric world with Longan Craft!
FAQs
When Should I Clean and Lubricate a Sewing Machine?
You should clean and lubricate your machine after every 5-10 days of use. If you use your sewing machine daily, aim for weekly maintenance. Weekend users should clean monthly, and infrequent users should do it semi-annually to prevent dust accumulation.
What Can I Use to Clean the Outside of My Sewing Machine?
Use a soft, lint-free cloth to clean the outside of your sewing machine. For tougher spots, a damp cloth with mild detergent works well. To prevent damage, avoid overly wet cloths, harsh chemicals, or abrasives.
How Often Should I Clean My Sewing Machine?
If you're a heavy user, you need to clean your sewing machine after every few projects. For daily use, clean it weekly. Light users can clean it every few months. Squeaky noises or visible dust mean it's time for cleaning.


0 comments