
Are you tired of constantly searching for the perfect sewing patterns that never quite match your style? Well, look no further! In this article, we'll show you how to make a sewing pattern from a garment you like best. With a bit of creativity and ingenuity, you can customize and tailor your clothing to fit your unique shape and style preferences.
Say goodbye to ill-fitting clothes and hello to a wardrobe filled with tailored pieces made just for you. Get ready to unleash your inner designer and elevate your sewing skills to a new level!
Key Takeaways
- Clean and press the garment to remove wrinkles for accurate pattern tracing.
- Lay the garment flat and trace each piece onto tracing paper, capturing all seam lines and details.
- Use a tracing wheel and flexible ruler to replicate seam lines and curves accurately.
- Assemble a muslin test garment to check fit and make necessary adjustments.
Step 1: Gather the Essential Materials
To get started, you'll need some essential materials to trace your garment and create a sewing pattern.
- Garment: The piece of clothing you want to replicate.
- Pattern Paper: You can use butcher paper, craft paper, or specialized pattern paper.
- Tracing Paper: For more detailed work, if necessary.
- Pencils and Pens: To draw and mark the pattern.
- Ruler: A clear ruler or measuring tape for accuracy.
- French Curve: For smooth curved lines.
- Pins: To hold the garment in place on the paper.
- Fabric Weights: To keep paper and fabric stable.
- Scissors: Both fabric scissors and paper scissors.
- Measuring Tape: For taking measurements of the garment.
- Seam Ripper: Optional, if you need to deconstruct the garment to get more accurate pattern pieces.
With these tools, you can create precise pattern pieces that replicate your original garment's design.
Step 2: Prepare the Garment
First, choose a garment that's simple in design and in good condition to ensure accurate pattern replication.
Then, clean and press the garment to remove any wrinkles and dirt, which can affect your measurements and tracing.
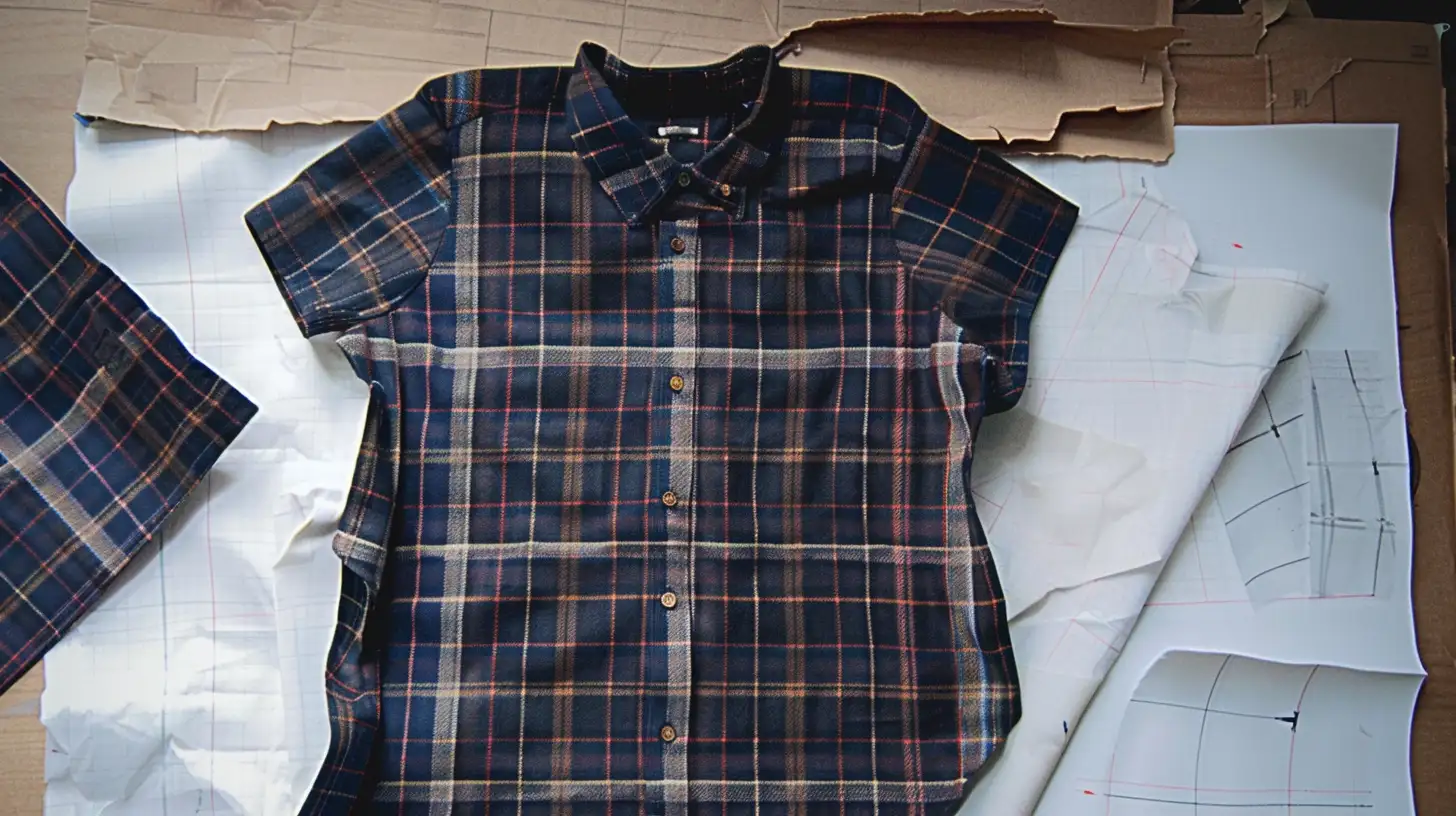
Choose the Garment
Begin by selecting a well-fitting garment in good condition. This will ensure accuracy in your pattern-making process.
Consider the type of fabric the original garment is made from and choose something similar for your project to replicate the fit and drape accurately. Examine the design details, such as pockets, darts, and pleats, to decide which elements you want to include in your pattern.
Cleaning and Pressing
After choosing your well-fitting garment, you'll need to clean and press it to ensure accurate pattern tracing.
Start by thoroughly cleaning the garment to remove any dirt, stains, or odors that could transfer to the pattern paper.
Once clean, press the garment with an iron on the appropriate setting to remove all wrinkles and creases. Doing so ensures accuracy in your pattern replication.
Make sure the garment is completely dry before proceeding, as moisture can cause distortion. Use a lint roller or tape to remove any stray fibers or lint.
Step 3: Dismantle the Garment (Optional)
Dismantling the garment offers a meticulous approach to ensuring every detail is accurately captured for your sewing pattern. By taking it apart, you can trace each piece to replicate the garment precisely.
While dismantling may damage the original garment, the benefit is an exact replication. Pay close attention to how each piece is constructed, noting any unique features or stitching techniques.
This step is optional, but it can enhance the fidelity of your final pattern, making the effort worthwhile for those looking to recreate garments with utmost accuracy.
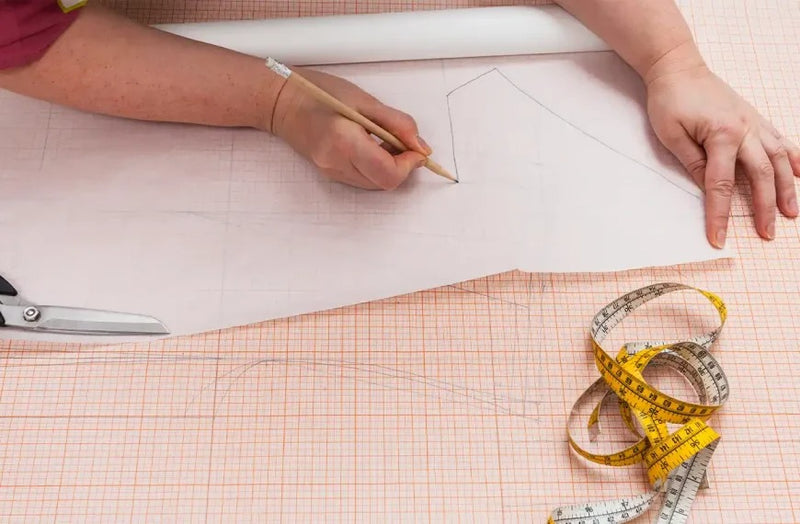
Step 4: Trace the Garment
To start making patterns from existing clothes, you need a large sheet of pattern paper, butcher paper, or newsprint that is bigger than your garment.
Begin by positioning your garment on the paper and folding it on the center line for symmetry. If your garment has a front and back, start by tracing one side and then flip the garment over to trace the other side.
Using a pencil or marker, trace around the garment. Remember to follow the seams and curves closely. It doesn't have to be perfect at this stage.
Once you've completed tracing both sides, take a moment to admire your work. But, remember there are still more steps to making patterns from existing clothes.
Step 5: Add Seam Allowances
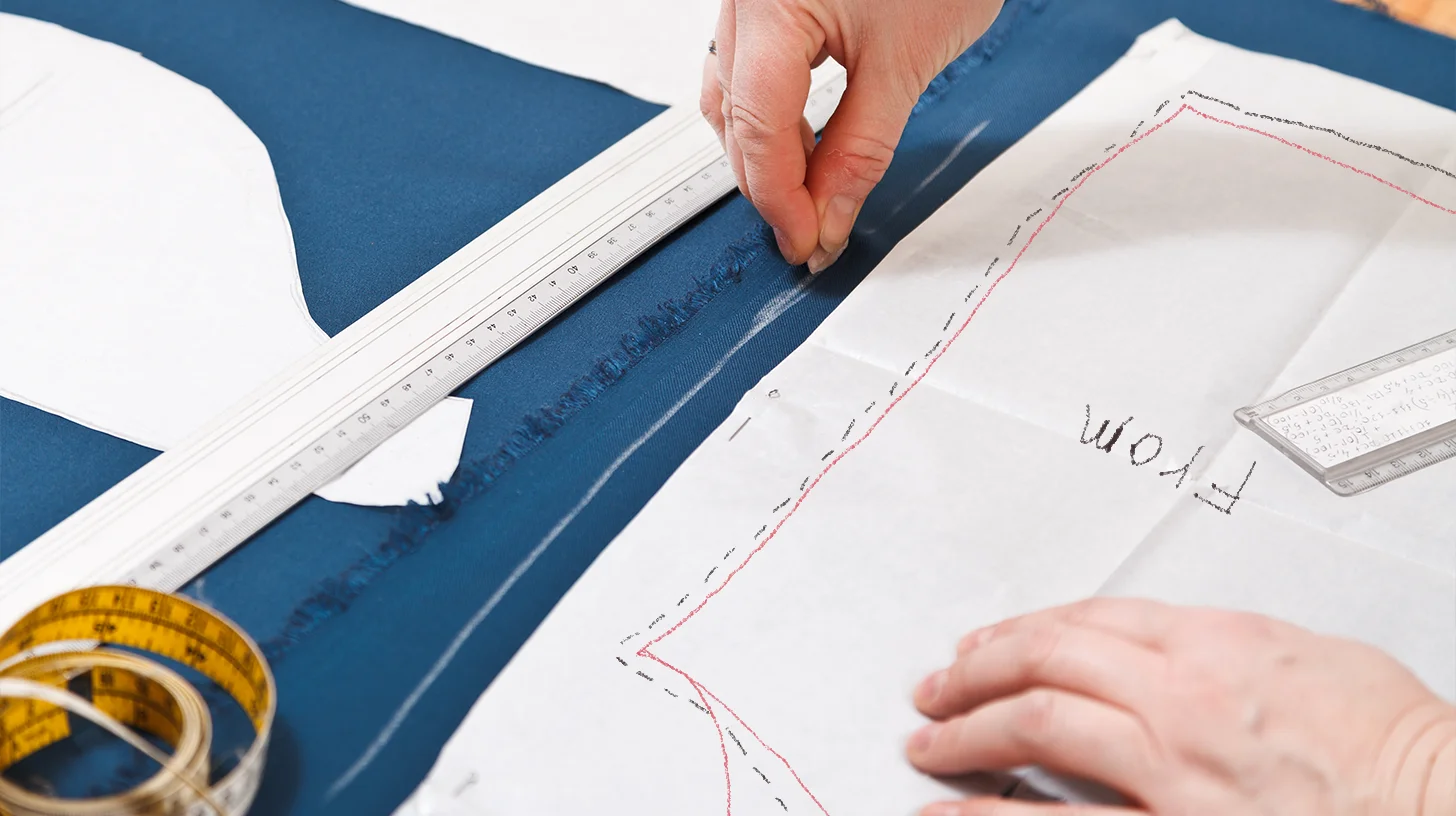
To ensure your copied pattern has enough fabric for sewing, add a standard seam allowance of 1 cm to all edges.
Don't forget to add hem allowances, too. Typically, 1.5 cm is ideal for neat finishes.
If you're working with stretch fabrics, you might need to adjust seam allowances slightly to account for fabric stretching during wear.
Mark these allowances clearly to ensure accuracy during the sewing process.
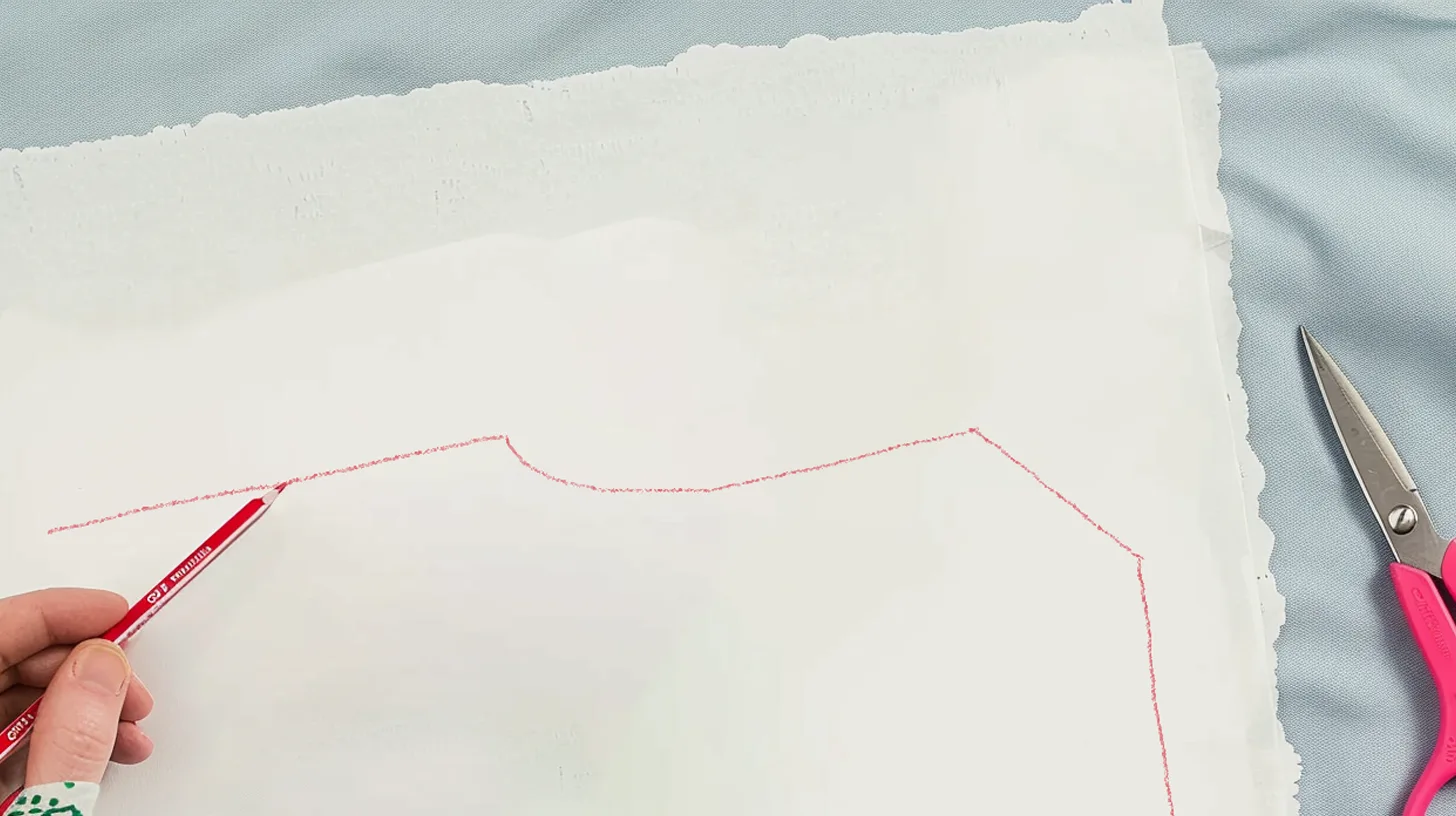
Step 6: Mark Important Details
Accurately marking important details on your pattern ensures that every feature of the original garment is faithfully reproduced.
To start, mark important details like dart points, seam lines, and button placements. Label pattern pieces clearly to avoid confusion during assembly.
Next, add grain lines to each piece to ensure proper fabric alignment. Use a flexible ruler to duplicate curves accurately, capturing the garment's exact shape.
Transfer details such as pocket placements and unique design elements to your pattern paper.
Paying attention to these steps ensures your final pattern mirrors the original garment's intricacies, making the sewing process smoother and more precise. Skipping any of these details could lead to a pattern that doesn't fit or look right.
Step 7: Cut Out the Pattern
Now that you've marked all the important details, it's time to cut out the pattern pieces from your traced garment. To ensure clean, precise cuts, begin by using sharp scissors or a rotary cutter.
When cutting out the pattern, follow the lines accurately to preserve the original design. Don't forget to transfer any notches, markings, or labels from the original garment to the pattern pieces. These will help with alignment during sewing.
Double-check the accuracy of your cuts and make any necessary adjustments. Finally, organize and label each pattern piece to keep track of them and make the sewing smoother.
Step 8: Assemble a Muslin Test Garment
Now, it's time to bring your pattern to life by cutting out the muslin fabric. Carefully sew the muslin pieces together, following the pattern instructions.
Once assembled, try on the test garment to pinpoint fit issues and make necessary adjustments.
Cut Muslin Fabric
To create a precise test garment, cut your muslin fabric according to the pattern pieces, ensuring the fabric follows the grainline.
Securely pin the pattern pieces to the fabric. Using a rotary cutter and cutting mat, carefully cut along the edges of each piece. Following the grainline is crucial for accuracy in your test garment. Make sure you cut the fabric carefully to mirror the final design.
Precision during this step ensures that your test garment will accurately reflect the fit and construction of your final piece. Once all the pieces are cut, you're ready to assemble your muslin.
Make Adjustments
Creating a muslin test garment allows you to fine-tune the fit before cutting into your final fabric. Start by sewing the muslin using your drafted pattern pieces.
Once assembled, try on the test garment and carefully assess the fit. Make any fit adjustments directly on the muslin by pinning or marking areas that need changes. Pay attention to comfort, ease of movement, and overall fit.
After making the necessary modifications, transfer adjustments from the muslin back to your original pattern. This ensures that your final garment will be tailored perfectly to your measurements.
Adjust your pattern accordingly, and you'll be ready to cut and sew your final fabric with confidence.
Step 9: Finalize the Pattern
Before cutting, ensure you've added seam and hem allowances to your pattern for accurate sewing. This step is crucial for maintaining the integrity of the garment's fit. Double-check the accuracy of all your details on the finalized pattern, including any fit adjustments you've made. Make sure you've included all necessary markings, such as dart points, grain lines, and notches.
Review the pattern pieces against the original garment to confirm that everything aligns perfectly. Once satisfied, label each piece clearly. Your finalized pattern should be a complete set that mirrors the original design.
With everything in place, you're ready to cut and sew, confident that your pattern will yield a well-fitted garment.
Final Words: How to Make a Sewing Pattern from a Garment
You've done it! Following these steps, you've created a sewing pattern from your favorite garment. Now, you can replicate that perfect fit whenever you want.
Remember, the muslin test garment is crucial for fine-tuning the fit before you cut into your final fabric.
With practice, you'll get even better at capturing details and making adjustments.
So grab some fabric and get sewing—you've got a custom wardrobe waiting!
Learn more sewing tips on the Longan Craft Blog, and dive into the fabric world with Longancraft!
FAQs
Can I Make a Sewing Pattern From an Existing Garment?
Yes, you can make a sewing pattern from an existing garment. Lay it flat, trace seam lines, and mark details like darts. Add seam and hem allowances, then adjust for fit. Double-check for accuracy before cutting.
How Do I Make a Garment Pattern?
To make a garment pattern, lay out your fabric, trace around your original garment, and add seam allowances. Mark darts, grain lines, and labels. Adjust for fit and fabric type, then cut and sew your new creation.
Is There an App to Create Sewing Patterns?
Yes, there are apps like Sewing Pattern Buddy and Pattern Maker. These apps let you input measurements, trace garments, and create custom patterns. They're great for adjusting sizes, styles, and optimizing layouts.
How Do I Make a Copy of a Sewing Pattern?
To make a copy of a sewing pattern, lay the original flat, trace it onto pattern paper, and add seam allowances. Include all design details and markings. Double-check accuracy before cutting, ensuring all elements match the original.
0 comments