

Ribbon is a versatile and decorative addition to any craft project, from gift wrapping to clothing embellishments. Making ribbons from fabric is a simple and cost-effective way to customize your projects and add a personal touch.
Whether you repurpose old fabric scraps or create a unique accent for a special occasion, making ribbons from fabric is a fun and creative process that allows you to showcase your style. In this article, we will explore the process of making ribbons from fabric, providing you with the skills and inspiration to elevate your crafting endeavors.
Key Takeaways
- Choose a high-quality, light-to-midweight fabric like taffeta or charmeuse that complements the ribbon's desired look and feel.
- Cut fabric strips slightly wider than the desired ribbon width, ensuring precision for a polished look.
- Use a sewing machine with a zig-zag stitch to finish the edges of the fabric strips, preventing fraying and giving a clean finish.
- Iron the fabric ribbon on a low setting with a pressing cloth to achieve a professional-looking finish.
Gather the Necessary Materials
To create your own ribbon from fabric, you will need the following materials:
- Fabric: Choose a fabric that suits your needs in color, pattern, and texture. Cotton, silk, satin, or grosgrain are popular choices.
- Ruler or Measuring Tape: To measure and cut the fabric accurately.
- Rotary Cutter or Fabric Scissors: For cutting the fabric into strips.
- Cutting Mat (if using a rotary cutter): To protect your work surface and ensure precise cutting.
- Iron and Ironing Board: To press the fabric strips and remove any wrinkles before cutting and after sewing.
- Pins or Clips: To hold the fabric in place while you cut and sew.
- Sewing Machine or Needle and Thread: A sewing machine will speed up the process of sewing the edges of the ribbon for a finished look, but hand sewing works, too.
- Bias Tape Maker (optional): This tool helps you fold the fabric edges evenly when making bias tape-style ribbons.
- Fabric Stiffener or Spray Starch (optional): To give your ribbon extra body and stiffness if needed.
- Fray Check or Fabric Sealant (optional): To prevent the edges of the fabric from fraying.
How to Make Ribbon from Fabric: A Step-by-Step Tutorial
You're now ready to start crafting your fabric ribbon, and it all begins with choosing the suitable fabric.
Next, you'll measure and cut your fabric to the desired width, ensuring accurate cuts.
From there, you'll finish the edges and iron the ribbon for a more polished look.
Step 1: Choose the Right Fabric
Consider weight, texture, and width to choose a fabric that complements your ribbon's desired look and feel.
For elegant ribbons, opt for fabrics like satin, silk, velvet, or organza. The fabric weight will affect the drape and flow of your ribbon, so choose a light to midweight fabric for a more delicate look.
Consider the fabric's texture as well. Smooth fabrics like satin will give a sleek look, while fabrics with some texture will add depth.
Look for fabrics that fray nicely to achieve a natural, textured edge on your ribbon. By experimenting with different fabrics, you can create unique and personalized ribbons that add a special touch to your projects.
Step 2: Measure and Cut the Fabric
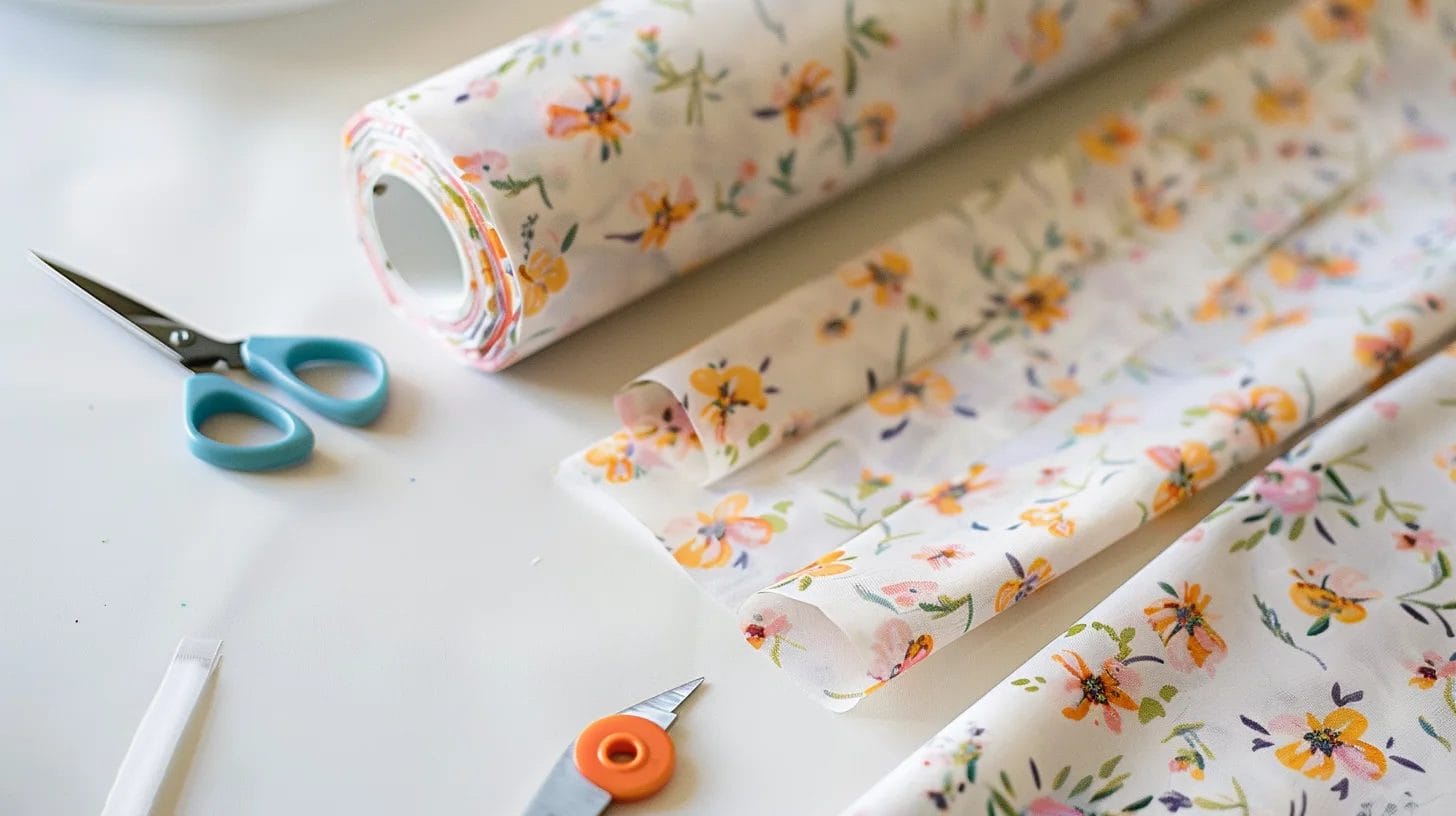
Use a ruler or measuring tape to measure the fabric carefully to ensure consistent strip widths. Cut fabric strips slightly wider than your desired ribbon width. Precision is key when cutting —accurate measurements and cuts are essential for creating a polished look.
Varying strip widths can be used for different applications, but consistency is crucial for a cohesive appearance.
Step 3: Finish the Edges
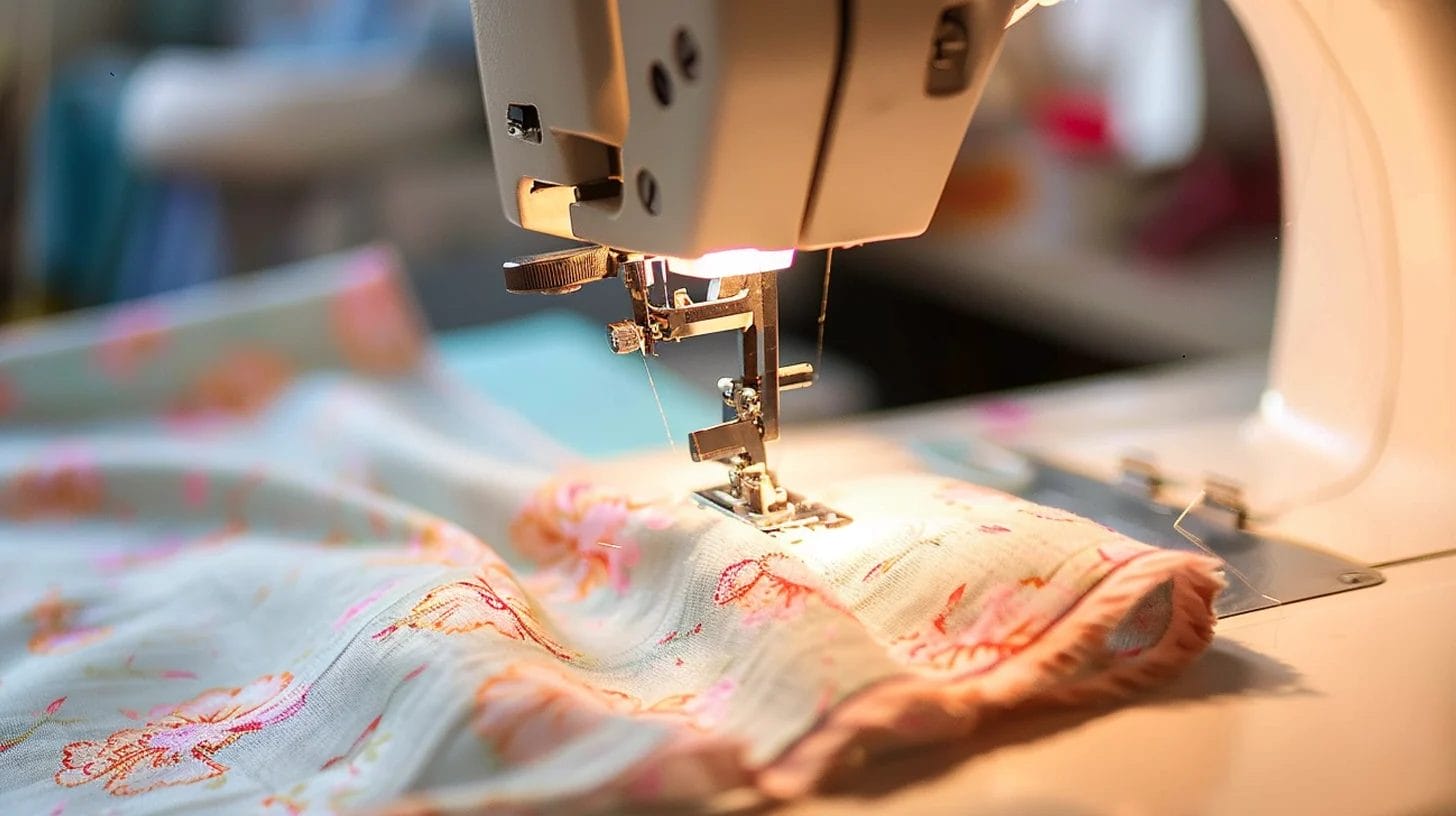
Now that you've cut your fabric strips to precise widths, it's time to finish the edges to prevent fraying and give your ribbon a professional look.
To do this, you'll stitch the long edges of the fabric strips using a zig-zag stitch on your sewing machine. This will prevent fraying edges and give your fabric ribbon a clean finish. You don't need to worry about hemming or using pinking shears - the zig-zag stitch is enough.
Step 4: Iron the Ribbon
To achieve a crisp, smooth finish, iron your fabric ribbon on a low setting, using a pressing cloth or thin fabric to protect it from direct heat. This will prevent scorching or damage to your delicate fabric.
Next, glide the iron smoothly over the ribbon, applying gentle pressure for even heat distribution. Do not use steam, which can cause watermarks or damage your ribbon.
Once you've ironed the entire length, let the ribbon cool and set before using it for your desired project.
Step 5: Store Your Ribbon
Store your fabric ribbon in a cool, dry place to prevent damage from moisture and fading. This will ensure your ribbon remains vibrant and intact.
Avoid exposing your ribbon to direct sunlight, as it can cause the colors to fade. Instead, use airtight containers or ziplock bags to protect your ribbon from dust and moisture.
You can organize your ribbon by color, width, or material for easy access and identification. For convenient storage and display, consider hanging your ribbon on a dowel rod or ribbon organizer.
Additional Tips and Ideas for Handmade Ribbons
 Now that you've mastered the basics of making ribbons from fabric, you're ready to take your creations to the next level.
Experiment with Different Fabrics
You can exploit the unique characteristics of various fabrics to create a wide range of ribbon styles, from luxurious velvet to crisp cotton. Experiment with different fabric scraps to make fabric ribbon that suits your taste.
Satin, for instance, adds a touch of elegance, while cotton provides a more casual look. Don't be afraid to mix and match fabrics to create one-of-a-kind ribbon combinations.
You can also experiment with different cutting directions and stitching techniques for varied textures and effects.
Embellish the Ribbons
With your fabric ribbon, you can elevate its style and sophistication by incorporating embellishments that add a layer of personality and charm.
You can decorate your ribbon with beads or sequins to add a touch of sparkle and glamour. Experiment with fabric paint or markers to create unique patterns and designs.
Sew on fabric flowers or appliques to enhance the ribbon's visual appeal. You can also incorporate lace or tulle accents to add a delicate and elegant touch.
Try embroidering names, dates, or special messages for a custom touch to make it even more special. Don't be afraid to experiment and weave different elements together to create a one-of-a-kind ribbon that reflects your style.
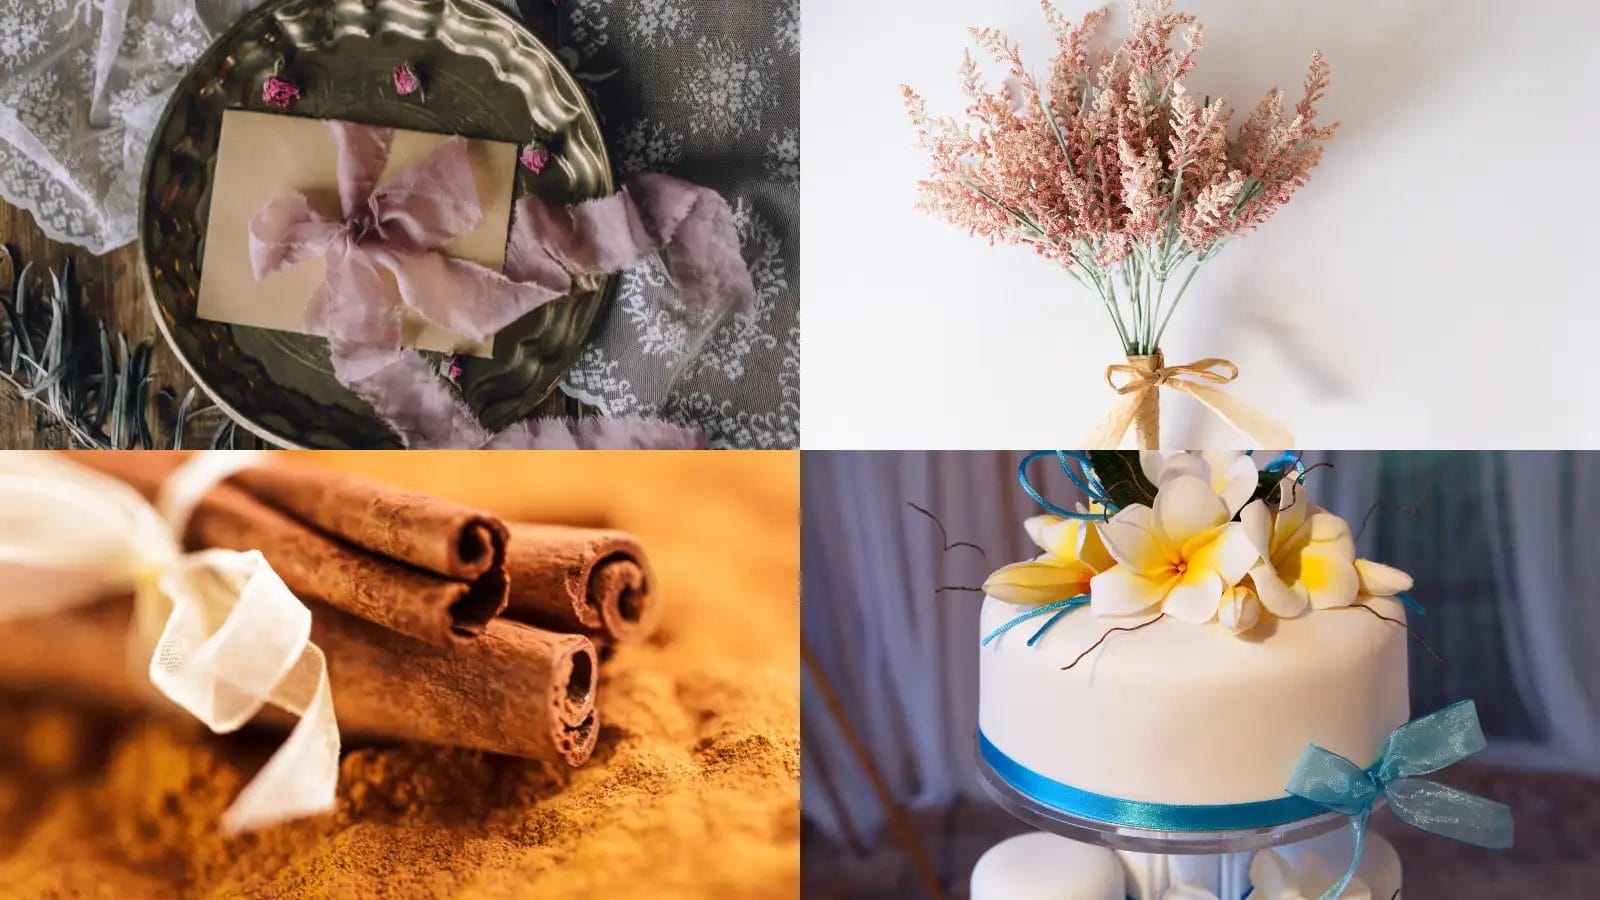
Uses of Handmade Ribbons
You can use your ribbons to embellish gifts, create unique DIY decorations, or add a pop of color to your outfits. Working with scrap fabric is even eco-friendly and sustainable.
Experiment with different widths, colors, and textures to create one-of-a-kind accessories for your hair, clothes, or home decor. Whether you're a crafty person or just starting, handmade ribbons offer endless possibilities.
Conclusion
You've now successfully created your ribbon from fabric! With your new skill, you can add a personal touch to gifts, decorations, or accessories.
Experiment with different fabrics, colors, and widths to create unique ribbons that reflect your style. Use them to embellish scrapbook pages, hair accessories, or home decor items.
The possibilities are endless, and with practice, you'll create professional-looking ribbons like a pro!
Learn more sewing projects at Longan Craft Blog, and dive into the fabric world with Longancraft!
0 comments