

Mastering how to pin fabric for sewing can transform your projects from amateur to professional. You might wonder why pinning matters so much. It ensures your fabric stays in place, helping you achieve crisp seams and perfect hems. When you know how to pin the fabric correctly, you minimize errors and save time.
Imagine sewing without the frustration of fabric shifting or misaligned patterns. Pinning is your secret weapon for precision. So, let's dive into the world of fabric pinning and unlock the potential of your sewing skills.
Key Takeaways
- Choose the correct type of pins for your fabric: use fine pins for delicate materials, ballpoint pins for stretchy fabrics, and thicker pins for heavier textiles.
- Master different pinning techniques, such as horizontal and vertical, to secure fabric effectively and allow for easy adjustments during sewing.
- When pinning curves, start at the center and use more pins to ensure smooth fabric distribution without puckering.
- For multiple layers, use longer quilting pins and pin strategically at key points to maintain alignment and stability while sewing.
Choosing the Right Pins for Your Fabric
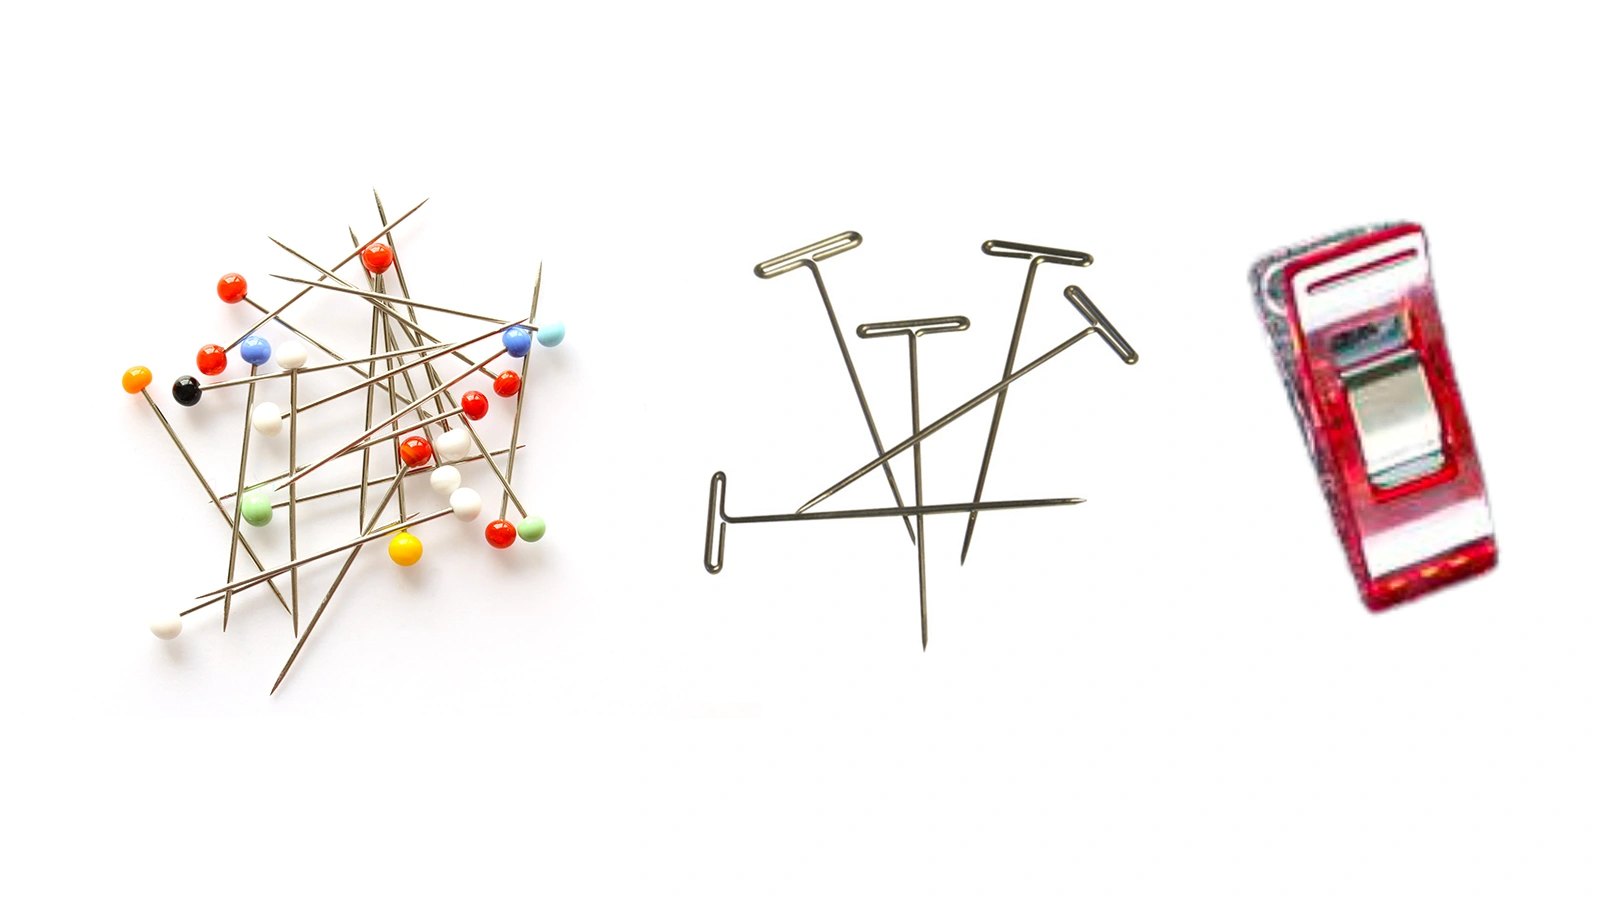
It's crucial to select the correct pins for your fabric. Different fabrics require different approaches, and using the wrong pin can lead to frustration and damage.
Pins for Lightweight Fabrics
You need to be gentle when working with lightweight fabrics like chiffon or voile. These fabrics are delicate and can easily tear or show pin marks. Use straight pins that are thin and sharp. Silk pins are a great choice because they glide through the fabric without leaving noticeable holes.
Pins for Medium to Heavy Fabrics
Medium to heavy fabrics, such as denim or canvas, require sturdier pins. Straight pins with a thicker gauge work well here. They provide the strength needed to hold the fabric layers together. Quilting pins are also a good option. They're longer and can handle multiple layers, making them perfect for projects like quilts or jackets.
Pins for Stretchy and Delicate Fabrics
Stretchy fabrics, like jersey or spandex, need special attention to avoid snagging or distorting them. Ballpoint pins, with their rounded tips, are ideal for these materials. They slide between the fibers without causing damage.
Opt for fine straight pins for delicate fabrics like lace or silk. These pins minimize the risk of leaving marks.
Step-by-Step Guide on How to Pin Fabric for Sewing
Learning to pin your fabric together is a crucial skill that can elevate your sewing projects. Let's break it down into simple steps, focusing on different techniques to ensure your fabric stays in place.
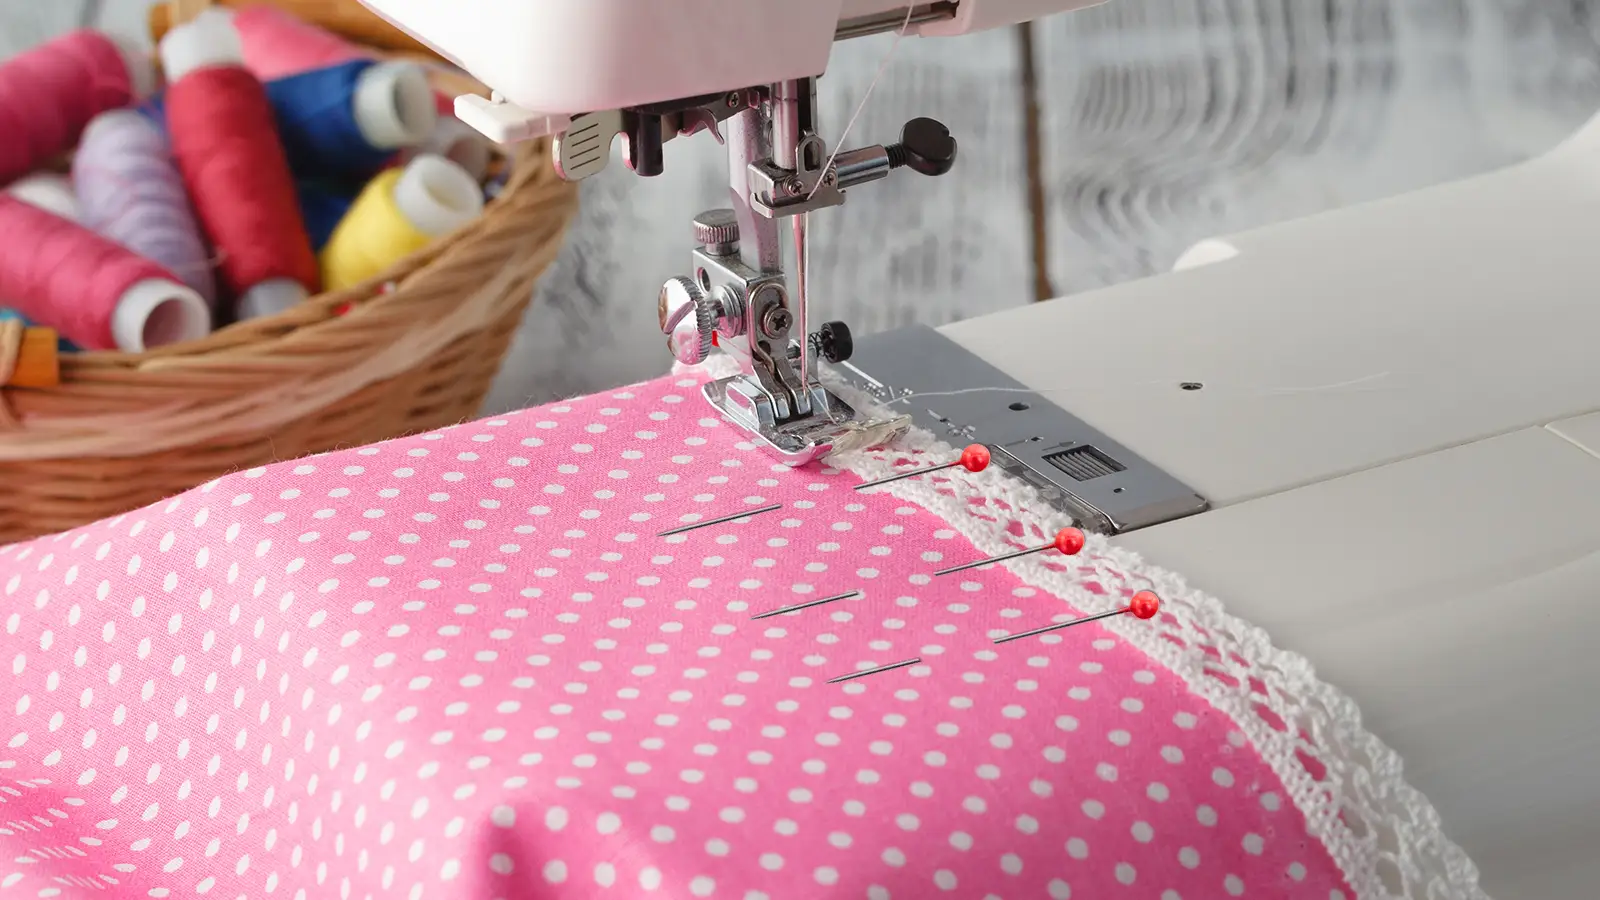
Horizontal Pinning Technique

Horizontal pinning is a popular method for securing fabric. You place the pins perpendicular to the edge of the fabric. This technique is great for holding seams together. It allows you to sew over the pins without removing them, which saves time. Here's how you do it:
- Align the Fabric: Lay your fabric pieces together, ensuring the edges match up perfectly.
- Insert Pins: Start inserting pins about a quarter-inch from the edge. Place them horizontally, with the pinhead sticking out.
- Space Evenly: Keep the pins about 1-2 inches apart. This spacing provides stability and prevents shifting.
Horizontal pinning is good for straight seams and hems. It keeps everything aligned, making the sewing process smoother.
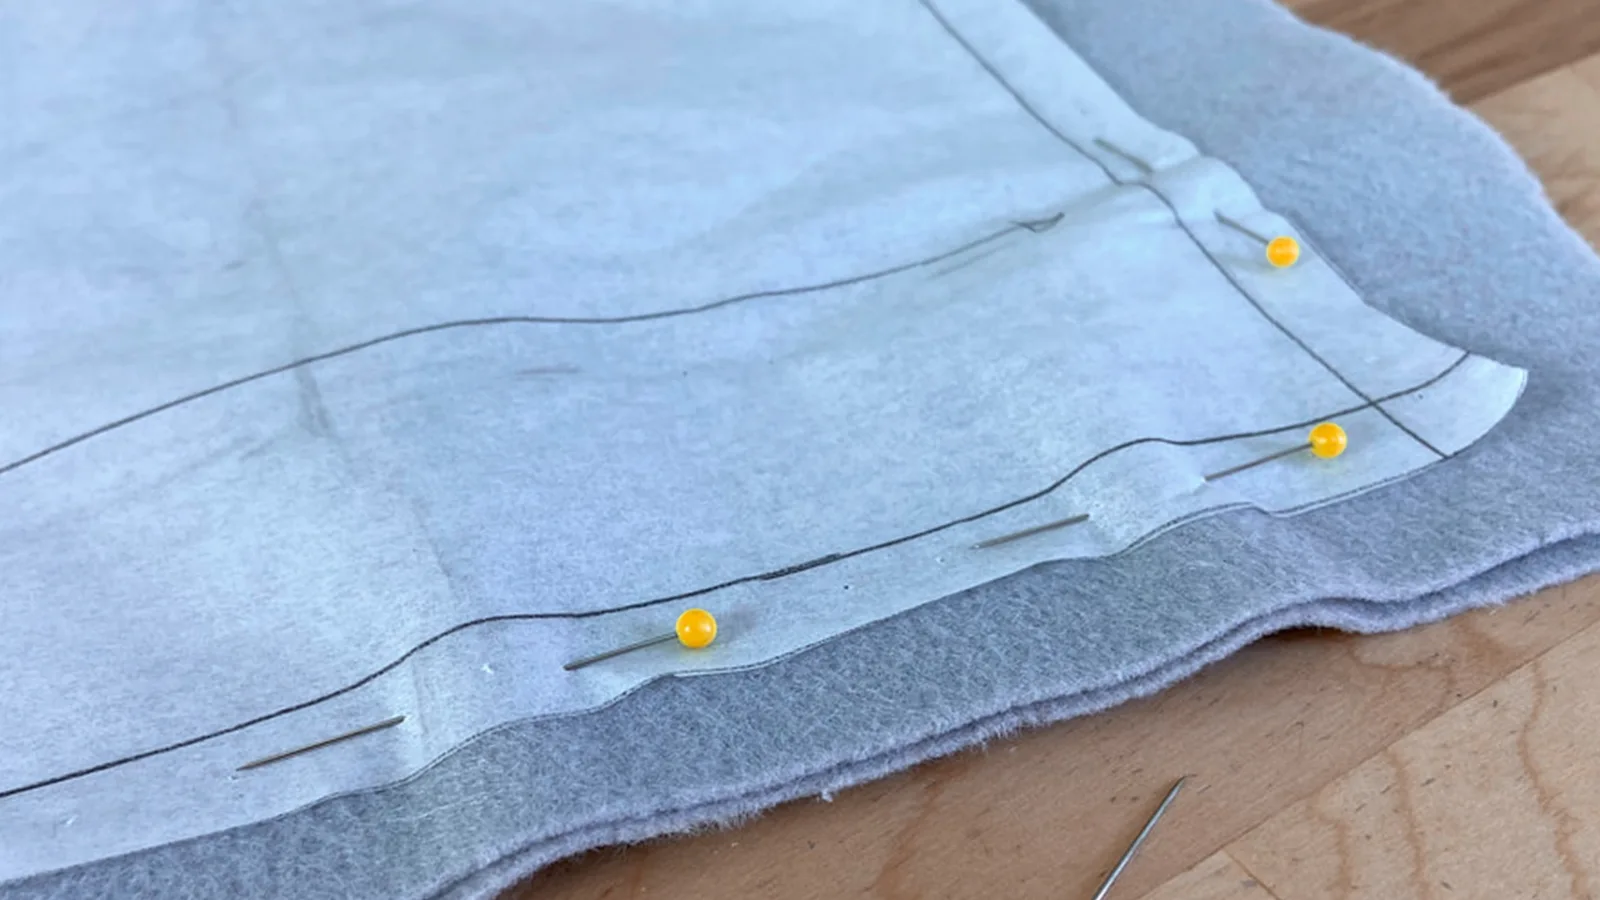
Vertical Pinning Technique
Vertical pinning involves placing pins parallel to the edge of the fabric. This method is ideal for delicate fabrics or when you need to adjust the fabric frequently. Follow these steps:
- Prepare the Fabric: Lay your fabric flat and smooth out any wrinkles.
- Insert Pins: Insert pins vertically, about a quarter-inch from the edge. Ensure the pins are parallel to the fabric's edge.
- Adjust as Needed: This technique lets you easily adjust the fabric without removing the pins.
Vertical pinning is perfect for projects where different fabrics require different approaches. It offers flexibility and precision, especially for curves and intricate designs.
Pinning for Seams and Hems
Pinning seams and hems requires attention to detail. Proper pinning ensures your seams are straight and hems are even. Here's a step-by-step guide:
- Mark the Seam Allowance: Use a fabric marker or chalk to mark the seam allowance on your fabric.
- Align Edges: Match the edges of your fabric pieces, aligning them with the marked seam allowance.
- Pin Along the Seam: Depending on your preference, insert pins along the seam line, either horizontally or vertically.
- Check Alignment: Double-check that the fabric edges are aligned and the pins are evenly spaced.
Pinning for Curves
Pinning curves requires more attention because the fabric needs to bend smoothly without puckering. Here's how to pin the fabric on curves effectively:
- Start at the Center: Pin the center of the curve to help distribute the fabric evenly on both sides.
- Use More Pins: Place pins closer together than you would on straight seams. This ensures the fabric stays in place as you sew.
- Adjust the Fabric: Gently ease the fabric around the curve, ensuring it lies flat and wrinkle-free.
- Pin Perpendicularly: Insert pins perpendicular to the seam line. This allows you to sew over them if needed, keeping the curve smooth.
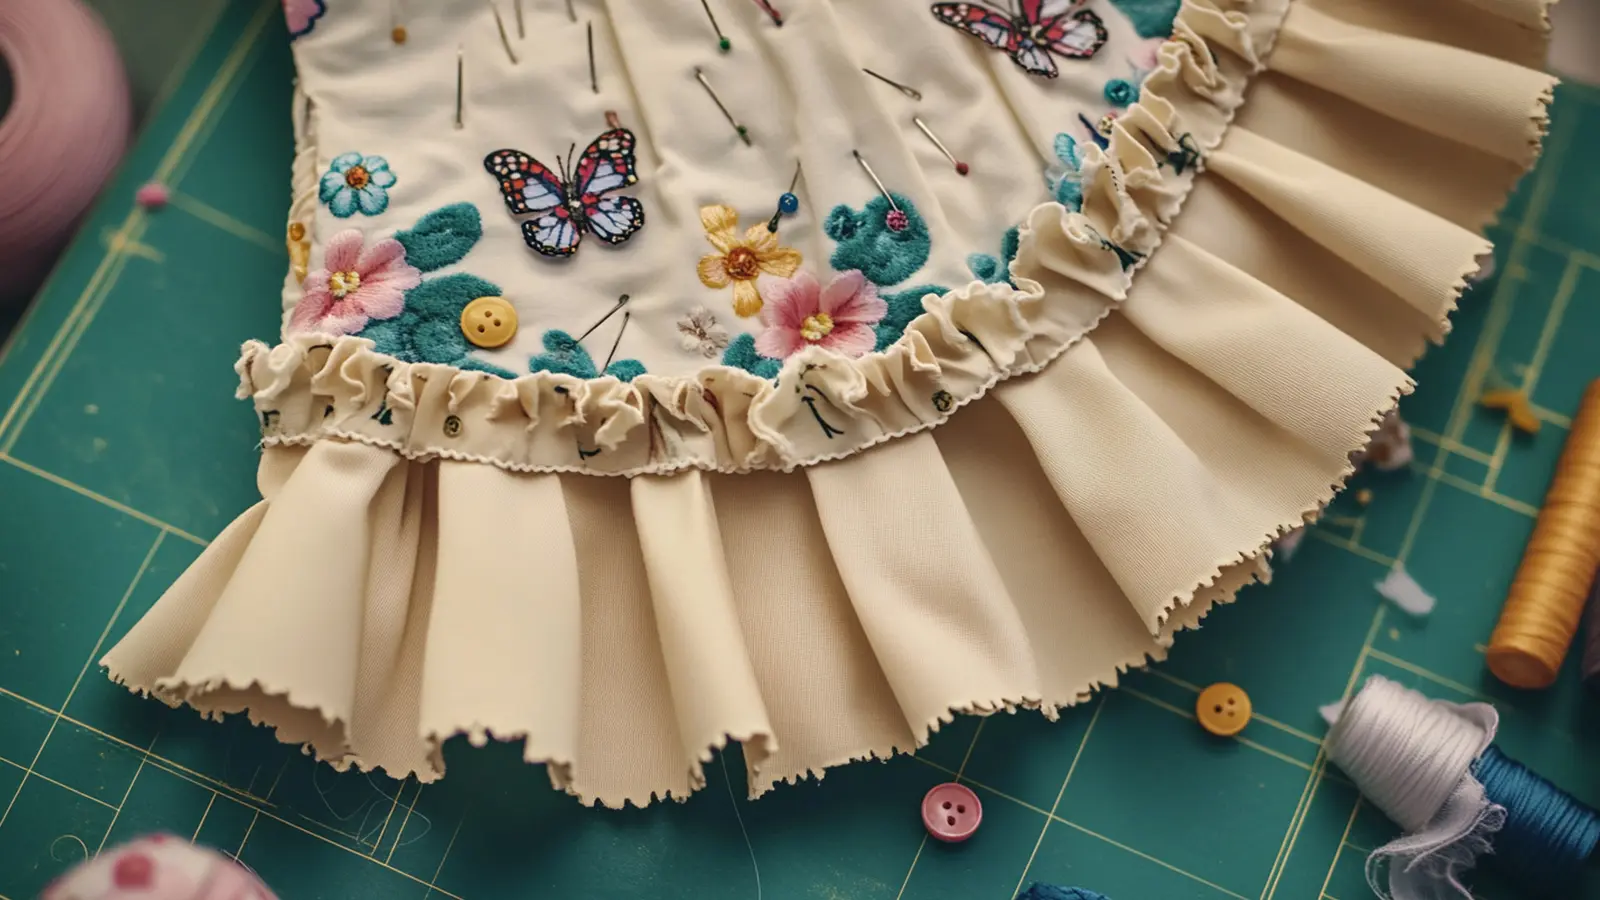
Pinning Multiple Layers
When working with multiple layers, pinning becomes even more crucial. Here's how to pin the fabric when dealing with several layers:
- Align the Layers: Stack your fabric layers neatly. Make sure the edges match up perfectly.
- Use Long Pins: Opt for longer pins, like quilting pins, to hold all layers securely.
- Pin Strategically: Place pins at key points, such as corners and along seams. This prevents shifting as you sew.
- Check Alignment: Double-check that all layers are aligned before you start sewing. Adjust pins if necessary.
Safety Tips and Common Mistakes to Avoid
Safety should always be a top priority when sewing. Handling pins correctly and avoiding common mistakes can prevent accidents and fabric mishaps.
Safe Handling of Pins
Pins are small but mighty tools in your sewing kit. Handling them safely is crucial to prevent injuries. Here are some tips to keep in mind:
- Use a Pin Cushion: Always store your pins in a pin cushion when not in use. This keeps them organized and prevents accidental pricks.
- Insert Pins Carefully: Do it slowly and deliberately when inserting pins into the fabric. This reduces the risk of poking yourself.
- Keep Pins Away from Children and Pets: Pins can be dangerous if left lying around. Ensure they're out of reach of little hands and curious pets.
- Dispose of Bent or Broken Pins: If a pin bends or breaks, discard it immediately. Using damaged pins can damage or injure fabric.
Avoiding Fabric Damage
Knowing how to pin the fabric without causing damage is essential for maintaining the quality of your materials. Here are some strategies:
- Choose the Right Pin for the Fabric: Different fabrics require different pins. For delicate fabrics, use fine pins to avoid leaving holes. For heavier fabrics, opt for sturdier pins.
- Test on a Scrap Piece: Before pinning your main fabric, test on a scrap piece. This helps you determine if the pin will leave marks or cause damage.
- Avoid Over-Pinning. Too many pins can distort the fabric. Use just enough to hold it in place without overloading it.
Preventing Pin Distortion
Pins can bend or distort if not used properly. Here's how to keep them in shape:
- Insert Pins Perpendicularly: Always insert pins perpendicular to the seam line. This provides stability and reduces the chance of bending.
- Avoid Sewing Over Pins: While some techniques allow sewing over pins, removing them with a sewing machine is safer. This prevents needle breakage and pin distortion.
- Use Quality Pins: Invest in high-quality pins less likely to bend. While cheap pins may initially save money, they can cause more problems in the long run.
Conclusion
Mastering how to pin fabric for sewing transforms your projects. You now know the importance of choosing the correct pins and techniques. Remember, practice makes perfect. Experiment with different methods to find what works best for you.
Pinning isn't just a step; it's a skill that enhances your sewing journey. Keep exploring and refining your approach. Your projects will improve with each stitch. So, grab your pins and start creating with confidence!
Learn more sewing tips on the Longan Craft Blog, and dive into the fabric world with Longan Craft!
FAQs
What are the best types of pins for beginners?
As a beginner, start with straight pins. They're versatile and work well with most fabrics. Look for pins with a medium thickness. They provide a good balance between strength and ease of use. If you're working with knits, try ballpoint pins. They slide through the fabric without snagging.
What should I do if pins leave marks?
If pins leave marks, switch to finer pins or silk pins. Test on a scrap piece first. For sensitive areas, use fabric clips instead. They hold fabric without piercing it.
How often should I replace my pins?
Replace pins when they bend or rust. Bent pins can damage the fabric, and rusty pins might stain it. Check your pins regularly and discard any that show wear.
Are there alternatives to pins?
Yes, there are alternatives. Fabric clips work well for delicate or thick fabrics. They hold layers without piercing. Basting stitches can also temporarily secure the fabric.
What's the best way to pin curves?
Start pining curves at the center. Use more pins than on straight seams. Insert them perpendicular to the seam line. This keeps the curve smooth and prevents puckering.
0 comments