
To create a beautiful braided neckline, begin by firmly attaching the fabric collar patch to the clothes collar. Next, you have to turn the neckline to the front, smooth out wrinkles, and topstitch along the curve for a polished finish. Now is the time for real creativity as you start weaving fabric strips to turn your neckline into a work of art. But how will you bring it all together?
Key Takeaways
- Secure the fabric collar patch with straight stitches, close to the collar edge.
- Cut small, evenly spaced slits in the seam allowance, taking care not to affect the shirt seams.
- Turn the neckline to the front, smooth out wrinkles, and topstitch along the curve to reinforce the design.
- Create fabric petal embellishments by cutting small semicircular pieces.
- Sew long strips of fabric, folding and securing the ends, to set the stage for braiding.
How to Sew a Braided Neckline
Now it's time to bring your braided neckline to life!
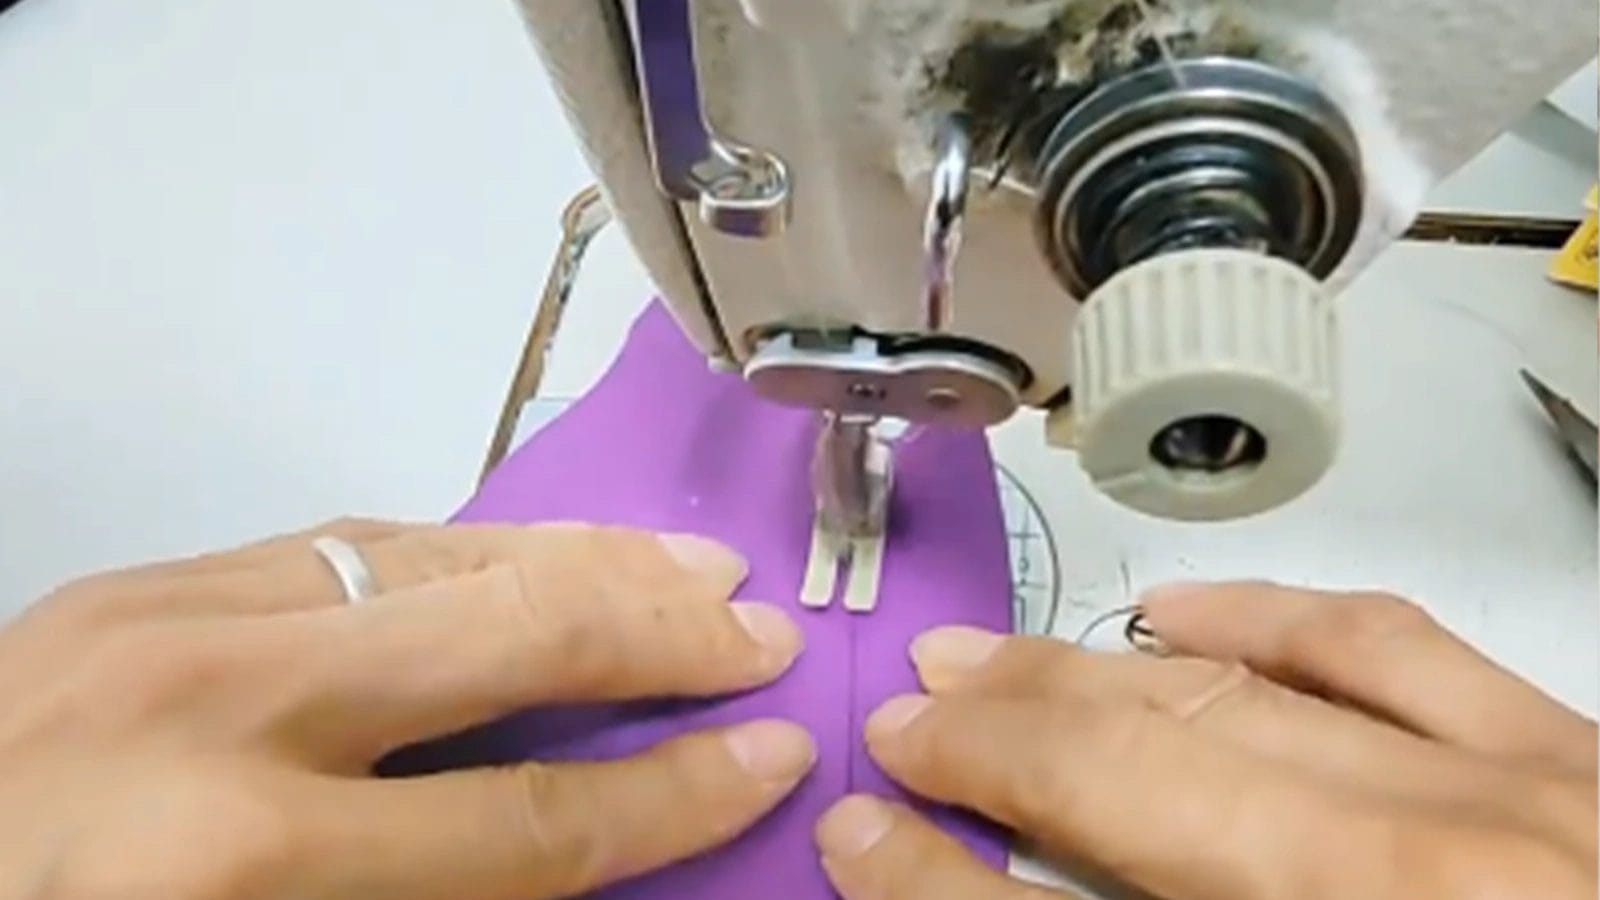
Step 1: Stitch the fabric collar patch to the clothes collar.
 As you prepare to transform your ordinary t-shirt, start by stitching the fabric collar patch onto the clothes collar. Carefully anchor it in place with a secure straight stitch or zigzag stitch. Make sure to stitch close to the edge of the collar patch to maintain a clean and neat appearance. Double-check your stitching to guarantee the collar patch is evenly and securely attached before proceeding.
Step 2: Cut small slits in the seam allowance, avoiding cutting the seams.
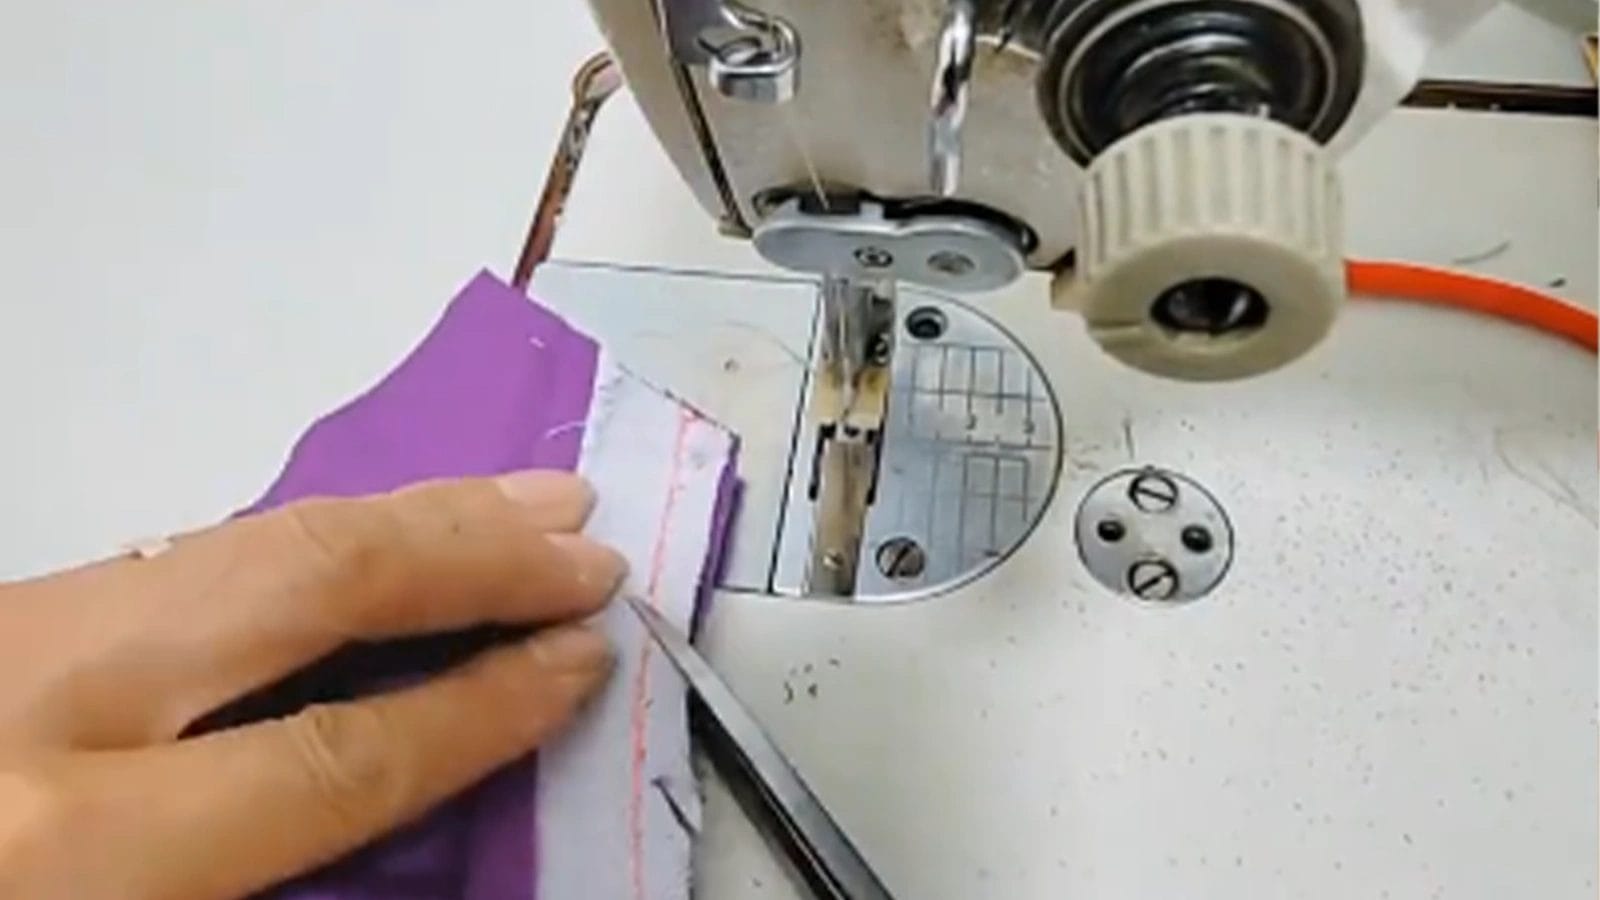 You'll next need to carefully cut small, evenly spaced slits in the seam allowance. Take care not to cut through the actual seams of the shirt. This critical step helps the turned-over collar sit more evenly and make sure there are no wrinkles at the seams.
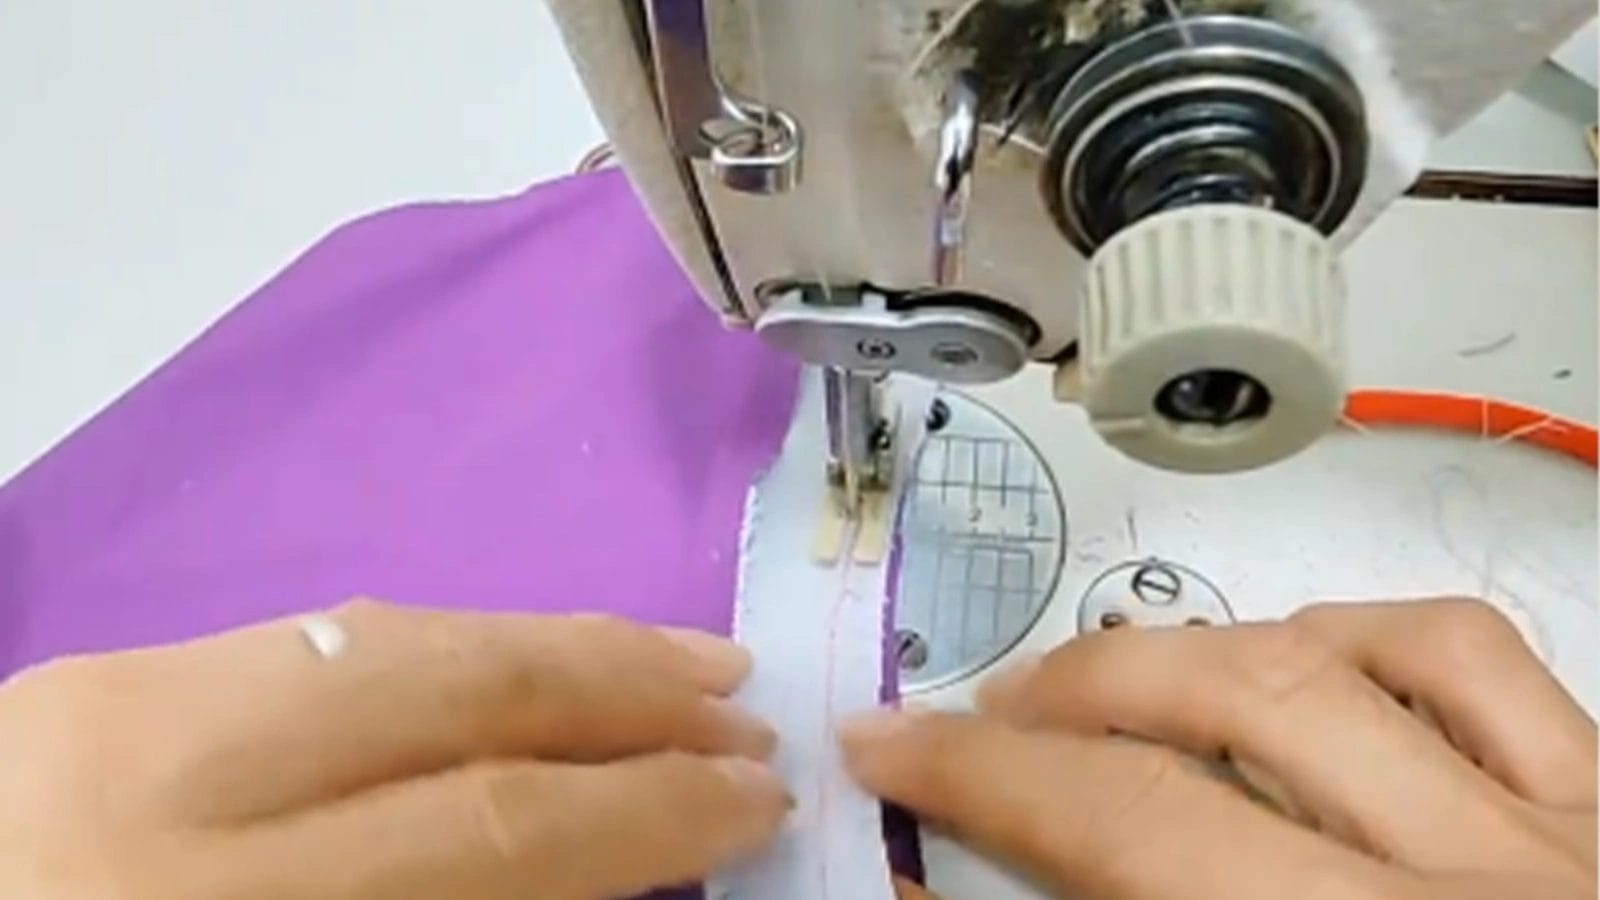
Step 3: Turn the neckline to the front and topstitch along the curve of the neckline.
 Turn the neckline to the front, preparing it for topstitching along the curved edge. As you turn the neckline, make sure to smooth out any wrinkles or creases, ensuring a crisp, polished look. Next, thread your sewing machine with matching thread and topstitch along the curve of the neckline. This reinforces the fabric collar patch and prevents it from coming loose. This crucial step transforms your braided neckline from amateur to professional.
Step 4: Cut small semicircular fabric pieces shaped like petals.
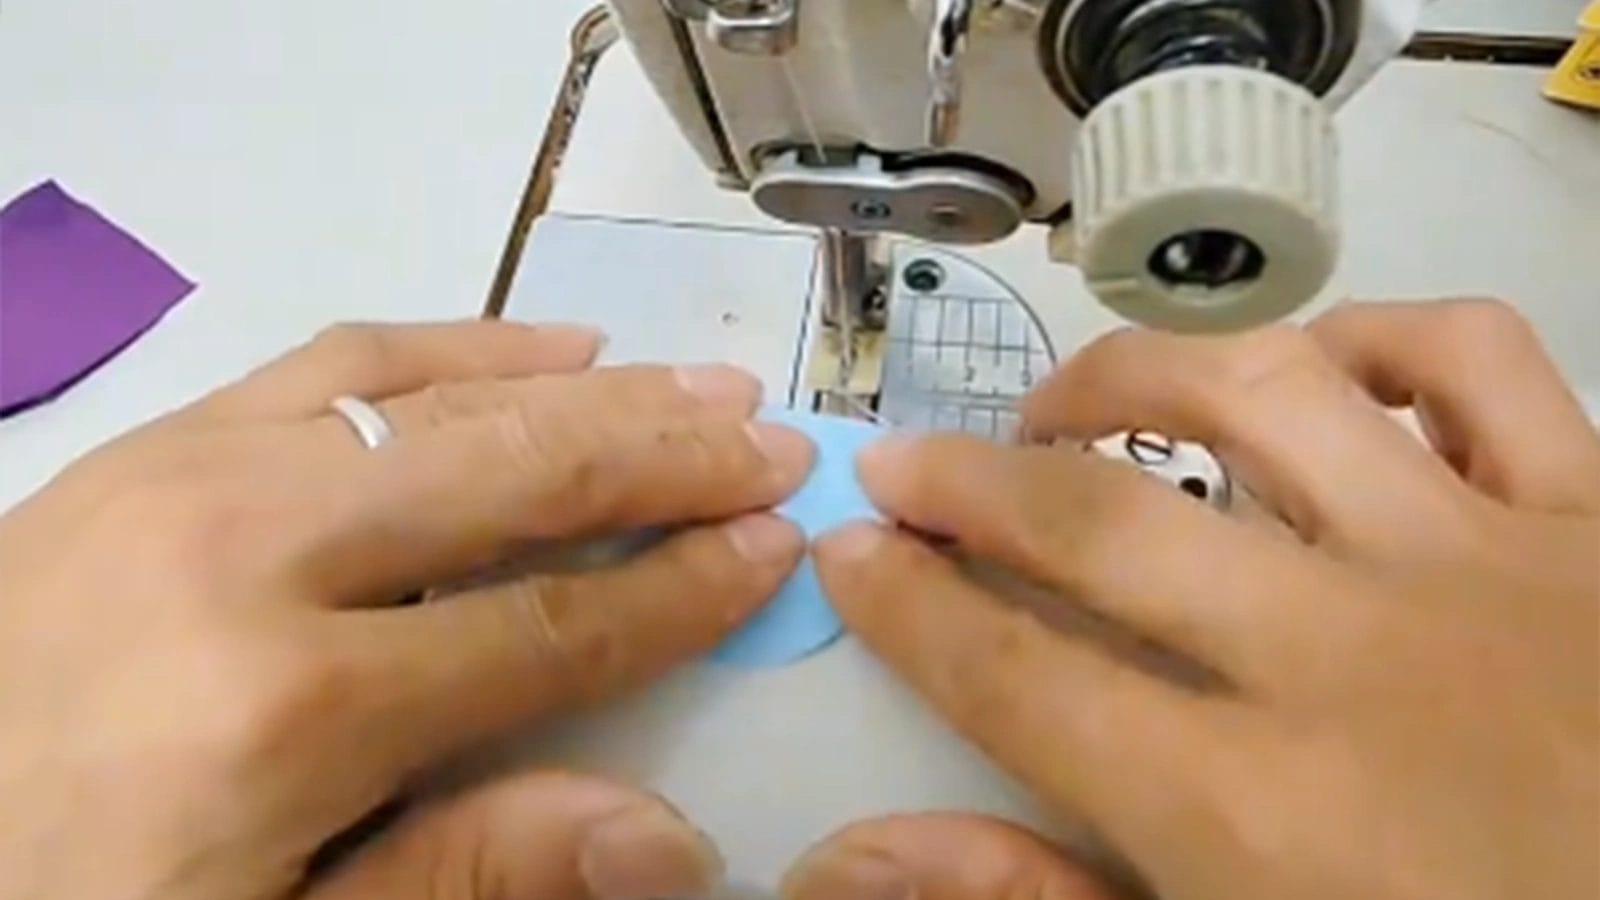 Now prepare to make some decorative floral petals for the collar. Cut small semicircular fabric pieces, resembling delicate petals, to create a whimsical embellishment for your braided neckline. These fabric petals will add a decorative element to your design, so choose fabrics that complement your braids.
Make sure they're small enough to fit comfortably between the braids. Consider experimenting with at least two colors to customize your look. You'll need multiple petals, so cut several pieces to scatter strategically along your braided neckline.
Step 5: Align two semicircular fabric pieces, stitch along the curved edge, trim the seams, and turn it to the front.
Now begin sewing the floral petals. Align two semicircular fabric pieces, carefully matching their curved edges to create a seamless, smooth shape. Next, stitch along the curved edge using a sewing machine or by hand, securing the pieces together. Trim the excess fabric from the seam allowance and ensure a smooth finish.
Finally, carefully turn it to the front side, forming the flower petals. Repeat this process to make more decorative petals.
Step 6: Sew two long strips of fabric in different colors.
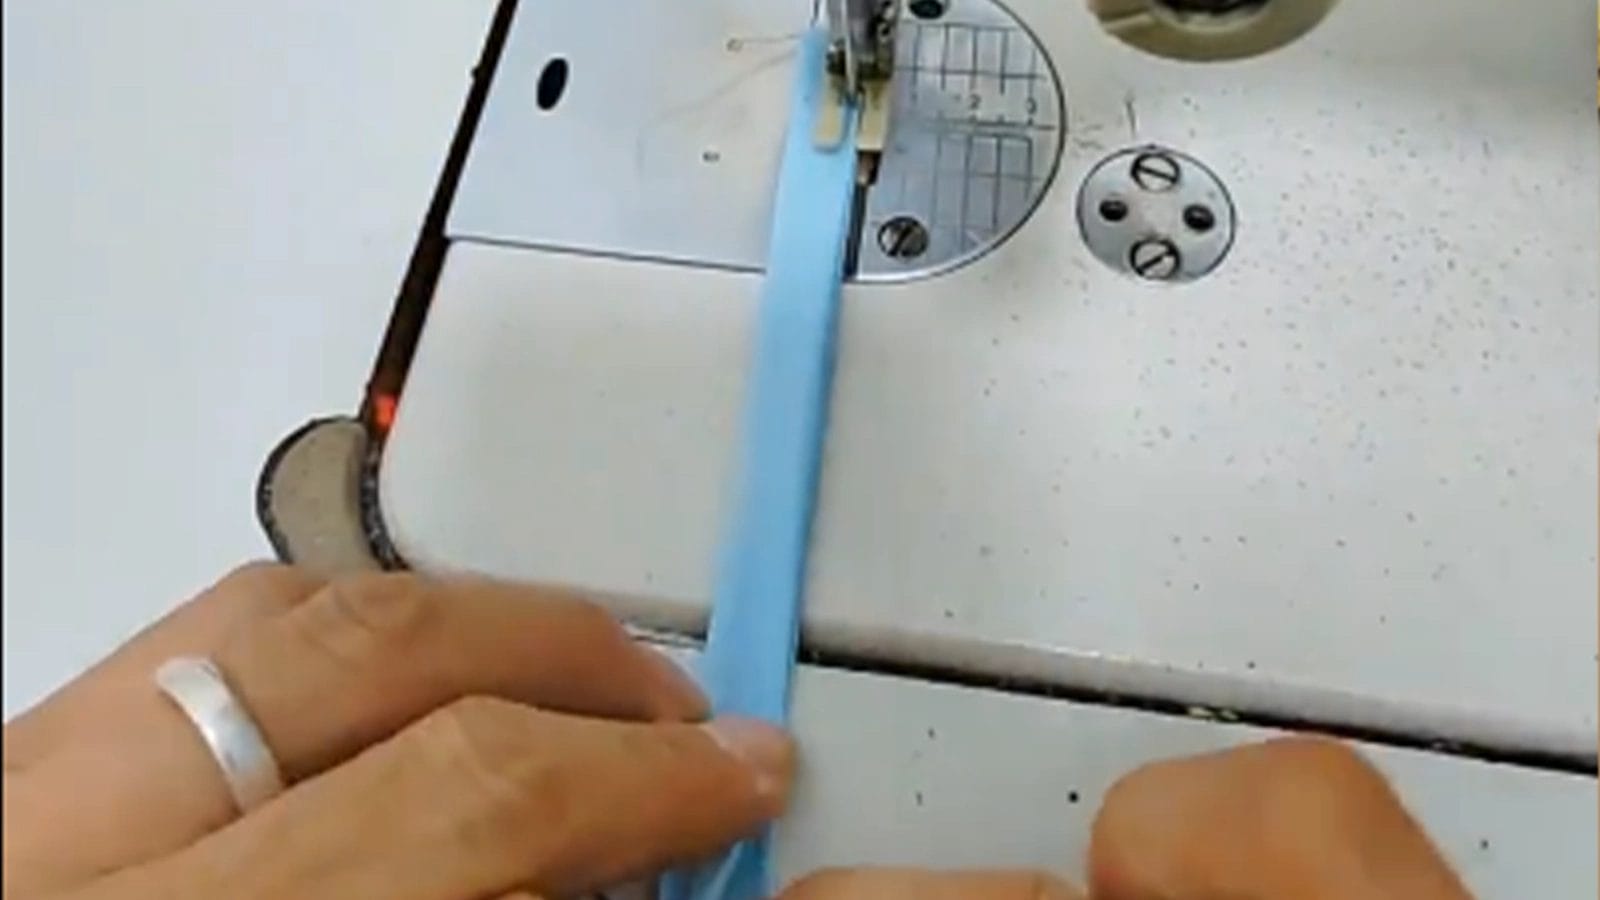 Take out two fabric strips with different colors and fold them into a tape. Then stitching it with a sewing machine. Now you have got the two pieces of fabric tape. You will use them to create a vibrant, braided neckline.
Step 7: Place the prepared petal fabric pieces under the collar patch and topstitch it to the neckline.
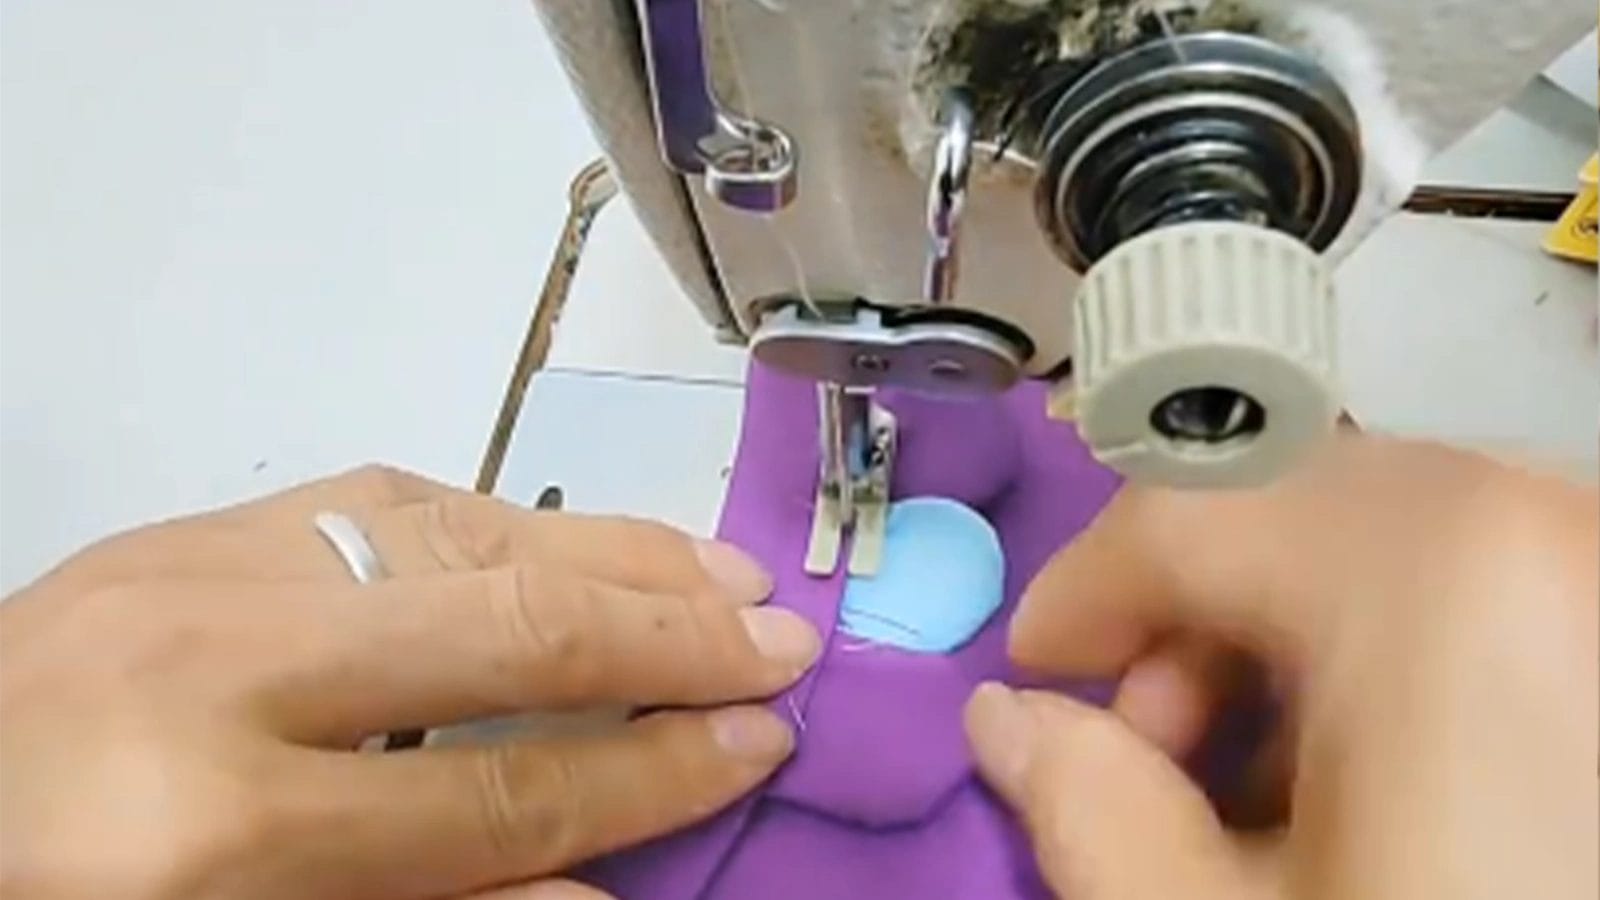 Put the fabric petal pieces under the collar patch, making sure they are evenly spaced and aligned smoothly for topstitching. Make sure they're securely positioned before stitching them to the neckline. To topstitch, use matching thread to maintain a seamless look. Take your time to ensure the petal fabric pieces are evenly spaced and aligned. Once you're satisfied with the placement, topstitch the petal fabric pieces to the collar patch, securing them in place.
Step 8: Put two long strips across each other, as if braiding hair, and stitch the strips at the same time.
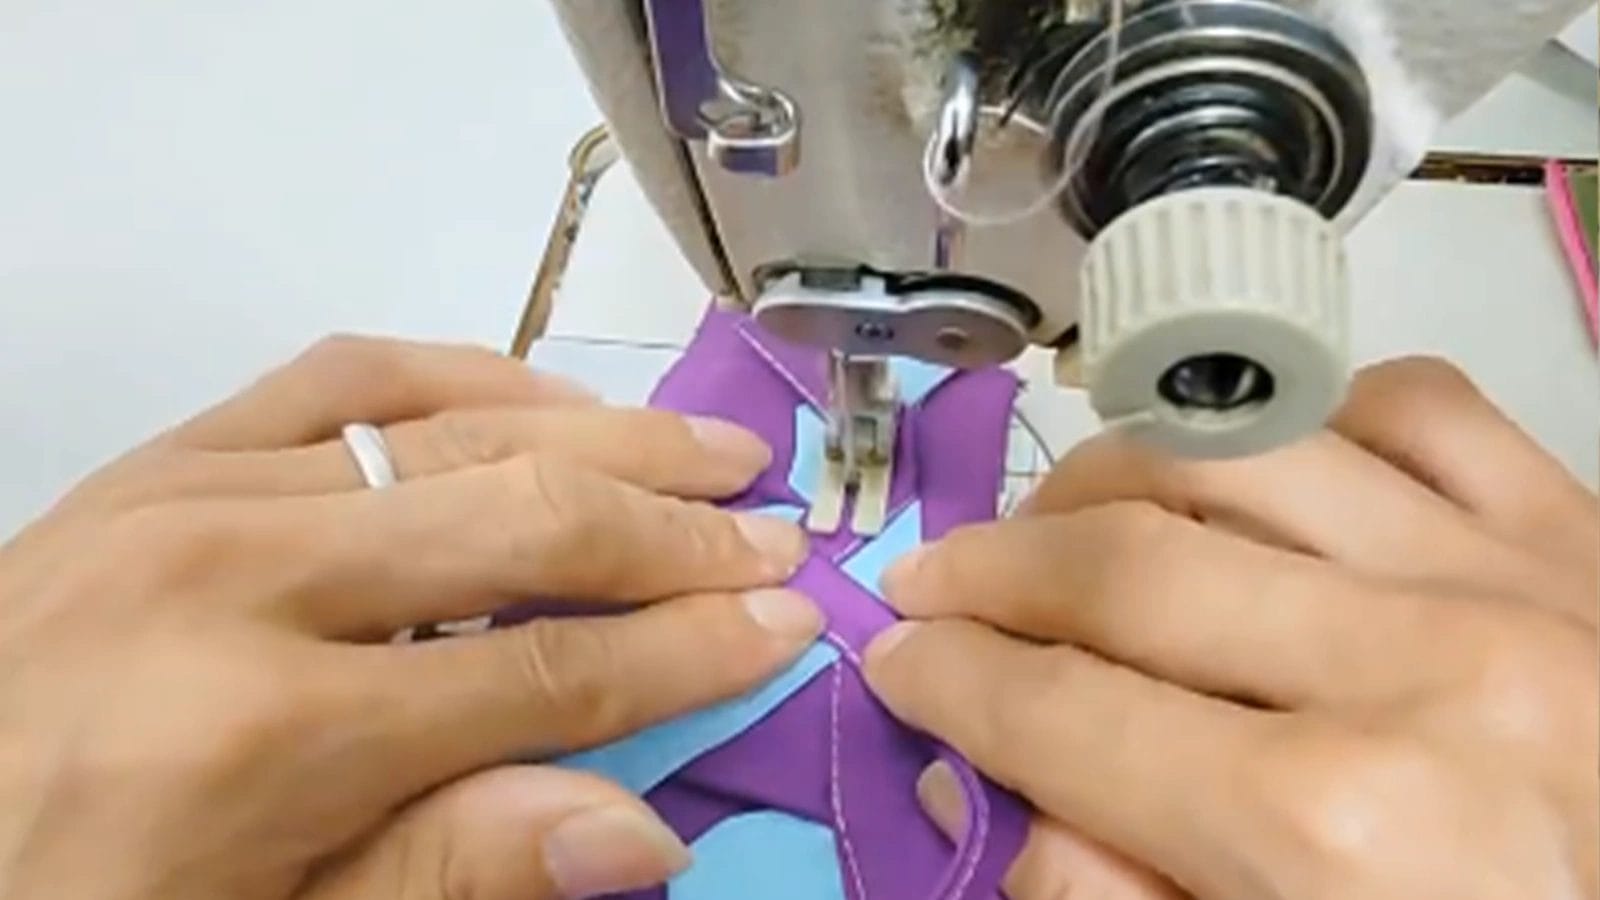 Cross two long fabric strips over each other to create a braided effect, similar to braiding hair. Place the two strips across each other, ensuring they're evenly positioned to maintain symmetry in the braided pattern. Then, using your sewing machine and matching thread, stitch the strips simultaneously to secure them in place. This intricate design will add a decorative touch to your shirt.
Step 9: When finished braiding two strips, trim the excess strips and the braided collar is complete.
Carefully trim the excess fabric, and your braided collar is finally complete. Make sure to trim evenly, ensuring a polished finish. The trimmed braided collar will contribute to the overall sleek appearance of your finished garment.
Conclusion
With every stitch, your braided neckline takes shape, a testament to your creativity and skill. You've transformed a simple shirt into a showstopper.
As you finish the final braid, step back, and admire your handiwork. The intricate design wraps elegantly around the neckline, a stunning fusion of fabric and artistry.
Your one-of-a-kind masterpiece is now ready to make a statement, turning heads and sparking conversations wherever it goes.
Learn more DIY projects from the Longan Craft Blog, and dive into the fabric world with Longancraft!
0 comments