
Sewing patterns can be intimidating for beginners, especially when it comes to deciphering the various symbols and markings. Understanding these symbols is crucial for successfully completing a sewing project.
In this article, we'll learn how to read sewing pattern symbols. Whether you're a beginner or a seasoned sewer, mastering these symbols will help you navigate your patterns with confidence and ease.
So grab your pattern, fabrics, and sewing supplies. Let's explore the world of sewing pattern symbols!
Key Takeaways
- Understand the grainline symbol for correct fabric alignment, ensuring proper drape and fit.
- Follow cutting lines precisely to shape the fabric according to the pattern.
- Align notches accurately to ensure seamless joining of garment pieces.
- Identify and follow stitching lines for correct sewing placement and garment assembly.
- For accurate construction, use the pattern key to interpret symbols like darts, pleats, and buttonholes.
How to Read Sewing Pattern Symbols
When you're reading sewing patterns, it's crucial to understand the basic symbols like grainlines and fold lines. These markings help you correctly align your fabric and ensure your pieces fit perfectly.
1. Grainlines
The grainline symbol is a double-ended arrow. It guides you to align your fabric correctly to ensure the garment's stability and proper drape. When you see this symbol, you should place the arrow parallel to the fabric's selvage. This alignment is crucial as it maintains the fabric's stability and ensures the garment hangs beautifully.
2. Fold Lines
Place the pattern's fold line along the fabric's fold to achieve symmetrical pieces in your sewing project. A double-ended bent arrow on the pattern piece typically represents the fold line. This symbol indicates exactly where the fabric should be folded to ensure both sides of your garment piece are mirror images of each other.
3. Cutting Lines
Identifying cutting lines on your sewing pattern is crucial for accurately shaping your fabric pieces. These cutting lines are typically represented by a solid line running along the edge of the pattern. They define where to cut your fabric to ensure your pattern pieces fit perfectly.
4. Stitching Lines
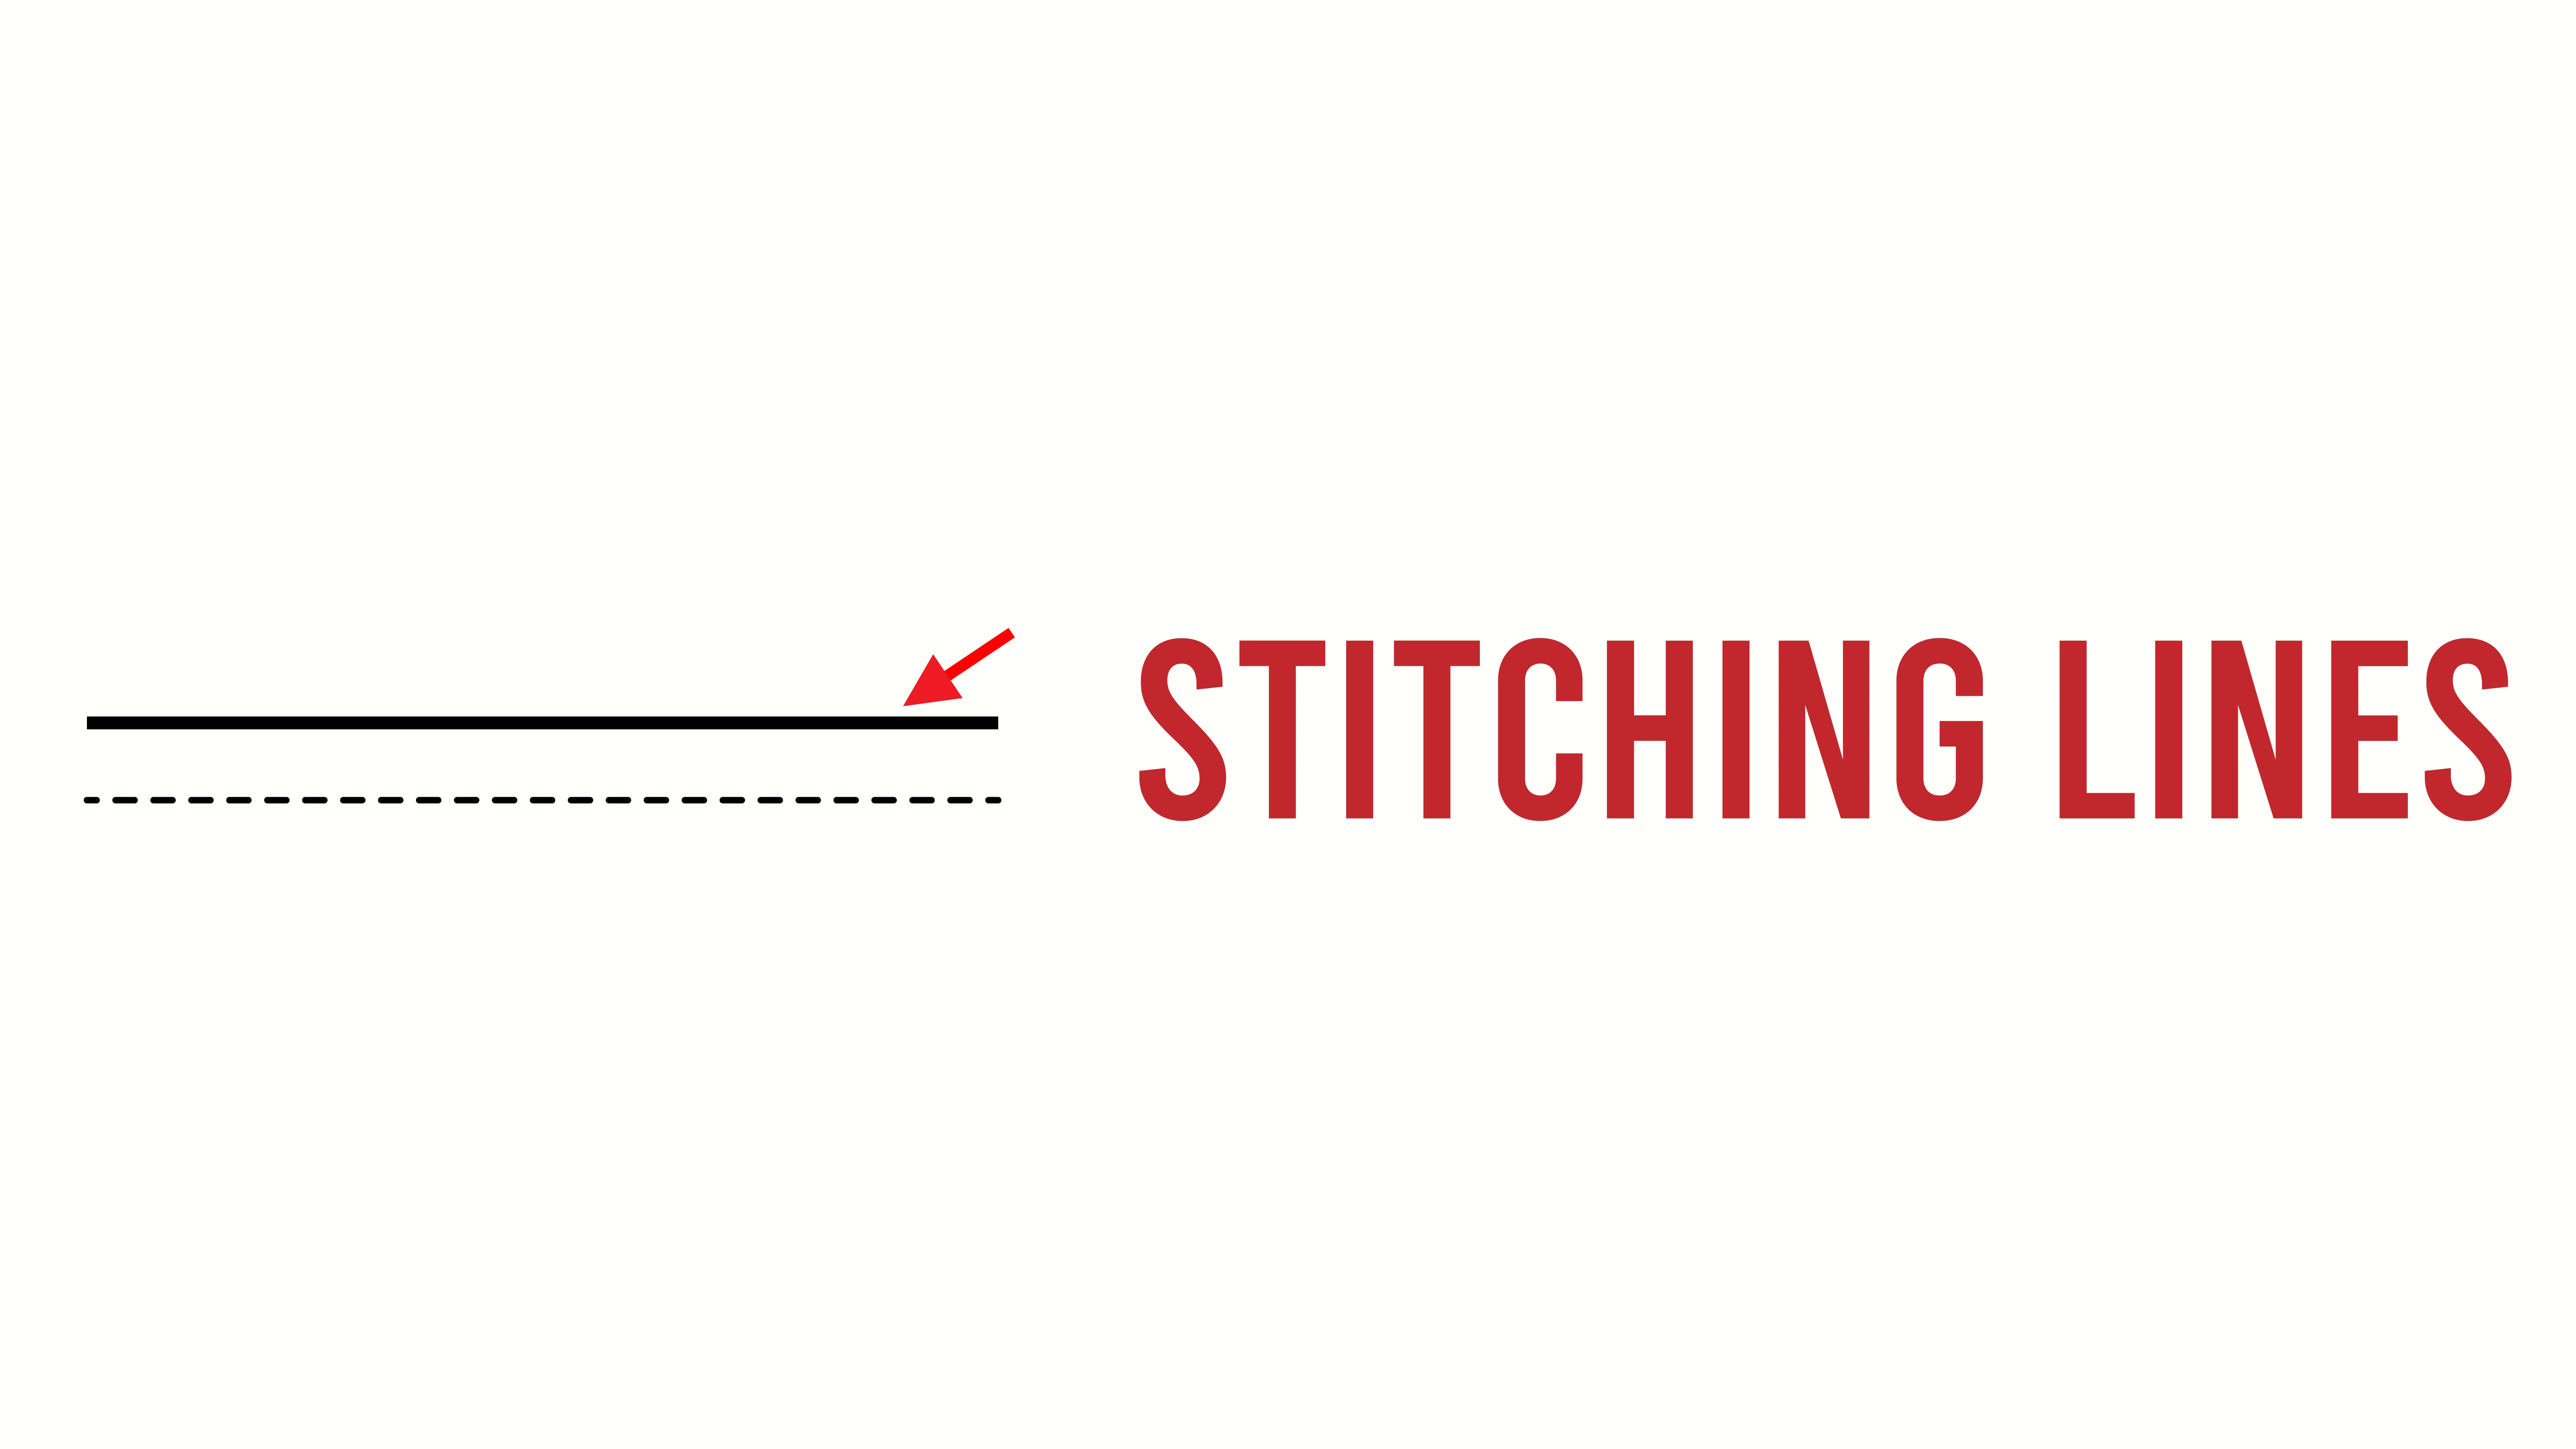
When you see dotted lines on your sewing pattern, they indicate where you should sew on the fabric. These stitching lines are crucial for the accurate construction of your garment.
5. Seam Allowance
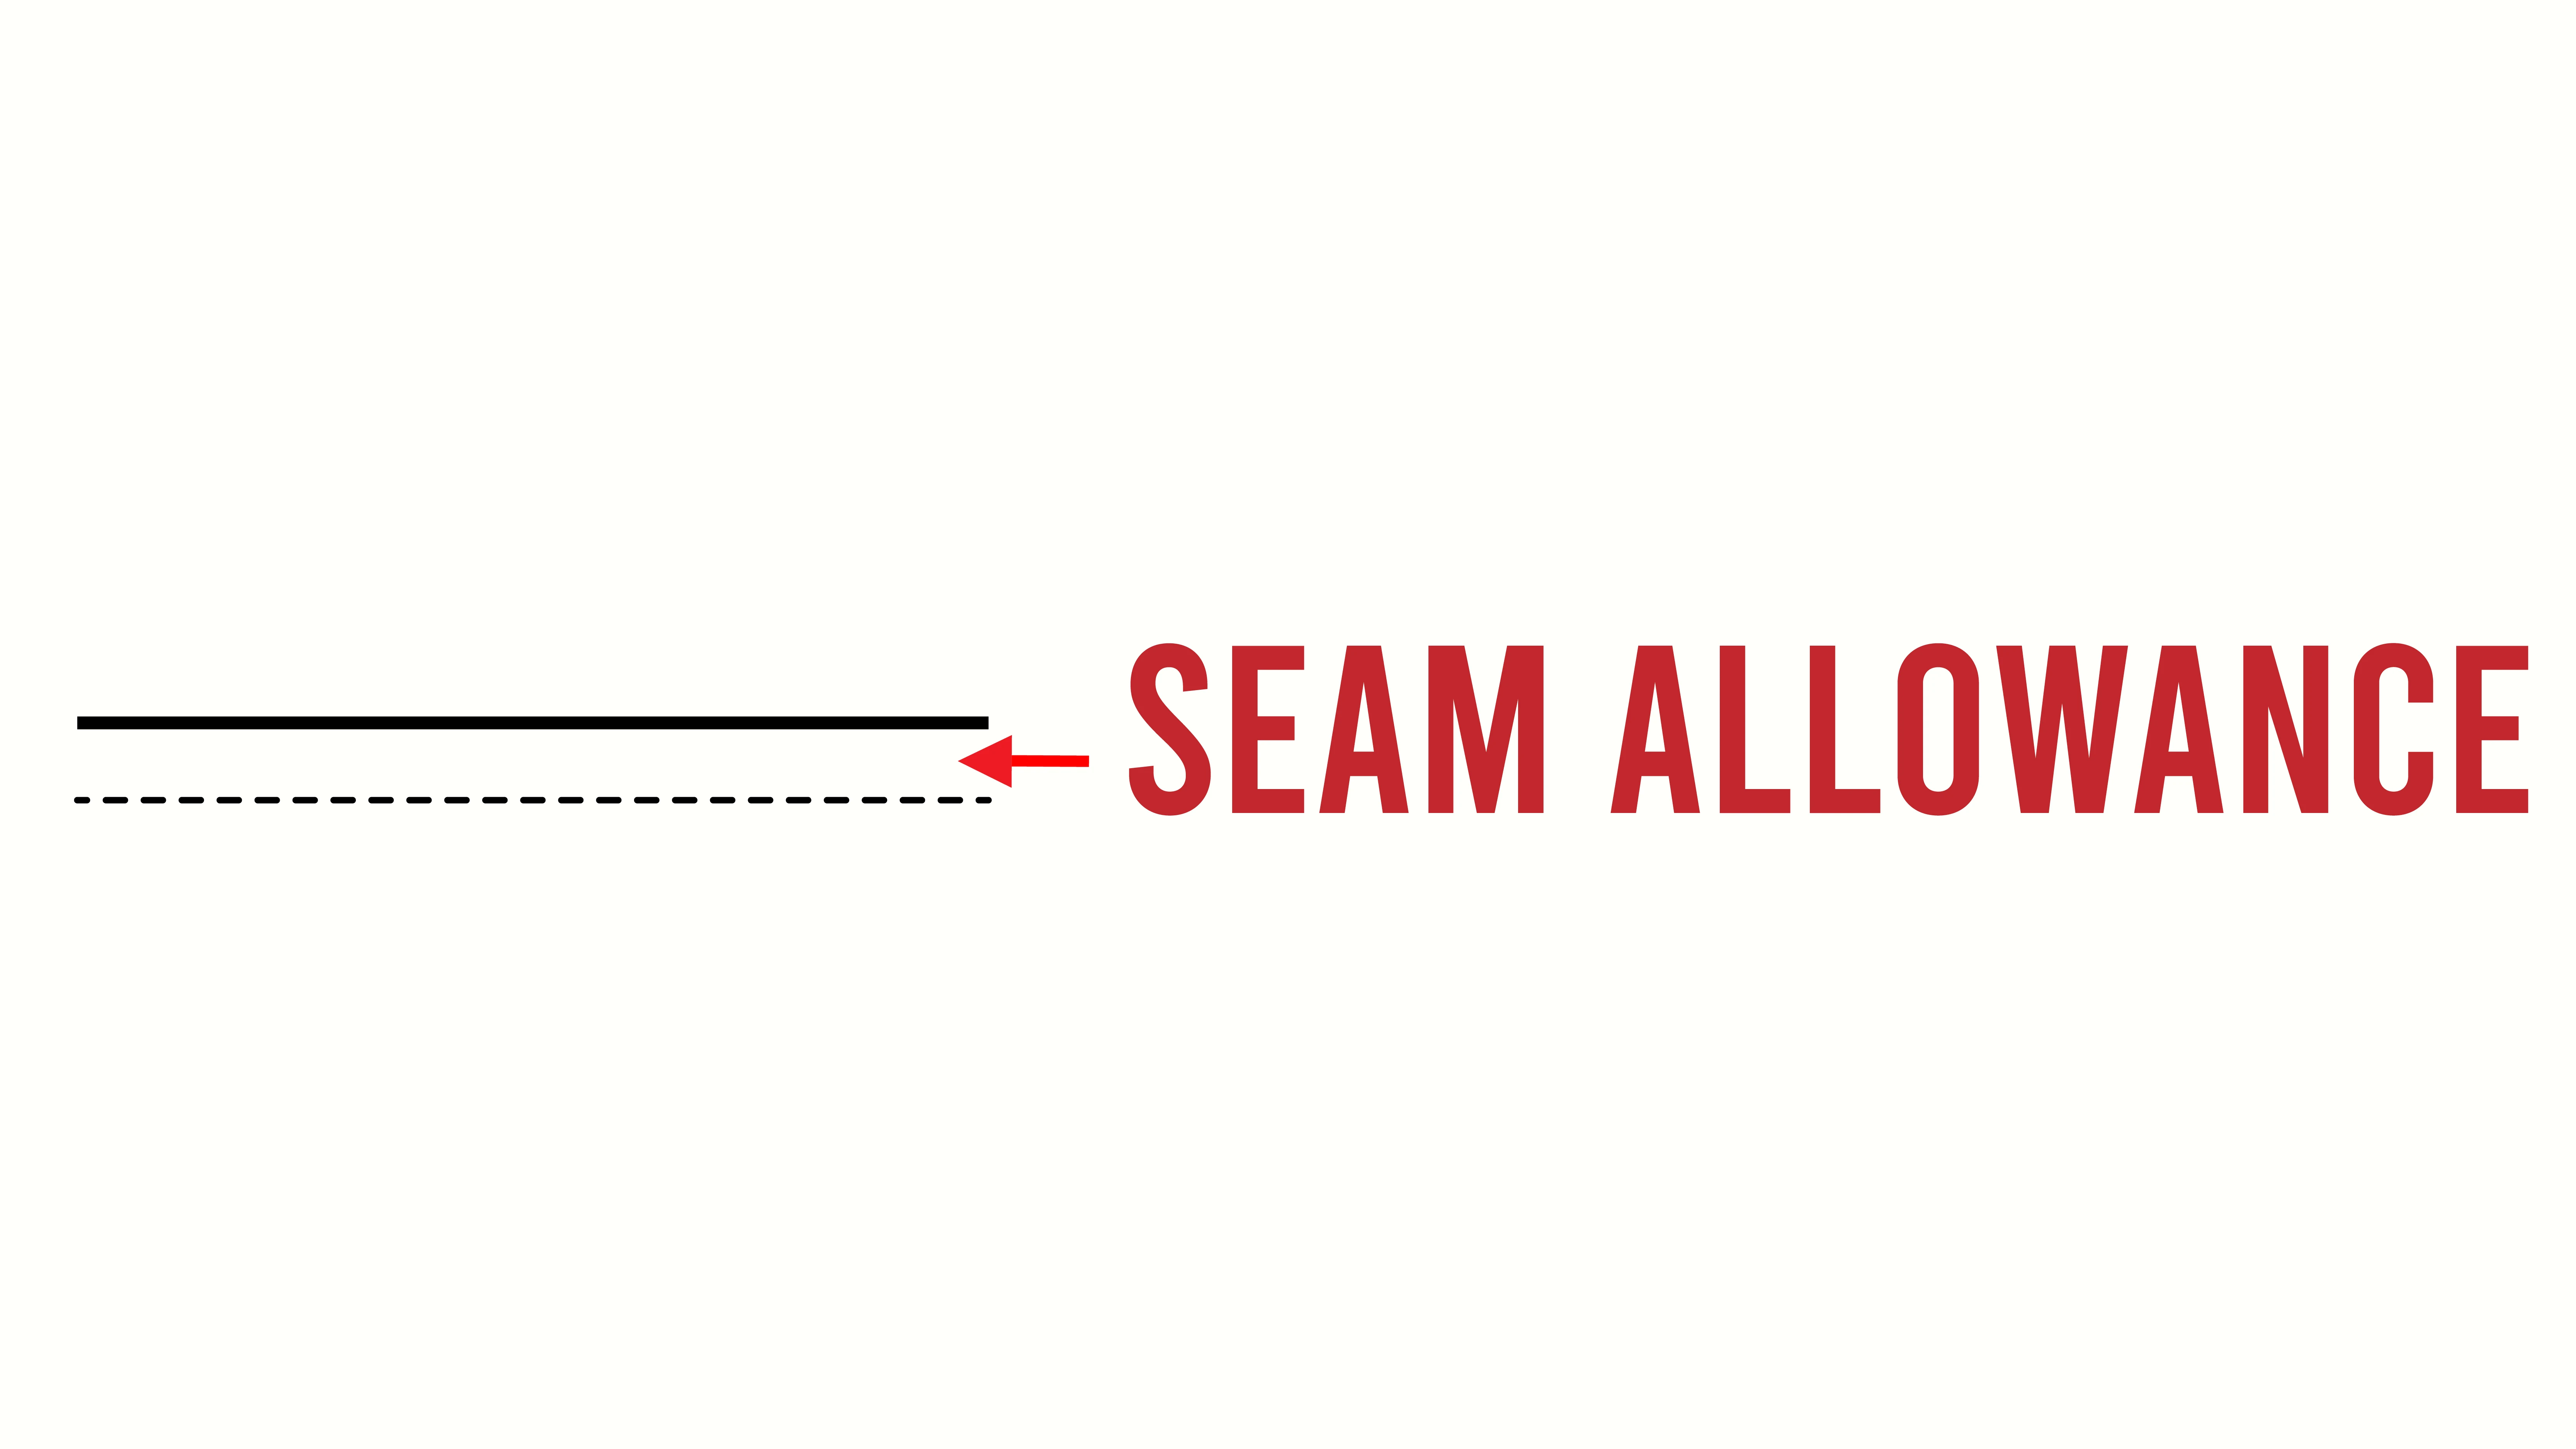
Recognizing seam allowance symbols ensures you leave the right amount of fabric beyond the stitch for a secure seam.
On your pattern, the stitching line is often represented by a dotted line, while the solid line marks the edge of the fabric. The space between these lines is your seam allowance, typically 5/8 of an inch. For delicate fabrics, you might see narrower allowances, like 1/4 inch. Special seam finishes, like French seams, also have specific symbols.
6. Lengthen and Shorten Lines
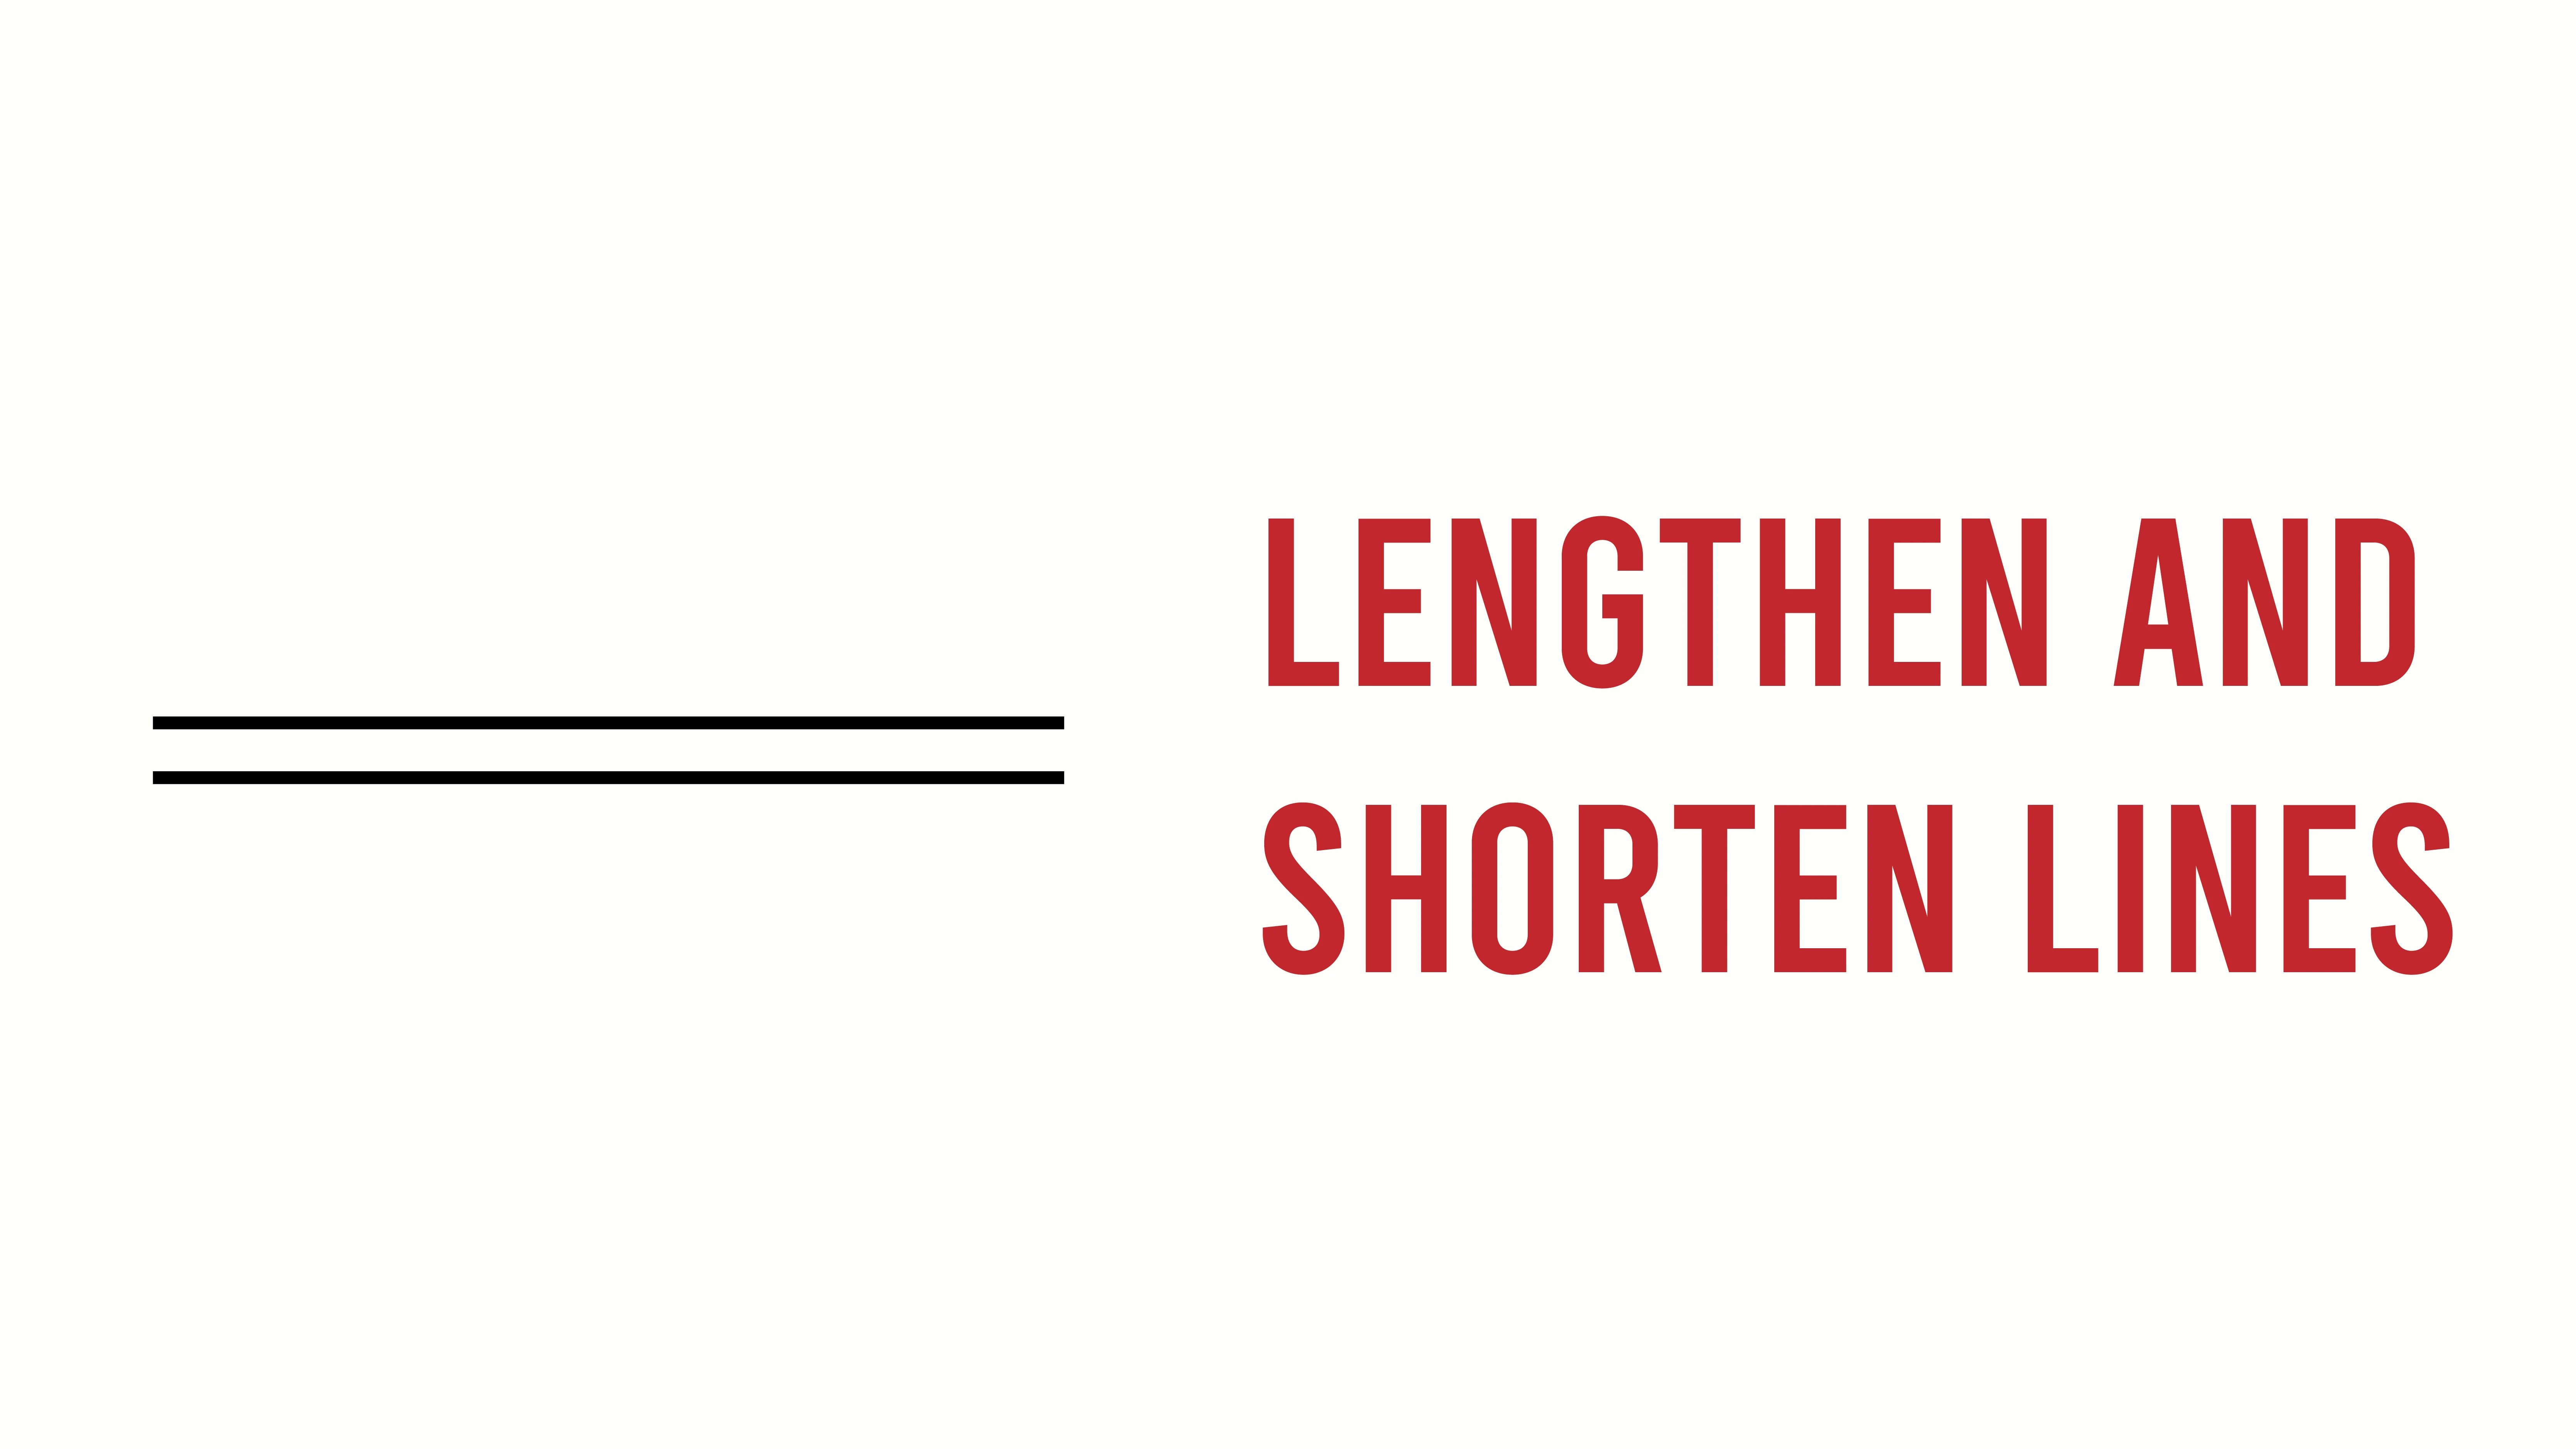
The lengthen and shorten lines show where a pattern piece can be adjusted to increase or decrease its length. This symbol consists of two parallel lines drawn perpendicular to the grain line on a pattern piece.
To lengthen a pattern, you would cut along the lengthen line and spread the pieces apart before adding extra paper to fill the gap. Conversely, to shorten the pattern, you would cut along the shorten line and overlap the pieces before securing them in place.
7. Notches

Notches, those small triangles or diamonds along pattern edges, are crucial for accurately aligning and matching garment pieces. Single notches mean the front of the pattern piece, while double notches signify the back.
8. Dots, Squares, and Triangles
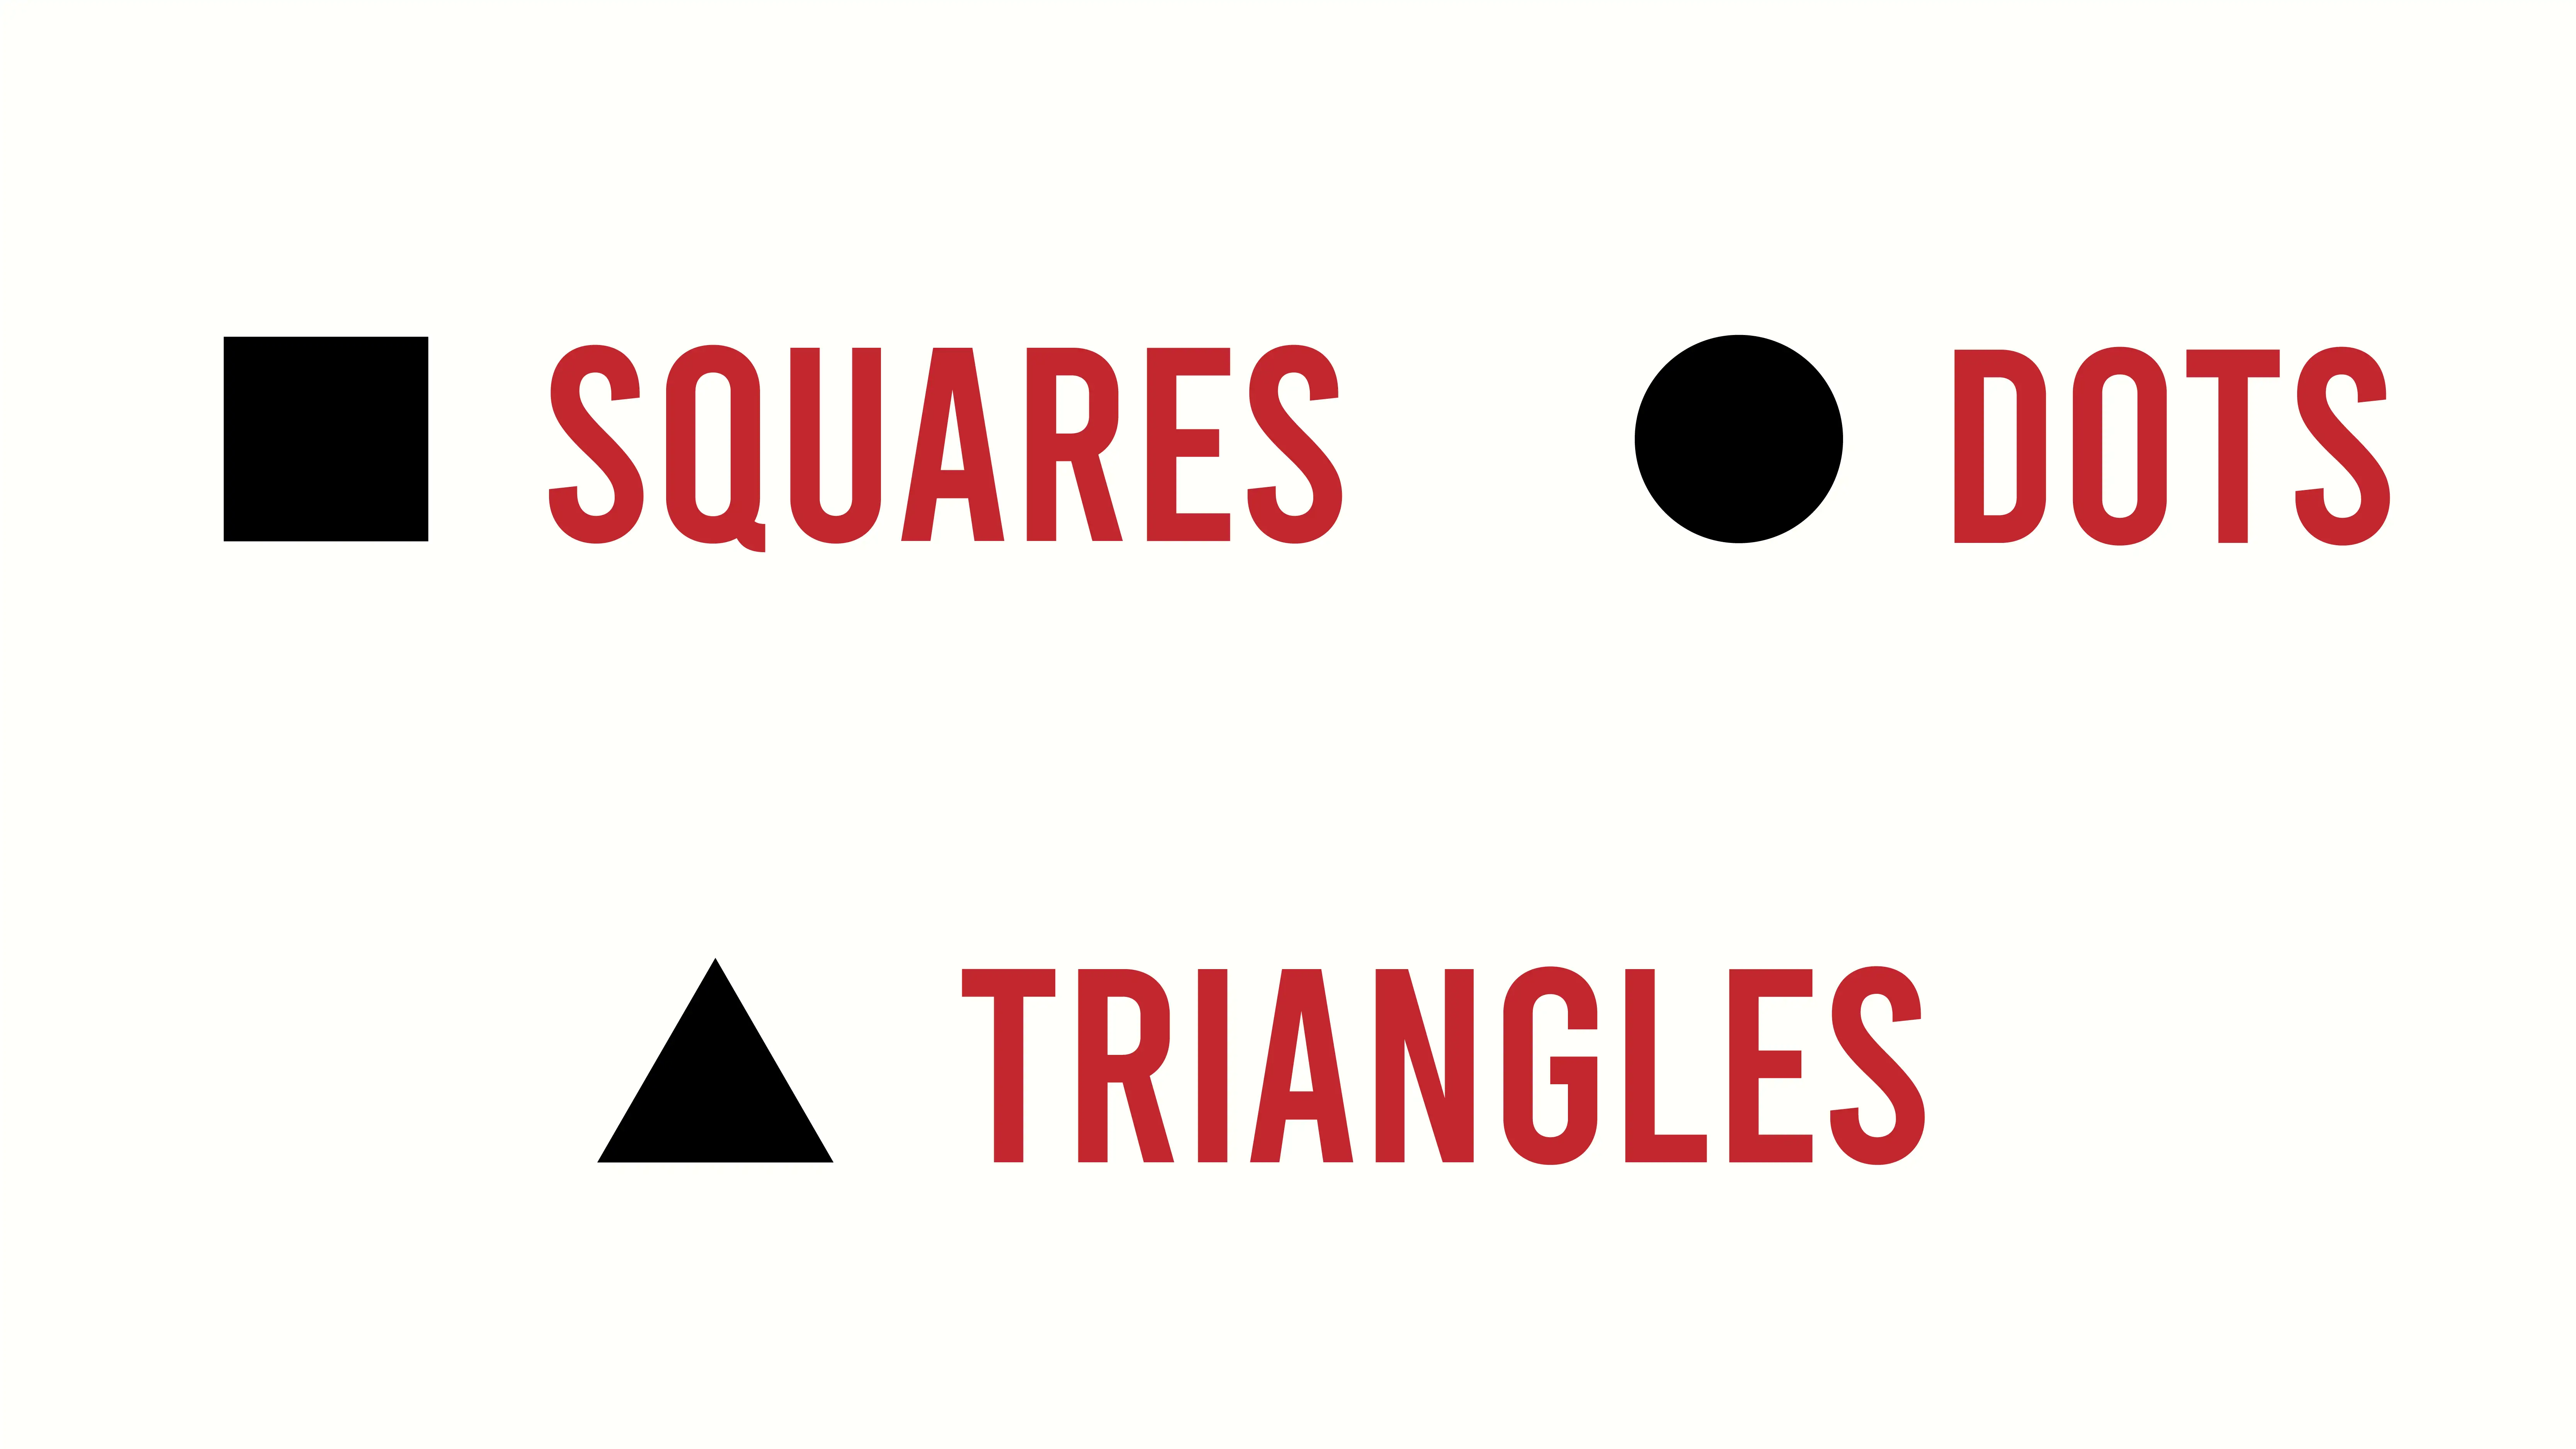
Dots, squares, and triangles guide you through the pattern assembly process, ensuring each piece aligns and fits perfectly.
In sewing patterns, dots mean match points for joining pieces during construction. You'll find these dots on connecting edges, helping you position fabric accurately.
Squares serve as key alignment symbols. They ensure proper assembly of garment sections, such as attaching sleeves to armholes.
Triangles, on the other hand, typically mark dart locations. They're crucial for shaping and fitting the fabric to the body's contours.
9. Gathers

Let's now explore gathers, indicated by either a straight line or a wavy line between two points. These symbols show where the fabric should be gathered. They're essential for creating fullness and dimension in your garment.
10. Pleats
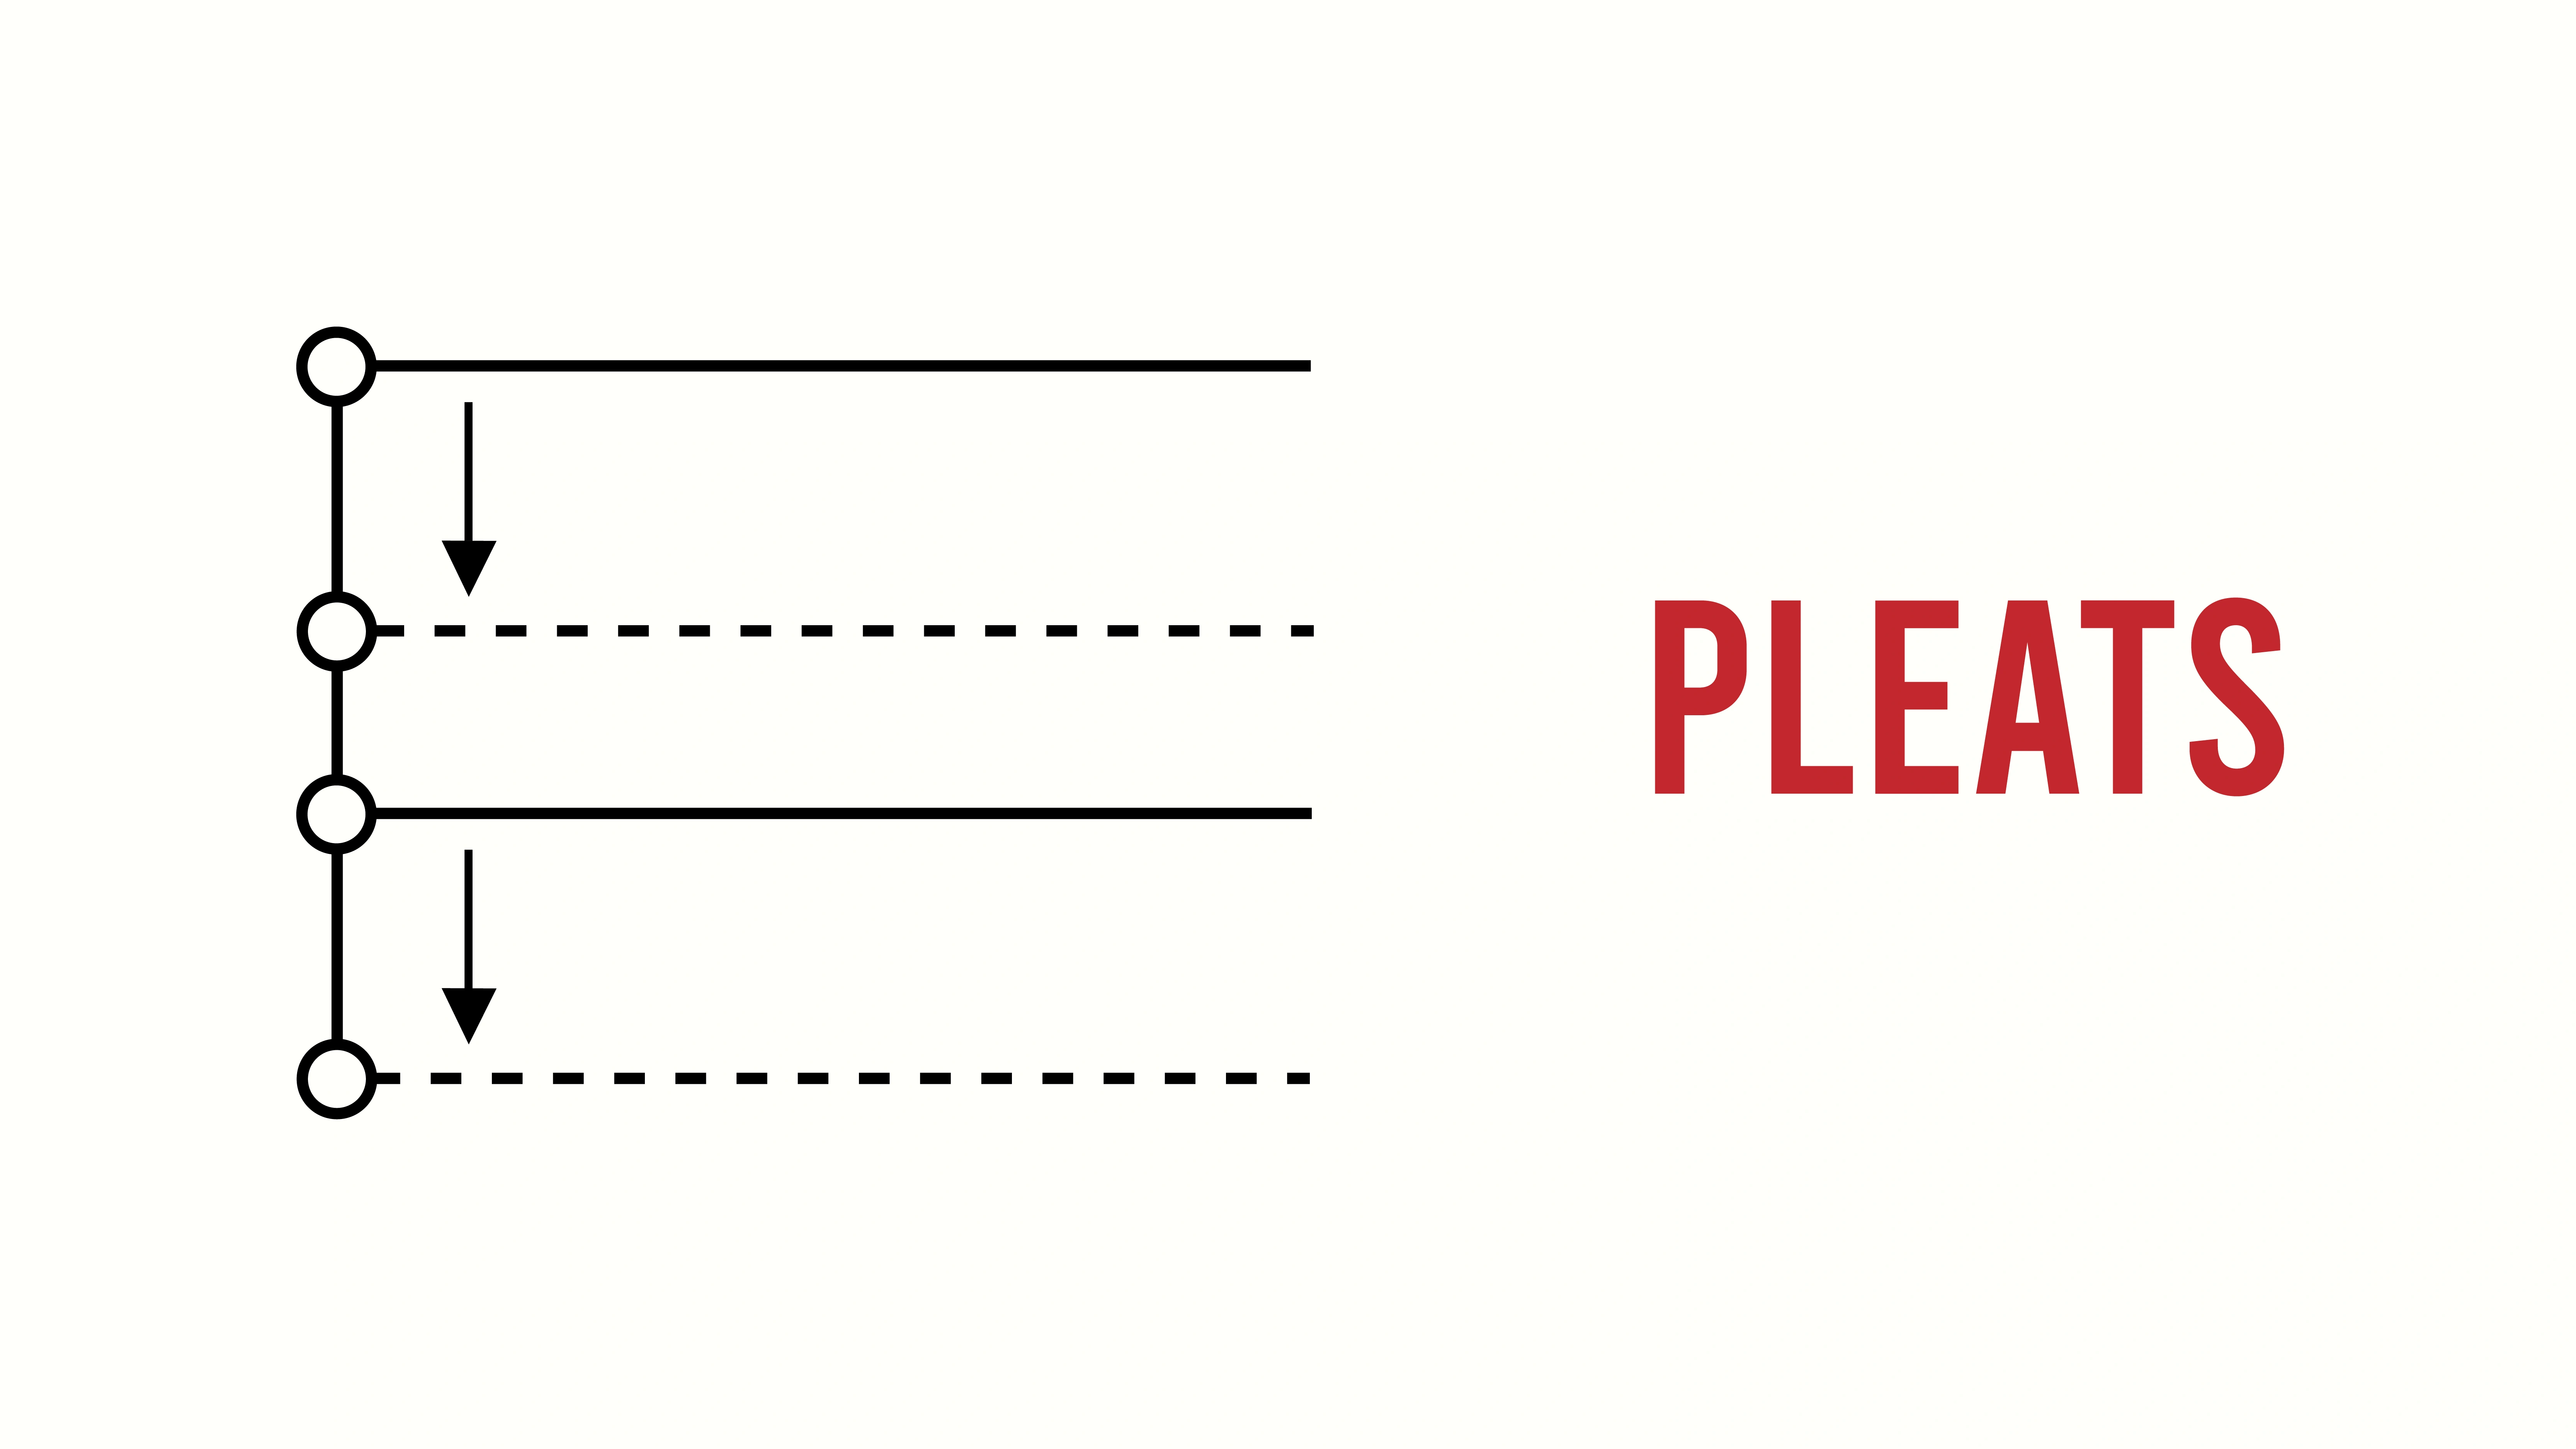
In sewing, pleats are a common technique used to add texture and shape to fabric. Typically, pleat symbols are represented by lines and arrows. Solid lines often show where the fabric should be folded, while arrows show the direction of the fold. Dotted or dashed lines might be used to mark the pleat placement on the fabric.
14. Zipper Placement
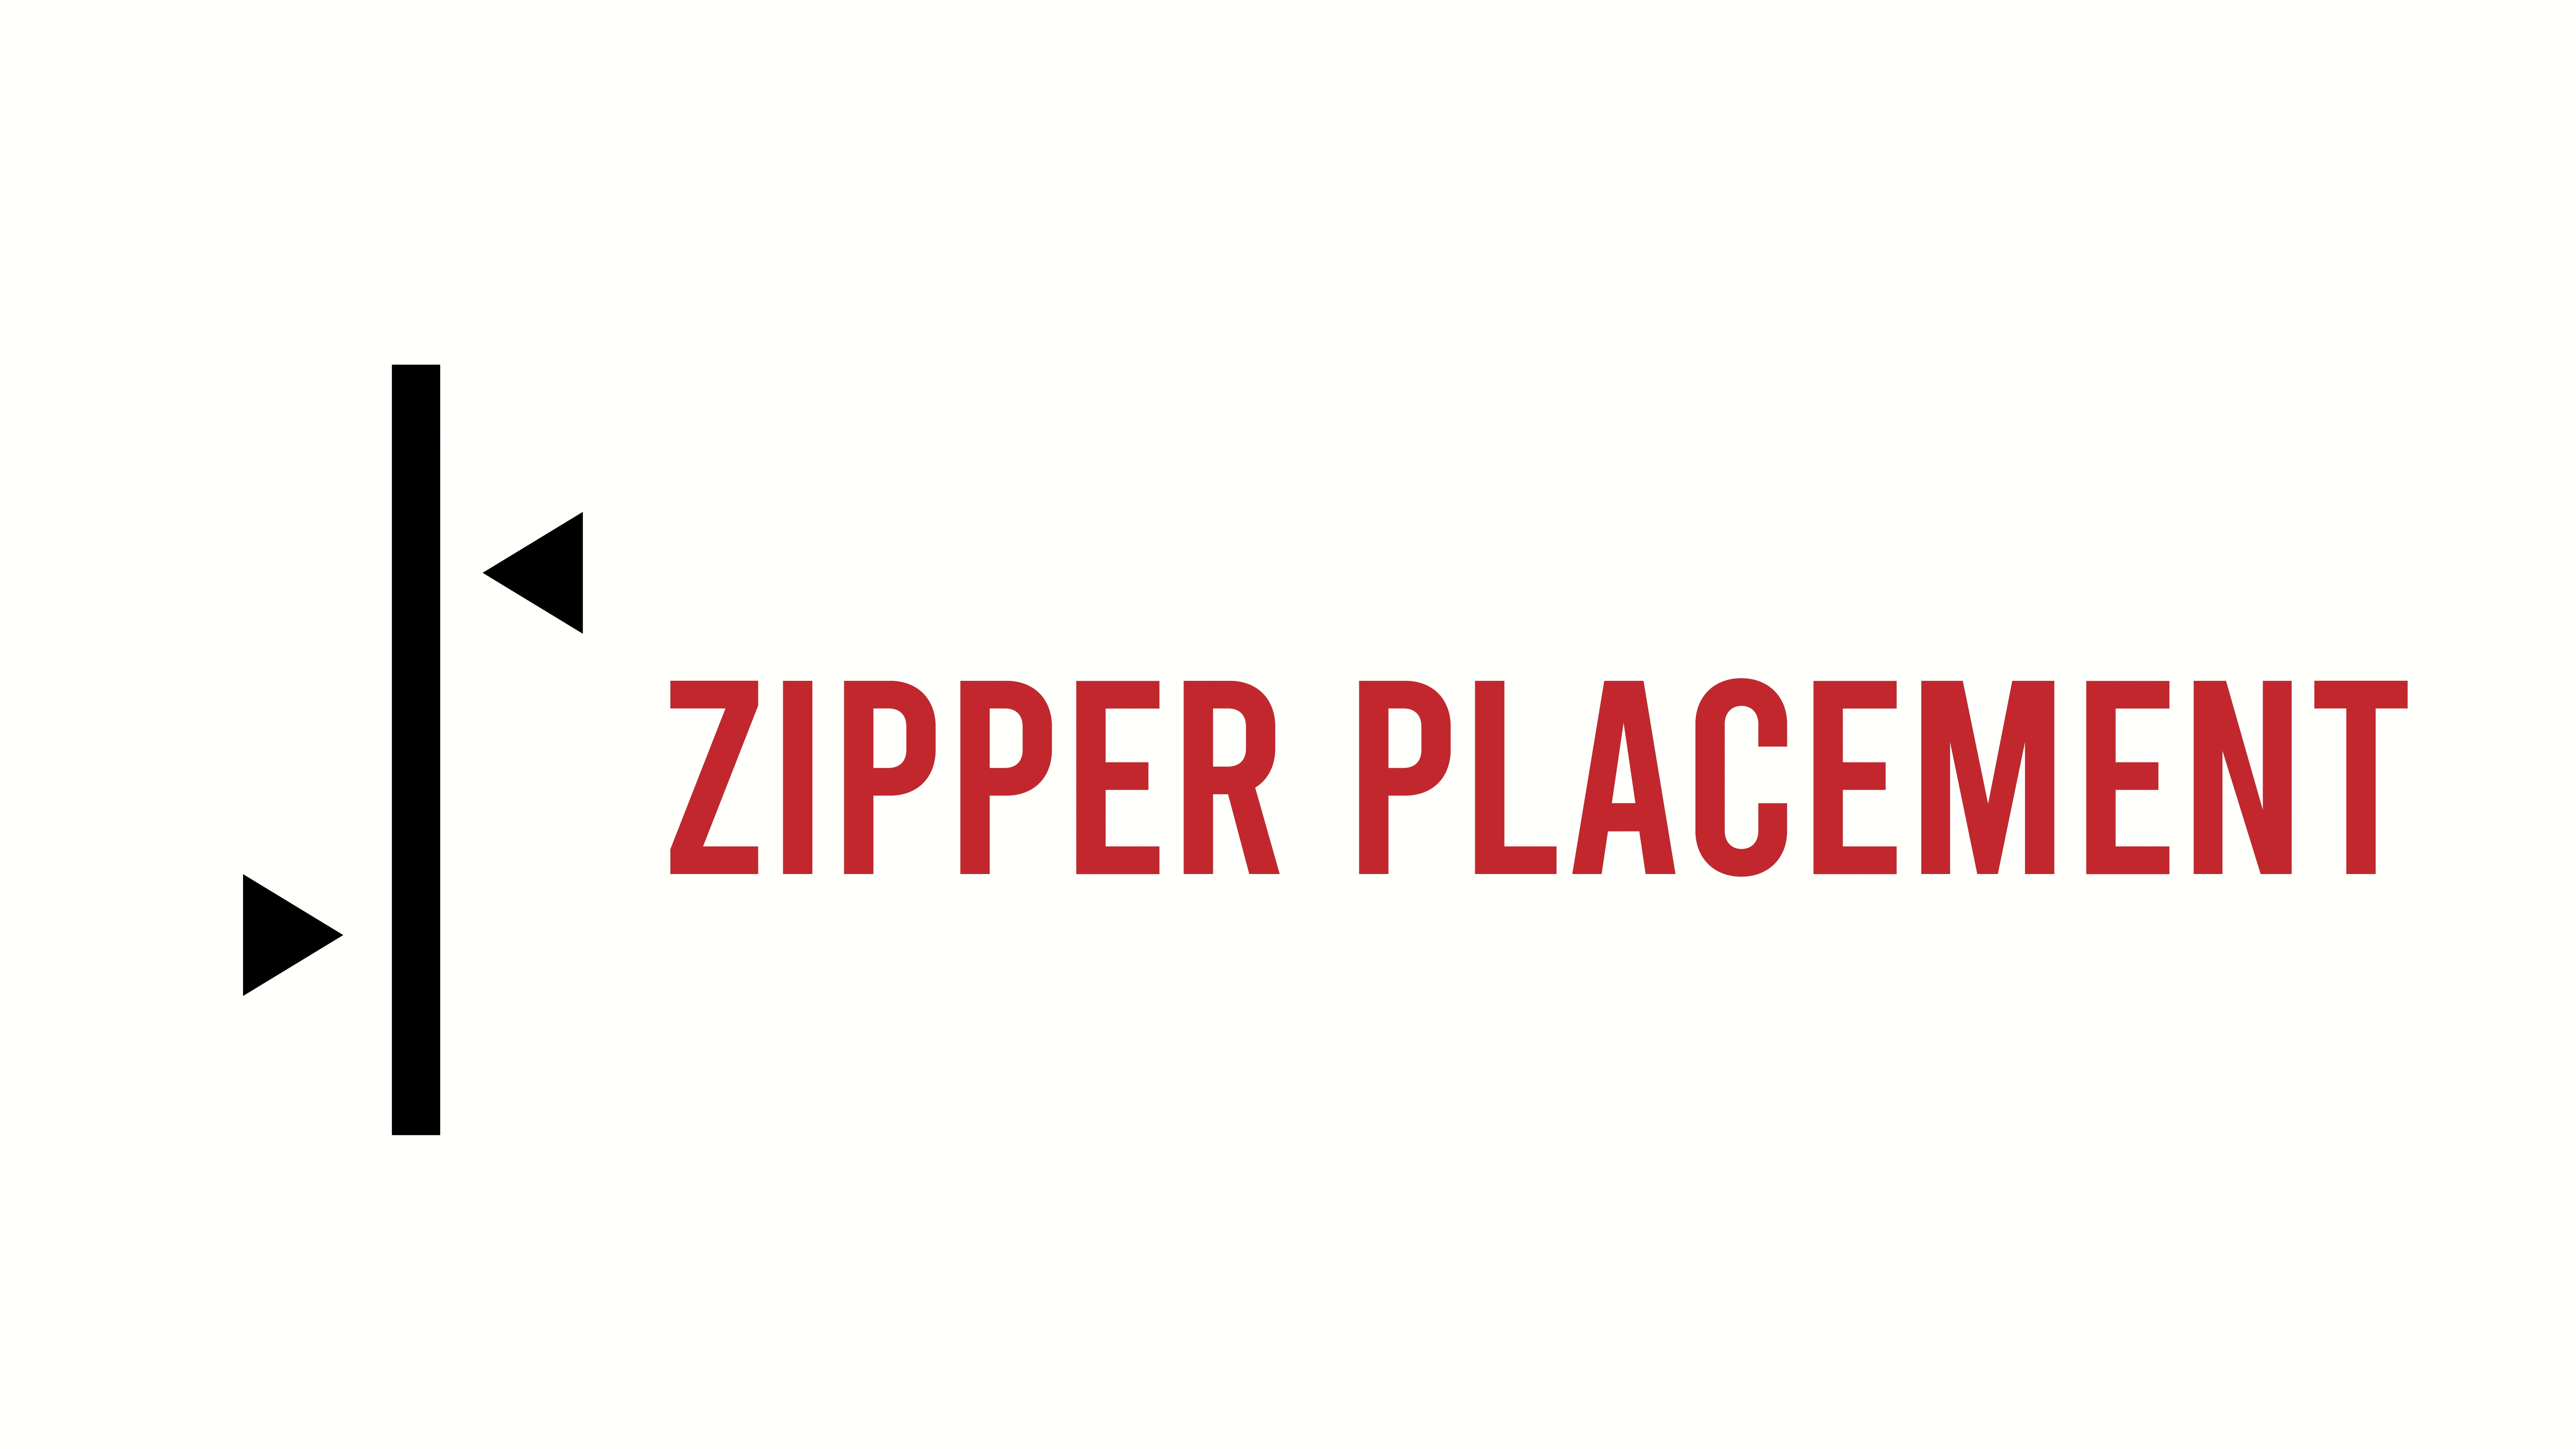
When sewing a zipper, understanding the placement symbols is crucial for achieving a professional look. These symbols guide you on where to position the zipper along the seam.
Typically, a long dashed line marks the zipper's placement on the fabric. A solid line indicates the stitching line where the zipper will be sewn. Additionally, small triangles or dots often denote the starting and stopping points for sewing the zipper.
Tips for Reading Sewing Pattern Symbols
First, practice reading a sewing pattern by working on simple projects first.
Helpful tools like magnifying glasses and sewing journals can make understanding symbols easier.
Be mindful of common mistakes, such as ignoring grain lines or misinterpreting notches, to ensure your projects turn out well.
How to Practice Reading Patterns
Starting with simple projects like a basic skirt or tote bag can help you practice reading sewing patterns effectively. To get comfortable, begin with a straightforward paper pattern.
Pay close attention to the symbols on a sewing pattern, such as grain lines, notches, and fold lines. These symbols are essential for reading pattern instructions correctly. Take your time to understand each symbol's meaning before cutting your fabric.
Referring to online tutorials or sewing books can provide extra guidance. For hands-on instruction, consider joining a sewing class or workshop.
Practicing these simple projects will build your confidence and skills in pattern reading, making more complex projects easier to tackle in the future.
Helpful Tools for Pattern Reading
A tracing wheel is great for transferring pattern symbols onto fabric without damaging the original pattern. Pair it with a fabric marker to highlight important symbols for easy reference.
A clear ruler is essential for measuring and marking pattern lines precisely. It ensures accuracy in your work.
Keep a seam gauge handy to maintain consistent seam allowances. This is crucial for well-fitting garments.
These tools will help you navigate pattern symbols effortlessly, making your sewing experience more enjoyable and successful.
Common Mistakes to Avoid
Many beginners do not pay close attention to the grainline, leading to poorly fitting garments. Always align the grain line with the fabric's weave to ensure the garment hangs correctly.
Another common error is confusing grain lines with fold lines, which can result in misaligned pieces. Pay close attention to pattern markings and carefully cut on fold lines when indicated.
Ignoring cut notches can lead to mismatched seams, so match them precisely. Darts are crucial for shaping. Don't overlook them; they add the necessary contour to your garment.
Lastly, always reference the pattern key or legend to avoid misinterpreting symbols. By focusing on these details, you'll avoid common pitfalls and create well-fitting, professional-looking garments.
Final Words
Mastering these sewing symbols, you'll elevate your sewing skills and achieve polished, professional results.
Familiarize yourself with basic symbols like grainlines, notches, and cutting lines. Pay close attention to details such as fold lines, stitching lines, and seam allowances.
Practice with simple projects and use tools like magnifying glasses for clarity.
Don't hesitate to refer to tutorials or take classes for extra guidance.
With practice, you'll confidently interpret patterns and create beautiful garments.
Learn more sewing tips on the Longan Craft Blog, and dive into the fabric world with Longancraft!
0 comments