

Setting up your sewing machine doesn’t have to feel overwhelming. With the right approach, you can make this task enjoyable and help you start your creative journey. Proper machine setup ensures smooth stitching and enables you to avoid frustrating interruptions.
Whether you’re using a beginner machine or a more advanced model, understanding how to set up a sewing machine is key. This guide will walk you through the essentials so you can focus on what matters most—your sewing projects.
Key Takeaways
- Unpack, place, and assemble your sewing machine, ensuring all parts are correctly identified and secured.
- Thread your machine carefully by following the specific path in your manual.
- Use modern machine features, such as built-in stitches and automatic needle threaders.
- After setting up your machine, test it thoroughly by sewing on scrap fabric to check for even stitches and a proper bobbin thread catch.
Gather Your Materials
Before you use a sewing machine, make sure you have everything you need:
- Sewing Machine: Ensure it is in good working condition and includes necessary attachments.
- Sewing Machine Manual: It provides specific instructions tailored to your machine model.
- Power Cord and Foot Pedal: These are essential to power the machine and control the speed.
- Needles: Different projects require different needle types and sizes. Make sure you have a variety of options.
- Thread: Choose threads that are suitable for your fabric and project. Keep a selection of colors and types on hand.
- Bobbin: Have extra bobbins, wound with thread matching your project.
- Fabric for Testing: Obtain the fabric you plan to use for your sewing project.
- Scissors or Thread Snips: For cutting thread.
- Cleaning Brush or Cloth: Use a small cleaning brush or cloth to wipe down your machine before setup.
How to Set Up a Sewing Machine for Beginners
Preparing your machine is key to ensuring a smooth and enjoyable sewing experience. Let's explore the detailed process.
Step 1: Unpack and Identify Parts
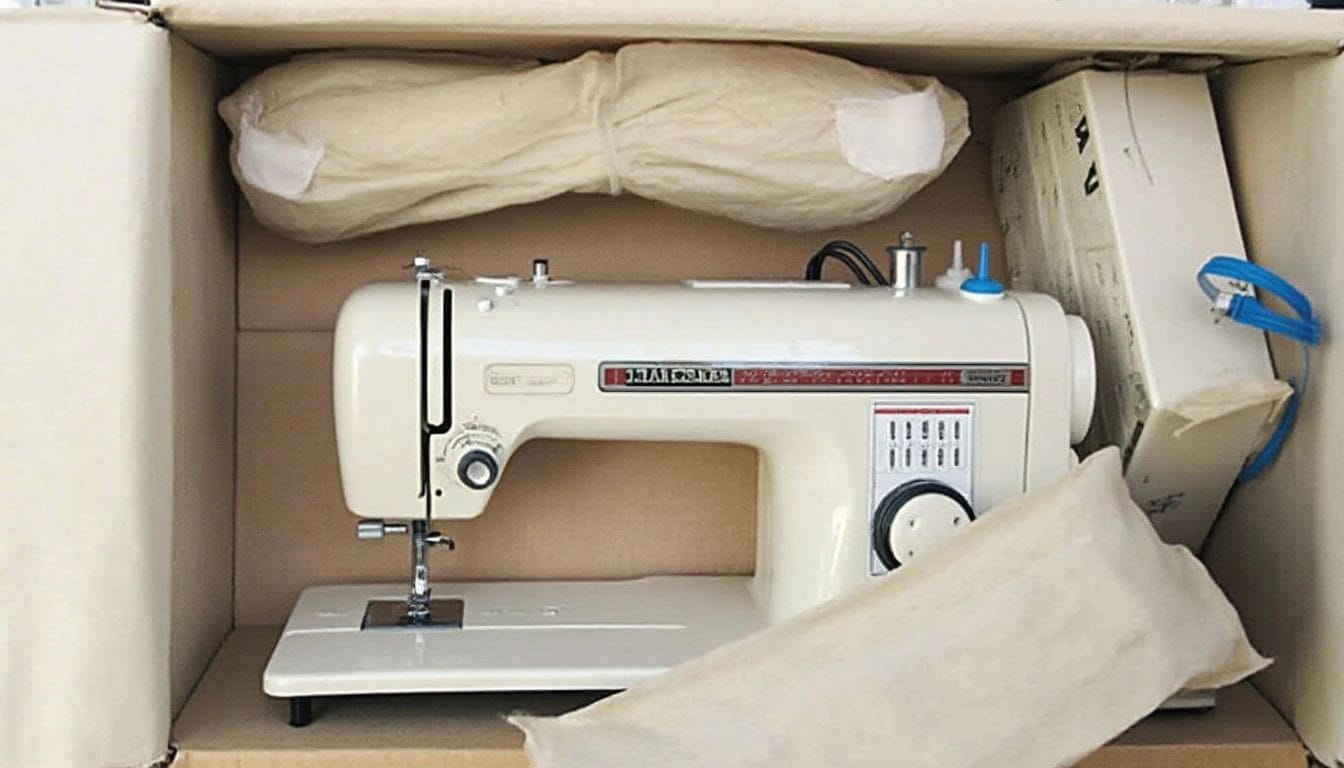
Unboxing your machine is the first step in this exciting process. Carefully open the box and remove all items. Look for the main machine, power cord, foot pedal, and any included accessories, such as bobbins, needles, or a spool holder.
Check the packaging for a sewing machine manual. This guide will be your go-to resource for understanding your specific model.
Take a moment to inspect each part. Getting to know your machine now will make the rest of the setup much easier.
Step 2: Place the Machine
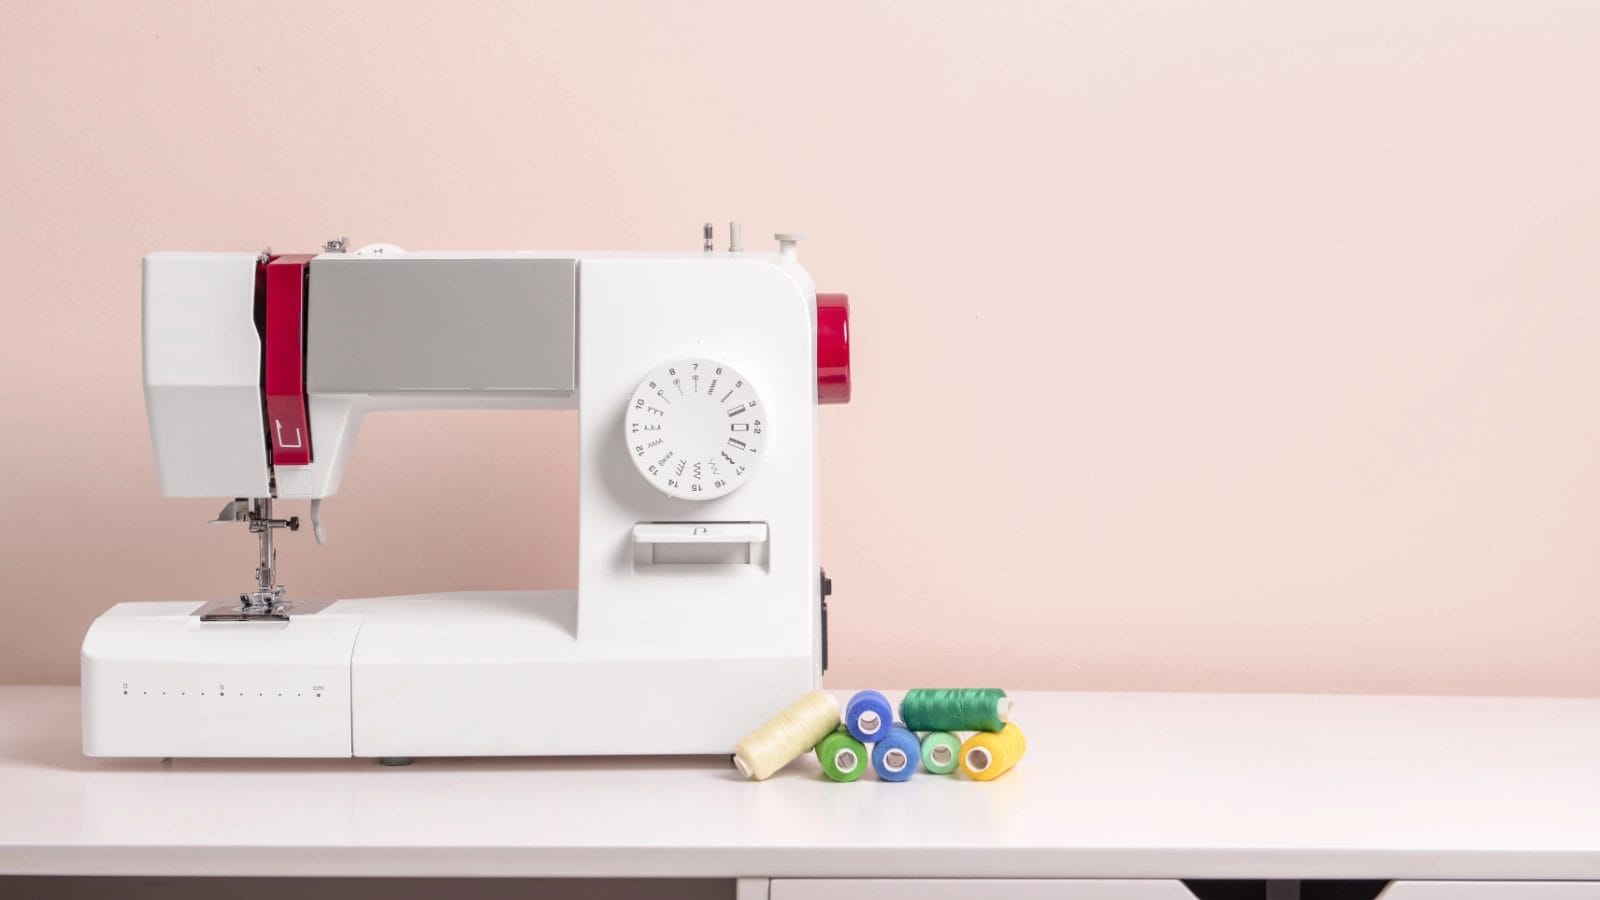
Choose a sturdy, well-lit workspace for your machine. A flat table or desk works best. Position the machine so it’s stable and doesn’t wobble. Ensure there’s enough room around it for your fabric and tools.
Step 3: Assemble the Machine
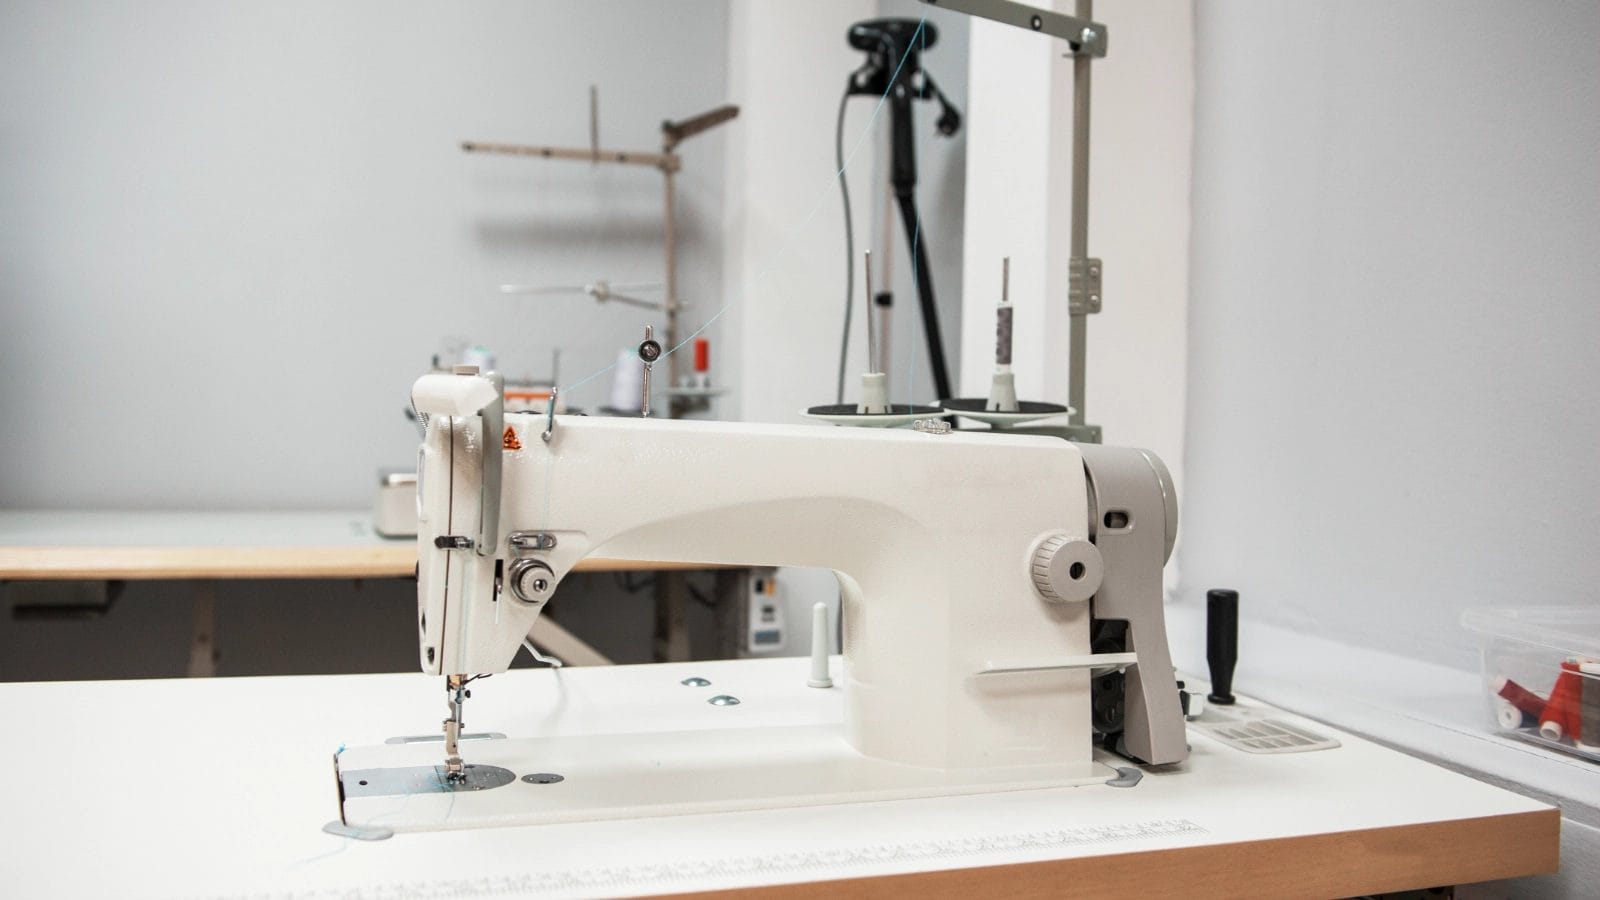
Now, it’s time to assemble your machine. Start by attaching the spool holder if your machine requires one. This keeps the thread spool secure during sewing.
Next, connect the power cord to the machine and plug it into the outlet. Attach the foot pedal to the designated port.
Check the presser foot. If it’s not already attached, slide it into place under the needle and make sure it’s secure.
Insert a needle into the needle clamp, ensuring the flat side faces the correct direction (refer to your manual for guidance). Tighten the clamp screw to hold the needle firmly.
Finally, wind the bobbin if it's empty. Place the bobbin on the winder spindle, thread it according to your machine’s guide, and press the foot pedal to wind the thread evenly. Once done, insert the bobbin into the case and ensure it’s seated correctly.
Step 4: Thread the Machine
Threading the machine is a crucial step in your sewing machine setup. Follow this guide to ensure smooth stitching.
-
Place the Thread Spool
Start by placing your spool of thread on the spool holder. If your machine has a horizontal spool pin, secure it with a cap to keep it steady. For vertical spool pins, slide the spool into place. -
Run the Thread Through the Thread Guide
Pull the thread from the spool and guide it through the thread guide at the top of your machine. This ensures the thread flows smoothly during sewing. -
Follow the Thread Path
Check your machine manual for the exact threading path. Most machines have arrows or diagrams to help you. Typically, you’ll pull the thread down through the tension discs, loop it around the take-up lever, and bring it back down toward the needle. -
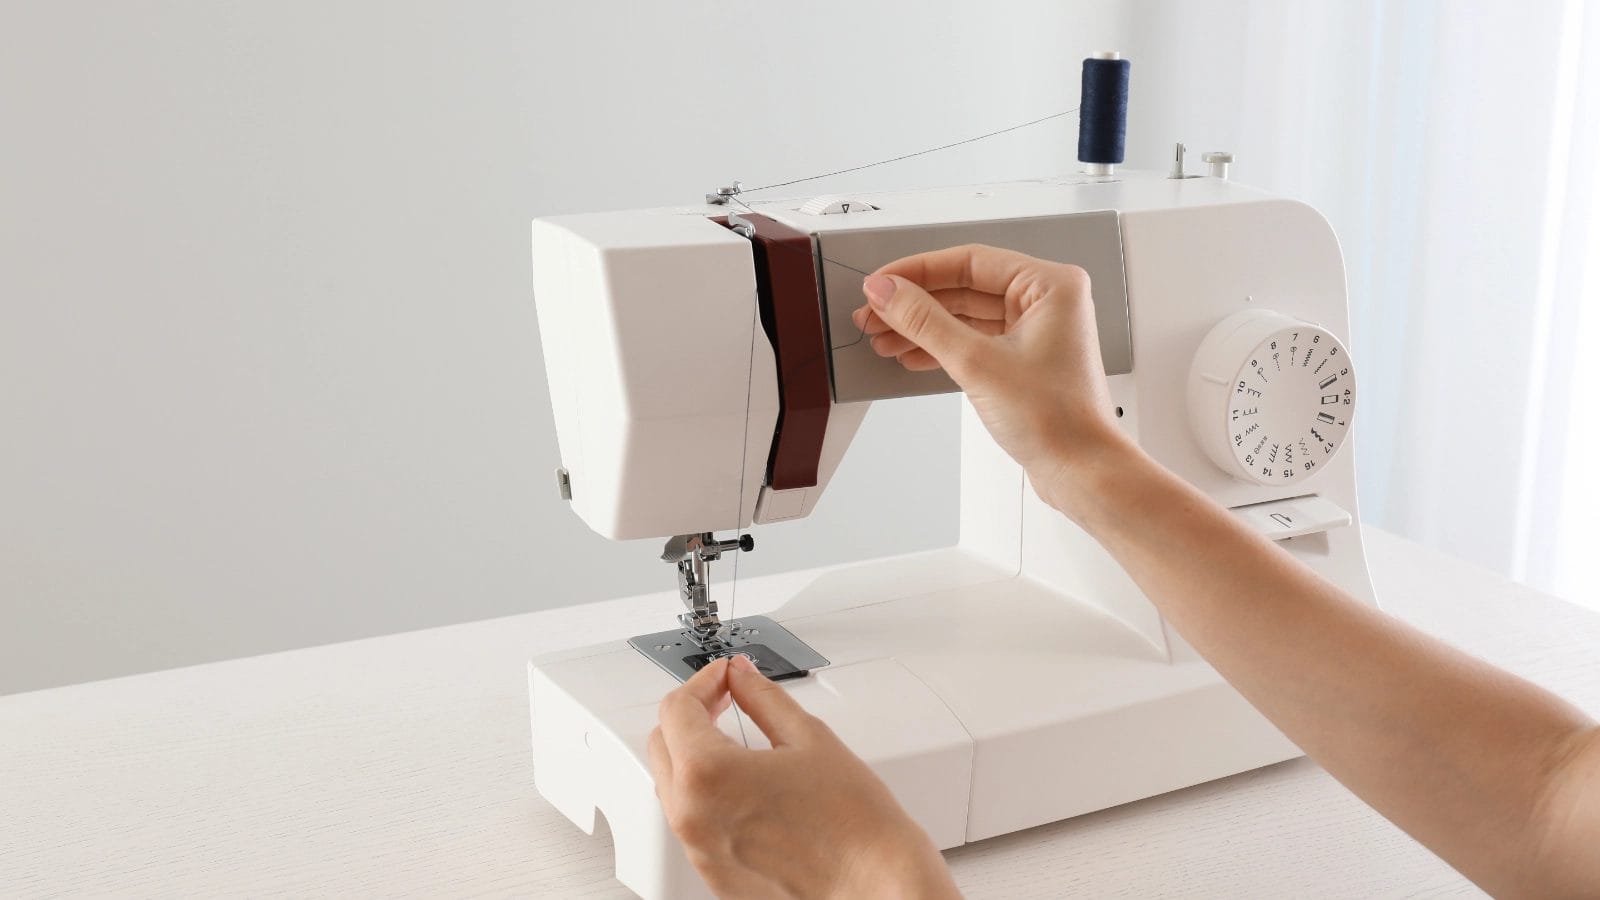
Thread the Needle
Raise the presser foot to release tension on the thread. Then, using the handwheel, lower the needle to its highest position. Carefully insert the thread through the eye of the needle from front to back. -
Prepare the Bobbin Thread
After threading the upper thread, it’s time to thread a bobbin into a machine. Place the bobbin into the bobbin case, ensuring it’s seated correctly. Pull the thread through the slot, leaving a small tail. -
Catch the Bobbin Thread
Hold the upper thread with one hand and turn the handwheel toward you. This will lower the needle and catch the bobbin thread. Pull both threads to the back of the machine, leaving a few inches of thread.
Step 5: Adjust and Test Machine Settings
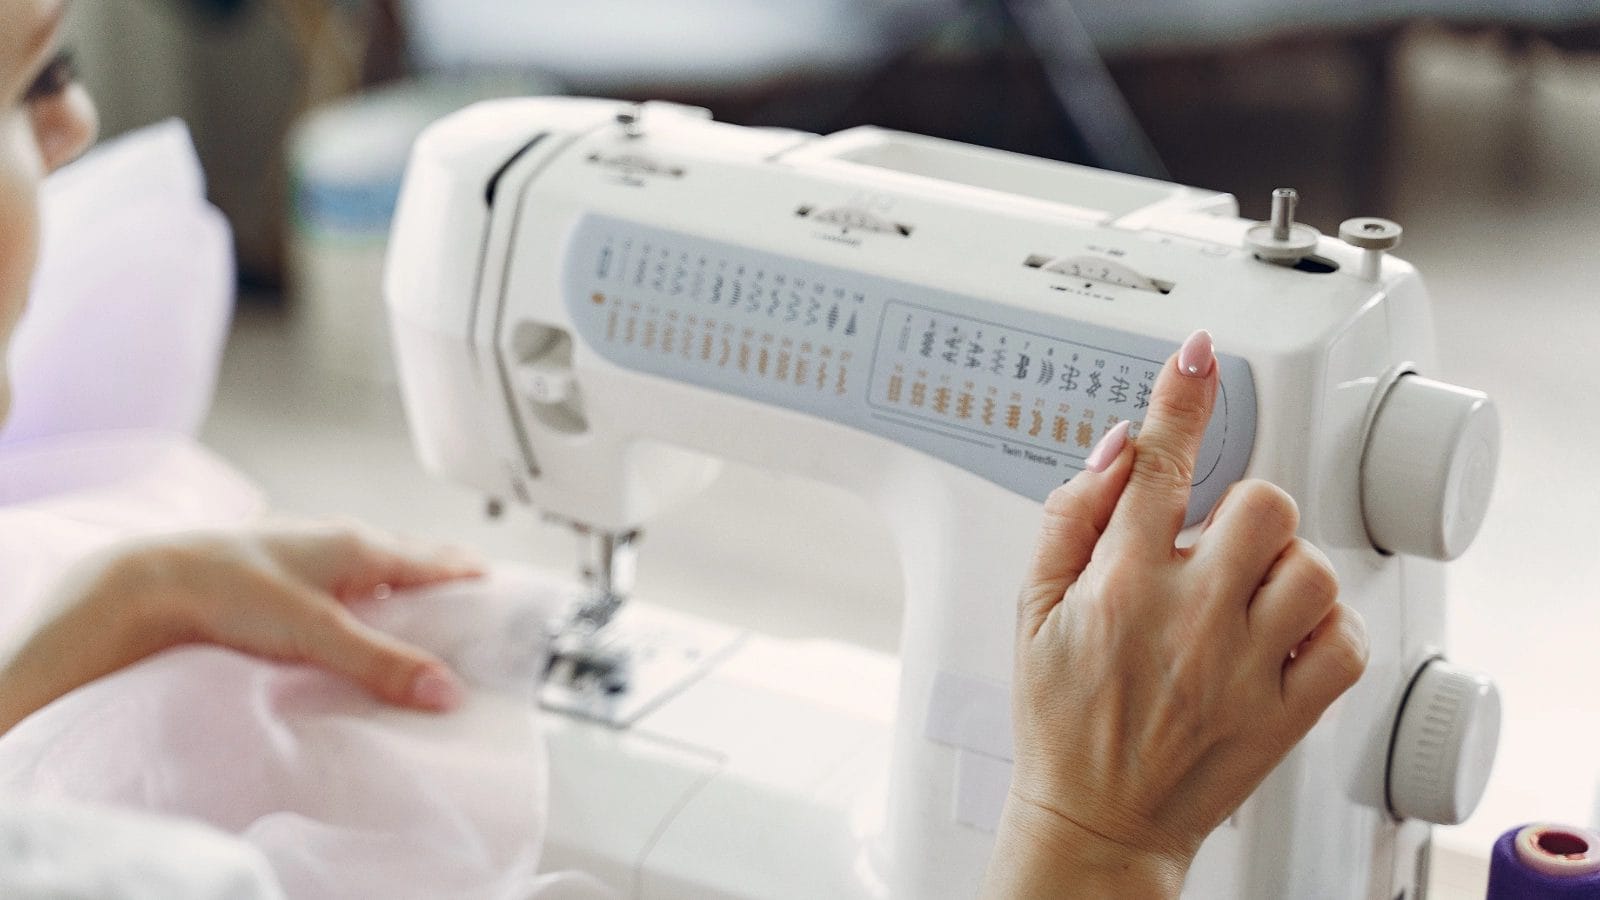
Before you're ready to sew, take a moment to adjust your machine settings. Here’s a quick guide to get everything just right:
-
Set the Stitch Type
Choose the stitch type based on your project. For most new sewists, a straight stitch is a great starting point. Use the stitch selector dial or button to make your choice. -
Adjust the Stitch Length
Set the stitch length to suit your fabric. A medium-length stitch (around 2.5mm) works well for most projects. Shorter stitches are ideal for delicate fabrics, while longer stitches suit thicker materials. -
Check the Tension
Proper tension is crucial for even stitches. Refer to your manual for recommended tension settings. Test and adjust the tension on a scrap piece of fabric. -
Position the Presser Foot
Lower the presser foot onto your fabric. This keeps the fabric steady while sewing. If your machine has a pressure regulator, adjust it to match your fabric thickness. -
Test the Settings
Use a scrap piece of fabric to test your adjustments. Sew a few stitches and check for smooth, even results. Make further tweaks if necessary.
Step 6: Connect to Modern Features (Optional)
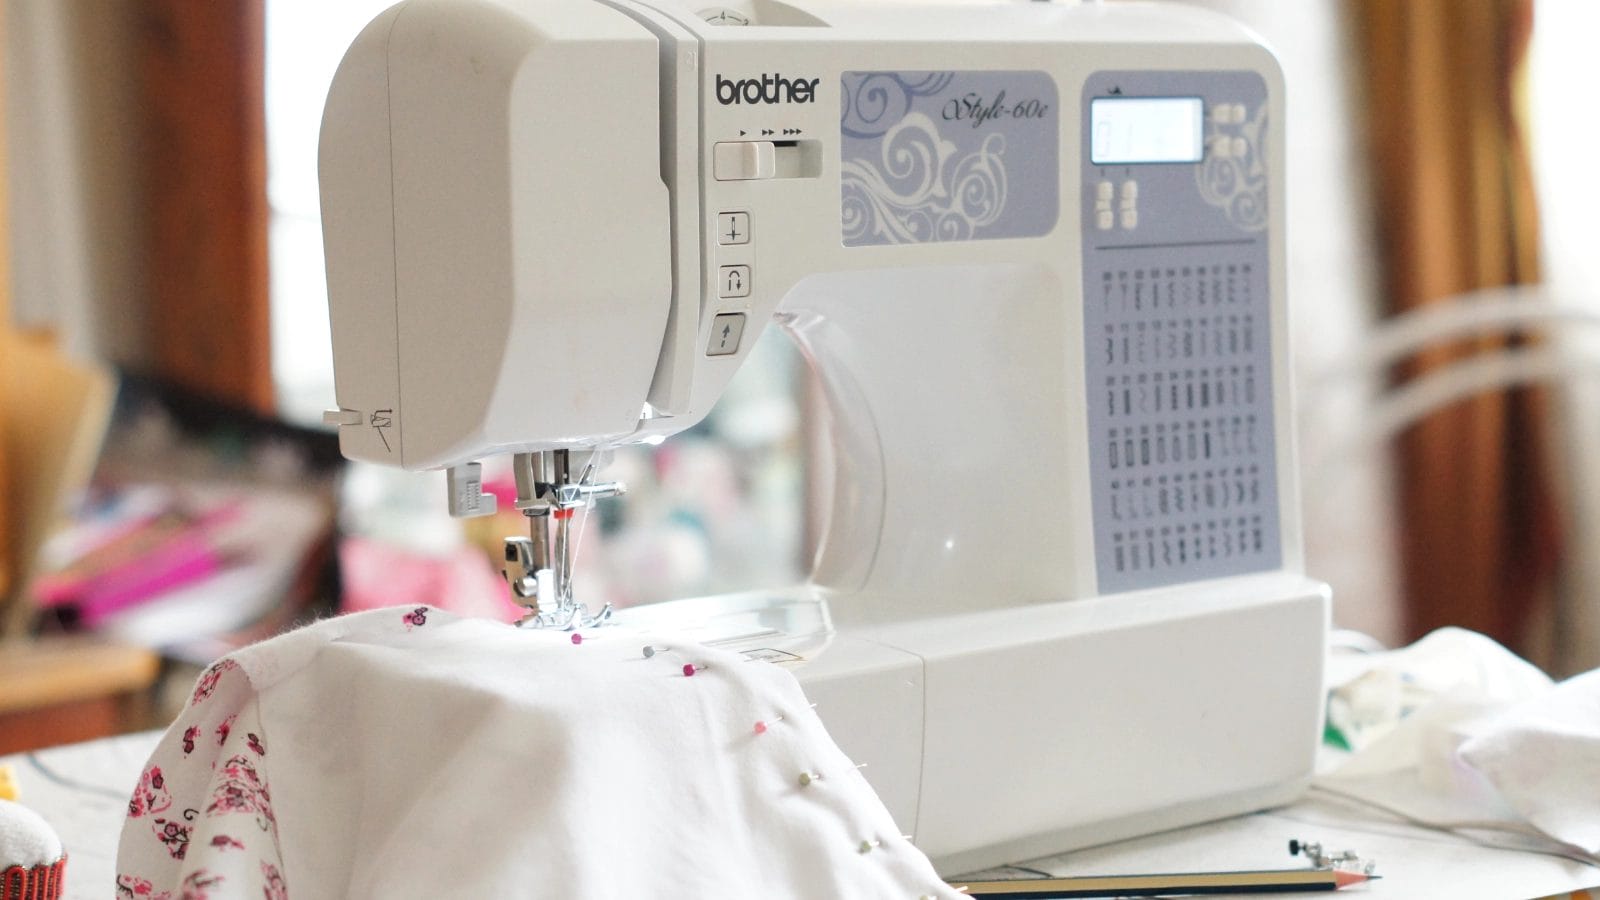
Modern sewing machines often have advanced features that make your sewing experience more efficient and enjoyable. Here’s a simple guide to help you get started:
-
Explore Built-in Stitches and Programs
Many machines include pre-programmed stitch patterns and settings. Use the stitch selector or touchscreen (if available) to browse through options. Based on your project needs, select a straight stitch or decorative stitch. Refer to your manual for details about each program. -
Activate the Automatic Needle Threader
If your machine has an automatic needle threader, use it. This feature saves time and reduces eye strain. -
Connect to a Computer or App
Some computerized machines allow you to connect to a computer or smartphone app. This feature will enable you to download new stitch designs, update software, or access tutorials. -
Check for Additional Accessories
Look for extra features like an extension table, quilting guides, or embroidery hoops. Attach these accessories as needed to expand your sewing possibilities.
Maintenance Tips for Your Sewing Machine
Taking care of your sewing machine keeps it running smoothly and extends its lifespan. Here’s how you can keep your machine in top shape:
- Regular Cleaning: Remove lint and dust from the machine after every use, especially around the bobbin case and feed dogs. Use a small brush or a vacuum attachment to clean hard-to-reach areas.
- Oil Your Machine: Refer to your manual for oiling instructions. Only use sewing machine oil, as other types can damage the machine. Apply oil sparingly to moving parts and wipe off any excess.
- Change Needles Regularly: Replace the needle after every project or if it becomes dull or bent.
- Keep It Covered: When not in use, cover your sewing machine to protect it from dust and debris.
- Regular Servicing: If you use your machine frequently, take it for professional servicing once a year or as the manufacturer recommends.
- Check the Power Cord and Foot Pedal: Inspect for any signs of wear or damage. Replace them if necessary to prevent electrical issues.
- Store Properly: Keep your machine dry and cool to avoid any moisture-related damage.
Conclusion
Setting up your sewing machine becomes easier with practice. This guide simplifies the process, helping you feel confident as you prepare your machine for sewing. Take your time with each step, and always refer to your manual for specific details about your model.
A properly set-up machine ensures smooth stitching and enjoyable projects. Whether you're new to sewing or improving your skills, knowing how to set up your sewing machine lays the groundwork for success. Now, you're ready to dive into your creative journey and bring your ideas to life.
Learn more sewing tips on the Longan Craft Blog, and dive into the fabric world with Longan Craft!
FAQs
Why does my thread keep breaking while I sew?
Thread breakage often occurs due to incorrect tension, poor-quality thread, or a damaged needle. First, check your tension settings and adjust them slightly. Next, inspect the thread for knots or weak spots. If necessary, replace it with a high-quality, compatible thread. Finally, examine the needle. A bent or dull needle can cause the thread to snap. Replace it with a new one to fix the issue.
What should I do if my sewing machine skips stitches?
Skipped stitches usually mean the needle isn’t installed correctly or is the wrong type for your fabric. Turn off the machine and check the needle. Ensure it’s inserted all the way up with the flat side facing the correct direction.
If the needle looks dull or bent, replace it. Also, confirm that the thread and bobbin are threaded properly. Test the machine on a scrap fabric to ensure the problem is resolved.
How often should I clean my sewing machine?
You should clean your sewing machine after every major project or every 8–10 hours of use. Dust and lint can build up quickly, especially around the bobbin area and feed dogs. Use a small brush or soft cloth to remove debris. Avoid using compressed air, which can push lint deeper into the machine.
Why is my fabric not moving while I sew?
The feed dogs might be lowered or covered if your fabric isn't moving. Check the feed dog lever, switch on your machine, and raise them if needed. Also, ensure the presser foot is lowered onto the fabric. If the problem persists, clean the feed dogs to remove any lint or debris blocking their movement.
0 comments