 Translation missing: en.accessibility.skip_to_text

Sewing curves may seem intimidating at first. But with a little practice and the right techniques, you can master this skill and create beautifully crafted garments. Whether you're making a round neckline or a flowing hemline, sewing curves adds a unique touch to your sewing projects.
In this article, we'll cover three types of curves, from convex and concave curves to curved seams. So grab your sewing machine, and let's dive into the world of curve sewing!
Key Takeaways
- Mark seam allowance with tailor's chalk for precise curved seams.
- Stitch slowly with shorter stitch lengths for tighter curves.
- Clip and notch seam allowance to reduce bulk and ensure smooth curves.
- Turn the fabric right side out and press the seams with an iron.
- Pin fabric pieces closely together to prevent shifting while sewing.
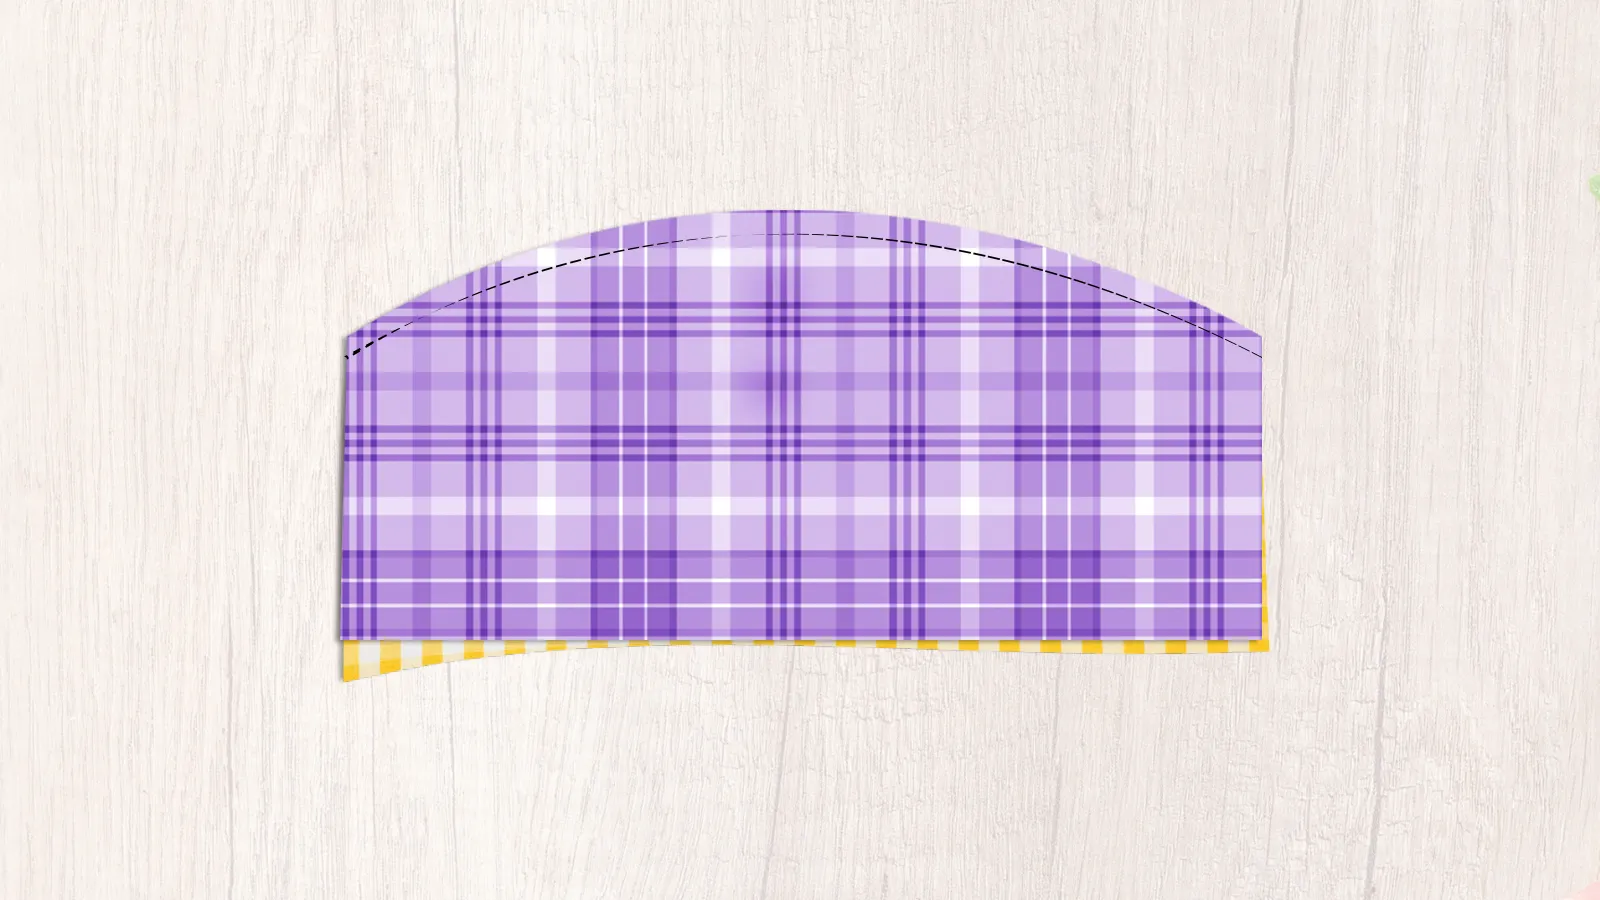
How To Sew a Curve: Convex Curves

To sew a convex curve, start by marking the seam with chalk for precision.
Stitch the seam carefully, then snip small tria11 1ngular notches out of the seam allowance to reduce bulk.
Step 1: Mark the Seam
Carefully mark the seam allowance on your fabric with a tailor's chalk or a fabric marker to ensure precision. Draw a seam allowance line, making sure it's visible and clear. This clearly marked seam line will serve as your guide.
Step 2: Stitch the Seam
Start stitching slowly to maintain a smooth, even seam. For tight curves, use a shorter stitch length to ensure precision. Guide the fabric gently under the presser foot, ensuring it doesn't pucker or bunch.
Once you reach the end of the seam, secure it with backstitching to reinforce the curve and prevent unraveling.
Step 3: Clipping
Use sharp scissors to clip small triangular notches into the seam allowance. These notches reduce bulk, allowing the fabric to curve smoothly without puckering. Be careful to cut close to but not into the stitching line.
Step 4: Turn and Press the Seam
After clipping the seam allowance, turn the fabric right side out and use a pointed object to press the seam open along the curve gently. This helps smooth out the curve and ensures a neat finish.
Next, press the seam using an iron to remove any wrinkles or bumps.
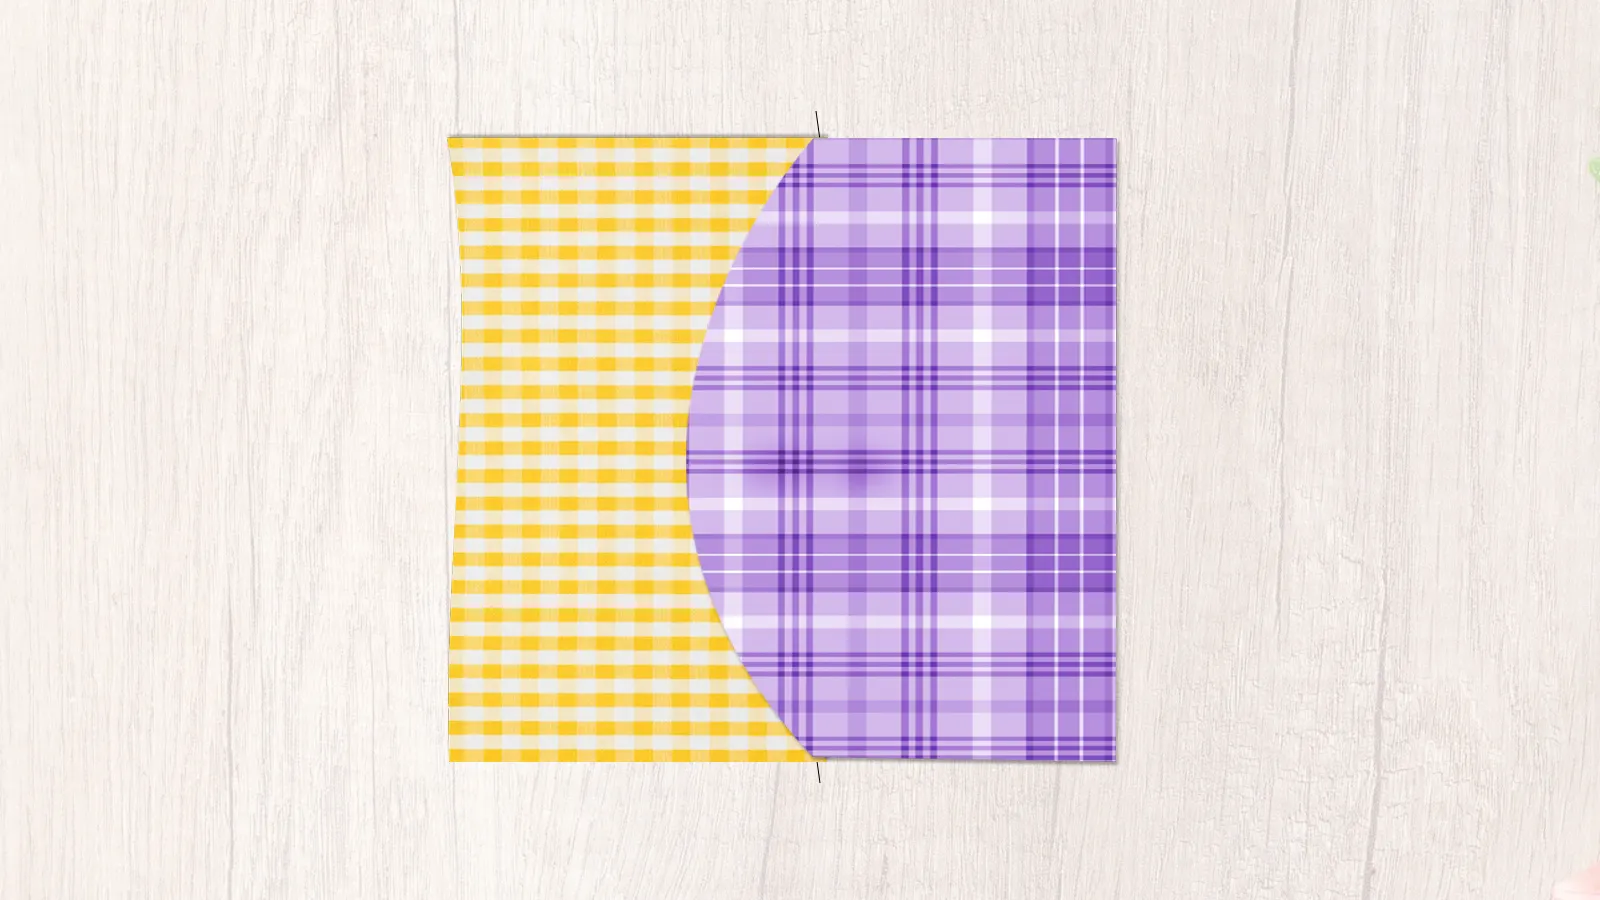
How To Sew a Curve: Concave Curves

To sew concave curves, start by marking the seam allowance on your fabric. Stitch the seam carefully, then use small, sharp scissors to clip the seam allowance for flexibility.
Step 1: Mark the Seam Line
When sewing concave curves, start by marking the seam line on the wrong side of the fabric with a tailor's chalk or a fabric marker.
Ensure you accurately mark the seam to follow the concave curves perfectly. Use a ruler or template to maintain the correct shape and placement. Don't rush—double-check the seam line to confirm it adheres to the intended curve.
Step 2: Sew the Seam
When you sew curved seams, use a short stitch length to ensure the stitches flow smoothly around the curve. Pivot the fabric frequently to maintain accuracy and avoid puckering.
Utilize the hand wheel for more precise control over tight spots. Secure your stitches by backstitching at both the beginning and end of the seam.
Step 3: Clip the Seam Allowance
Clipping the seam allowance on concave curves is essential for achieving a smooth and professional finish. Make small cuts along the seam allowance. Be careful not to cut into the stitching. These clips will help reduce bulk, allowing the fabric to lie flat and turn smoothly.
Step 4: Turn and Press the Seam
With your clipped seam allowances ready, turn the fabric right side out to reveal the smooth concave curve.
Next, gently press the seam allowance towards the wrong side of the fabric to set the shape. Be careful not to stretch the fabric while pressing, as this can distort the curve.
How to Sew Curved Seams with a 7-Step Tutorial
To learn how to sew curved seams accurately, follow these steps carefully for a neat and professional result.
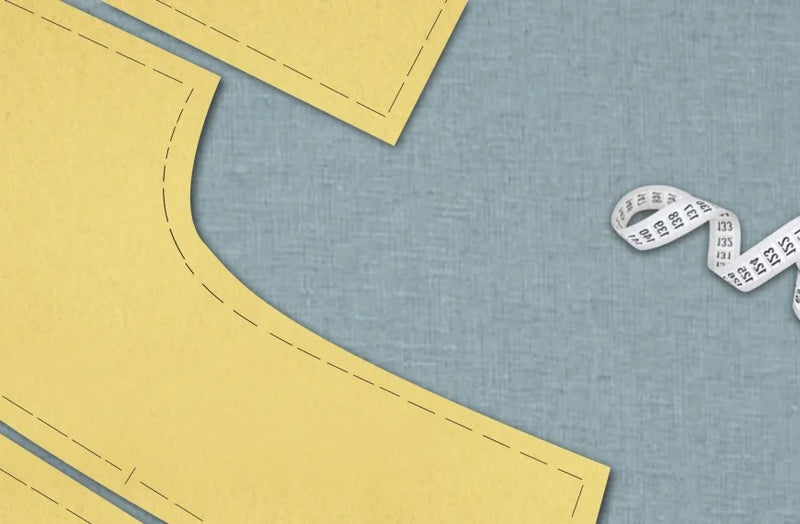
Step 1: Cut Out Your Fabric Using Patterns
 Using a sewing pattern, cut out your fabric pieces to ensure precise and properly aligned curved seams. Pattern pieces provide the exact shapes needed, making it easier to align and sew each curved piece.
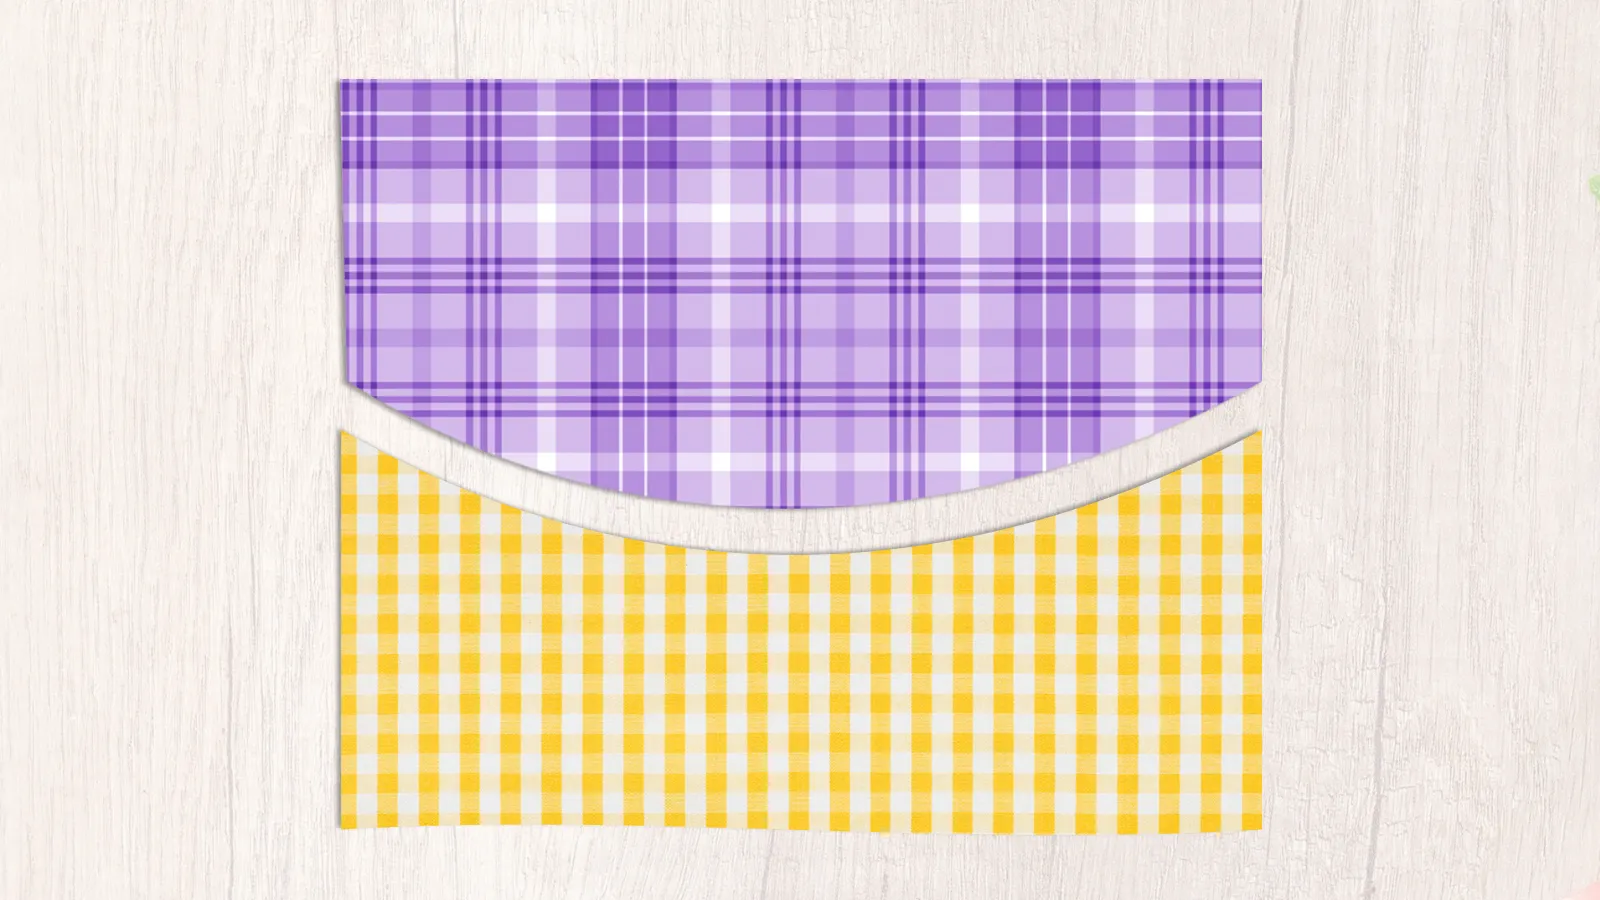
Step 2: Add a Seam Allowance
After cutting out your fabric pieces, you need to add a seam allowance if your pattern doesn't have one. When adding seam allowance, a standard 1/4 inch is often ideal for curved seams. This provides enough room for stitching and prevents the edges from unraveling.
Make sure to add the seam allowance evenly around the curved pattern pieces to maintain a smooth finish.
Step 3: Mark the Centers
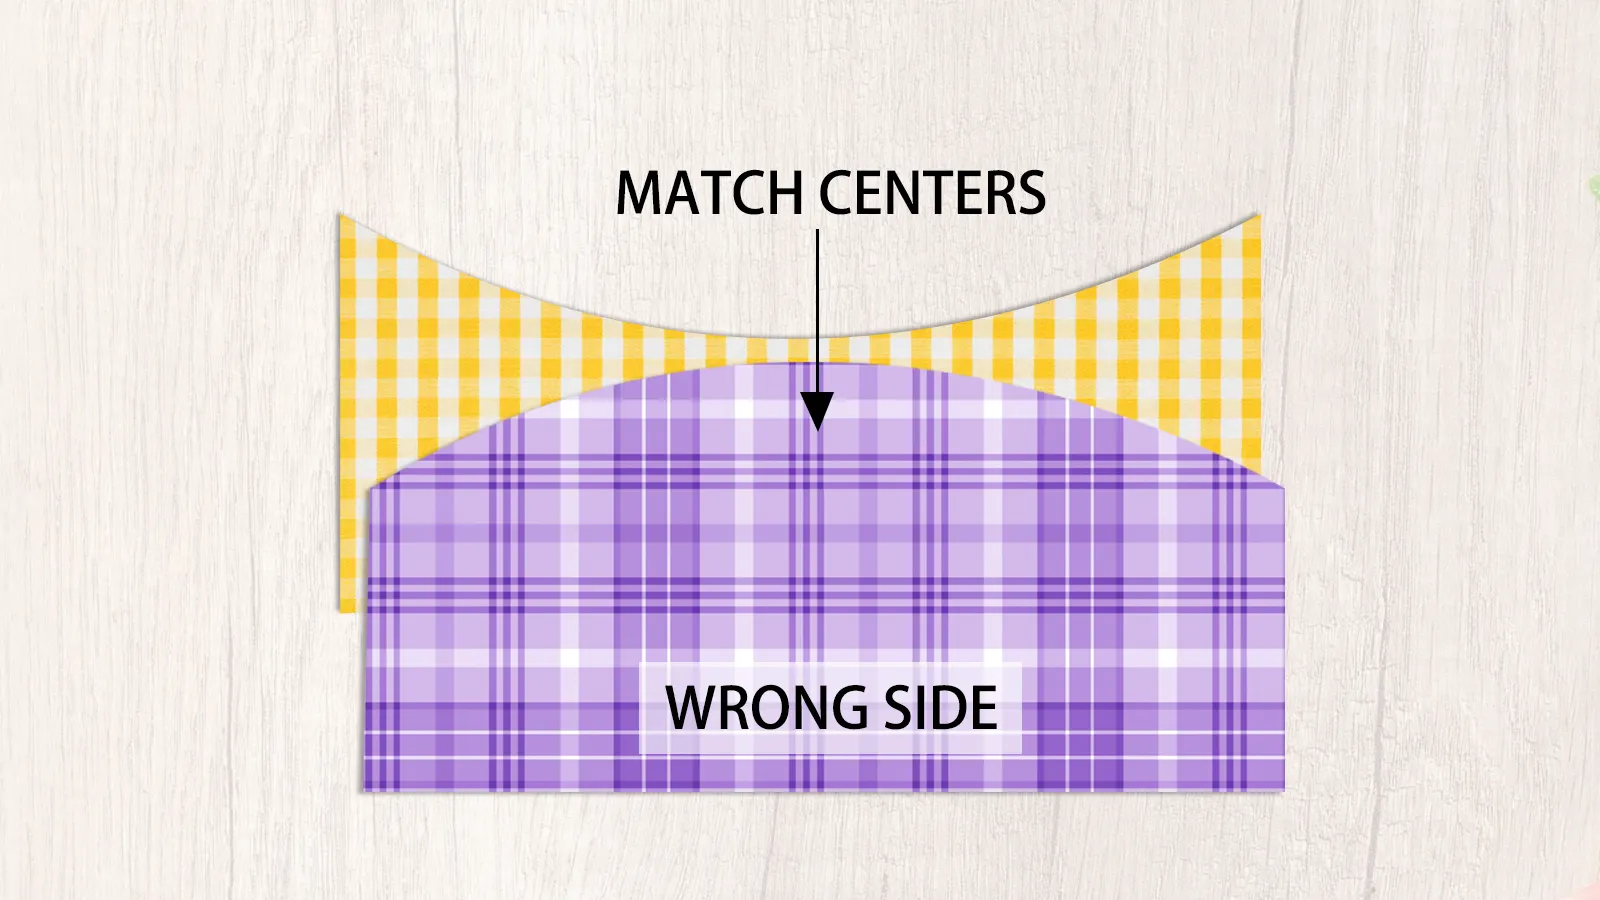 Marking the centers of your curved fabric pieces ensures you align them accurately. Start by folding each curved piece in half to find the center. Then, use chalk or notches to mark the center point clearly.
Match the centers and any notches you've marked. Use pins to secure the centers before sewing.
Step 4: Pin the Curves
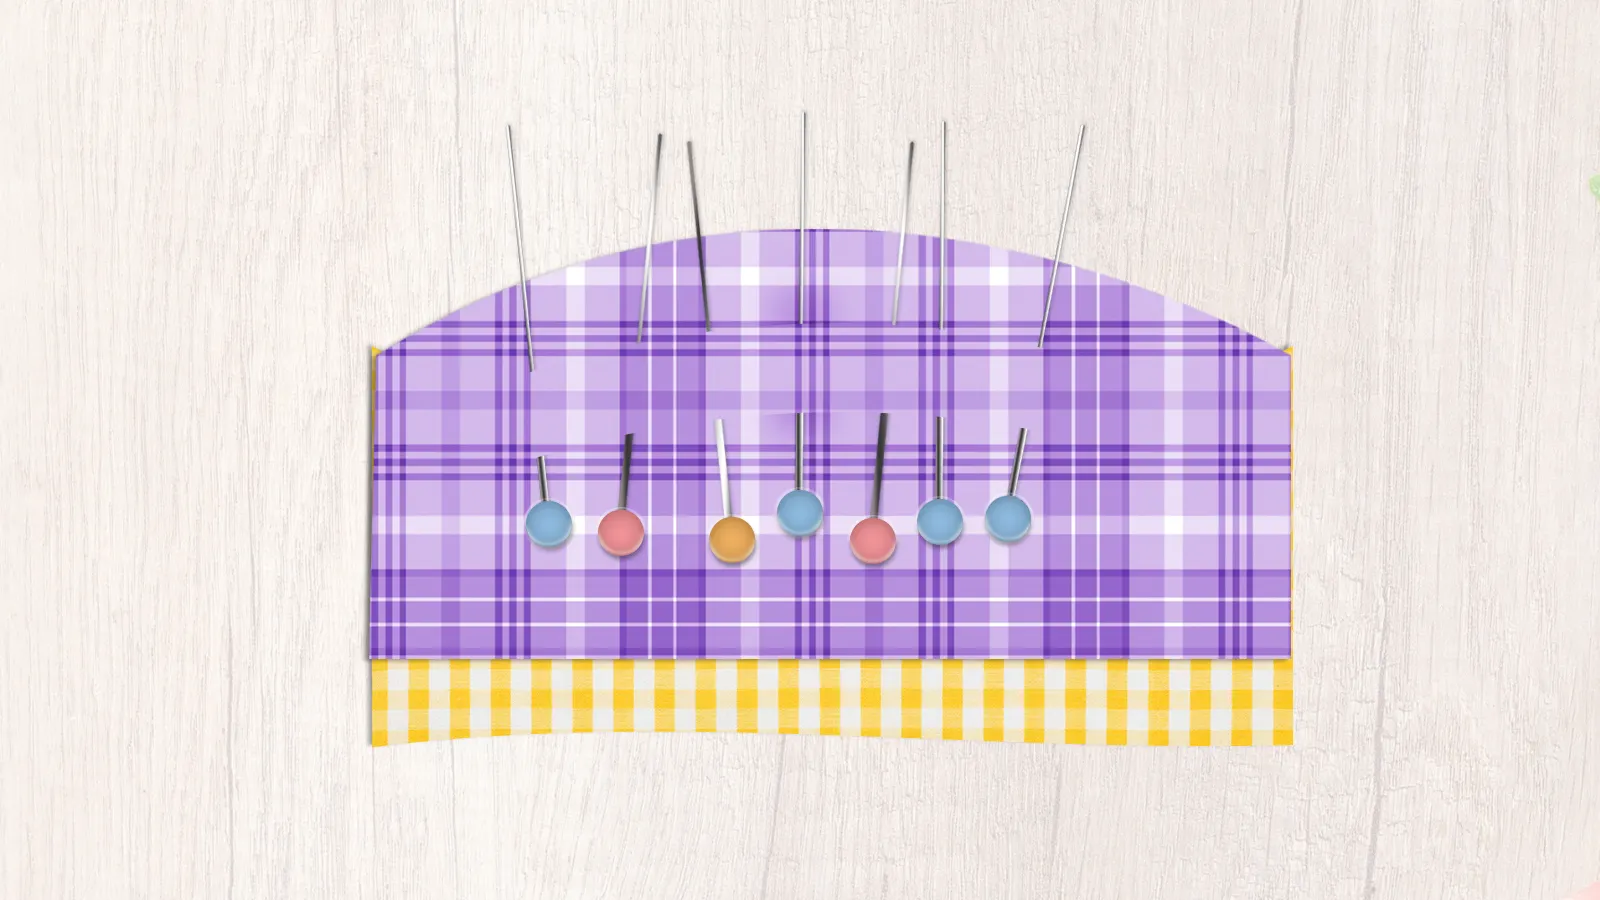 To pin curved seams accurately, align the edges of your fabric pieces and secure them with fine, sharp pins placed perpendicular to the edge. Continue pinning along the curve, ensuring the fabric edges stay aligned.
Step 5: Sew the Curve
 Set your sewing machine to a shorter stitch length to help navigate the curve more precisely. As you sew, remove the pins to avoid hitting them with your needle, which could cause breakage.
Step 6: Clip the Seam Allowance
Clip the seam allowance by cutting small V-shaped notches. This reduces bulk and helps the fabric bend smoothly.
Step 7: Press the Seam
 After carefully clipping your curved seams, it's time to press them to achieve a smooth and professional finish.
While pressing, apply steam to ease the fabric around the curve, but avoid stretching it to maintain its shape.
Pressing the seam will help meld the stitches and fabric together, giving your curve a crisp, polished look.
Common Mistakes and How to Avoid Them
When sewing curves, it's easy to run into issues like puckering fabric or creating uneven seams. To avoid these problems, don't rush; slow down and ensure even tension throughout.
Puckering Fabric
One common issue you might face when sewing curves is puckering, often caused by incorrect handling techniques. To avoid puckering, clip the seam allowances on curves to reduce tension.
Using shorter stitch lengths helps maintain control and smoothness around the curve. Another key step is pressing seams flat after sewing; this helps set the stitches and flatten the fabric.
Uneven Seams
Ensuring even seams on curves starts with precisely cutting and accurately aligning your fabric pieces. Uneven seams often stem from incorrect alignment or stretching of the fabric while sewing. To avoid this, always match the centers of your curved pieces before sewing.
Use sewing tips like notching the fabric to help it bend and flex more easily as you bring the curves together. Pinning can help, but glue basting might offer more stability. Practice sewing on scrap fabric to build confidence and accuracy. Remember, a steady hand and careful preparation make all the difference.
Learn more sewing tips on the Longan Craft Blog, and dive into the fabric world with Longancraft!
Conclusion
Mastering sewing curves can elevate your sewing projects, giving them a polished and professional look. By accurately marking your seam allowance, stitching slowly, and using techniques like clipping and notching, you can handle both convex and concave curves with ease.
Don't forget to press your seams open for that final touch. Avoid common mistakes by double-checking your alignment and practicing patience.
With these tutorials, you'll confidently tackle any curved seam in your future projects.
0 comments