Mastering French seams is an essential step when you're looking to give your sewing projects a professional touch. This technique not only creates a neat, polished finish but also extends the life of your garments by encasing raw edges.
Whether you're a novice looking to expand your sewing skills or an experienced seamstress wanting to refine your techniques, mastering the French seam will elevate your creations. This tutorial will walk you through the steps to sew flawless French seams.
Key Takeaways
- Begin by pinning fabric pieces with wrong sides together for accurate alignment.
- Sew the first seam using a 3/8 inch seam allowance for initial stitching.
- Trim the seam allowance to 1/8 inch to reduce bulk and ensure neatness.
- Fold the right sides of the fabric together and sew the second seam with a 1/4 inch allowance.
- Press seams after each step for flatness and to prevent puckering.
Gather the Materials Needed
When preparing to sew French seams, you'll need a few essential materials to guarantee success.
- Fabric: Lightweight to medium-weight fabrics work best for French seams. Examples include cotton, silk, linen, chiffon, and lightweight denim.
- Thread: Choose a high-quality thread that matches or complements your fabric color.
- Sewing Machine: A basic sewing machine will suffice. Make sure it's properly threaded and ready for use.
- Sewing Needles: Use appropriate needles for your fabric type. A size 70/10 needle is often suitable for lightweight fabrics, while a size 80/12 may be required for medium-weight fabrics.
- Pins or Clips: To hold the fabric pieces together before sewing.
- Scissors or Rotary Cutter: For cutting the fabric and trimming seam allowances.
- Iron and Ironing Board: Pressing the seams is crucial for neatness and accuracy.
- Measuring Tape or Ruler: For precise measurements and seam allowances.
- Marking Tools: Such as tailor's chalk or a fabric pen for marking seam lines.
How to Sew French Seams: A Step-by-Step Guide
Whether you're a beginner or an experienced sewer, understanding how to sew French seams can elevate your work. This guide provides clear and easy-to-follow steps to get you started.
Step 1: Prepare the Fabric
It begins with selecting the right fabric. Opt for lightweight or sheer fabric, which is perfect for this technique because of its transparency and delicacy.
Once you've chosen your fabric, cut the pieces according to your project requirements, confirming that you have enough material to accommodate the seam allowance.
Step 2: Sew the First Seam

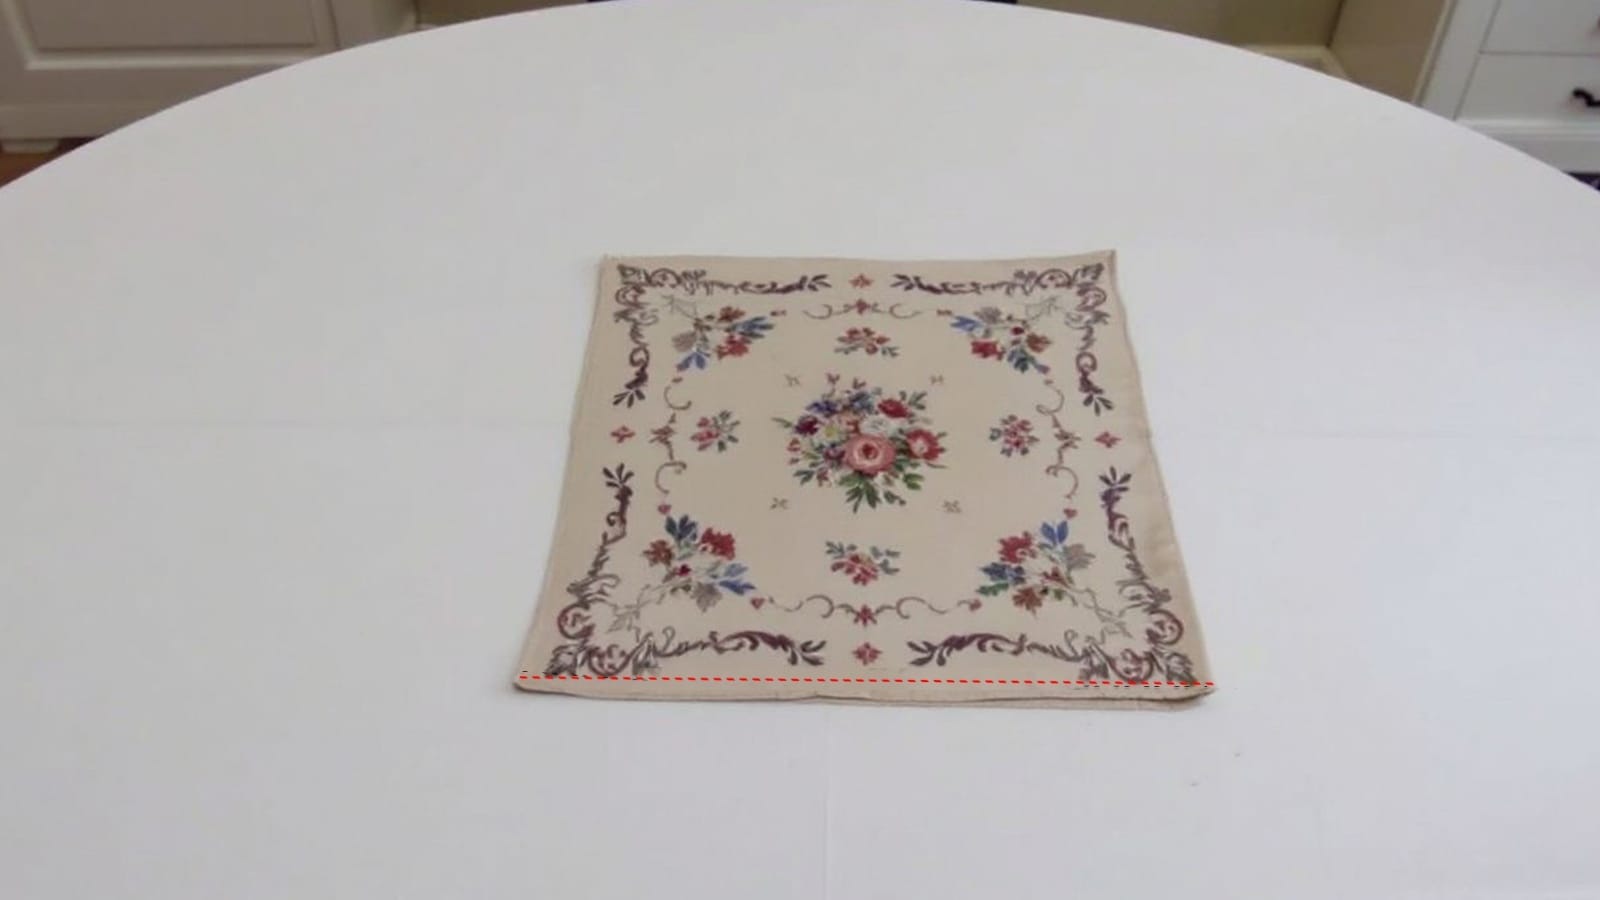
With your fabric pieces prepared and pinned wrong sides together, you're ready to sew the first seam of your French seam technique.
Use a straight stitch and sew the first seam with a 3/8 inch seam allowance. Maintain an even distance from the edge to guarantee a tidy line.
Step 3: Trim the Seam Allowance

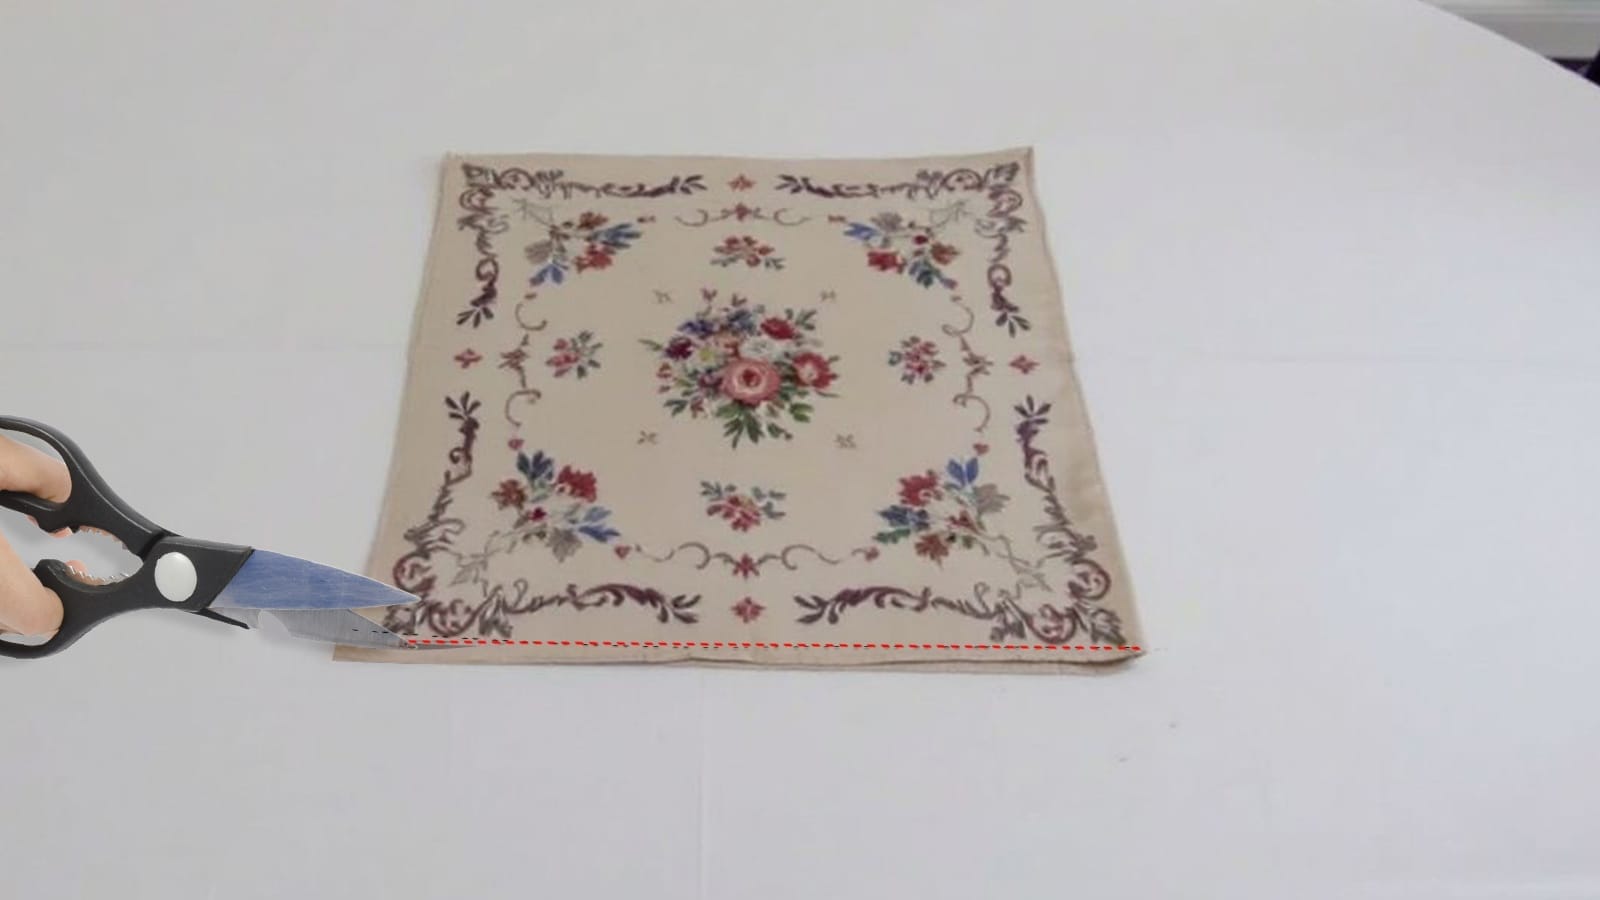
Now, you're ready to trim the seam allowance to 1/8 inch. This is an important step in crafting a polished French seam.
Carefully trim the seam allowance along the entire length of the fabric edges. This reduction minimizes bulk, preparing your seams for the next phase.
If you're working with a delicate fabric, pinking shears are best to prevent excessive fraying.
Step 4: Press the Seam

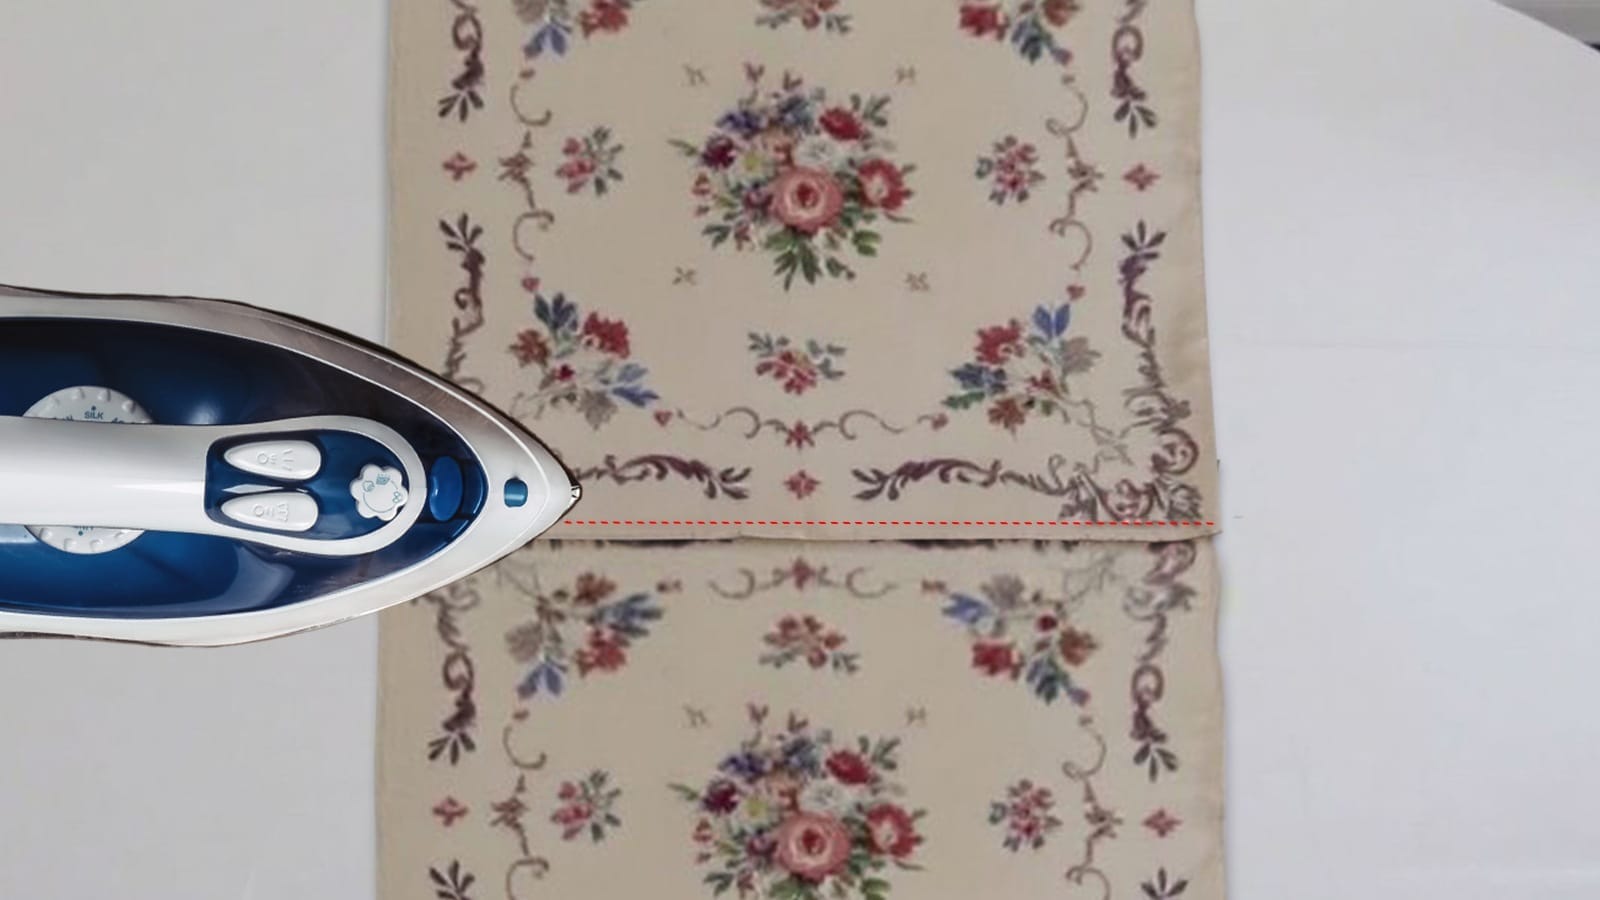
Open the fabric and position it on the wrong sides together. Gently press the seam to one side using a hot iron, ensuring the seam allowance lies flat. This step is essential for a neat appearance. Place a pressing cloth over the seam to protect delicate fabrics while pressing.
Next, fold the fabric so the right sides are together and press the first seam along the raw edge. This creates a sharp fold, making alignment easier for subsequent sewing.
Step 5: Sew the Second Seam

Now that you've pressed the seam and confirmed everything is aligned, it's time to sew the second seam to complete your French seam.
Fold your fabric with the wrong sides facing each other, confirming the previous seam is enclosed within the fold. Secure the layers by pinning them along the stitching line.
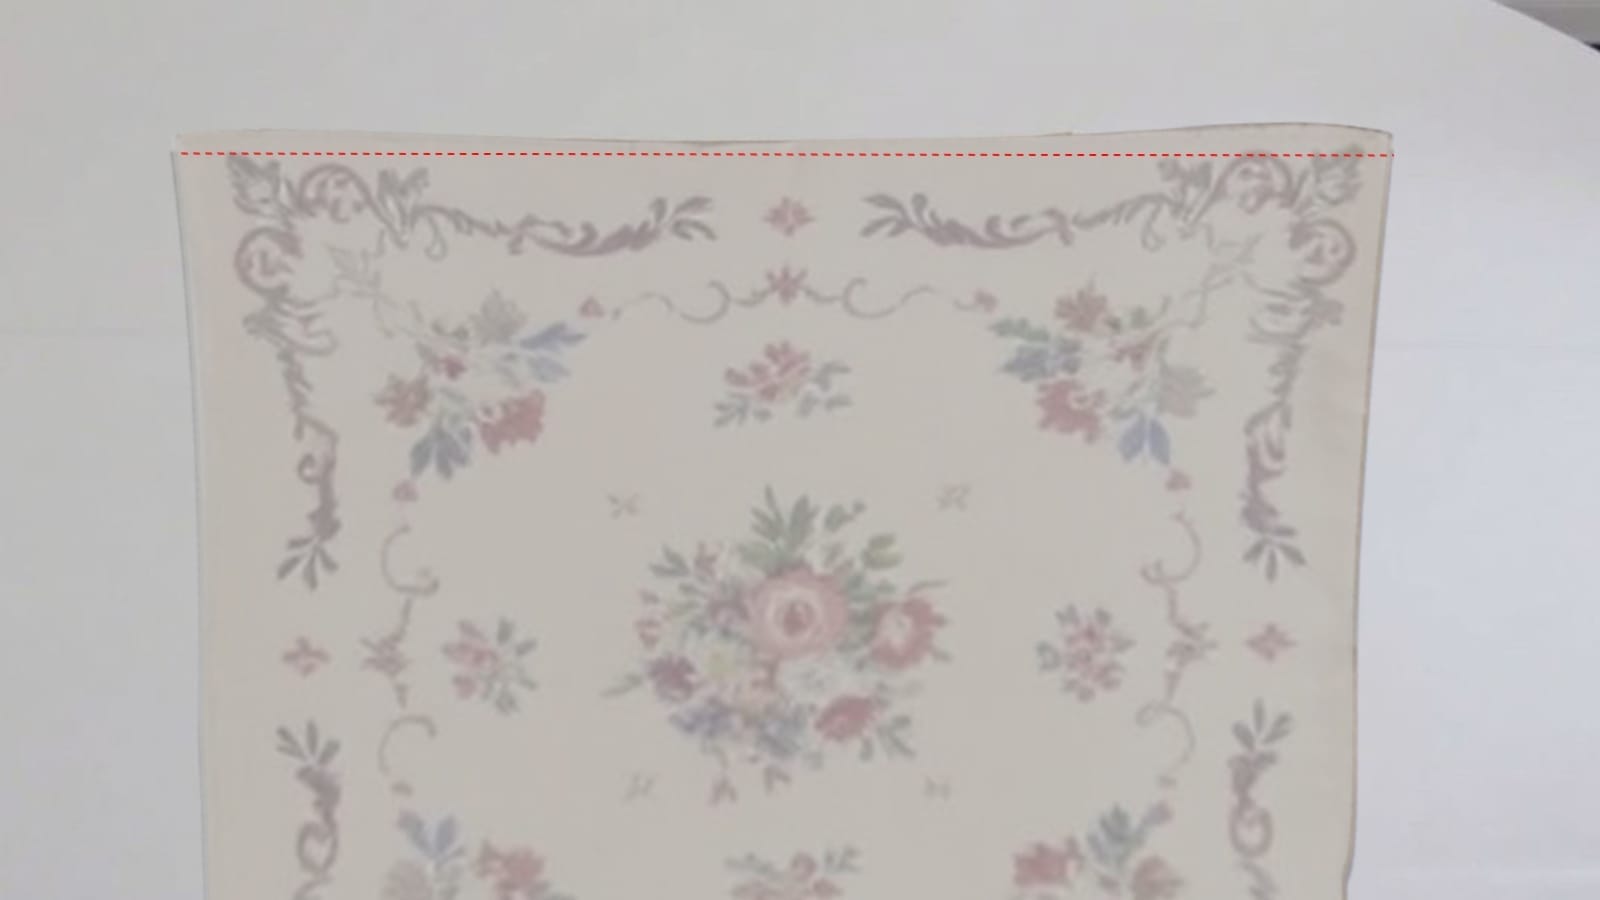
Carefully sew the second seam with a 1/4 inch seam allowance, keeping your stitches straight and even. This will secure the fabric layers neatly, resulting in a clean, enclosed edge.
Step 6: Final Pressing
Press the final seam flat, guaranteeing its smoothness on both sides. Use a pressing cloth over delicate fabrics to protect them from direct heat, maintaining their integrity while achieving crisp seams.
Carefully press the seam towards the back of the garment to give it a clean, professional look. For added detail, consider topstitching along the pressed seam, reinforcing the seam, and enhancing durability.
After pressing, inspect the seam for any imperfections or tucks. Make necessary adjustments to achieve a flawless finish.
Tips for Sewing French Seams
Now that we've explored the basics, let's dive into some practical tips for mastering French seams.
Fabric Choice
Selecting the right fabric is essential for achieving beautiful French seams. Opt for lightweight, sheer fabrics like cotton voile or silk, which provide a clean finish without added bulk.
Before you begin, always pre-wash your fabric to prevent any post-sewing shrinkage that might affect the seam's integrity.
Avoid heavyweight fabrics—they don't fold and press as neatly, which can compromise your seams.
Precision in Trimming
After the first stitching, trim the seam allowance down to 1/8 inch. Use sharp fabric scissors or a rotary cutter for this task to guarantee a clean cut along the raw fabric edges. Be precise—stray into the sewn area and compromise the seam's integrity.
When you encounter armholes or sleeves, trim using a curved motion, maintaining the fabric's natural shape. This step is essential to prevent bulk and stray fibers that detract from the seam's neat appearance.
Use the Right Tools and Proper Tension Settings
A well-tuned sewing machine is vital for achieving impeccable French seams. Select a sharp needle, such as a universal or microtex needle, to ensure clean stitching and avoid fabric snags.
Adjust the tension settings based on your fabric type. Lighter fabrics often need lower tension for a smooth finish. Before you start, test your tension on a scrap piece of the same fabric to confirm the stitching isn't too loose or tight.
Precision in seam allowance is essential. So, maintain consistent measurements to achieve the neat finish that defines French seams.
How to Encounter Common Mistakes
Understanding the process is only part of the journey. It's equally important to be aware of potential pitfalls. Let's look at common mistakes and strategies to prevent them.
Not Trim the Seam Allowance Enough
Proper seam allowance trimming is essential to achieving a sleek finish in French seams. If you leave too much seam allowance, the seam finish can become bulky and disrupt the fabric's smooth appearance.
Be careful not to trim too close to the stitching line, as this can weaken the seam and risk unraveling.
Skip Pressing Steps
Neglecting the pressing steps can lead to noticeable mistakes that compromise the seam's appearance.
After the initial stitching, pressing the seam allowance to one side is essential. This step guarantees a crisp, clean fold when you fold the fabric's right sides together for the second seam.
Skipping pressing can cause puckering and misalignment, which detracts from a professional finish. Each pressing step guarantees the fabric lies flat, minimizing shifting and enhancing seam integrity.
Incorrect Seam Allowances
Incorrect seam allowances can result in puckering or loose seams, compromising your garment's integrity.
To avoid this, carefully measure and mark the required seam allowances—3/8 inch for the first seam and 1/4 inch for the second. Maintain consistent seam allowances throughout your project to prevent uneven edges and an unprofessional look.
If you accidentally sew with an incorrect allowance, unpick and resew to correct it. Using a seam guide on your sewing machine can help maintain consistency as you sew.
Conclusion
With these steps, you'll master sewing a French seam. Always start with the wrong sides together, trim carefully, and press for precision. Folding the right sides together for the final seam guarantees a neat finish.
Remember, practice makes perfect, so don't rush. Use these tips to avoid common pitfalls like uneven edges or bulky seams. Soon, you'll create beautifully finished garments with confidence. Keep experimenting with different fabrics to refine your skills and achieve professional results.
Learn more sewing tips on the Longan Craft Blog, and dive into the fabric world with Longan Craft!
FAQs
When Should You Not Use a French Seam?
Don't use French seams on heavyweight fabrics since they add bulk, or on stretchy fabrics as they restrict movement. Avoid them for curved seams and garments needing frequent alterations, as they complicate adjustments and unpicking.
What Is the Difference Between a Flat Seam and a French Seam?
Flat seams expose raw edges, sewn once for strength. French seams encase edges, sewn twice, which is ideal for delicate fabrics. They offer a polished look while minimizing skin irritation.
What Are the Disadvantages of a French Seam?
French seams are unsuitable for heavyweight fabrics, adding bulk. They're also time-consuming, requiring two sewing passes. They don't work on curves, and trimming seam allowances demands precision, which can be tricky for beginners, risking puckering or uneven edges.


0 comments