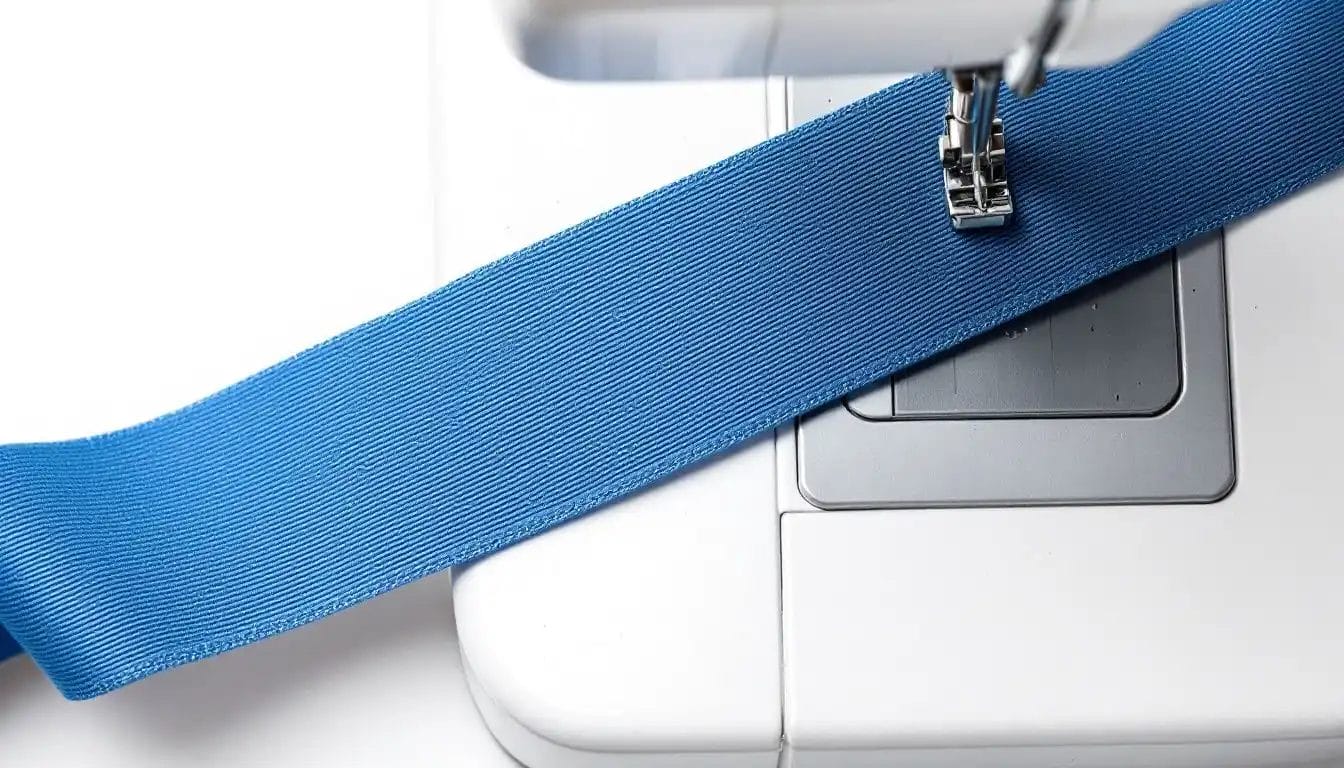
Do you want to learn to sew straight lines? This vital sewing skill can make your project look professional. Mastering straight lines can also boost your confidence and improve the quality of your work.
Many beginners find this challenging, but don't worry. With practice and good tips, you can get better. Remember, every expert started as a beginner. So, let's learn and solve these problems together!
Key Takeaways
- Use guides like needle plate markings and magnetic seam guides to keep your fabric aligned and stitches even.
- Experiment with different presser feet, such as edge guide and quarter-inch feet, to find the best fit for your sewing needs.
- Mark your sewing lines with fabric markers or tape to create a visual guide for better accuracy.
- Maintain a consistent sewing speed to ensure even stitches and prevent fabric slippage.
- Regularly check your progress as you sew to catch and correct any mistakes early.
- Practice on scrap fabric to refine your skills and build confidence in sewing straight lines.
Essential Guides for Sewing in a Straight Line

Guides are important for sewing straight lines. They help keep the fabric straight and stitches even. Let's look at some guides that make sewing easier.
Needle Plate Markings
Needle plate markings are guides on your sewing machine. They help keep seam allowances the same. To use them, line up the edge of your fabric with a marking. This keeps stitches straight and even. Watch the fabric edge, not the needle. This helps sew straighter lines.
Presser Feet
Presser feet help sew straight lines. They hold fabric while sewing. Some have guides to keep the fabric straight. An edge guide foot has a blade for straight seams. Try different presser feet for your project.
Seam Guides
Seam guides attach to sewing machines. They keep the fabric straight. Magnetic seam guides are easy to use. Place them on the needle plate. Keep the edge of the fabric against the guide. This makes seams straight. Painter's tape or washi tape can also be used as guides. They are cheap and work well.
How to Sew Straight Lines: 8 Tips and Tricks

Learning to sew straight lines can transform your sewing projects. Let's break it down into simple steps to help you sew straight lines with confidence.
1. Prepare Your Machine and Fabric
First, prepare your sewing machine. Check that the needle is sharp and the thread suits your fabric. Adjust the stitch length to your preference. A medium length works well for most projects. Make sure the bobbin is full and correctly placed. This preparation ensures smooth sewing.
Next, prepare your fabric. Iron it to remove wrinkles. This makes it easier to sew straight lines. Cut the fabric edges straight using good shears. Accurate cuts help maintain straight seams. This setup is crucial for sewing a nice straight line.
2. Mark Your Line
Marking your line is an essential step. Use a fabric marker or chalk to draw a line where you want to sew. This visual guide helps keep your sewing lines straight.
If you're sewing a long seam, use a ruler to ensure the line is straight. For beginners, marking the line can make a big difference.
3. Position Your Fabric Correctly
Align the fabric edge with the needle plate markings or a seam guide. Keep the fabric taut but not stretched. This prevents slippage and ensures a straight seam. As you sew, focus on the fabric edge rather than the needle. This technique helps maintain a straight line.
4. Maintain Consistent Speed
Maintaining a consistent speed is crucial when you want to sew a straight line. It helps keep your stitches even and your lines straight.
Set a comfortable pace on your sewing machine. Avoid sudden speed changes, as they can cause your fabric to shift. Practice sewing at a steady pace on scrap fabric. This will help you get used to controlling the machine's speed.
5. Use Both Hands
Effectively using both hands can make a big difference. Place one hand on each side of the fabric. Gently guide the fabric through the machine. Your hands should work together to keep the fabric aligned with the guides. Avoid pulling or pushing the fabric too hard. Let the machine's feed dogs do most of the work.
6. Check Your Progress Regularly
Regularly check your progress when creating straight lines. Stop sewing every few inches to see how your stitches look. Make sure they are straight and even. If you notice any issues, adjust your technique or guides. This habit helps you catch mistakes early and correct them.
7. Finish Your Seam
Finishing your seam properly is the final step. Once you reach the end of your fabric, stop sewing and lift the presser foot. Gently pull the fabric away from the machine, leaving a few inches of thread. Use scissors to cut the thread close to the fabric. This prevents unraveling and keeps your seams neat.
To secure your seam, backstitch at the beginning and end. This involves sewing a few stitches forward and then reversing for a few stitches. It locks the stitches in place, ensuring they don't come undone. If your machine has an automatic thread cutter, use it for a clean finish.
8. Practice
Practicing is key to mastering the art of creating perfectly straight lines. Set aside time to practice stitching lines on scrap fabric. Try different guides, such as a magnetic seam guide, to see what works best for you.
Experiment with various techniques to find your preferred method. As you practice sewing lines, you'll notice improved control and precision.
Common Challenges and How to Overcome Them
Sewing straight lines can be hard sometimes. But don't worry! You can fix these problems with some easy tips.
Fabric Slippage
Fabric slippage occurs when the fabric moves while sewing, making lines wavy rather than straight. To prevent this, use a walking foot, which helps move the fabric evenly. Pin layers together before sewing, keeping them still. Hold the fabric tight but not too tight. Let the machine work while you guide it gently.
Tension Issues
Tension problems cause stitches to look uneven or loose. Check your machine's tension settings to ensure they fit your fabric. If unsure, test on scrap fabric first. Adjust the dial until the stitches look even. Different fabrics require different tensions, so always test before starting.
Uneven Stitching
Uneven stitching looks messy. Keep a steady hand and speed—practice sewing at a comfy pace. Use speed control if your machine has it. Make sure the needle is sharp and right for the fabric. A dull needle skips stitches. Check your work often and fix it as needed. With practice, you'll sew even and straight stitches.
Conclusion
You've learned ways to sew straight lines. Use needle plate lines and special presser feet. These tips can change your sewing.
Now, try them on your next project. Practice makes you better. Be patient as you learn. Each stitch helps you improve. Keep practicing, and soon, sewing straight lines will be easy. Enjoy sewing!
Learn more sewing tips on the Longan Craft Blog, and dive into the fabric world with Longan Craft!
FAQs
How do I choose the right presser foot for my project?
Consider the type of fabric and the seam you want. An edge guide foot helps with straight seams. A quarter-inch foot is great for quilting. Experiment with different presser feet to find the best fit for your project.
Is it necessary to backstitch at the end of a seam?
Yes, backstitching secures your seam. It prevents the stitches from unraveling. Sew a few stitches forward, then reverse for a few stitches. This locks the stitches in place.
Can I use household items as seam guides?
Absolutely! Painter's tape or washi tape works well as a temporary seam guide. Place a strip on your sewing machine to mark where the fabric edge should align. These are affordable and effective options.


0 comments