
Velvet has a unique charm that draws you in with its luxurious texture and rich appearance. However, sewing velvet can be quite a challenge. The fabric's slippery nature and delicate pile require special attention.
But don't worry! Mastering how to sew velvet is incredibly rewarding. You'll find joy in creating stunning garments and home decor items. As a beginner, you might wonder where to start. With the proper techniques and a bit of patience, you can confidently embark on your velvet journey.
Key Takeaways
- Equip yourself with essential tools like sharp needles, a walking foot, and tailor's chalk to make sewing velvet easier.
- Always cut velvet with the pile facing down and in a single layer to prevent distortion and achieve clean edges.
- Baste your seams in advance to keep fabric layers aligned and reduce slippage, ensuring neat and even seams.
- Press velvet gently from the wrong side using a pressing cloth to maintain its luxurious texture and prevent damage.
Overview of Velvet Fabric

Velvet fabric captivates with its plush texture and elegant sheen. To truly master sewing with this material, you need to understand its different forms and unique characteristics.
Types of Velvet
Velvet comes in various types, each offering a distinct look and feel. You might encounter crushed velvet, which has a textured appearance because of its intentionally pressed pile. Then there's stretch velvet, known for its flexibility and comfort, making it ideal for fitted garments. Silk velvet stands out with its luxurious softness and natural sheen, often used in high-end fashion.
Each type has its own charm and challenges, so knowing them can help you choose the right one for your project.
Features of Velvet
Velvet fabric is known for its dense pile, which gives it its signature soft touch. Depending on how the light hits it, this pile can make the fabric appear darker or lighter. Velvet is also slippery, which can make cutting and sewing tricky. However, with patience and practice, you can manage these challenges.
Remember, velvet's beauty lies in its texture and depth, so handling it carefully will yield stunning results.
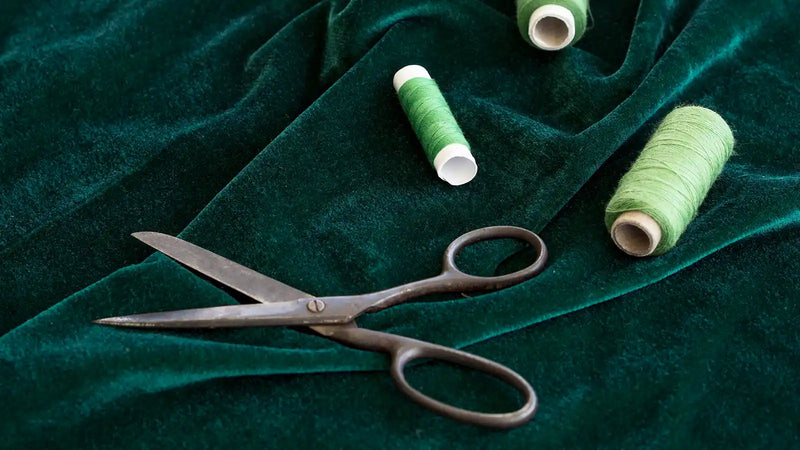
Essential Tools and Materials for How to Sew Velvet
When you work with velvet, having the right tools and materials makes a difference. Here's a list of essentials to get you started:
- Sharp Needles: Use a size 70/10 or 80/12 needle. These sharp needles help prevent snagging and ensure clean stitches.
- Walking Foot: This tool helps manage the movement of velvet fabric under your sewing machine. It reduces slippage, keeping your stitches neat and even.
- Sew-in Interfacing: Avoid fusible interfacing, which can damage velvet. Sew-in one maintains the fabric's integrity and provides support.
- Rotary Cutter and Cutting Mat: For precise cuts, use a rotary cutter. It allows you to cut velvet in a single layer, minimizing distortion.
- Tailor's Chalk or Fabric Markers: These tools help mark your pattern pieces without damaging the delicate pile of velvet.
- Pins and Clips: Use fine pins or fabric clips to hold pieces together. They prevent shifting without leaving marks on the fabric.
- Pressing Tools: A steam iron and pressing cloth are essential. Use them to press seams without crushing the pile.
- Basting Thread: Hand-baste your seams before machine sewing. This step helps keep everything in place and reduces fabric movement.
7 Techniques and Tips for Sewing with Velvet
Sewing velvet can seem daunting, but it's manageable and even enjoyable with the proper techniques. Let's explore some essential tips to help you master how to sew velvet.
1. Prewash Velvet Fabric
Before you sew, consider whether to prewash your velvet. Not all velvet fabrics require prewashing, but if unsure, test a small piece first.
Prewashing can prevent shrinkage later on. Use cold water and a gentle cycle, or hand wash to maintain the fabric's integrity. After washing, lay the velvet flat to dry. Avoid wringing or twisting the fabric, as this can damage the pile.
2. Cut Velvet Fabric
Cutting velvet requires precision and care. To achieve the best results, cut the fabric with the pile facing down. This helps prevent distortion and ensures accuracy.
Use a rotary cutter for clean, straight edges. Always cut velvet in a single layer to avoid shifting. Take your time and make sure each piece aligns with the pile direction for a consistent look.
3. Marking Velvet
Marking velvet can be tricky because of its delicate pile. Use tailor's chalk or fabric markers that won't damage the fabric. Avoid pressing too hard, as this can leave permanent marks. Instead, make light, gentle strokes. If you're marking pattern pieces, do so on the wrong side of the fabric. This keeps the visible side pristine.
For more intricate designs, consider using tailor's tacks. These temporary stitches help transfer markings without affecting the velvet's surface.
4. Baste Velvet Fabric
Basting is a crucial step in sewing velvet. It helps keep the fabric layers aligned and prevents slippage.
To baste velvet, use a contrasting thread color to see and remove it later easily. Hand baste along the seam lines with long, loose stitches. This temporary stitching holds the fabric in place while you work on your sewing projects.
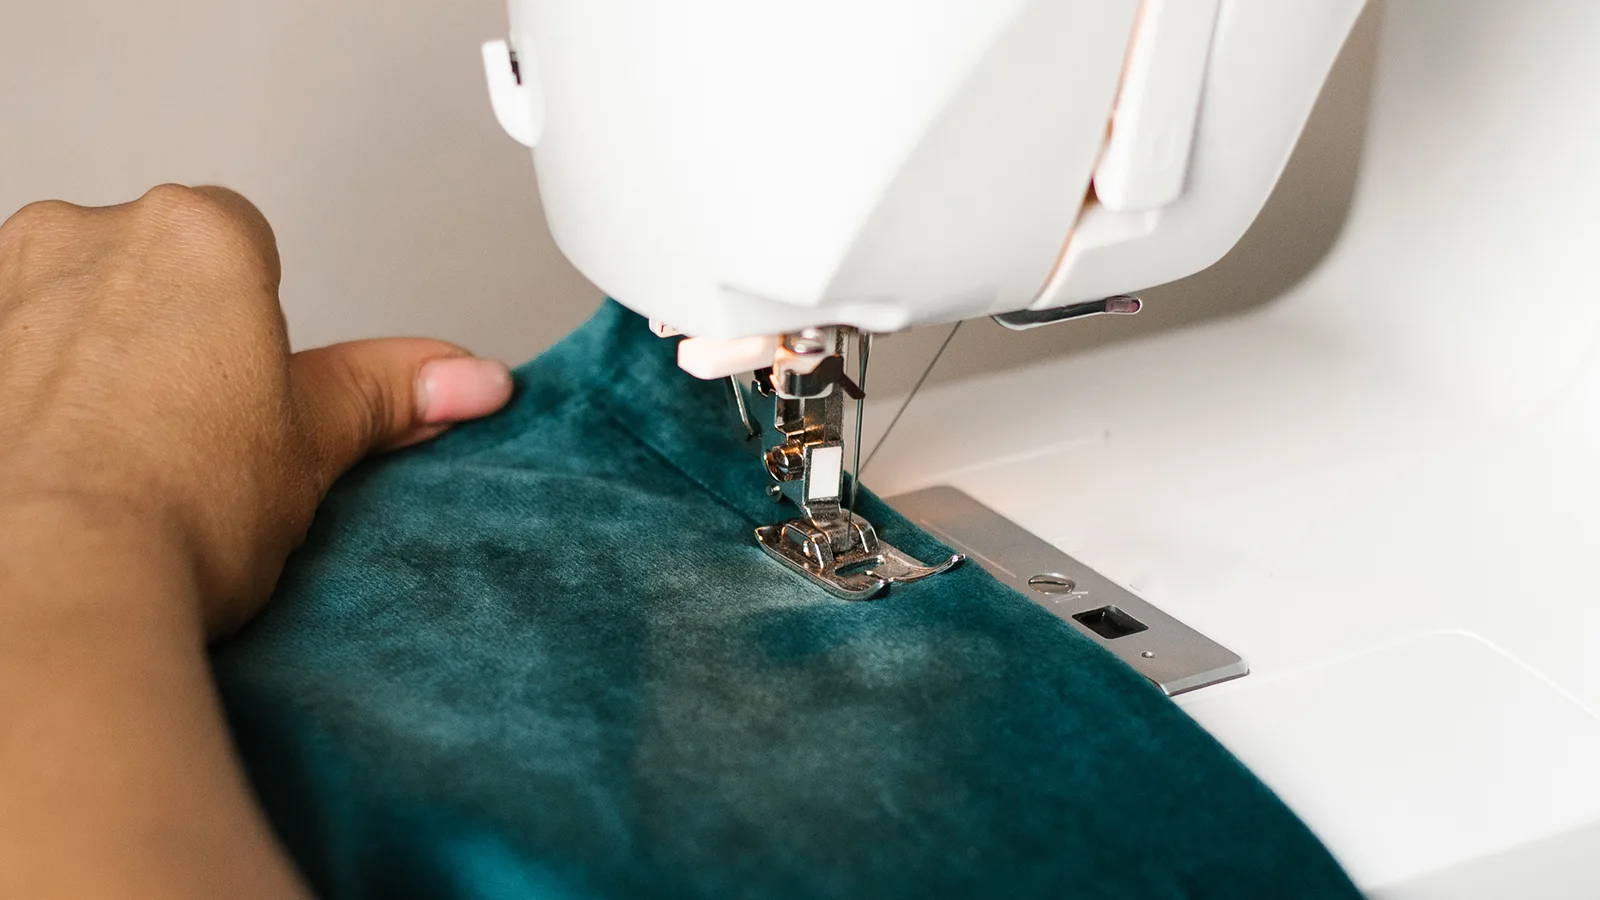
5. Sew Velvet Fabric
Now that you've basted your velvet, it's time to sew.
- Use fabric clips instead of pins to avoid leaving marks on the fabric. If you must use pins, only use them inside the seam allowance.
- Use a walking foot to help feed the fabric evenly through the machine.
- Select a straight stitch with a slightly longer stitch length (around 3.0 mm) to prevent puckering.
- Sew slowly and carefully to prevent the layers from shifting.
- Regularly check that the fabric is feeding evenly under the presser foot.
- Avoid backstitching at the beginning and end of seams as doing so can leave marks. Instead, tie off threads by hand.
6. Hem Velvet Fabric
Hemming velvet requires a gentle touch. To achieve a clean finish, consider using a blind hem stitch or slip stitch. These techniques keep the hem invisible from the right side of the fabric.
First, fold the hem to the desired length and press it lightly with a steam iron. Use a pressing cloth to protect the pile.
Then, hand-stitch the hem in place, taking care not to pull the stitches too tight. This prevents puckering and ensures a smooth, professional look.
7. Press Velvet Fabric
Pressing velvet requires a gentle touch to maintain its luxurious texture. Here's how you can press velvet effectively:
- Use a Pressing Cloth: Always place a pressing cloth between the iron and the velvet. This protects the fabric from direct heat and prevents the pile from being crushed.
- Set the Iron to Low Heat: Adjust your iron to a low heat setting with steam. High temperatures can damage velvet. Test the iron on a scrap piece of velvet to ensure the temperature is safe.
- Press from the Wrong Side: Turn the velvet inside out and press from the wrong side. If you must press the right side, use a velvet board or a towel to cushion the fabric.
- Avoid Sliding the Iron: Instead of sliding the iron across the fabric, lift and press it down gently. Move the iron in small sections to cover the entire area evenly.
- Let the Fabric Cool: After pressing, allow the velvet to cool completely before moving it. This helps set the fabric and maintains its shape.
Common Challenges and Solutions in Sewing Velvet
Sewing velvet can be tricky, but don't worry! With some handy tips, you can overcome common challenges and create beautiful velvet pieces.
Fabric Slippage
Velvet's slippery nature often causes fabric layers to shift while sewing. To tackle this, try these strategies:
- Use a Walking Foot: This tool helps feed the fabric evenly through your sewing machine, reducing slippage.
- Baste Before Sewing: Hand-baste your seams with long, loose stitches. This temporary stitching holds the layers together, making it easier to sew accurately.
- Pin Strategically: Use fine pins or fabric clips to secure the fabric. Place them perpendicular to the seam line for better control.
Pile Damage
The pile gives velvet its luxurious texture but can be easily damaged. Here's how to protect it:
- Press with Care: Always use a pressing cloth and press from the wrong side. Avoid sliding the iron to prevent crushing the pile.
- Handle Gently: When moving or storing velvet, avoid folding it sharply. Instead, roll it to maintain the pile's integrity.
- Test on Scraps: Before applying any technique, test it on a scrap piece of velvet. This ensures you won't damage your main fabric.
Seam Puckering
Seam puckering can ruin the smooth look of velvet. To prevent this, consider the following tips:
- Adjust Stitch Length: Use a longer stitch length to accommodate the fabric's bulk. This reduces tension and minimizes puckering.
- Loosen Tension: Slightly loosen the tension on your sewing machine. This change helps the fabric move smoothly under the needle.
- Press Seams Open: After sewing, press the seams open with a steam iron. Use a pressing cloth to protect the pile.
How to Care for Velvet Creations
Velvet requires special attention, but you can keep it looking its best with a few simple steps.
- Spot Clean: For small stains, use a damp cloth to gently blot the area. Avoid rubbing, as this can damage the pile.
- Dry Clean: Most velvet garments benefit from professional dry cleaning. Check the care label to see if this is recommended.
- Avoid Water: Water can leave marks on velvet. If you must wash it, use cold water and a gentle detergent. Hand wash and lay flat to dry.
- Hang Carefully: Use padded hangers to prevent creases. If hanging isn’t possible, roll the garment instead of folding it.
- Avoid Sunlight: Direct sunlight can fade velvet. Store your items in a cool, dark place.
- Use Covers: Protect your velvet pieces with breathable garment bags. This keeps dust and dirt away.
- Brush Gently: Use a soft brush to remove dust and restore the pile. Brush toward the nap for best results.
- Steam Lightly: If your velvet looks crushed, use a steamer to lift the pile. Hold the steamer a few inches away to avoid wetting the fabric.
How to Manage Velvet Scraps and Waste
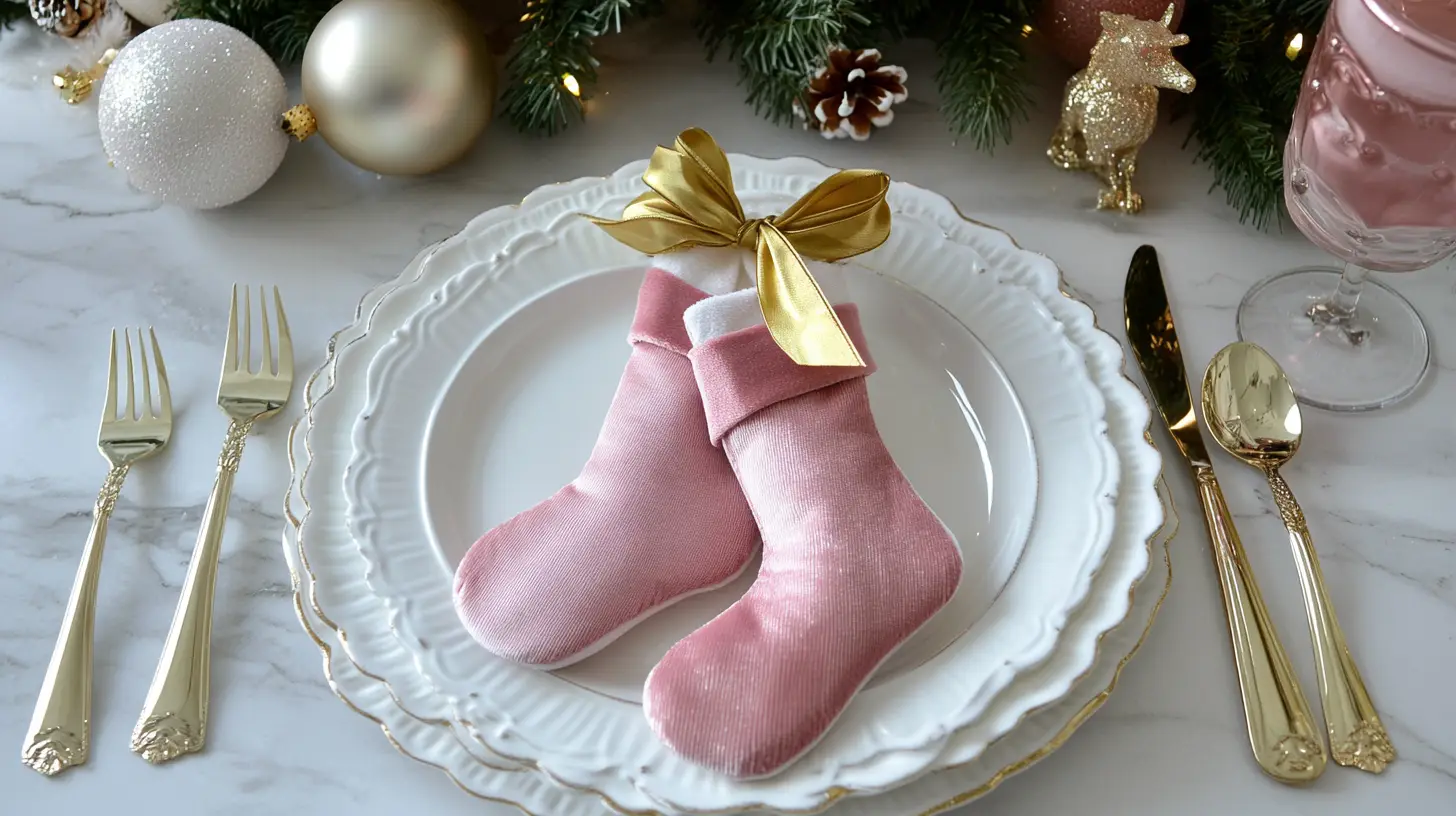
When you work with velvet, you often end up with leftover scraps. Instead of tossing them away, you can find creative ways to use these pieces:
- Accessories: Use small velvet pieces to create hairbands, scrunchies, or brooches. These accessories add a touch of luxury to any outfit.
- Home Decor: Craft velvet cushions, coasters, or table runners. These items bring elegance to your living space.
- Gift Wrap: Wrap small gifts in velvet for a unique, reusable presentation. This adds a personal touch that recipients will love.
- Patchwork Projects: Combine velvet leftovers with other fabrics to make quilts or patchwork bags. The mix of textures creates a stunning visual effect.
- Appliques: Cut shapes from velvet leftovers and sew them onto clothing or bags. This technique adds interest and dimension to plain items.
Conclusion
You're now ready to dive into the world of velvet sewing. Practice and experiment with different techniques. Each project will boost your confidence. Velvet sewing is a rewarding journey. You'll create stunning pieces that showcase your skills.
As you grow more comfortable, try tackling advanced projects. Maybe a velvet dress or a luxurious throw pillow? The possibilities are endless. Keep exploring and pushing your boundaries. Velvet offers a rich canvas for your creativity. Enjoy the process and celebrate your progress. Happy sewing!
Learn more sewing tips on the Longan Craft Blog, and dive into the fabric world with Longan Craft!
0 comments